Hi everyone...Emma here!!
It's already time for my third and final post of the month and for this post, I wanted to share a freestanding easel plaque that I made using a stamp from Mabel Lucie Attwell, together with some more of those gorgeous Perfect Pearls Mists that are still on offer at The Artistic Stamper with a 15% discount, right up until the end of January...
So, here's what I made and how I created it...
First of all, I cut a piece of chipboard, 15cm square in size. Next I took a piece of cream paper, blended it with Antique Linen Distress Ink, scrunched the paper up into a ball and then flattened it out to give a creased look to my background. I then swiped the Vintage Photo Distress Ink Pad over the top before I misted it with Biscotti Perfect Pearls Mists to give a gorgeous shimmer. Once the background paper is dry, I stuck it onto the chipboard and added die cut decorative borders down each side, overlapping the edges of the card, which were die cut using a Tim Holtz ~ On The Edge die.
Next I stamped the Mabel Lucie Attwell ~ Can We Keep Him? onto a piece of card, coloured it with alcohol pens and then distressed and aged the edges of the card with Vintage Photo and Antique Linen Distress Ink.
I then inked up the Music background stamp with black Archival Ink, stamped it onto white card, which I then blended with some more Distress Inks to give an aged feel to the image. I then stuck both images onto my covered chipboard base.
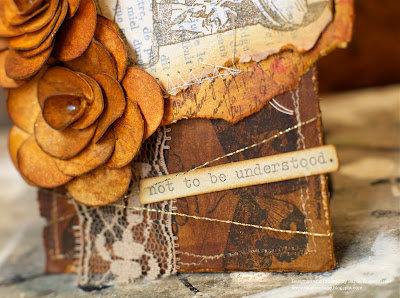
Next, I used the Tim Holtz Tattered Florals die and die cut enough petals to create a dimensional flower. I blended Victorian Velvet Distress Ink over each of the petals and misted them with more of the Biscotti Perfect Pearls Mist, then stamped them with the Music Background stamp. I then built up the flower and adhered the finished flower to the chipboard base, together with some Tattered Leaves die cuts, that I had blended with Peeled Paint Distress Ink.
I then used the Tim Holtz ~ Mover and Shapers, Mini Butterflies from my crafty stash and die cut a couple of butterflies from card which was covered with Tissue Tape and blended the die cuts with some more Victorian Velvet DI. Next, I attached these to the card base and added Adirondack Dimensional Pearls down the centre of each.
Finally, I added an Adage Ticket and attached it to the front of my artwork, using a Trinket Pin from the Idea-ology range before attaching an easel stand to the back of my chipboard base to make it freestanding.
So, that's about it from me for this month and I hope you like what I've made.
Thanks for stopping by to take a look and hope you all have a fabulous inky week.
Emma x


