Showing posts with label Dressmaking stamps. Show all posts

Saturday, 19 September 2020

And my needlewoman, is she rich too ? by Titbelsoeur

 Hello everybody !

Here is my second project to meet the September challenge at The Artistic Stamper. The first one was  Is my tailor rich ? by Titbelsoeur, this one being the feminine version.

I have decorated another sardine can with the Dressmaking stamps, so that it looks the same as the masculine one, but not exactly the same !  Nevertheless, the techniques I have used are strictly the same. A focal point stamped in black on the background, then hidden when stamping the other parts, video here : Apart'thé


I stamped the dressmaker to a strong paper and cut it out, passed a thread between her 2 hands to be more realistic :) and then added lots of related stuff


 And here are my 2 cans together :


Thank you so much for visiting, I hope I have given you some inspiration to 
participate in our 

Happy creating and thank you for your comments,

Titbelsoeur
 

Monday, 7 September 2020

Is my tailor rich ? by Titbelsoeur

 Hello everybody !

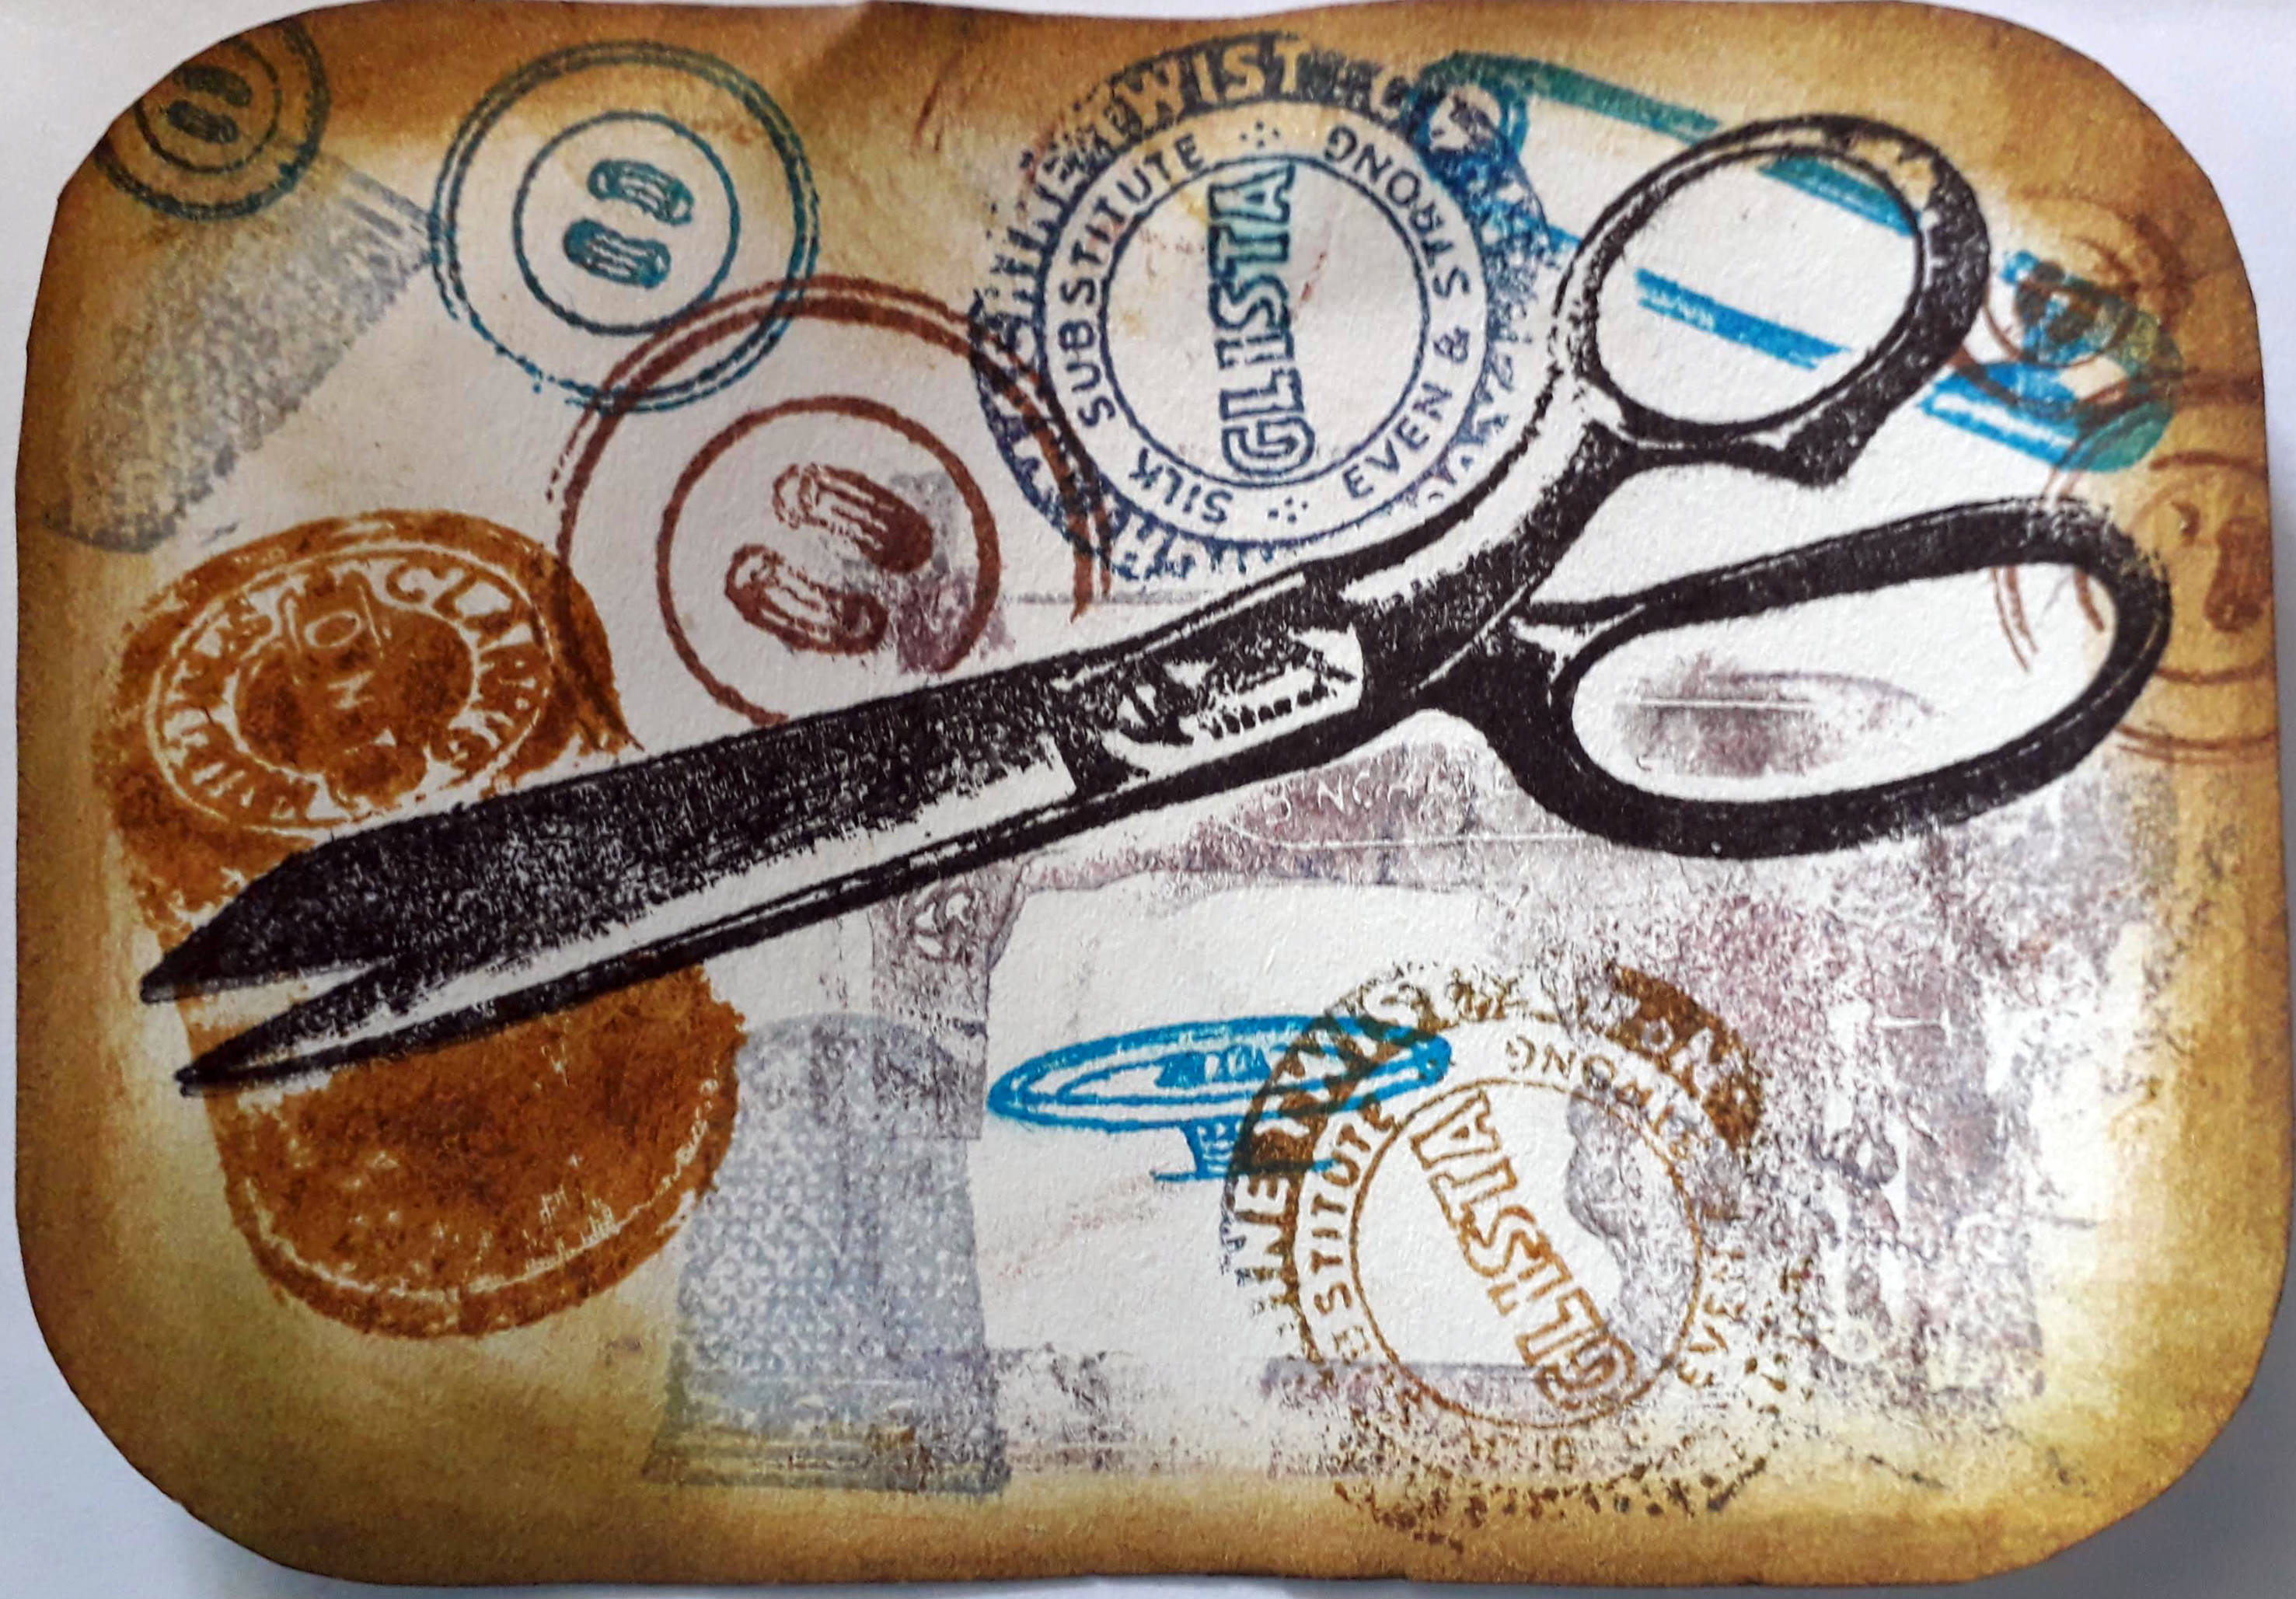
To follow our September challenge, I have filled a sardine can with sewing stuff, and I have used these stamps from the Dressmaking  collection to make the background 


And since I wanted my project be more masculine this time, I have stamped this man from the Men  plate, who has a little tailor look. 

Here is my finished project, you notice that I have added a lot of my stuff such as a presser foot, a spool, a piece of a pattern, and many buttons

Thank you so much for visiting, I hope I have given you some inspiration to 
participate in our 

Happy creating and thank you for your comments,

Titbelsoeur

Saturday, 19 May 2018

Tags with new stamps by Titbelsoeur

Hello everyone !
I have started using our fabulous new Artifacts stamps. First of all, I would like to present you this technique I have imagined : I make my own masking tape with "magic" tape in placing the sticky face to the inked stamp :


Quick tip : you want to place the tape from the top to the bottom to avoid the image to be blurry.


This way, the inked image cannot flow, since it is captured under the tape :


You can use these long stamps to make your own masking tape, this time I have sticked duct tape bits to a plastic surface and put the stamps to the non-sticky face, here is what it looks like :


And to make a very quick and simple tag, I have peeled a cardboard piece, then applied some gesso with my fingers, and stuck the tape on it. I could have sprayed ink to colour it, but I didn't.


I also had a try with tea bags (one of my favourite supports). Same quick tip : do not press the bag on top and bottom at the same time but from the top to the bottom.


Here is the result :


Then I wanted to add a dressmaker in the middle : I stamped it to the teabag, and cut out the same image to hide it, and then stamped the artifact stamp on to it :


Here is my finished tag, to make it I have used 
- distresse cardboard,
- home made masking tape,
- stamped teabag,
- lace, thread and fabric,
-  text artifact stamped half to jeans fabric, half to paper


I used the following stamps :
Artifacts - Spirit of Adventure (cut out and mounted on cling foam)
Dressmaking No. 1 A5 (cut out and mounted on cling cushioning)


Do not forget that you can win these fabulous stamps, just participating in our challenge 

May's Creative Challenge - Backgrounds


 for 3 chances to win !

Thank you so much for stopping by.
Your comments are very much appreciated here, on my blog
Bye for now and happy creating. 

Titbelsoeur

Sunday, 19 March 2017

Tea bags by Titbelsoeur

Hello happy stampers !
Have you seen these pictures on Pinterest that show painted tea bags ? they are amazing !
I love to use tea bags in my projects, and I have decided this time to stamp Artistic Stamper women on these, women from Seaside No. 1 # 018 A5Dressmaking No. 1 A5 and Gibson Girls


I am considering stitching them on a fabric book... tbc !


Thank you so much for stopping by,
your comments are very much appreciated, 
here, on my blog, or on the Artistic Stamper's Facebook page.
Do not forget to participate in our monthly challenge
 to win some fabulous Artistic Stamper stamps.

Titbelsoeur

Thursday, 7 April 2016

Inspiration card by Titbelsoeur

Hello everyone !
Titbelsoeur today sharing a distressed card with you, to help you participate in our April challenge.


I have first peeled and gessoed a piece of cardboard, then stamped 

clocks from Time
A Stitch in Time ruler from Dressmaking
Encyclopaedia Botanica dictionary page from Katy Leitch
Journaling Words, Imagine and Creative  from Words and sayings

And then I stamped the Butterfly from Neil Walker twice with distress pens, cut them out and sticked them on to the cardboard.
And here it is ! 


Thanks so much for stopping by,
your comments are very much appreciated, 
here, on my blog, or on the Artistic Stamper's Facebook page.
Do not forget to participate in our 

MONTHLY CHALLENGE
April Challenge-All Things Distress

 to win some fabulous Artistic Stamper stamps.

Titbelsoeur

Thursday, 19 November 2015

Fabric, always... by Titbelsoeur

Hello happy sewers !
Have you already participated in our monthly challenge ? 
If you haven't yet, here is another fabric art journal page to make you want to !
Here is my page, always on the same model as the others :


Fabric, lace, ribbon.... and stamps, of course ! 
Special Deliveries  from Debbie Cotton, and rule and sentiment come from A Stitch in Time  you will find in Dressmaking


Thanks so much for stopping by,
your comments are very much appreciated, 
here, on my blog, or on the Artistic Stamper's Facebook page.
I hope that my fabric page did inspire you and that
you will participate in our monthly challenge
 to win some fabulous Artistic Stamper stamps.


Titbelsoeur

Sunday, 18 May 2014

Sewing Card by Alison (Craftytrog)

Hello Stampers! I made a bright, sewing themed card for my post today, I hope you like it.


Here are the ingredients...

Distress Inks - Picked Raspberry & Spiced Marmalade
Archival Inks - Jet Black & Potting Soil
Distress Stain - Spiced Marmalade
Metal Poppers

and, here's how I made my card...

1. Ink the Flowery Lace Border stamp with Spiced Marmalade Distress Ink, & stamp just above the centre of a square white card. Ink the Lacy Border with Picked Raspberry, & stamp underneath the Flowery Lace.

2. Ink the zig zag stitches with Jet Black Archival Ink, & stamp between the laces. Ink the running stitch stamp with Potting Soil, & stamp over the zig zag stitches.

3. Stamp the seamstress on Smoothy White Card, using Jet Black Archival, use the waterbrush & Distress Inks to colour her dress, cut her out, & use glossy accents to glue her to the card, as shown.


4. Stamp some buttons on white card, using the Distress Inks, colour them, cut them out, & glue in place.

5. Colour some seam binding ribbon with Spiced Marmalade Distress Stain, form a bow, add some highlights with the Picked Raspberry Distress Ink, & glue to the card.

6. Glue a few metal poppers to the card, as a finishing touch.

Happy Stamping,

Alison xxx 

Sunday, 22 September 2013

Titbelsoeur's cabinet of curiosities

Salut les patouilleuses, c'est Titbelsoeur aux manettes !

I am happy to show you today my big work of the year. Let me first explain the story of this piece. have a seat, take a breath, a warm drink (almost Autumn here, isn't it ?) and let's start !
With 4 messing-up-friends of mine, I have been leading a French forum for about 2 years. In 2013, we have made a series of tutorials to show them how to make a lot of thingamabobs, thingamajigs and other thingummies but never telling them what they would do with... 
They played the game with passion and made more and more creative thingummies.
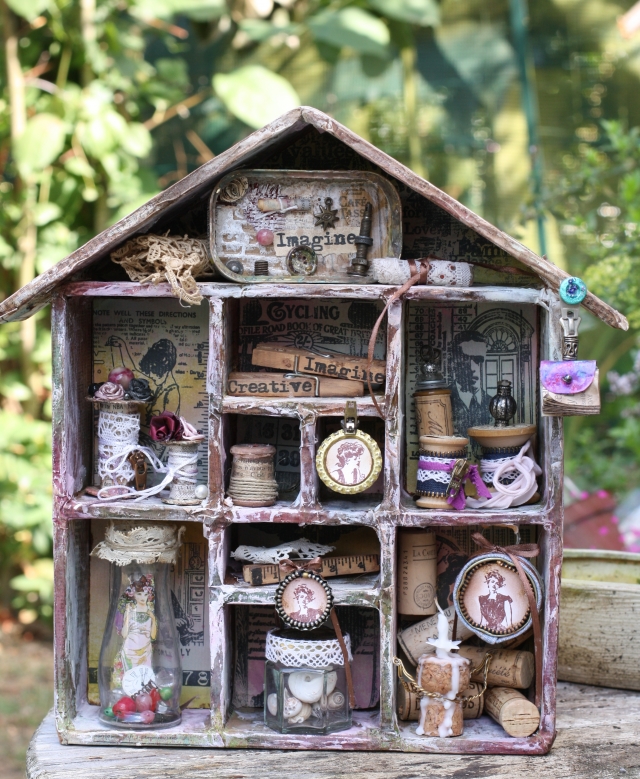
And now the time has come that we show them what to do with : the intent was to help them make a cabinet of curiosities by themselves, with recycled items only.

Here is how I decorated mine :
first I sprayed diluted Distress ink on kraft paper, and when dried I stamped the image, hid it with a cut out of the same stamped image and stamped the others as a background.


the stamps I used are :
ground floor left : Men’s Plate 001 and Numerical plate
center :  Collage lady Elements
right : Gibson Girls 002Time and Keys and   Numerical plate

1st floor left :  A Stitch in Time and Dressmaking  No. 1
center :Large Bingo Card and  The Open Road 1
right :  Collage Man

attic : Family Values

and here is my happy-messy (literal translation) cabinet, filled with my thingamabobs, thingamajigs and other thingummies (love these words ;-) :


I have already showed you some of the thingamajigs here or there.


Sooo girls and maybe boys, I hope you like my project,

thanks for stopping by, 

I am looking forward to reading your comments! 

A la prochaine !


Sunday, 8 September 2013

It's only a tin full of people - by Titbelsoeur

Hey there, this is Titbelsoeur on board !

I definitely loooove this medium ! 
The tin is nice, I leave it as it is... otherwise I cover it with a coat of Gesso and paint or ink it...
This one was beautiful, goldy, shiny, so I didn't paint it.

I used a piece of kraft paper to cover the background, stamped it with A Stitch in Time and glued a piece of pattern on it.


I then filled the tin with stuff connected with this pretty woman from Dressmaking
and here it is :


I hope you like this tin full of sewing stuff !

Thanks for stopping by, I am really looking forward to reading your comments !

A tout bientôt !


Monday, 2 September 2013

Sewing Lady by Sue Carrington

Hello! It's Sue here and very excited to be guest designer for September, thank you Jennie and Emma ! For my first project I wanted to use the gorgeous stamp of the lady sewing from the Dressmaking 001 set.


I've used a piece of grey board and started by spreading Grunge Paste over the Art is stencil in random areas on the board.


Once this was dry I then painted the whole board with Vintage Lace Fresco Finish paint. Then I used Cut 'n' Dry foam and sponged more Fresco Finish paint around the edge and over the embossed text to highlight it.


I then used the Spinning Top stencil and the Swirly Vines stencil, again using Fresco Finish paint. I've added some text using the stamp from the Carte Postale set and Coffee Archival ink. I then brushed some Treasure Gold around the edge and rubbed some over the raised, embossed text.


I stamped the beautiful sewing lady onto some Specialitiy Stamping paper and blended some Victorian Velvet Distress Ink around the edge. I've mounted her onto some card that I've stamped with a stamp from the Stitch in Time set using Coffee Archival ink.


The cotton reels and thimble have been stamped onto pieces of paper from a book that have been stuck onto Grunge paper. The tape measure has been made using the stamp from the Stitch in Time set and I've blended Vintage Photo and Walnut Stain Distress Inks over it. The little paper roses are from my stash and I've rubbed Victorian Velvet Distress Ink over them. For the dress form I've stuck some more paper from an old book on to some Grunge Paper and die cut the shape. The sentiment is from the Stitch in Time set and I've cut it into separate pieces so it would fit on the design.


The little bird cage has been painted with Fresco Finish paint, once it was dry I added a coat of Crackle Glaze and then a further coat of Fresco Finish paint. To finish I added some buttons and some lace from my stash.

I hope you've enjoyed my first project and I'll be back later in the month with my next one !

Sue
x


Monday, 8 April 2013

Bookmark by Titbelsoeur

Hello there, c'est Titbelsoeur en régie !

The bookmark I am showing you today is made with a mix of Artistic Stamper plates.
I have made the background spraying paint and ink on various Crafter's workshop stencils
And I have stamped, on an old pattern, the dressmaker first, then hid her under another herself, using the same technique as in my previous post (see here) and used the new stamps from the amazing A stitch in time plate. Then I glued the stamped pattern on the background with mod podge and glued the lace on the border as well.


 Here is a larger view :


I hope you like my bookmark,
Thanks for stopping by, I am really looking forward to reading your comments !
A tout bientôt !


Wednesday, 14 November 2012

Vintage dressmaker with Joanna King

Hello Friends! I'm back with my Creative Spell and the second part of my November Guest Design inspiration :).

There is something really magical about the Artistic Stamper's images. They make me 'push the boundaries' and try something completely out of ordinary. At least for me, that is :). This is why, when I saw this set, I was immediately inspired to dust off my sewing machine and go wild!


For my project I used the Dressmaking No 1 plate, which is full of lovely vintage dressmaking images. Yes, they are sew nice! And what a better project to use these stamps for than a cute pin cushion, where I could safely keep all my needles and decorative pins.

I started my work by selecting two patterned fabrics and a piece of off-white cotton cloth. I'm not that good in planning ahead so you won't get any set measurements from me lol. As long as your white fabric is big enough for your selection of images and at least and inch spare on each side, you can 'patchwork' the rest of the cushion to your heart's content. If you iron all your chosen fabrics first, it will make it much easier to work with them.


Next, using a permanent ink like StazOn, stamp your images onto the printable side of an iron-on transfer paper. They are widely available, even in chain supermarket stores. Colour your images in using Distress or alcohol markers (I use Inktense pencils). When you are finished with colouring, iron the artwork onto your white cloth. Make sure to follow the manufacturer's directions for the correct results of the transfer.

The transferred artwork will be a mirror image of the original so bear that in mind if you want to use any words. I haven't tried it, but perhaps if you stamp your words with a dark ink onto white tissue paper, reverse it and adhere the words to your transfer paper before ironing, then that might be a way to go :).

I love an added sparkle and texture of embossing powders so I added some shabby pink embossing enamel on the bottom of the cushion.


Now you are ready to sew your fabrics together, fill in the cushion with padding and embellish it with a selection of ribbons, lace, charms and buttons.

Thank you so much for your lovely comments on my calendar page and I hope you will enjoy this project just as much. Have a very crafty week!

Big hugs