Showing posts with label christmas card. Show all posts

Saturday, 7 December 2019

Christmas cards by Titbelsoeur


This is time to make our Christmas cards. There are many beautiful stamps in our Christmas cards folder here. For the occasion, I have made square cards. They are super-easy to make so you can make a bunch of them in one go, and still have some variation in them.
I have first divided a A4 watercolour sheet by 12 squares and stamped a Season's greetings from Mini Christmas 1 or Christmas Greetings # 1 A5 with black ink on each of them :
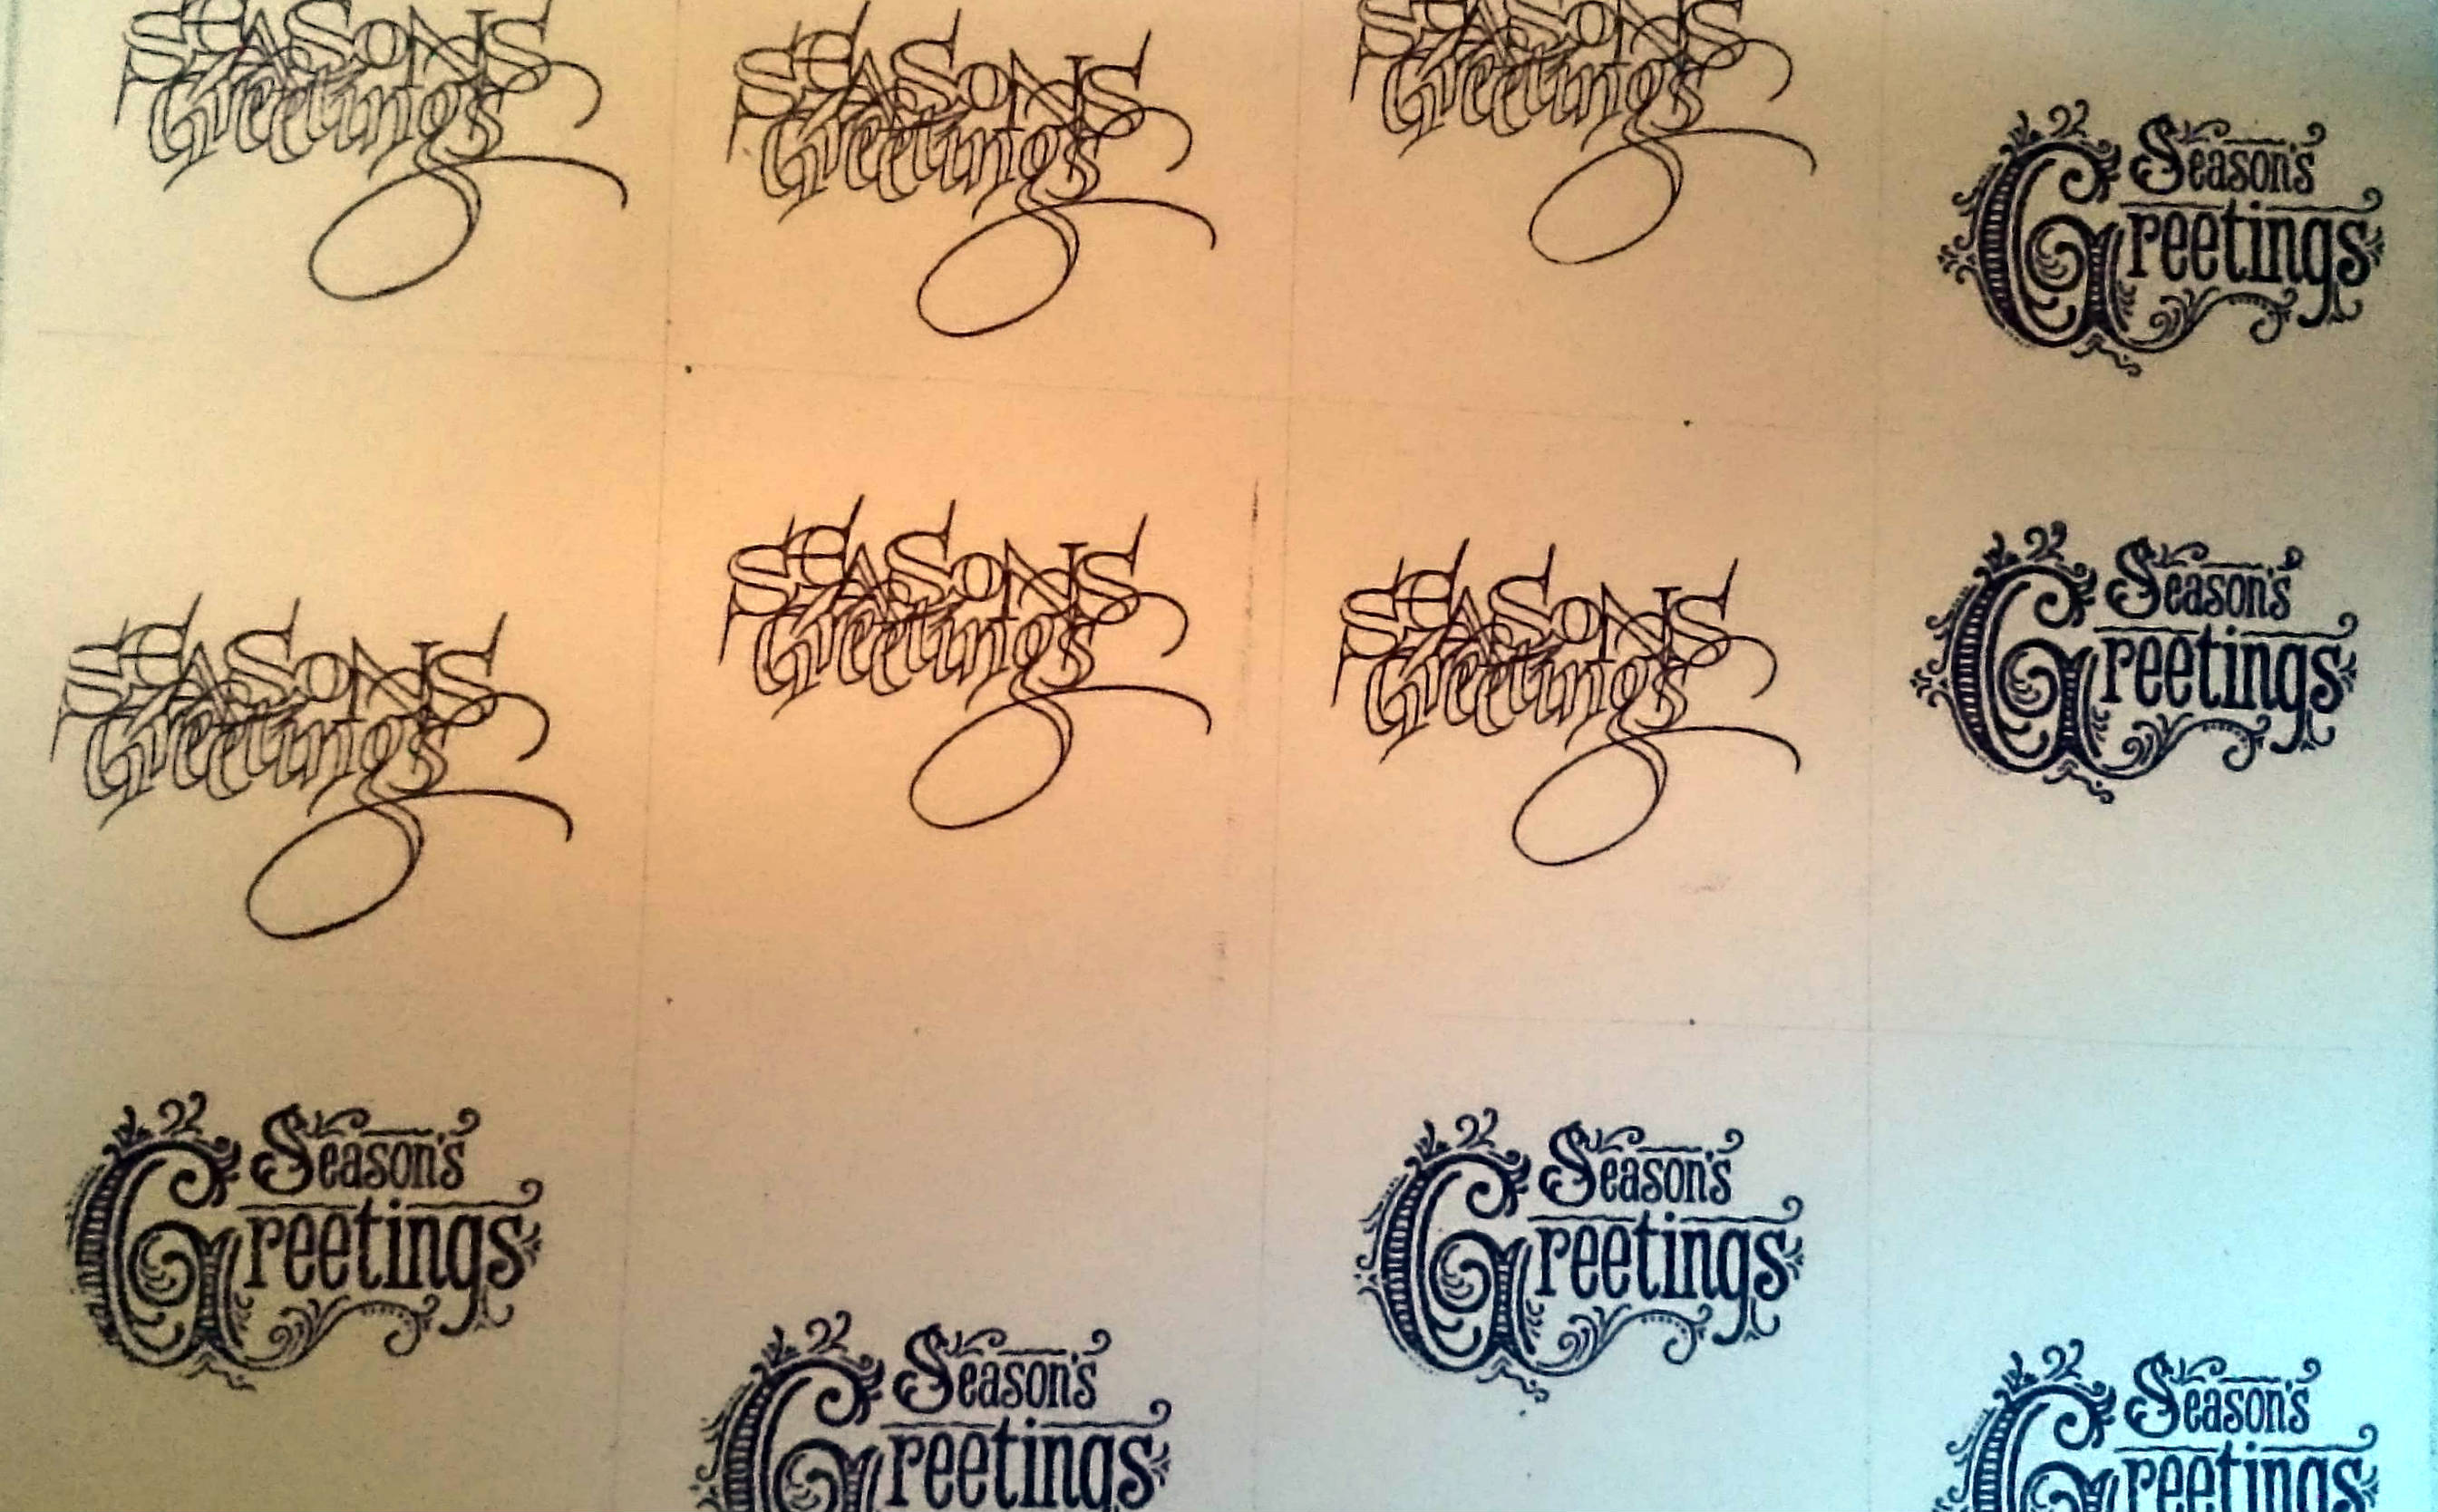

Once dried, I have stamped Happy new year! from Christmas Greetings # 2 A5 with water-based ink such as Distress everywhere on the page with various colours from blue to red :


Added a snowflake from Modern Christmas # 1 A5 on each, then cut out the squares and inked the edges, glue each one on to their card, et voilĂ  !


I hope these cards give you inspiration to participate in our 

for 3 chances to win some of these fabulous
Artistic Samper stamps !
Thank you so much for stopping by.
You may visit my folder : 
I will be happy to read your comments about it !
Your comments are very much appreciated here, on my blog
Bye for now and happy creating. 
Titbelsoeur


Sunday, 7 October 2018

Christmas card by Titbelsoeur

Hello everyone ! Let's make some Christmas cards, just to be prepared on time !
To make this simple card, I have used my home-made precision press to allow me to ink the stamps with multiple colours one after the other.


Stamps I used (click on the name) :

Artifacts - Christmas Words 


I hope you all will participate in our 

October's Creative Challenge - Inktober


for 3 chances to win !

Thank you so much for stopping by.
Your comments are very much appreciated here, on my blog
Bye for now and happy creating. 

Titbelsoeur

Monday, 7 December 2015

We wish you a merry Christmas by Titbelsoeur

Hello happy readers, this is Titbelsoeur today showing you how to easily make nice greeting cards.

First, stamp your baubles, snowflakes, trees and greetings from the Christmas stamp plates on to a watercolor paper with Archival black ink. 
Then add watercolor in 2 steps : start with warm colors on the background of card 1 and on the baubles on card 2, let dry and then add cold colors at the opposite.
Then end splashing white paint :


Cut your paper and stick each card on color paper to make your cards :


and here they are... quick and easy, and gorgeous, aren't they ?


Thanks so much for stopping by,
your comments are very much appreciated, 
here, on my blog, or on the Artistic Stamper's Facebook page.
I hope that my cards did inspire you and help you
participate in our monthly challenge
 to win some fabulous Artistic Stamper stamps.


Titbelsoeur

Saturday, 15 November 2014

Christmas Card

Hello Everyone,
Shilpa here,
Artistic stamper has got lovely Christmas theme stamps....you can see them here.
 I made Christmas card today!!


I've some close view photos to share with you


I stamped Santa image from Artistic stamper Victorian Christmas plate #1 with Coffee Archival ink on diecut frame. I used barn door and vintage photo distress inks to color the edges of frame.

.
Sentiment stamp is from Christmas Greetings plate # 1


I made a card with red craft paper from Tim Holtz Kraft-core shattered collection. Distressed edges with distressing tool, we can see Kraft color paper and it gives grungy look!!
I also applied barn door distress ink at the edge .
Design papers which I've used here are from Graphic 45 Twas the Night Before Christmas collection.


 I made Poinsettia with same red kraft core paper and Cheery Lyn Poinsettia die. I've used golden beads for the center of flowers.
At the corner, you will find golden Jingle bells !!


Hope you liked the card!!
Thanks so much for stopping by today.
Dont forget to join our 'Christmas is coming' challenge for November

supplies used:
Tim Holtz Kraft core shattered collection.
Cherry Lyn Poinsettia die and Spelbinders  Foliage die


Thursday, 6 November 2014

Let's start making our season's greetings cards

Hello there, this is Titbelsoeur showing you today my very first Christmas card of the year !
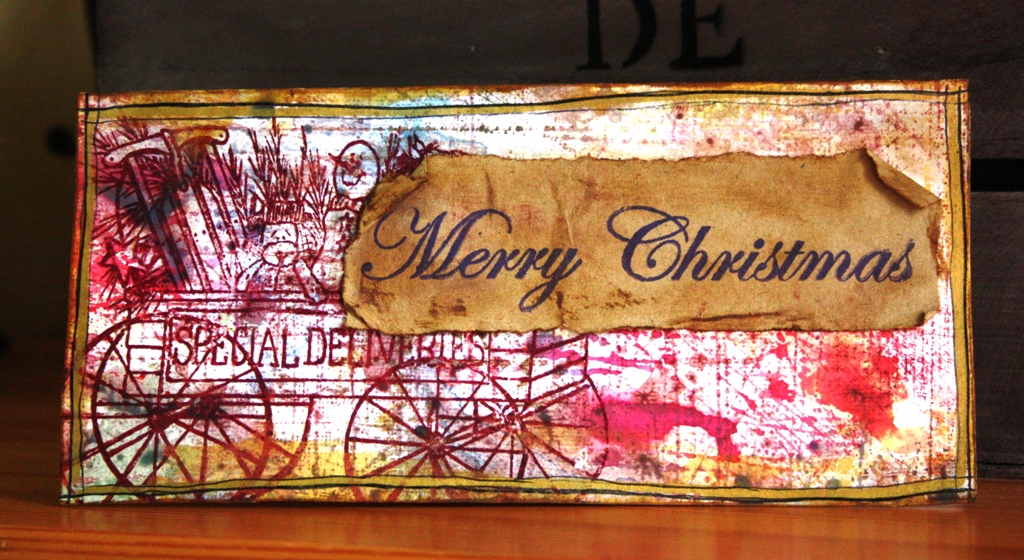
I have made the background with this amazing tool I will demonstrate at my Nov. 11 workshop, then I have stamped the Special Deliveries stamp on it with Plum Archival.
Merry Christmas was stamped on a kraft junk envelope and torn :


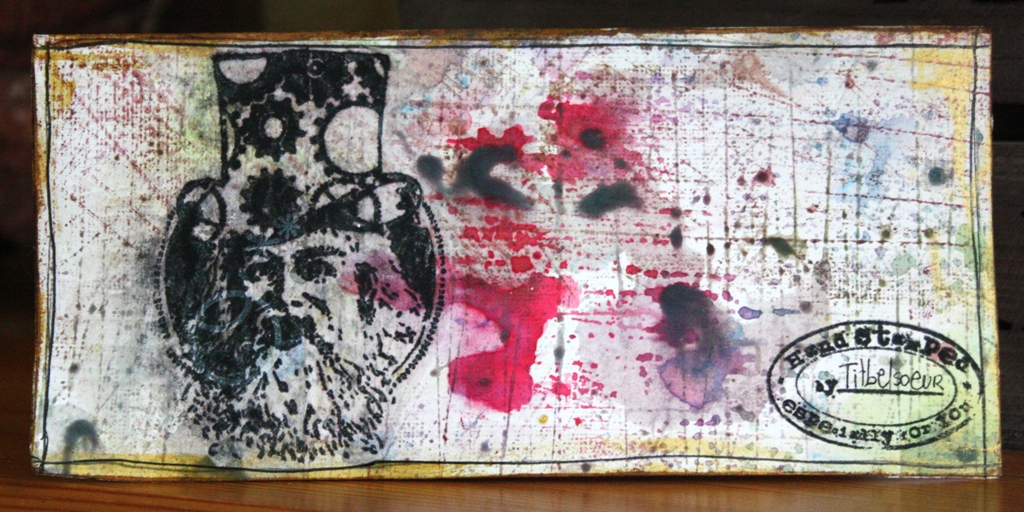
On the back, I glued the Steampunk Santa that was stamped on wrapping tissue to keep transparency, and I added my signature on the Hand stamped mark.


Isn't it an easy peasy card to do ? I hope you will enjoy it and want to make a lot of same ones !
Anyway, thank you so much for stopping by, I can't wait to read your comments !
See ya,
Titbelsoeur

Friday, 6 December 2013

Snowy window card... By Zuzu

I have made a simple (but hopefully effective) white on white twinkly christmas card to share with you today. I stamped out the little girl (from the "Victorian christmas #1 plate) on to white paper using black archival ink and glued her behind the die-cut window.

I added glittery twinkle to all the die-cut shapes and simply assembled them on to the card. the words in the top corner are remnant rub rubons.


Thank you for looking.
Z x