Showing posts with label stampers anonymous. Show all posts

Thursday, 24 July 2014

Field Notes of a Naturalist

Hello all, Alison (butterfly) here with a Victorian naturalist's field notes from his day's excursion in the fields... and we're back to the neutrals!  It's a simple stamped tag, using Katy Leitch's fabulous new Jumbo Flowers along with one of the Stampers Anonymous Classics releases from earlier this year.


I kept the stamping simple over a background of Fresco paints and crackle glaze.  I couldn't resist a spot of clear-embossing though!


The flowers are done in Potting Soil Archival, which seems an appropriate enough colour for botanical sketches.  This is the Bouvardia, tucked away at the bottom...


Here's the Flowering Branch...


And the Camellia...


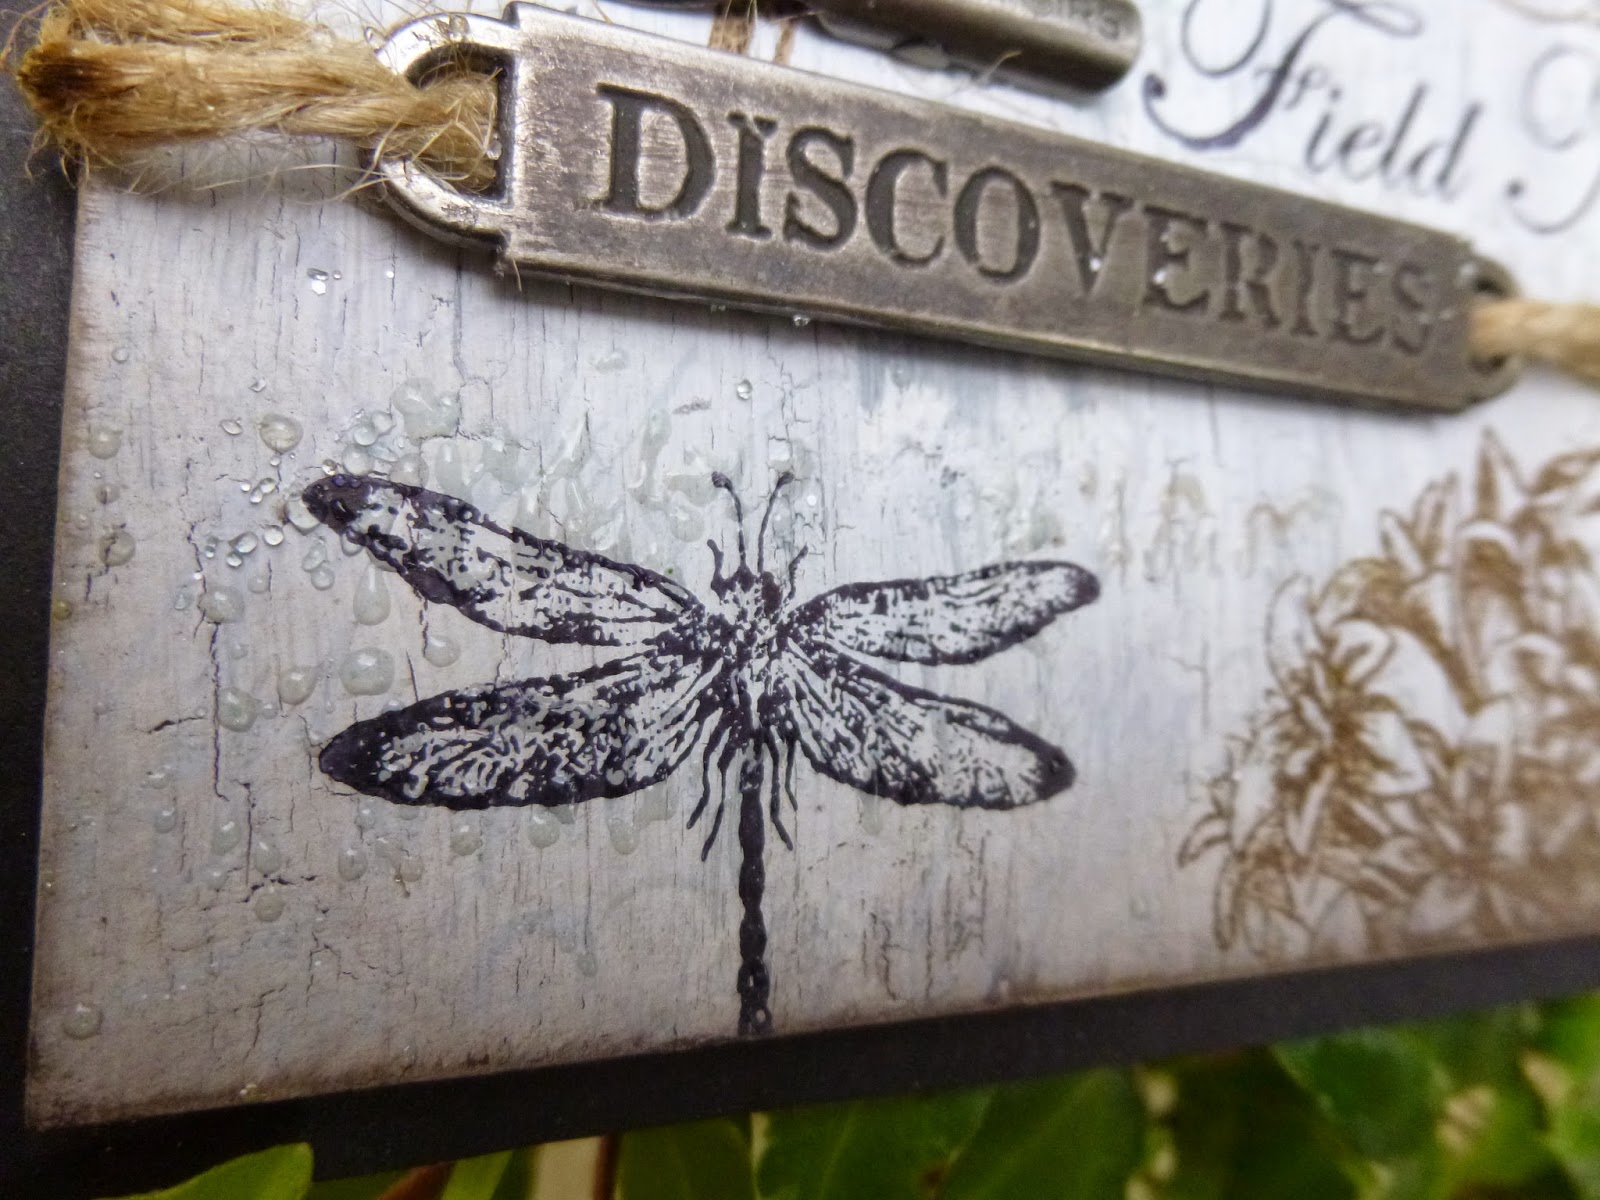
The insects are stamped in Jet Black Archival...


... carefully labelled to keep track of genus and species.


In between, you might catch sight of the sparkle of some handwritten notes about what he's found.


I stamped the Calligraphy Mat #9 in Pumice Stone Distress Ink, and then clear-embossed it.  I love the dewy shimmer as it catches the light, so I don't mind the occasional places where it's spots rather than writing - just more dew drops!


There's some simple embellishing - a word band attached with rustic twine, and the pen nib with which he's been scratching his field notes in his journal.


At the top some seam binding, dyed with Pumice Stone and bound with more twine, is fastened with a Muse Token celebrating the new knowledge he's acquired in today's nature ramble.


The whole thing is matted onto black card, to give a little extra definition, and that's your lot.

Thanks so much for stopping by today.  There's still time to enter our By the Seaside challenge this month... hope to see you there!

Ingredients used:
Artistic Stamper Stamps: Katy Leitch Jumbo Flowers - Bouvardia, Camellia and Flowering Branch, Calligraphic Mat #9
Stampers Anonymous - Classics #17
Fresco Finish Paints - Crackle Glaze, French Roast, Chocolate Pudding, Stone, Snowflake
Ranger Archival Ink - Potting Soil, Jet Black
Distress Inks - Pumice Stone, Walnut Stain, Gathered Twigs
Idea-ology Findings - Word Band, Pen Nib, Muse Token

Tuesday, 24 June 2014

Simple Cards

Yes, it is Alison (butterfly) here and yes, you did read that right...  Not only is today's project very simple, it also consists of a pair of cards.  Regulars at Words and Pictures will know that's a very strange double whammy indeed!  Still, it should mean a shorter post than usual!!


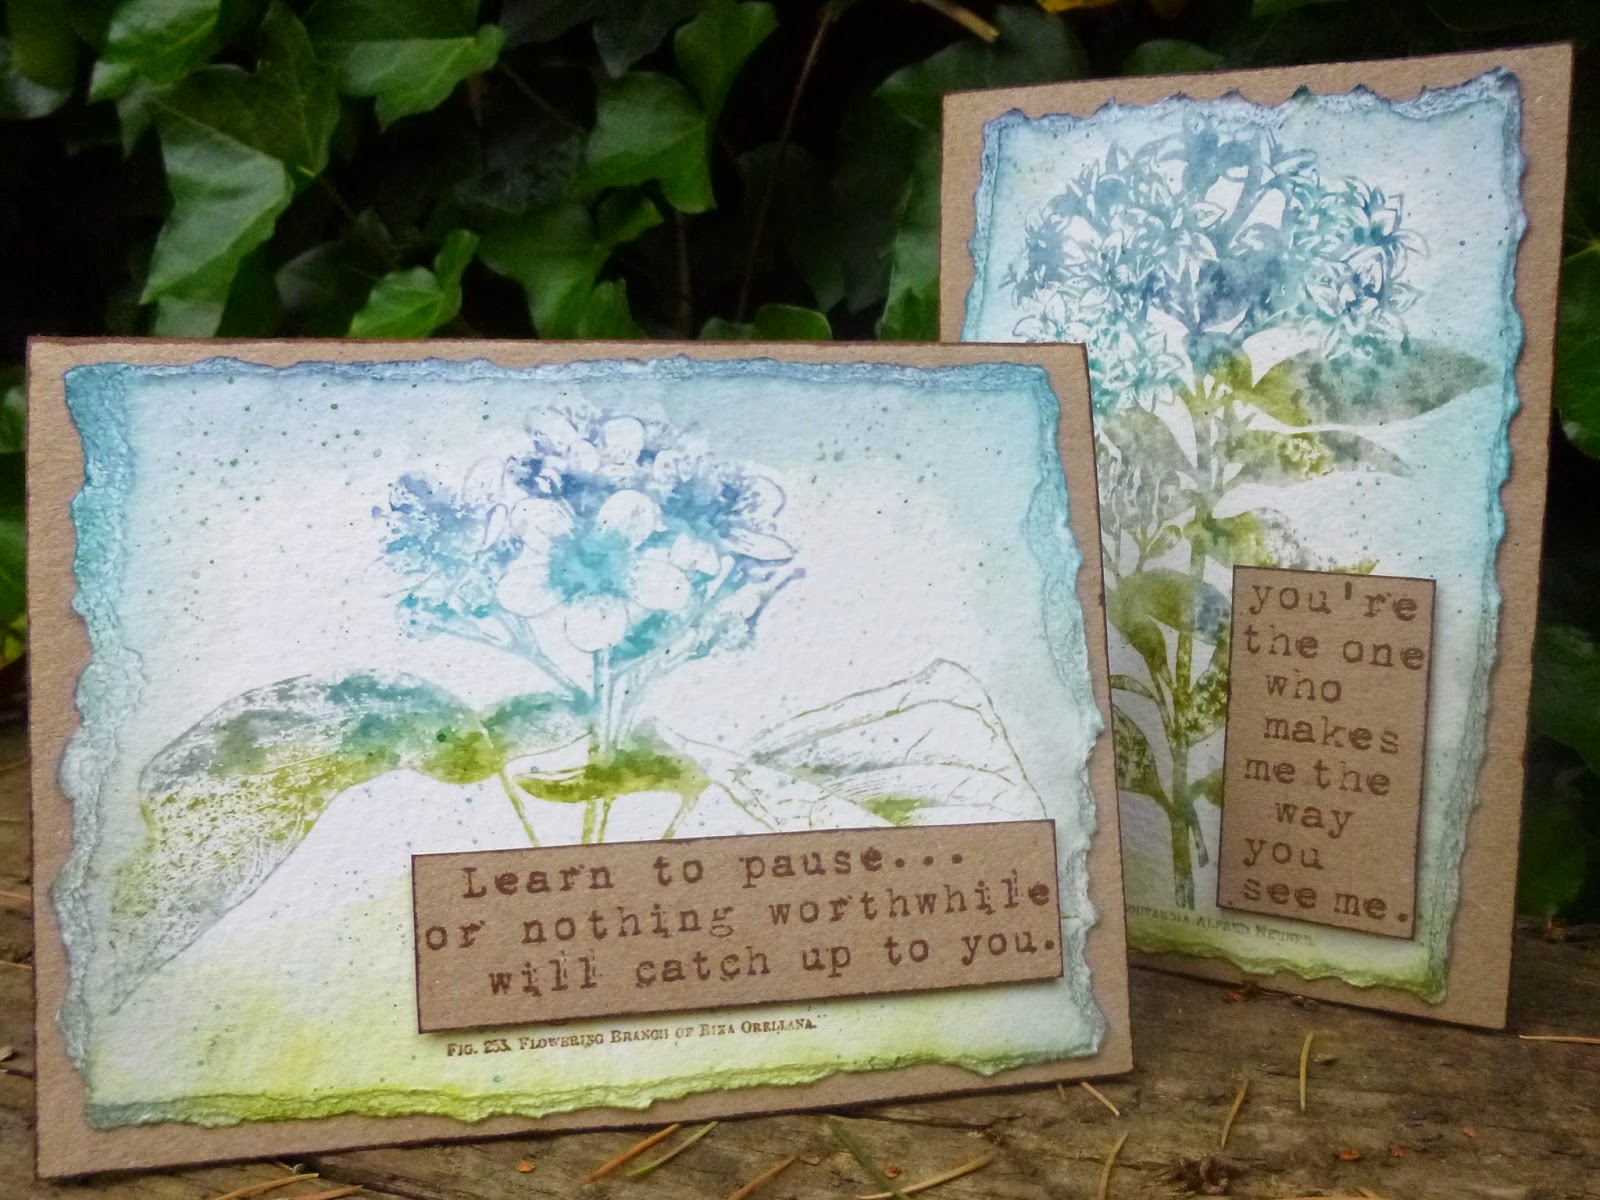
I wanted to play with the magnificent giant flower stamps, new from Katy Leitch.  I started by applying Distress Inks to the stamps, graduating the colours roughly from top to bottom.  I used Faded Jeans, Broken China, Iced Spruce and Peeled Paint.


Once it was inked, I gave the stamp a light spritzing of water and stamped onto watercolour cardstock.


I tapped Archival ink onto the little words at the bottom, just to keep those sharp and fresh whatever came next...


With that done, I then borrowed some techniques from one of last year's Tim Holtz tags - the June 2013 tag... I inked around the edges with a blending tool and then used a water brush to draw the ink in towards the image.


And I also put some ink onto the craft mat from Distress Markers in those same colours (except the Iced Spruce - don't have that as a DM as yet), and then let them soak into the nib of the brush.  Then you splatter delicate little ink droplets over your image.


I grabbed a couple of sheets of thick kraft card in A4 and, using the paler side, cut them to size to fit the watercolour panels I'd created.  I used the leftover cardstock to stamp my two sentiments - selected from various Tim Holtz sentiment sets - in Coffee Archival.


Obviously they were chosen partly because the font is similar on each, but also specifically for the shaping of the words - a long tall one, and a wide flat one!


I inked both the sentiment panels and the borders of the card with the Coffee Archival ink pad, just brushing the pad against the card edges.


And inside each card, there's just a little echo of the image on the front.


This time they're stamped in Coffee Archival.


It's nice to get both versions of the stamping - the sharp clarity of the Archival, and the delicate softness of the "watercolour" Distress Ink.


Two cards, and they really hardly took any time at all...  I could get into this simple thing!!


Though it seems the post isn't that much shorter than usual.  I just like having lots of pictures, that's the trouble.


But that really is that for today!  Thanks so much for dropping by.  There's still nearly a week to play in our Colour It Red challenge for June... Hope to see you there.

Ingredients used:
Artistic Stamper stamps: Katy Leitch stamps - Jumbo Bouvardia and Jumbo Flowering Branch
Distress Watercolour Cardstock
Distress Inks - Faded Jeans, Broken China, Iced Spruce, Peeled Paint
Distress Markers - Faded Jeans, Broken China, Peeled Paint
Archival Ink - Coffee
Kraft Card A4 sheet
From my stash: Stampers Anonymous sentiment stamps

Friday, 13 June 2014

Summer Wings

Hello everyone, Astrid here to share my first project for June with you.
Summer always gets me in the mood for colour, so for my project today I decided to have a play with some of the gorgeous Dylusions Spray Inks. I made three cards as you can see and the colours I used were: Pure Sunshine, Calypso Teal, Vibrant Turquoise, London Blue and Postbox Red.

I started by cutting 3 panels from Watercolour paper, I then applied my inks with a paint brush.
For this one I used yellow and blue, I applied them with a  brush and then sprayed water and dabbed a bit with some kitchen towel. When dry I inked around the panel with Distress Inks in Peacock Feather and Chipped Sapphire.
Next I did some stamping, I used the Speckle and Regency background stamps and stamped in Hydrangea Archival Ink. Next I stamped the butterflies from the Stampers Anonymous Classics 17, first straight onto my card and then on smooth stamping paper, fussy cut, coloured with Distress Inks and then glued onto the panel.
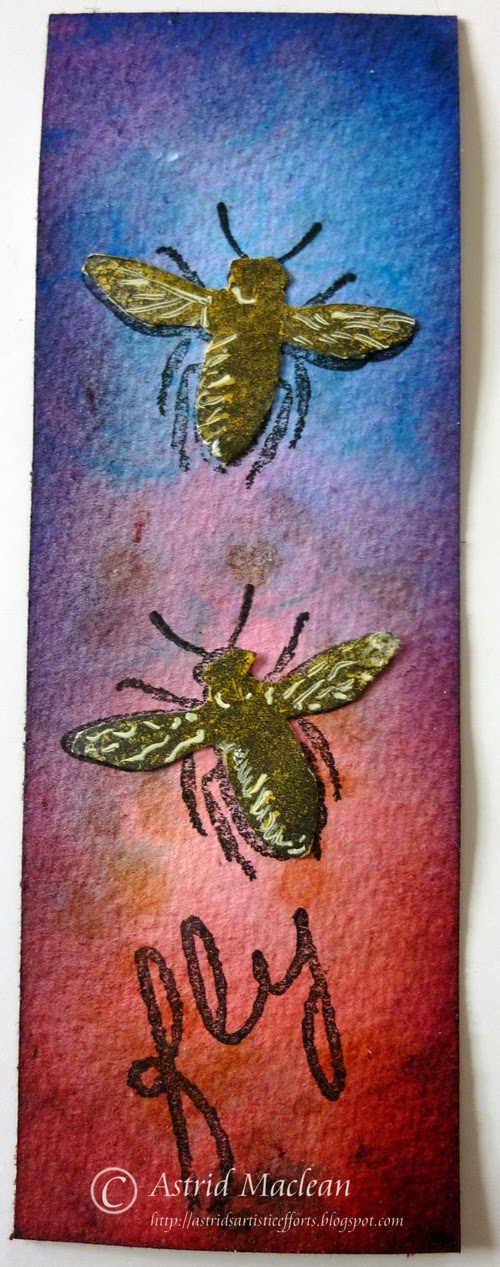
For this panel I used Postbox Red and London Blue. I then inked using Picked Raspberry, Chipped Saphire and Dusty Concord Distress Inks to deepen the colour. The bees are from the Insects and Butterflies set and I used the same technique.
The word Fly came from the new Katy Leitch Fly set.
+
For this one I used Calypso Teal, Vibrant Turquoise and London Blue. I then inked using Salty Ocean, Peacock Feather and a bit of Chipped Sapphire DI. I used the same two background stamps again, this time in Tree Branch and Coffee Archival. The little dragonflies are from the Stampers Anonymous Classics 17 set too.

After all my inking and stamping was done I mounted each little panel first on white and then on Kraft card. The fold is at the top.


Hope you like my cards and thank you so much for visiting!

Thursday, 12 September 2013

Amaze Yourself!

Hello all, Alison (butterfly) here to share a hanging icon.  I had so much fun playing with this, building up the layers.  And I ended up with a background I liked so much that I had to come up with a creative way of not covering it up too much!


I started with the large size icon and gave it a coat of white acrylic paint.


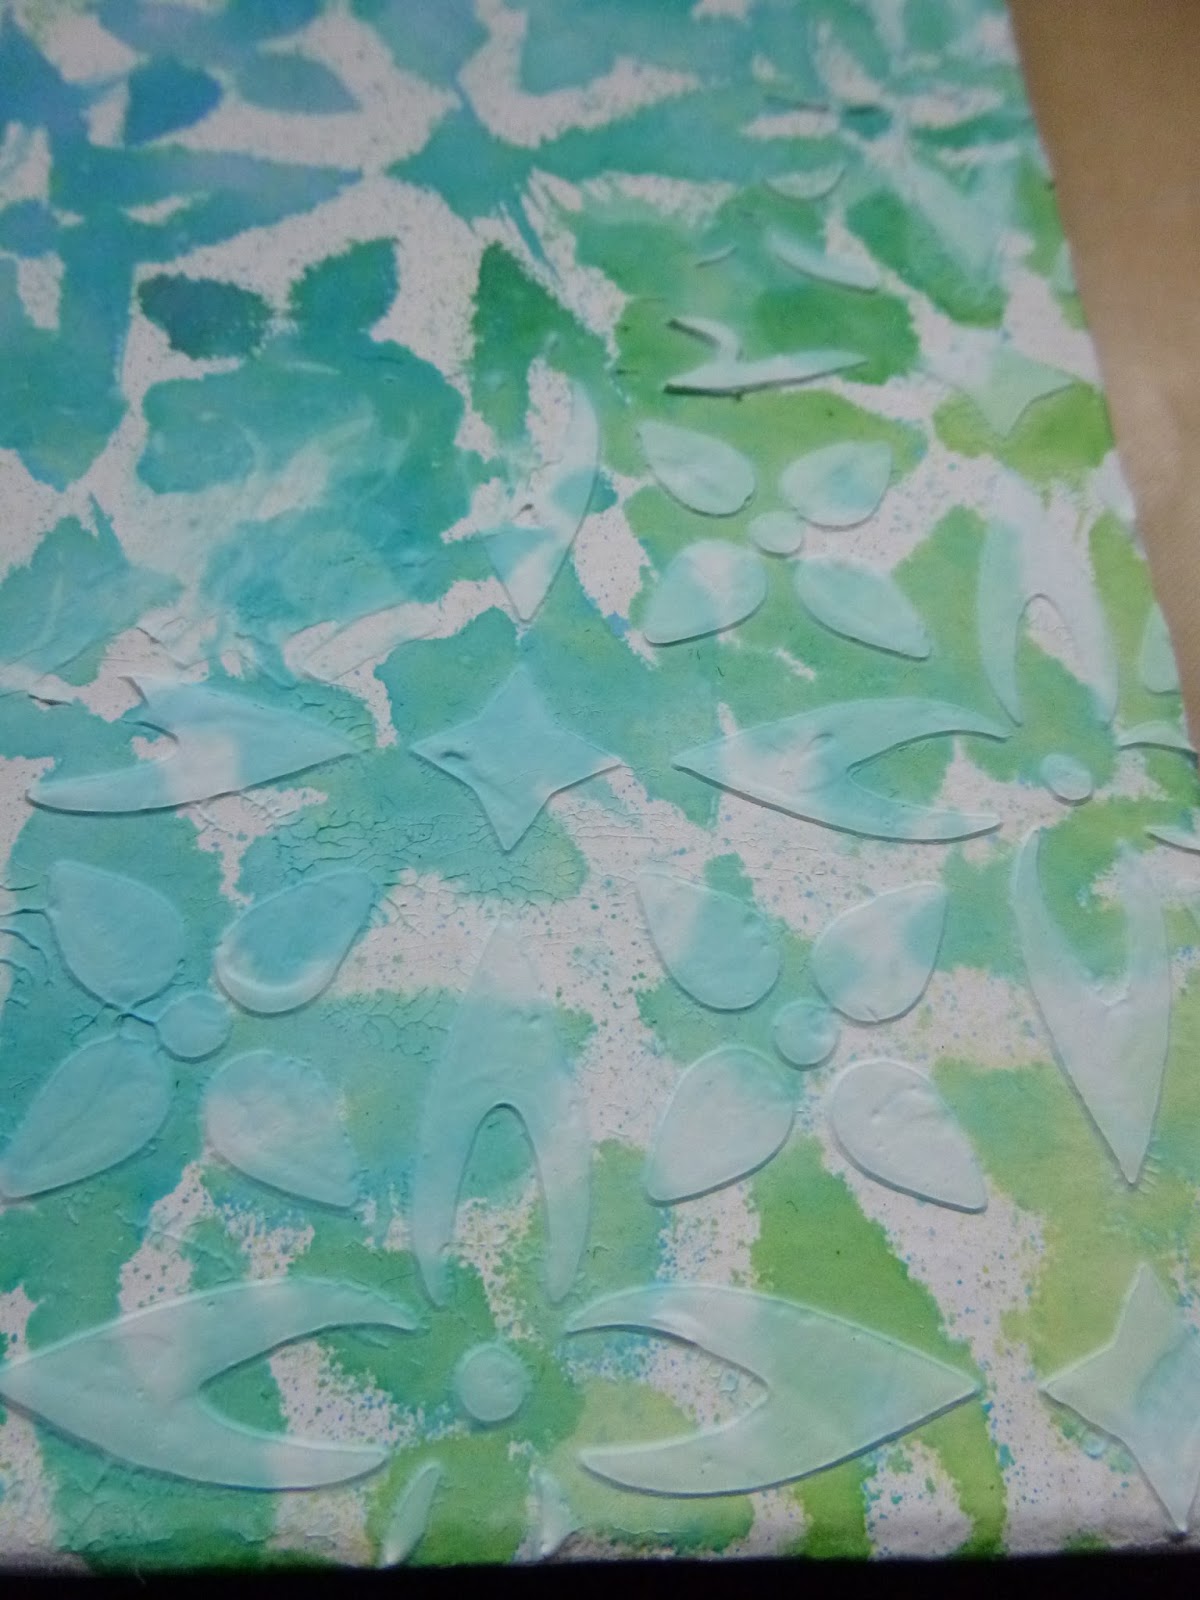
Then I spritzed some Dylusions sprays through the Crafter's Workshop Flower Piecing stencil.


I used the same stencil with some texture paste to add a bit of extra interest.  The colours slightly soaked into the paste, which I rather liked.


 Next step was some stamping... I used The Artistic Stamper's fabulous Mini Polka Dots and Sequin Waste background stamps to continue building my layers.


Of course, all of this is also trailing over the edges of the icon too...


And for some extra texture and definition on the edges, I used Faded Jeans Distress embossing powder... yummy colour!


So now I had this background which I really liked... and I had to find a way to keep as much of it visible as possible.  Bring on the recycled acetate packaging!


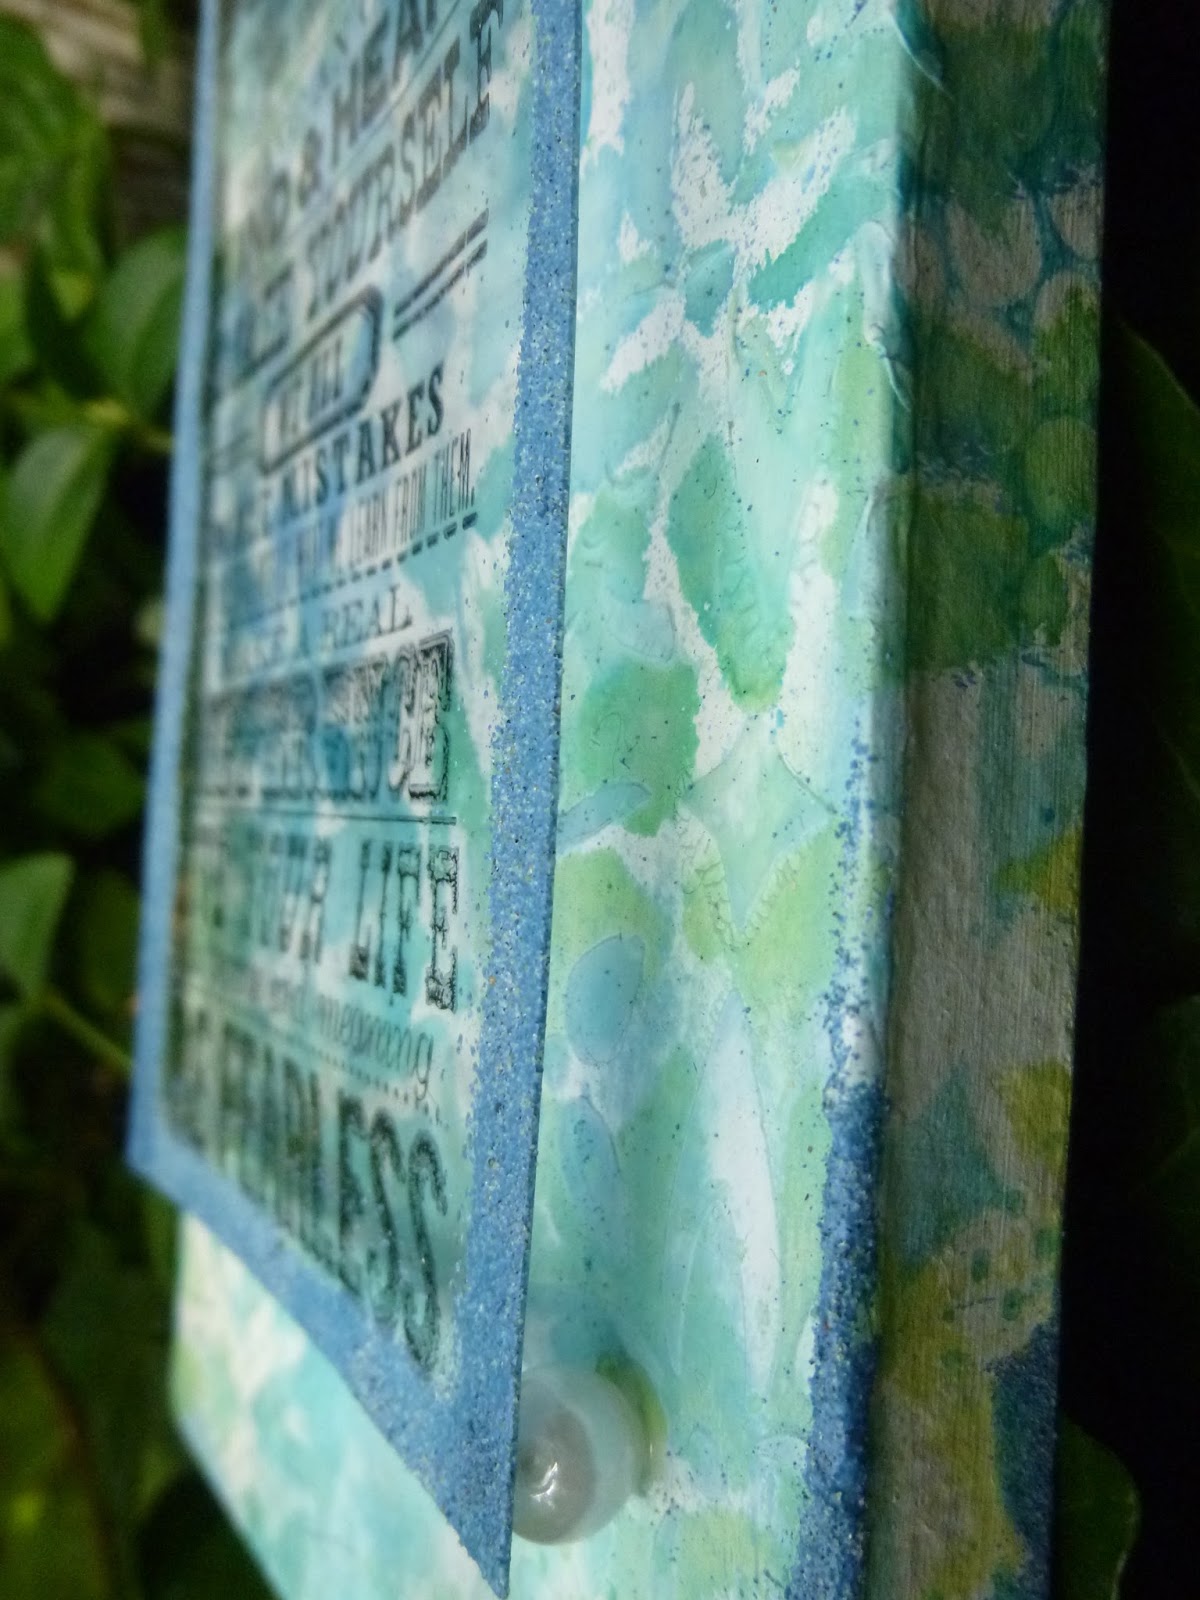
I used Staz-On black to stamp the brilliant sentiment from Tim Holtz's Way With Words set onto the acetate.  You can use it whole, like this, or stamp individual phrases... so it's like having loads of stamps in one.  


I edged the acetate panel with some more of the Faded Jeans Distress embossing powder, applied over Versamark embossing ink that I simply swiped onto the edges.  You have to heat it with care, so that the acetate doesn't end up all curly!


To mount the panel, I butchered some hanging decorations that I got for peanuts in the Czech Republic... just in order to get the pearls out, you understand.


I used Glossy Accents to glue the pearls to the corners of the acetate, and then once that was firmly dry, I glued the whole thing to the decorated icon.


Very happy with the dimensional look, as well as the fact that you still get to see all those lovely background layers behind the words!

Thanks so much for dropping in today.  Oh, and don't forget to come and play in our September challenge here at The Artistic Stamper.  The theme is Autumn, so there are loads of possibilities.  Hope to see you there!

Ingredients used:
Artistic Stamper stamps: Mini Polka Dots and Sequin Waste Open Size
Stampers Anonymous: Way With Words
Dylusions Sprays: Calypso Teal, London Blue, Fresh Lime, Vibrant Turquoise, Cut Grass
Distress Embossing Powder: Faded Jeans
White acrylic paint
Large Hanging Icon Board
Staz-On: Black
Ranger Archival: Cobalt, Viridian
Versamark embossing ink
Texture Paste
Pearls from stash, acetate packaging

Wednesday, 24 July 2013

A token gesture...

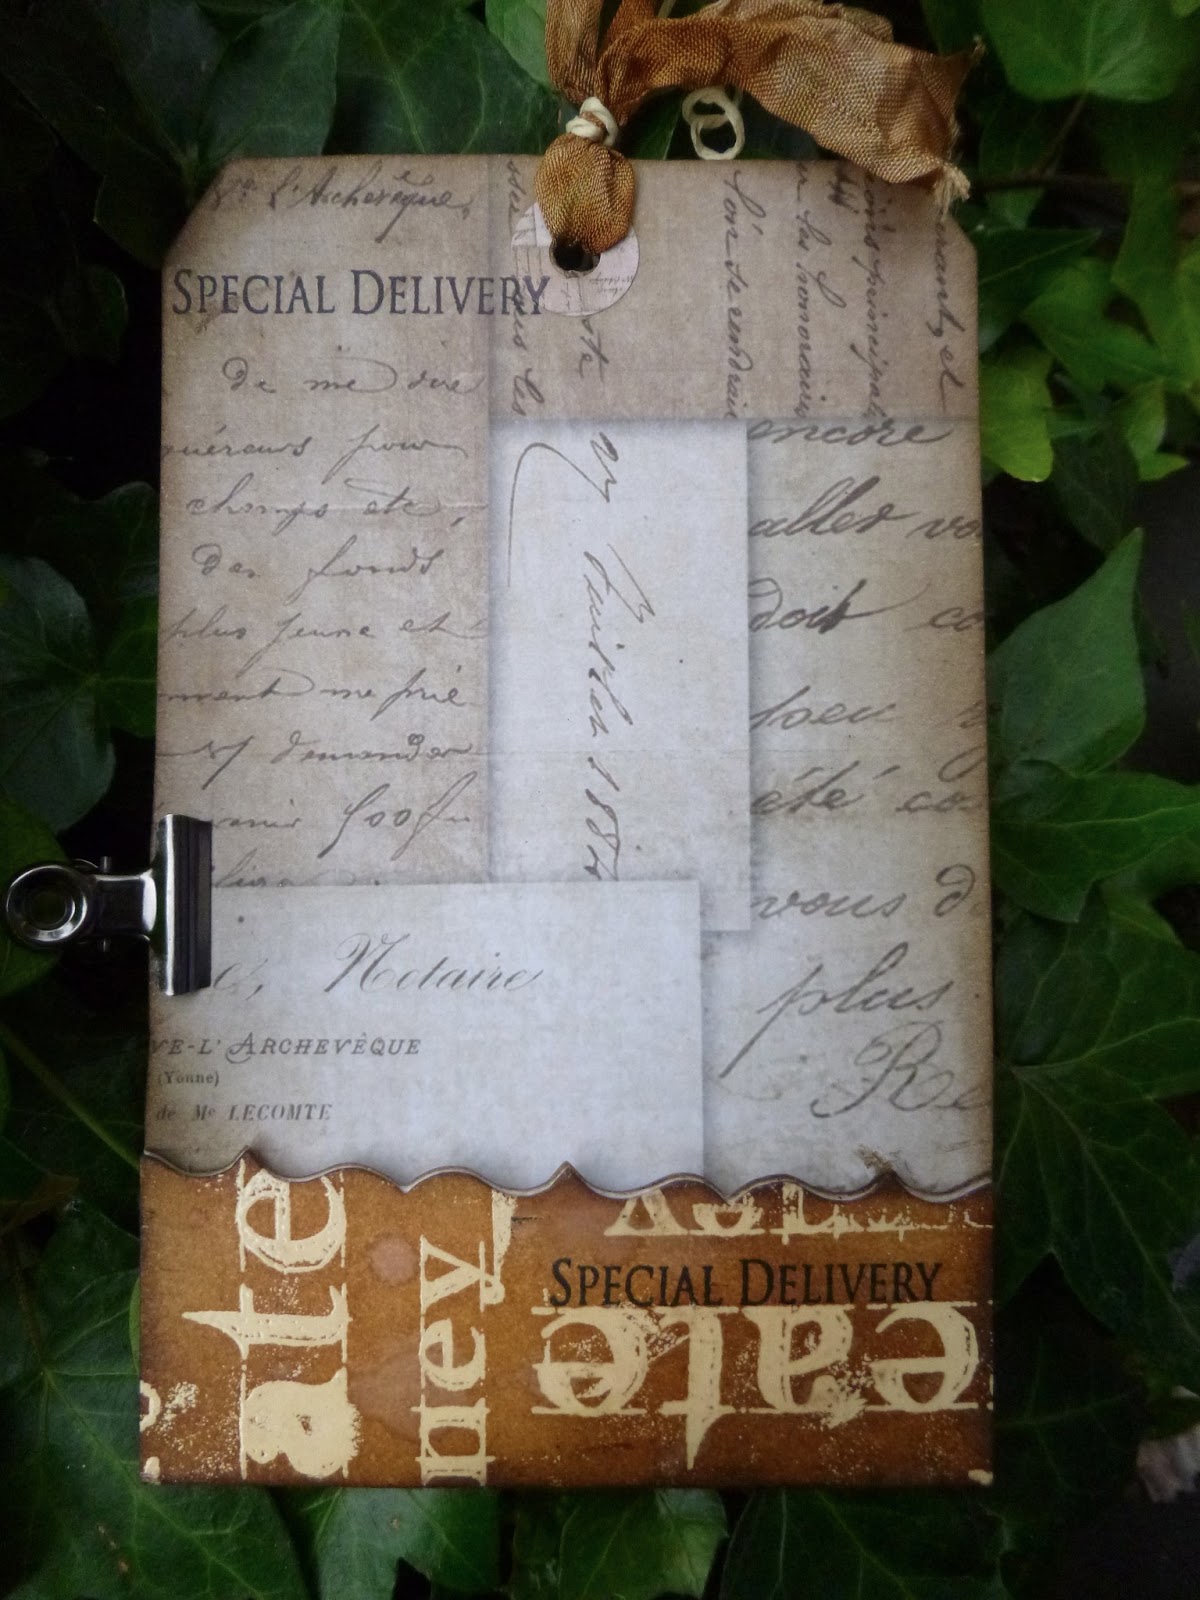
Hello all, it's Alison (butterfly) here, to share a little gift wallet, which could be used to insert a gift token or some money as a present.  Here's one side:


And the other:

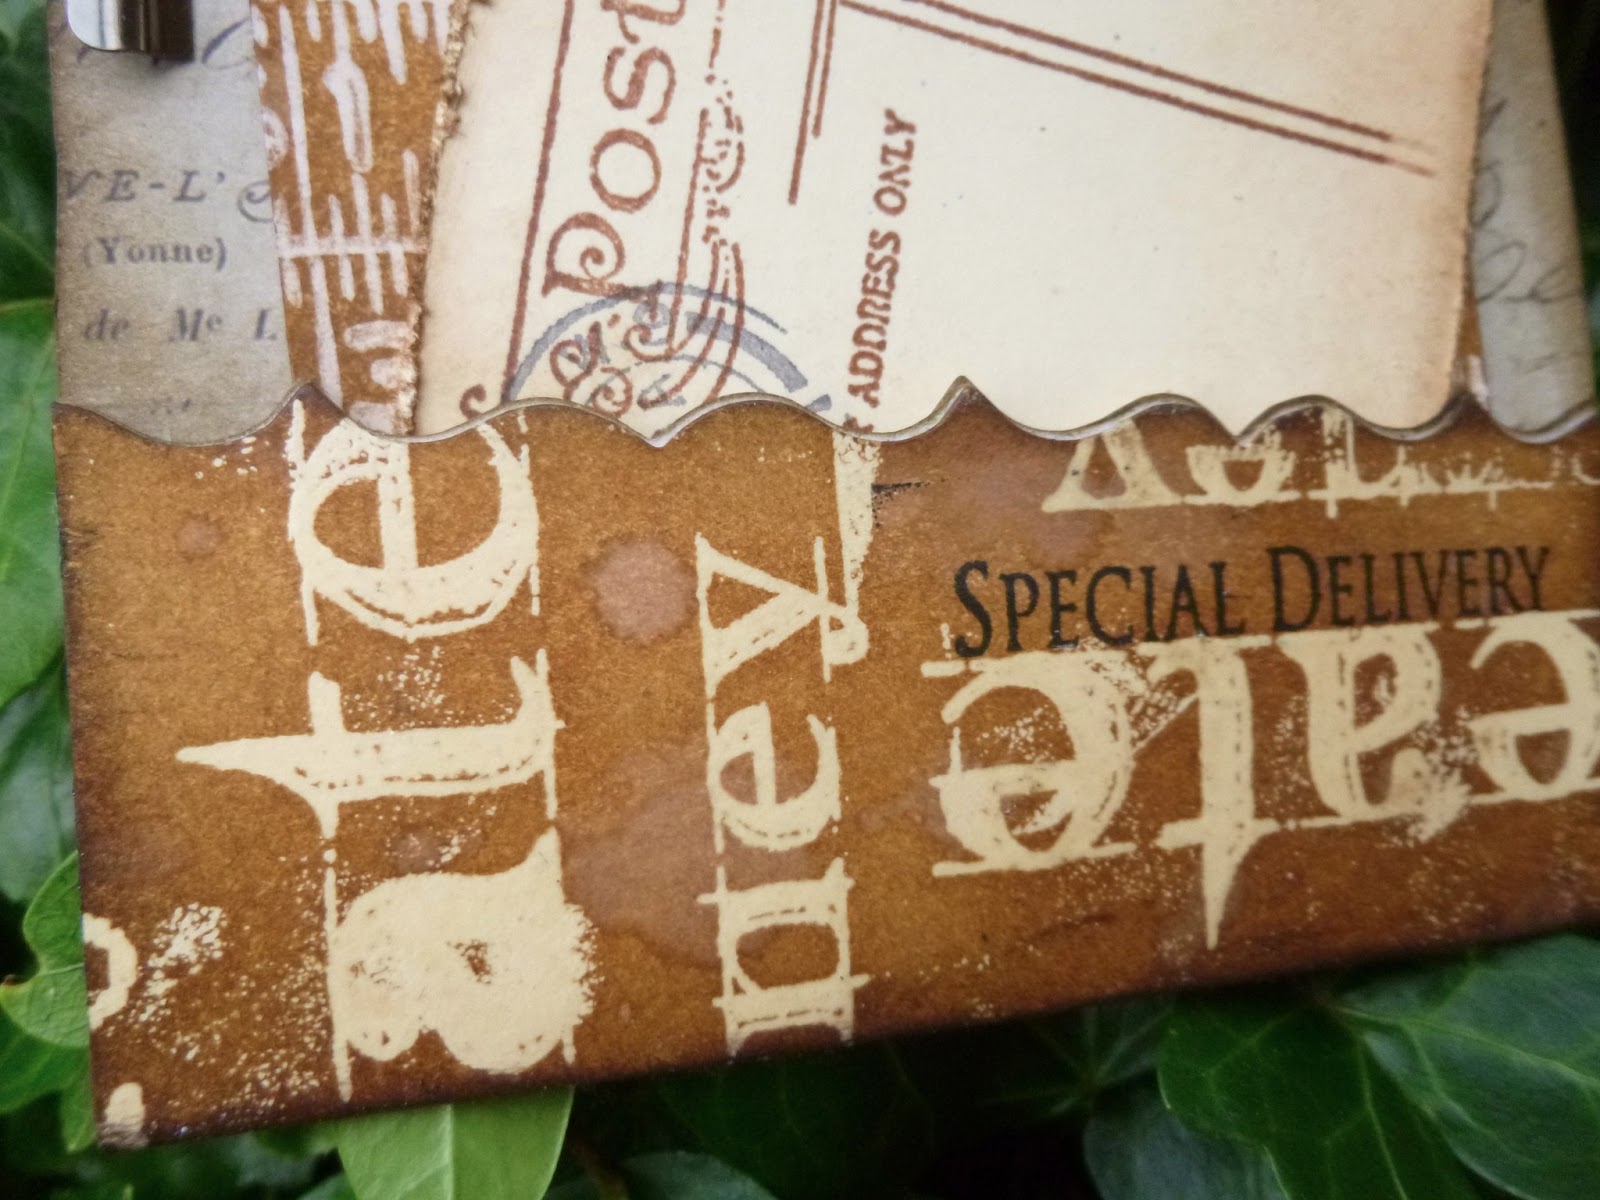
I started by clear embossing some of the Journalling Words II onto a jumbo tag, and then inked with lots of Distress Inks to create a leathery depth of colour.  I did some watery spritzing and flicking to add extra texture to the background.


I folded the bottom of the tag to create a pocket, and cut it using the Brackets On the Edge die for a fancier look.


I added some stamping using Katy Fox's Carte Postale set, and also created a couple of bits of postal ephemera using the same set, which I clipped on using an Idea-ology hinge clip.


The inside is lined with paper from one of the Tim Holtz paper stashes - forgive me, I've forgotten which now, and I'm not at home to check.  I'm sure one of you will be able to identify it!


And I created two internal tags on which you could write a greeting or clip the token/money to.


The first is simply stamped with the Carte Postale stamps, inked and distressed for an aged look.


The second got the same inky treatment as the outside of the wallet, and then I stamped the fabulous rulers from the Tim Holtz Artful Tools set using Distress Paint.


A couple of Idea-ology mini-clips are there to help out with adding the money/token.


And, of course, no tag (even a gift wallet) would be complete without its topping.  So there's some Distress Stain dyed seam binding to tone in with the tag colours, and tied with twine.

Thanks so much for stopping by.  You've still got time to play along with our Ladies Day challenge and be in with a chance at the prize draw.  Hope to see you there!

Ingredients:
Artistic Stamper stamps: Katy Fox's Carte PostaleJournalling Words II
Stampers Anonymous stamps: Artful Tools
Distress Inks: Vintage Photo, Tea-Dye, Gathered Twigs, Walnut Stain
Distress Stains: Vintage Photo, Antique Linen
Tim Holtz Paper Stash - Lost and Found? Crowded Attic?
Idea-ology - Hinge Clips, Mini Paper Clips