Sunday, 29 July 2018

Star Card by Gemma


I have a new messy square card to share with you all for my post today using one of my first stamps from The Artistic Stamper. It was a very loved stamp but one I had completely forgotten about, and it was lovely to come across it and love it again, but then who doesnt love a good numeral/number stamp. 


My Process


I started by cutting a piece of white card to fit my card blank and then creating a border around the card by masking off the edges with washi tape. Once that was done I gently tapped on some Color Burst ( a little really does go a long way) and sprayed it with water. I did this twice drying between layers adding a lot of water to the first layer and a little to the second. Over this I stamped the large dot stamp in ink before removing the washi tape.


Once dry I stamped over the whole piece of card with a script stamp and black ink. On a separate piece of white card, I drew a star using the star mask as a template and stamped in the center with the number stamp and black ink. After cutting the star out I glued it to the background and added some detail with black and white pens.

xx Gemma xx

Thursday, 26 July 2018

Distressed In Time with Lisa

Hi folks, Lisa here, welcome to my post. This month's theme is 'distress', my favourite theme! 


The Artistic Stamper products I used was the Girl with Clock stamp and Random Dots 6 x 6 Stencil.

I first created the background using the stencil and Distress Oxide inks. 


I stamped around the edges of the background using just the clock part of the stamp. Then stamped in areas using one of the stamps from the Mini Backgrounds #3 stamp set. 

I stamped the Girl With Clock stamp on to acetate and painted the reverse of the acetate with white acrylic paint. 


I then painted some ball head pins with black gesso.

I mounted the acetate piece on a double layer of foam pads and pinned the painted pins in to the foam.


Thanks for popping by The Artistic Stamper blog today.
Toodles for now, 
Lisa.


Collage & Retro    MIni Backgrounds # 3 size A6  ( cut and  mounted on cling cushioning )        The Artistic Stamper Mask- Random Dots 6" x 6"


Saturday, 21 July 2018

I called to the Lord!!

Hi there, it's Jane again here to hopefully inspire you to join in with the challenge for this month... "distress it", so however it calls to you then you can interpret it any way you like.
For my challenge piece I have used my newest purchase, Eileen Hulls Bigz passport die, it is fantastic, and I was inspired to make an inspirational book using distress inks and Artistic Stamper stamps.


This book started off as a piece of art that I had done that I wasn't too thrilled with, so I ripped up a book page, stuck it down randomly, then gave it a good gesso'ing, a few spritzes of distress inks, and then stamped the fabulous window from the ARCHITECTURE 3 stamp set, then added the text with some alphabet stamps from my stash!!. I am in the process of doing the pages for this book so if you join me tomorrow on MY BLOG I will post the finished product.
I have so enjoyed doing this "distress it" challenge, I hope you will join in too...HERE.

Thursday, 19 July 2018

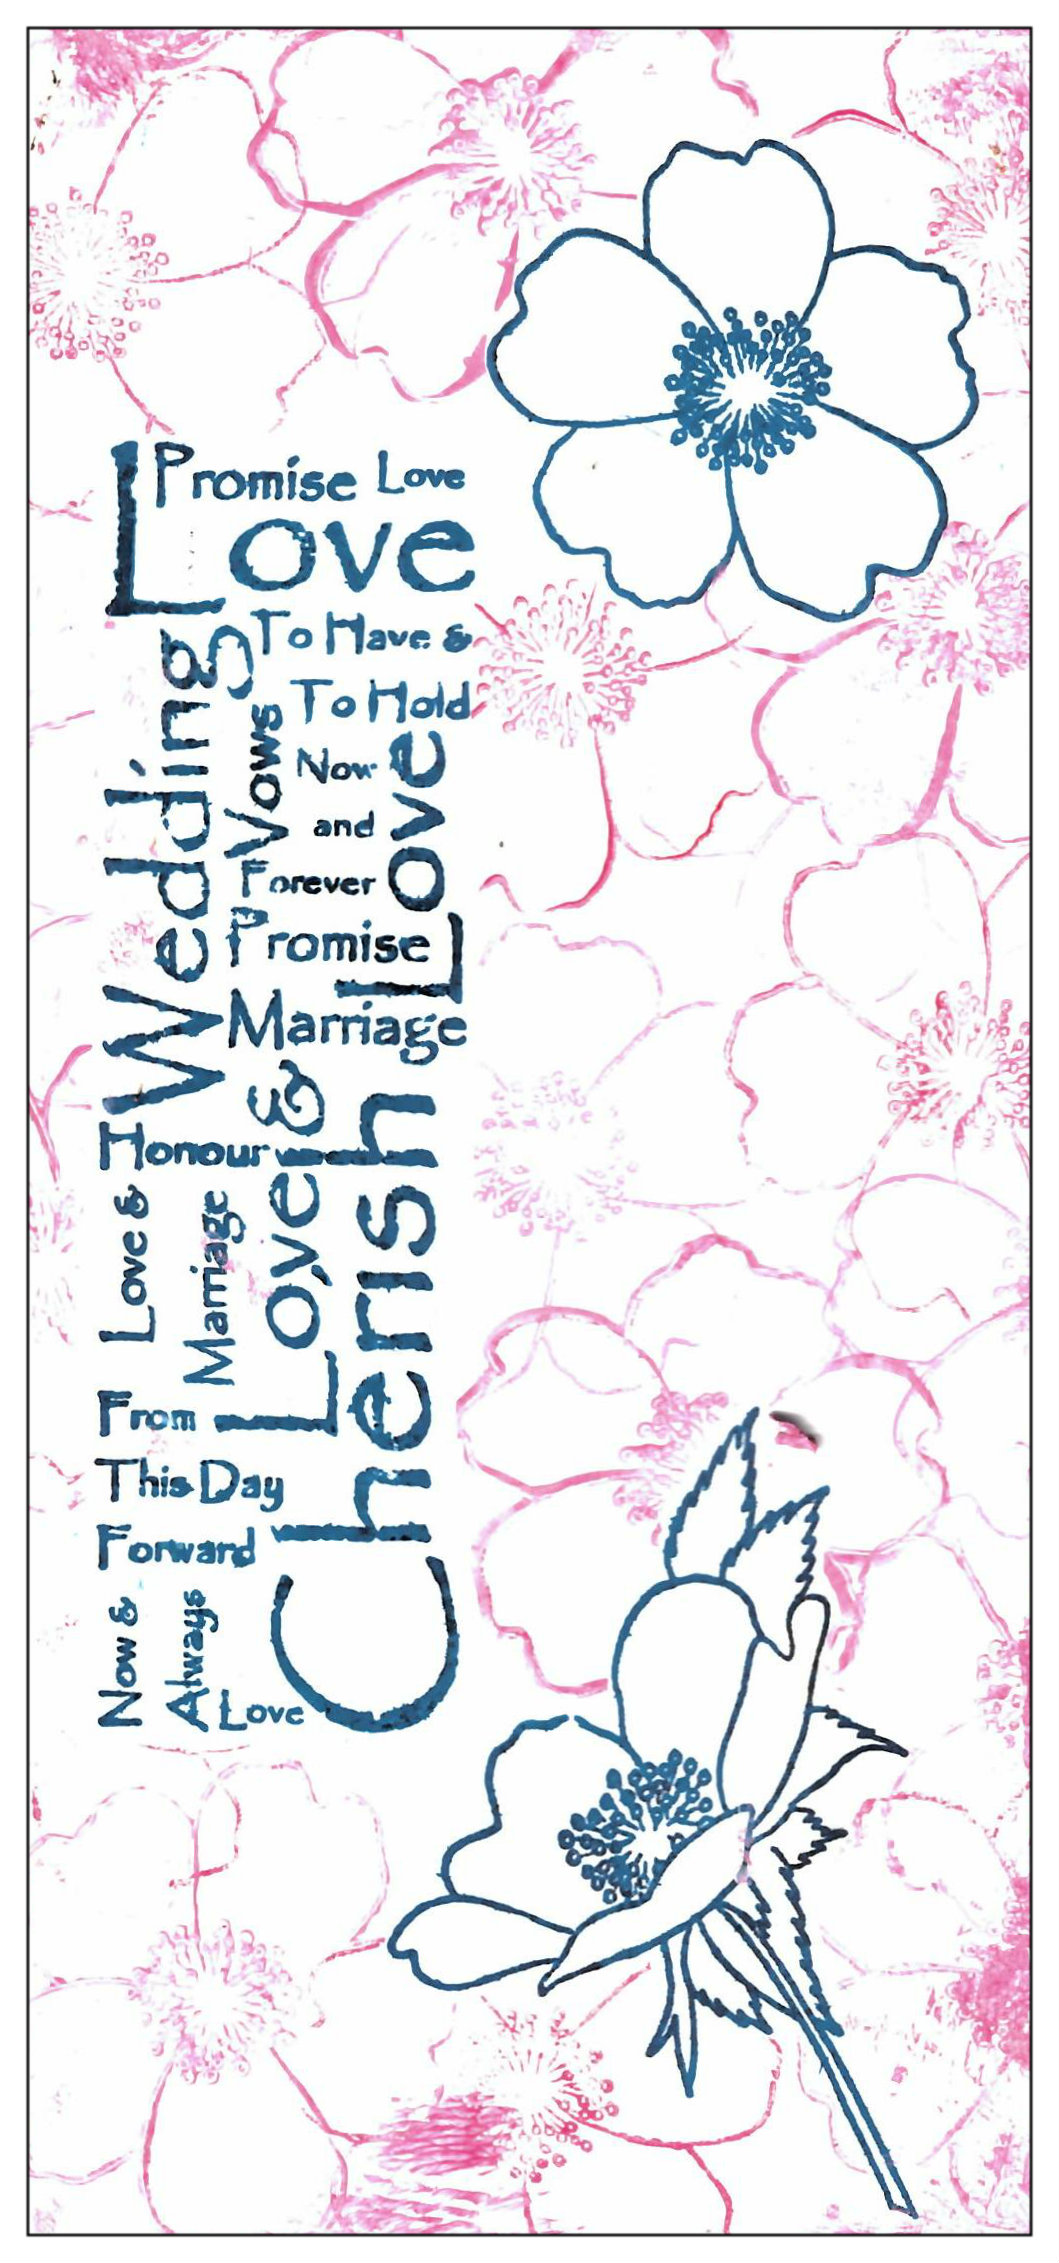
Wedding card by Titbelsoeur

Hello everyone,
Once again, I have used the same technique as I used to make Artifacts cards by Titbelsoeur : first stamp in blue the Wedding Vows Text and the Dog Rose © Lesley Matthewson as focal points, hide both the text and flowers and stamp the background using your gelli plate as a pad :


I hope this card will help you find inspiration to participate in our monthly challenge !

July's creative challenge - Distress it 


 for 3 chances to win !

Thank you so much for stopping by.
Your comments are very much appreciated here, on my blog
Bye for now and happy creating. 

Titbelsoeur

Monday, 16 July 2018

Messy Heart Card by Gemma


I was very pleased with this little square card I am sharing with you all today using wonderful stamps from The Artistic Stamper, Inks and Pigment Powders.


Steps


1)  I cut a piece of white card to fit my card blank and then masked off the edge with torn washi tape.
2) Then I sprinkled Pigment powders over the top and sprayed them with water to activate them. I used more water and a paintbrush to move them about a bit.
3) Before removing the washi tape I went around the edges with a brown ink.


4) Once completely dry I stamped over the top with ink and the dots stamp, keeping the stamping to the coloured areas.
5) Over this, I stamped Calligraphic mat 20 with black ink, this time I stamped over the whole piece of card. 


6) On a separate piece of card, I stamped a heart and the text from the same set inside it with black Archival ink and coloured it with pigment powders.
7) I also stamped out the Postscript stamp with Archival ink and cut out a few of the pen images from that stamp. 
8) I then glued all the elements together and added some white dots with a chalk pen

xx Gemma xx

Friday, 13 July 2018

Distress Oxide Altered Book Pages by Angie Coomber


Hi!
This month I have created some altered book pages for you. Depending on the thickness of your pages you may have to glue a few of them together, and in this case I glued 3 sets of 2 pages each as the paper is quite thin.

I coloured each section with Distress Oxides and then used some of Tracy Scott's fab background stamps.


I also stamped on a spare page, coloured in the circles with Distress Oxides and cut them out.


I made some tags, glued book pages to them, stamped, and then decorated both the tags and pages with the cut out circles.


I found some lovely coloured string for the tags and glued the tags between the pages.

As always I finished my project off with a quote.


Hope you like it, give book altering a go if you haven't already!
Angie

Wednesday, 11 July 2018

Distressed Butterfly with Lisa

Hi lovelies, Lisa here with today's post is for The Artistic Stamper and this month's theme is 'Distress'.
Distress. My favourite subject!!!


I first started with a plain piece of white card and used ink sprays to add some colour to the background. 


I then added some layers using Mini Backgrounds #1 & #2 with black ink.


I stamped the large butterfly from the Insects and Butterflies stamp set on to patterned paper then cut out and sprayed with teal ink spray.


I stamped the butterfly on to the background multiple times, overlaying the image with light pressure. 


Then adhered the cut out butterfly over the top.

To finish, I distressed the edges of the card with a pair of scissors. 


Thanks for popping by the blog today,
toodles for now,
Lisa x 


Here are the Artistic Stamper stamp sets I used....


Mini Backgrounds # 2 size A6  ( cut and  mounted on cling cushioning )   Mini Backgrounds #1  size A6 (cut out and mounted on cling cushioning)      Insects and Butterflies 1 A5  (cut out and mounted on cling cushioning)