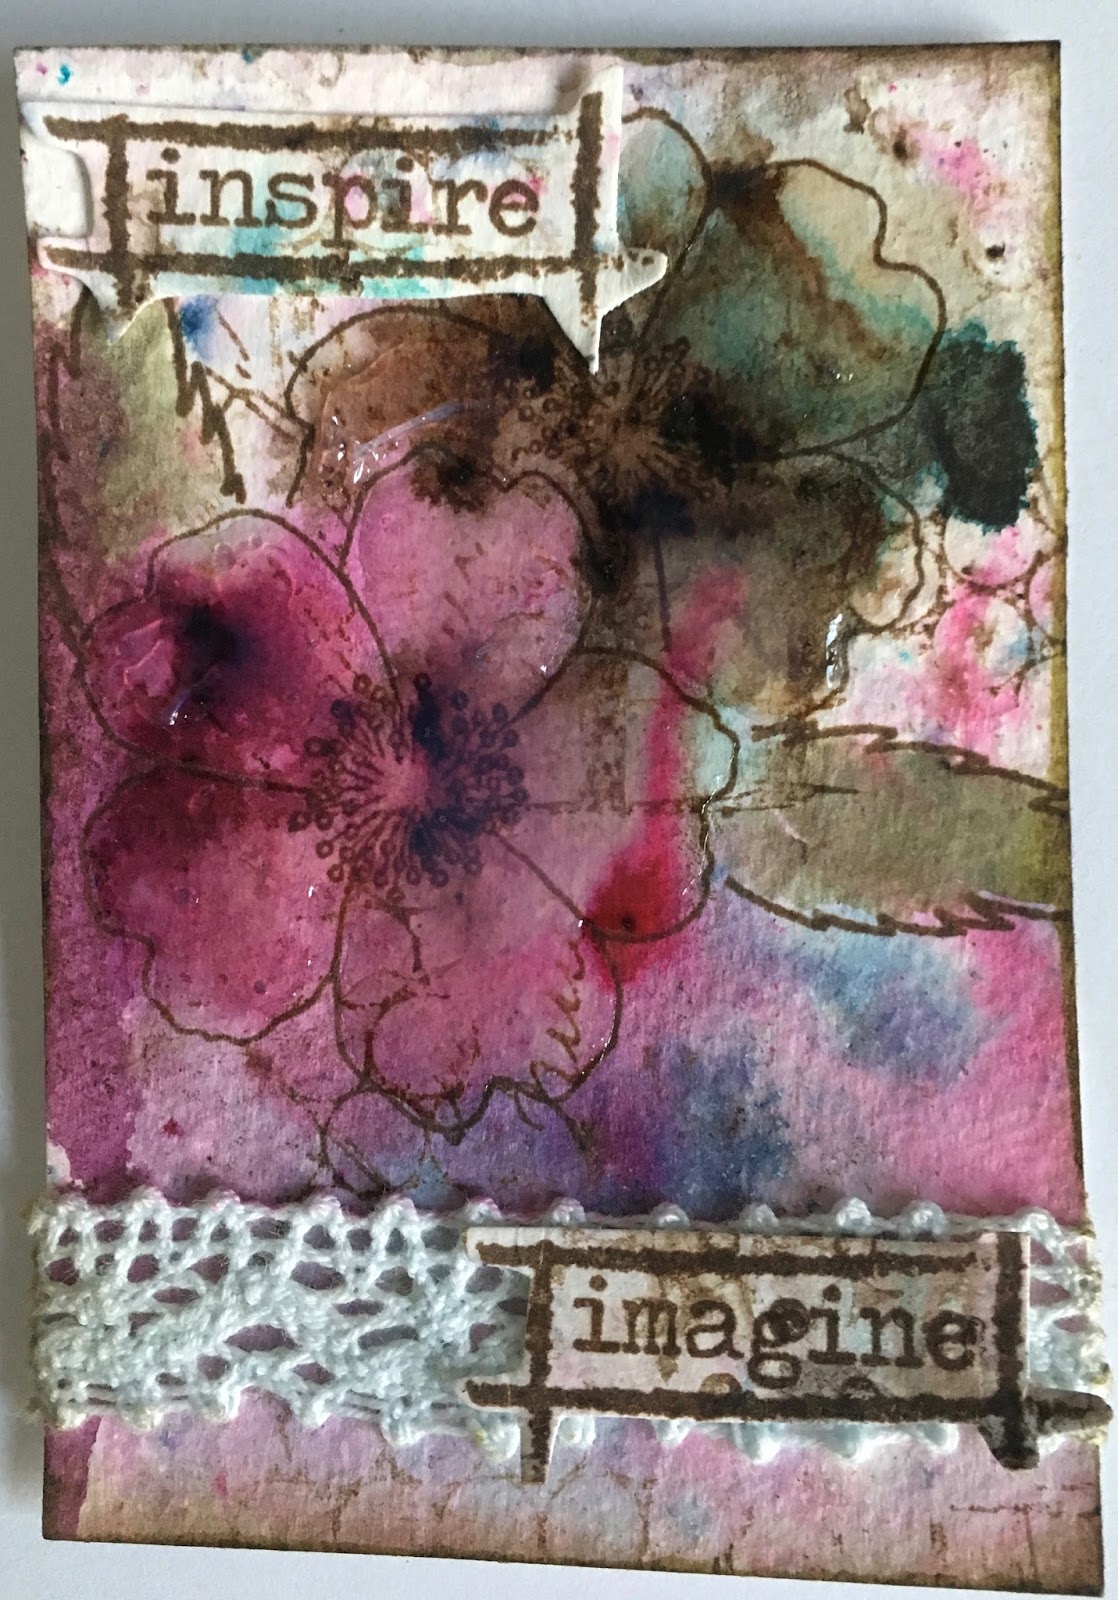
Showing posts with label Framed Words 1. Show all posts

Friday, 21 September 2018

MEMORIES

Hi Guys. We are well into this months "round and round" challenge....my favourite shape!!


I made this card a while ago while I was having a play with some structure gel and the Artistic Stamper large sequin waste mask. It dried clear so I then stamped the small dragonflies from the insects and butterflies set, and added paint and spray inks to the rest, then used a heat gun to bubble the paint and gel to add some texture.....well guys, I think that is how I rolled with this card....lol...my memory is rapidly fading...so that is why it got this title, a word taken from the framed words stamp set....very apt for me!!!
I do hope you can join in with our fabulous challenge, you will find the link HERE.

Thursday, 4 January 2018

Skeleton Leaves

Well...as the challenge for this month is "anything goes", I thought I would get on with making my friend her birthday card. While I was studying where to start...anything goes challenges really are a challenge for me!!!...I spied some lollipop sticks on my worktop, left over from a project I did a while ago, so I thought I would make use of them.
I started by taping four of them together and then stenciled texture paste through the SMALL DOTS MASK
then I went on to spritz it with different inks
while that was drying I stamped and embossed one of the SKELETON LEAVES and made a little "friend" tag with one of the many words from the FRAMED WORDS stamp set.I then added these to the lolly stick mat,with a bit of raffia and then added this to a card front mop up....mopping up the excess ink from spritzing the lolly sticks, with a piece of card.
I do hope you can join in with this months "Anything Goes" challenge, I look forward to seeing your entry.


Friday, 16 June 2017

Winged Heart by Gemma

 I have a small piece to share with you today, made on a  chipboard base. later I will use it as the front of a book.


I collected some bits and pieces from my stash that I felt went well together.


I coated everything with a layer of gesso and then I painted the wings, heart and board with different colours of Dylusions paint.


Once those layers were dry. I stamped onto the orange piece with the large dotty background stamp and Versa Mark ink. I then sprinkled black embossing powder over the top and melted it using a heat tool, I also heat embossed the word peace with the same black embossing powder. At the same time, I glued a small bit of dried wet wipe behind the heart.


Before glueing all the pieces together I painted the small bird, edged it with gold and stamped the word smile in the middle from Framed Words #1. I also stamped onto the wings with a calligraphy mat and paint. 


Thanks for Reading
Gemma

Saturday, 29 April 2017

Wet Wipe background by Gemma

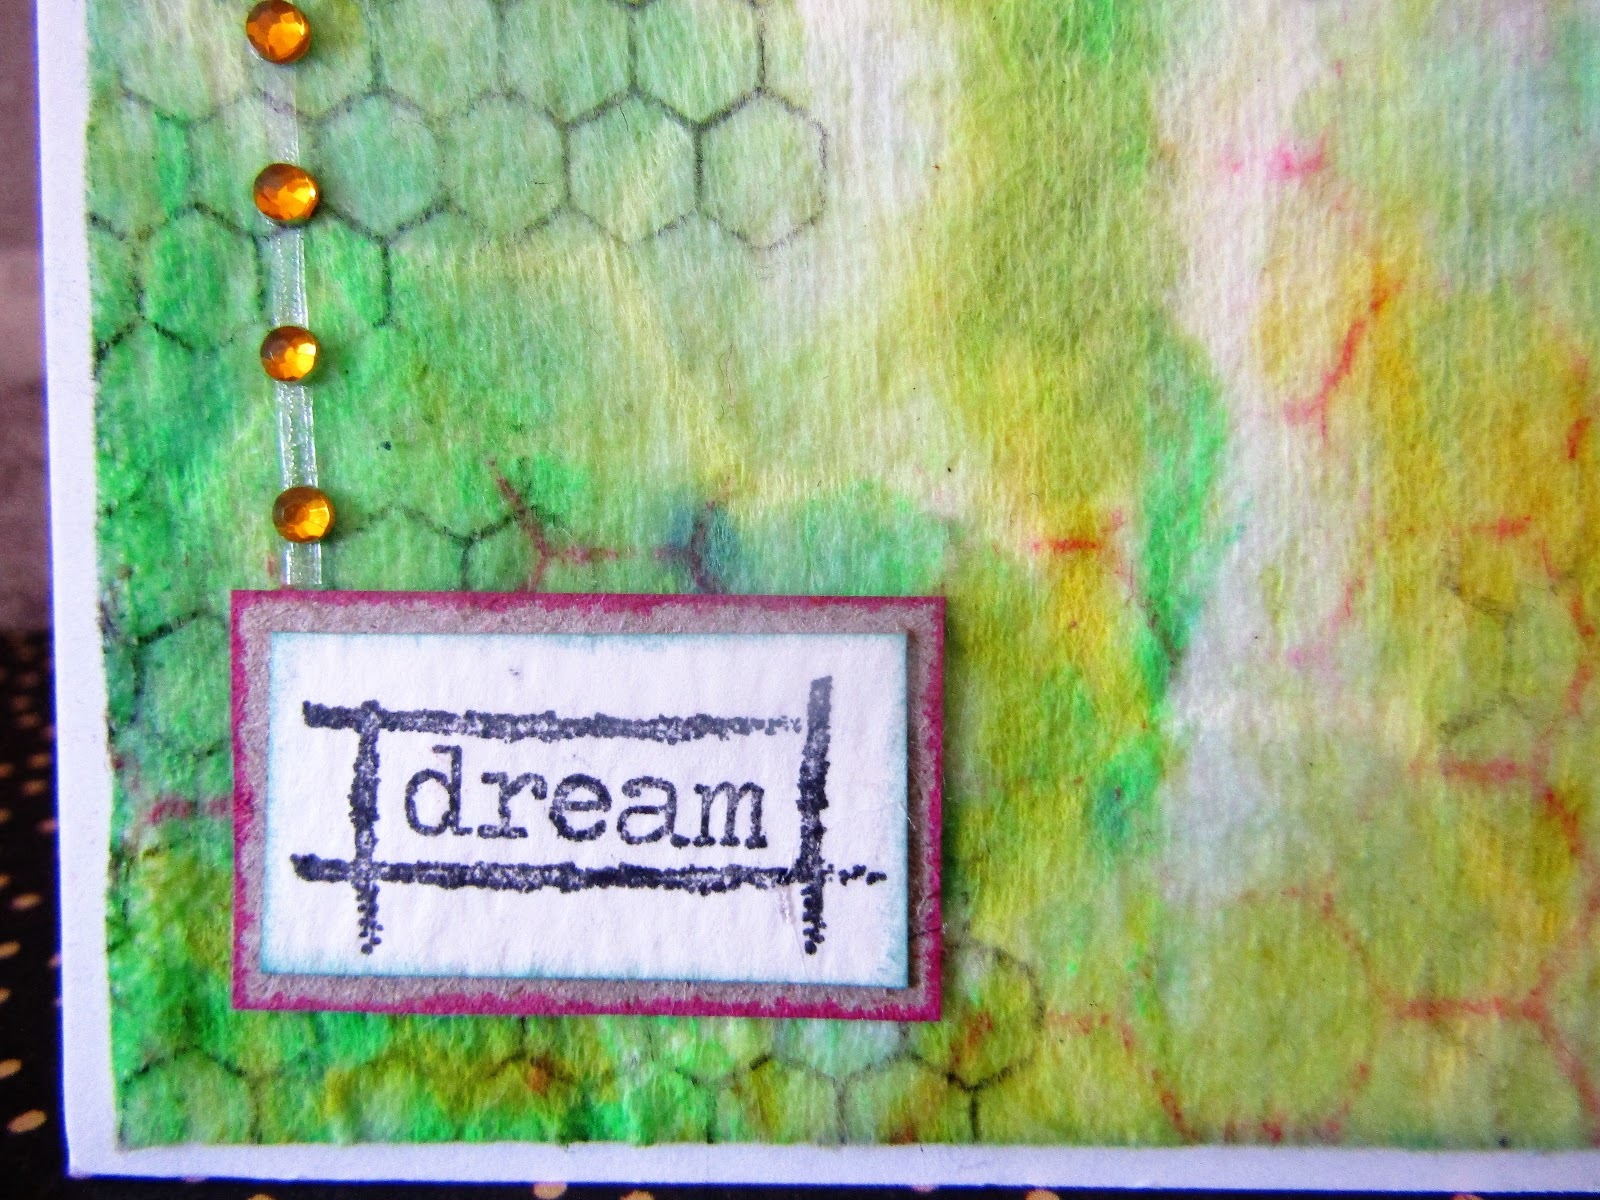
 We all use wet wipes to clean up after our very messy selves when we craft, and sometimes they end up the most beautiful colours. If you dry them out they can by used in so many ways here I have turned one into a background for a very simple card.


One dried out and beautiful wet wipe, Hmmmmm I wonder if I could ever get that deliberately  


I then added some blue with a distress ink and the honeycomb mask. Over that, I stamped with different coloured distress ink, the honeycomb stamp and mini honeycomb stamp.


Then I added the word dream from the framed words set and some gems to finish.


Thanks for reading, I have loved seeing everyone's challenge entries this month and can not wait to see what next month brings

Gemma


Friday, 7 April 2017

Tiny cards by Titbelsoeur

Hello there !
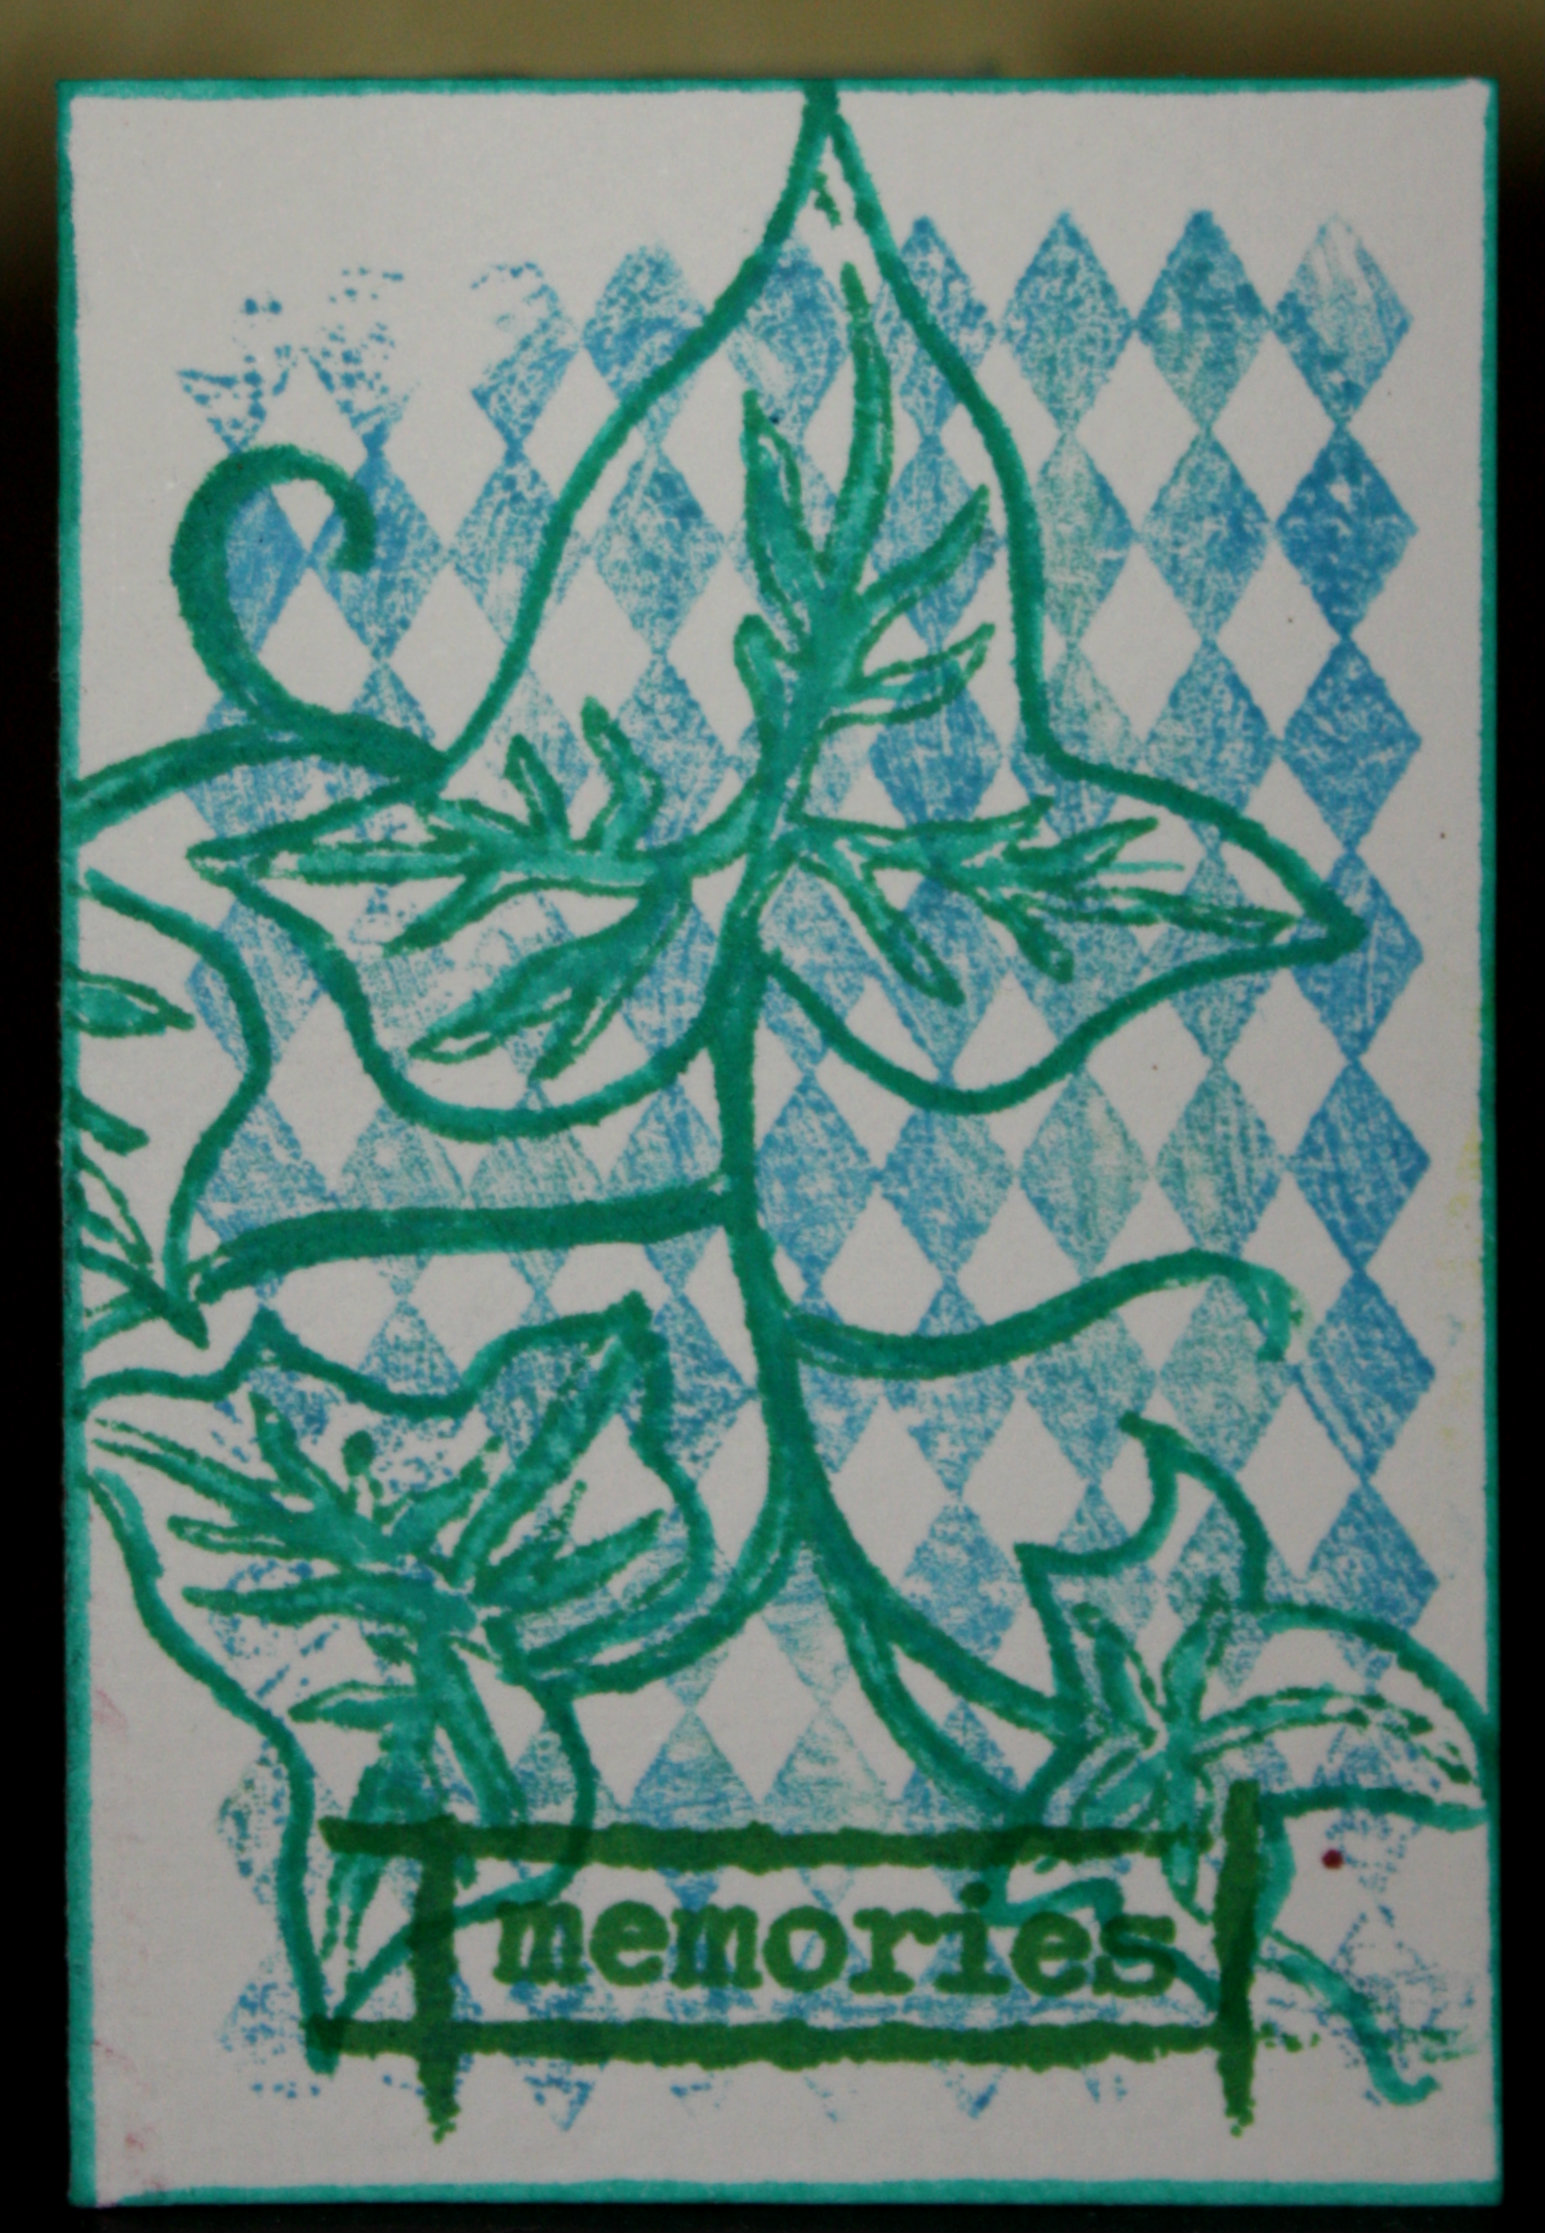
To meet the April challenge at The Artistic Stamper, I have made tiny cards just a bit larger than the new mini background stamps, I guess my cards have the same size as ATCs.
I have made the 3 cards the same way : stamped background and stamped image and word, so that they look like a triptych :


I have used the following stamps :
Mini Backgrounds # 2 size A6MIni Backgrounds # 3 size A6Butterflies 2 size A5Ivy © Lesley MatthewsonHoneycomb Background & Free BeesFramed Words #1

Thank you so much for stopping by.
Your comments are very much appreciated here, on my blog

Do not forget to participate in our monthly challenge
to win some fabulous Artistic Stamper stamps

Titbelsoeur

Sunday, 19 February 2017

New background stamps by Titbelsoeur

Hello, happy crafters,
I was so eager to test the new mini background stamps from the Artistic Stamper, that I have made something between a page and a card, using Distress inks to make the background, then stamping these stamps in matching shades (Spice Marmalade, Barn Door...) and the Web background one with a darker colour. Some black and white acrylic paint with a credit card and bottle cap,  Framed Words #1 stamped with black Archival, and then glued a cut out stamped inspiration jar, and here it is !


Thank you so much for stopping by,
your comments are very much appreciated, 
here, on my blog, or on the Artistic Stamper's Facebook page.
Do not forget to participate in our monthly challenge
 to win some fabulous Artistic Stamper stamps.

Titbelsoeur


Thursday, 24 November 2016

Creative.... Artful.... Inspire... Tag by Debs

Hi Everyone

When i sat down to make this project, the wind was howling and the rain was teeming against my craft room window.  I felt the need for something cheerful!! I also decided it was about time i used some of my gelli prints in a project rather than just keeping them to stroke!!


I started off with a large tag and covered it with some printed tissue, not worrying about creases

 Then i started adding in bits of gelli print, just ripping them off and sticking them down
I was going to add the pink bit at the end (its just off a paint spout) but it appeared to vanish between my taking this photo and finishing!!
I then started adding some acrylic paint i used Amsterdam paints, using pink and that lovely teal colour

I then added some stencilling using the mini square, the number stencil and Georginas Daisy and then stamped some circles using the Decay Journaling #1 Stamp set

I then stamped the circles again onto more Gelli Prints and cut them out and stuck them onto the tag where i had stamped.
I added some doodling with white and black pens either using the pattern on the gelli print or just doodling.  I also went round the stencilled images with a white pen as well.
I also stamped a some of the Framed words onto some white card
Added a nice pink ribbon bow and it cheered  me up no end!!  
Hope it inspires you.
There is still a week left on this months challenge so don't forget to add your projects, you never know you might win!!
Debs 


Wednesday, 16 November 2016

Autumn Tag by Gemma


Hello Everyone

I created an Autumn themed tag for this post. We are half way though the month and there is still plenty of time to join in this months challenge both on the blog and the facebook page. 

This months theme is
Autumn


I sprinkled some Black Knight and The Sage Infusions from PaperArsty onto a manilla tag, and sprayed lots of water over the top. Then you get to sit back and watch the powder explode, a little goes a very long way. As I wanted more of a bitty texture I added some more powder to the tag when it was almost dry.


Once dry I applied some Ground Espresso Distress Ink through the Petal mask in different areas, and then stamped over the whole tag with a Calligraphy stamp and Peeled Paint Distress Ink.


I mixed some Golden Sand and Sunset Beach Infusions with water on my craft mat. On one tag I stamped out lots of leaves using the leaf stamp from the Dog Rose set and then painted them with the Infusions. On the other tag I applied a wash of the Infusions over the tag before stamping the same leaf several times.  I cut out all the leaves and edged them with ink.


On the main tag I drew a tree using a black Stabilo pencil, to soften the lines I went over them with a water brush. Then I glued my leaves in place and stamped the word dreams at the bottom before gluing the tag to a piece of card I had already covered in Peeled Paint Distress Ink.


Thank you for reading
Gemma


Sunday, 16 October 2016

Imagine Notebook by Gemma Hynes


Hello Everyone

This months challenge is patterns, you can interpret this theme anyway you want, as long as it includes stamping, I created this notebook with a patterned cover. You can enter the challenge here on the blog or here on the facebook page.


I started by collecting together most of the items I wanted to use, My base was an old sweet packet that I cut down to the size of the canvas and chalk board sheets.


I coated the canvas sheet with two layers of Dylusions Squeezed Orange Paint


Once dry I placed the Honeycomb Mask over the top and sponged Dylusions Vibrant Turquoise through it. I seeped under the mask in some areas but I really like it.


After some more drying time I placed the Random Dots  mask over the top and sponged through Dylusions White Linen


 I then glued the canvas to the cardboard packet and folded the edges around to the other side. Afterwards I found the middle point on both sides punched holes and added gromits, which I threaded string through to tie the book closed


After stamping the word imagine to the bottom corner using Framed words one, I cut to size and glued a chalkboard sheet to the inside of the cover before gluing the spine of the papers into place.


Thank you for reading, 
Please leave a comment to let us know what you think, 
and join in this months fun themed challenge
Gemma Hynes


Monday, 10 October 2016

Patterned ATC's by Debs

Hi everyone


For a complete change today i decided to make some ATC's

Using some watercolour paper and some PaperArtsy Infusions in Violet Storms, Blackcurrant and a Little bit Jaded.  Sprinkled the infusions on the paper and then spritzed with Water.  Dried it all off with a heat gun and then added some stamping 


I used Punk Plaid, Dots, Sequin Waste and calligraphy mat 11 using Potting Soil Archival Ink


I then cut it into ATC's and then used a different stamp on each one


Butterfly from Butterflies 2 with Seize the moment from Journaling words 3


If you would like one of these ATC's just let me know what you think and comment which one you would like.  I will allocate ATC's on a first come first served basis.
Have fun and i look forward to seeing your entries into the pattern challenge.