Showing posts with label Garden #2. Show all posts

Wednesday, 19 August 2020

Gardening labels by Titbelsoeur

Hello everybody !

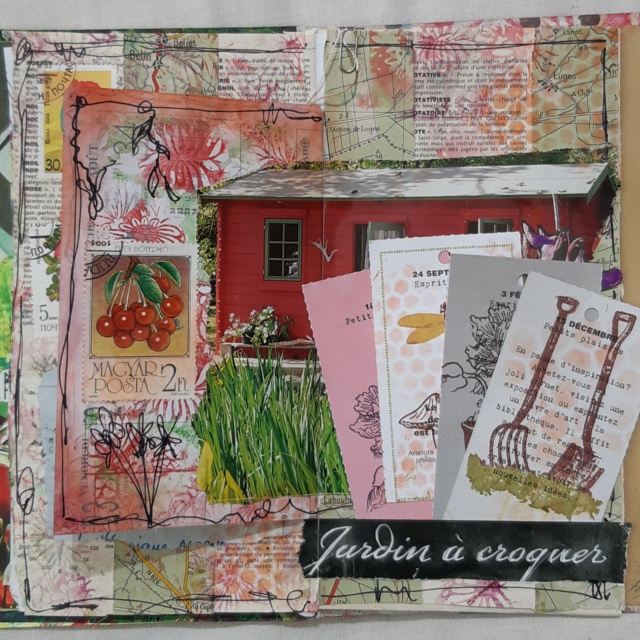
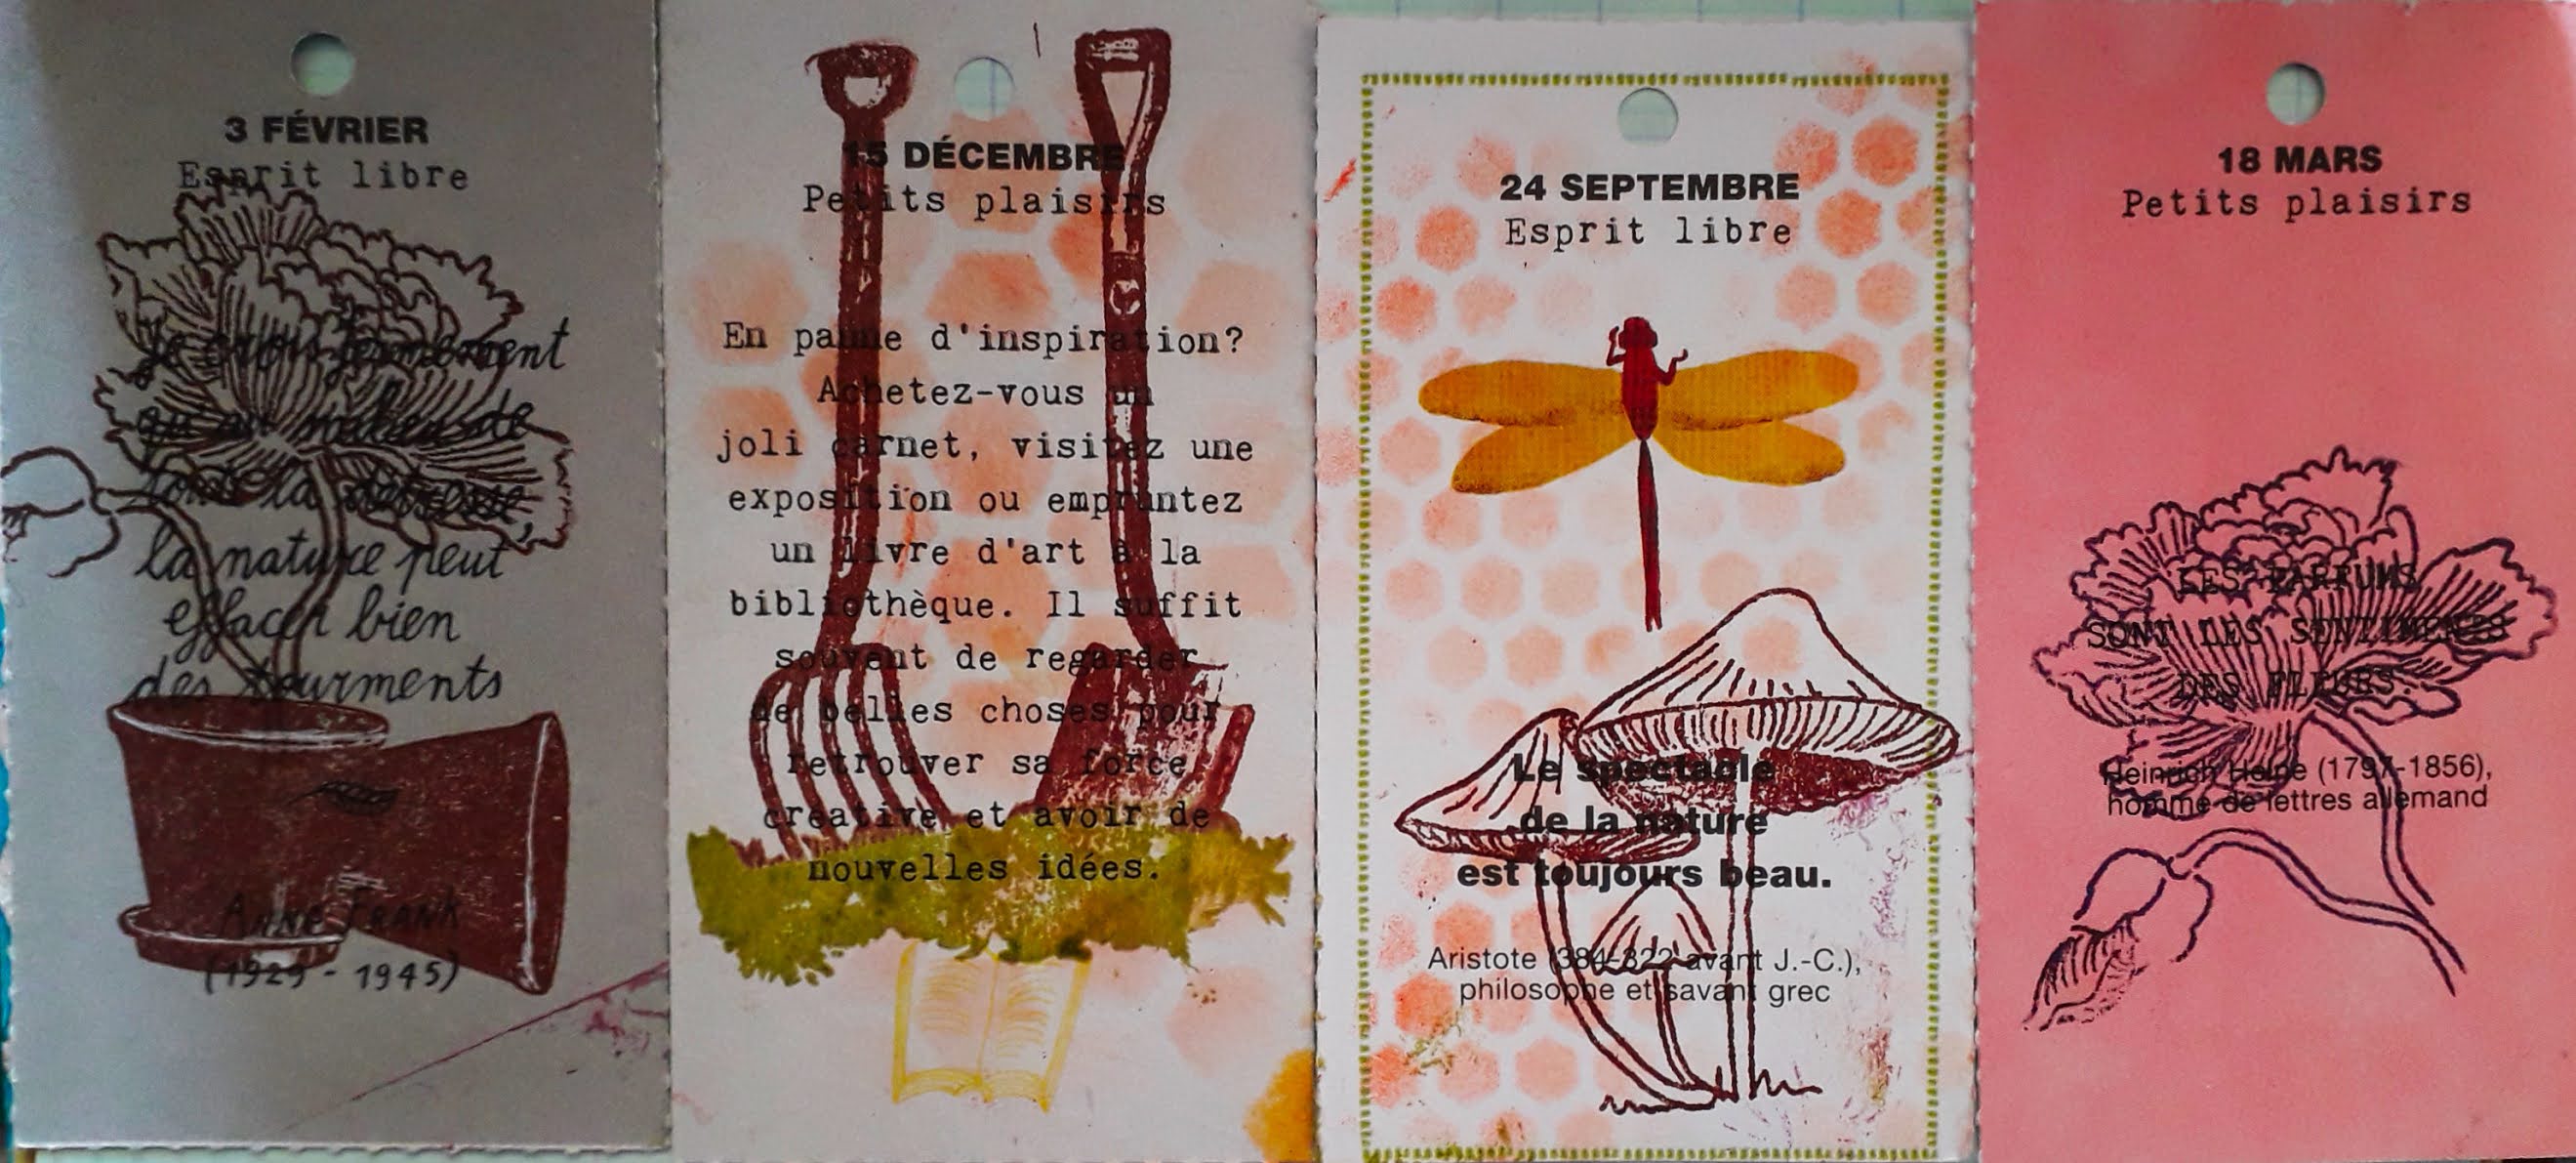
These are labels from a very well known magazine, that talk about gardens and gardening, and that I have customised to be added as freebies to the page I have made in a friend's fly book : 


fly book groupe7  - Page 4 5bis_t11

 These customisations are very easy to make and always appreciated by the recipients : you just have to stamp it with a light ink so that the text below can still be read, and that's all you have to do to please your friends !


 You will find the stamps I have used here :

jar, rake and spade here : Garden

peony here :Oriental

and mushroom here : Tit Belsoeur Stamps

Thank you so much for visiting, I hope I have given you some inspiration to 
participate in our 

Happy creating and thank you for your comments,

Titbelsoeur

Wednesday, 7 November 2018

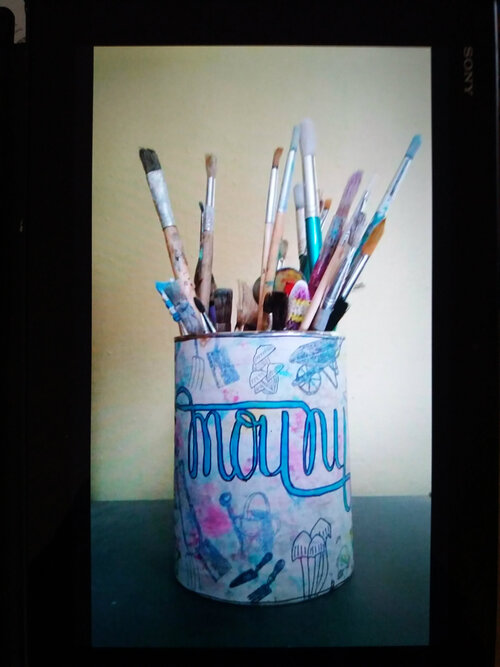
Brush can by Titbelsoeur

Hi there !
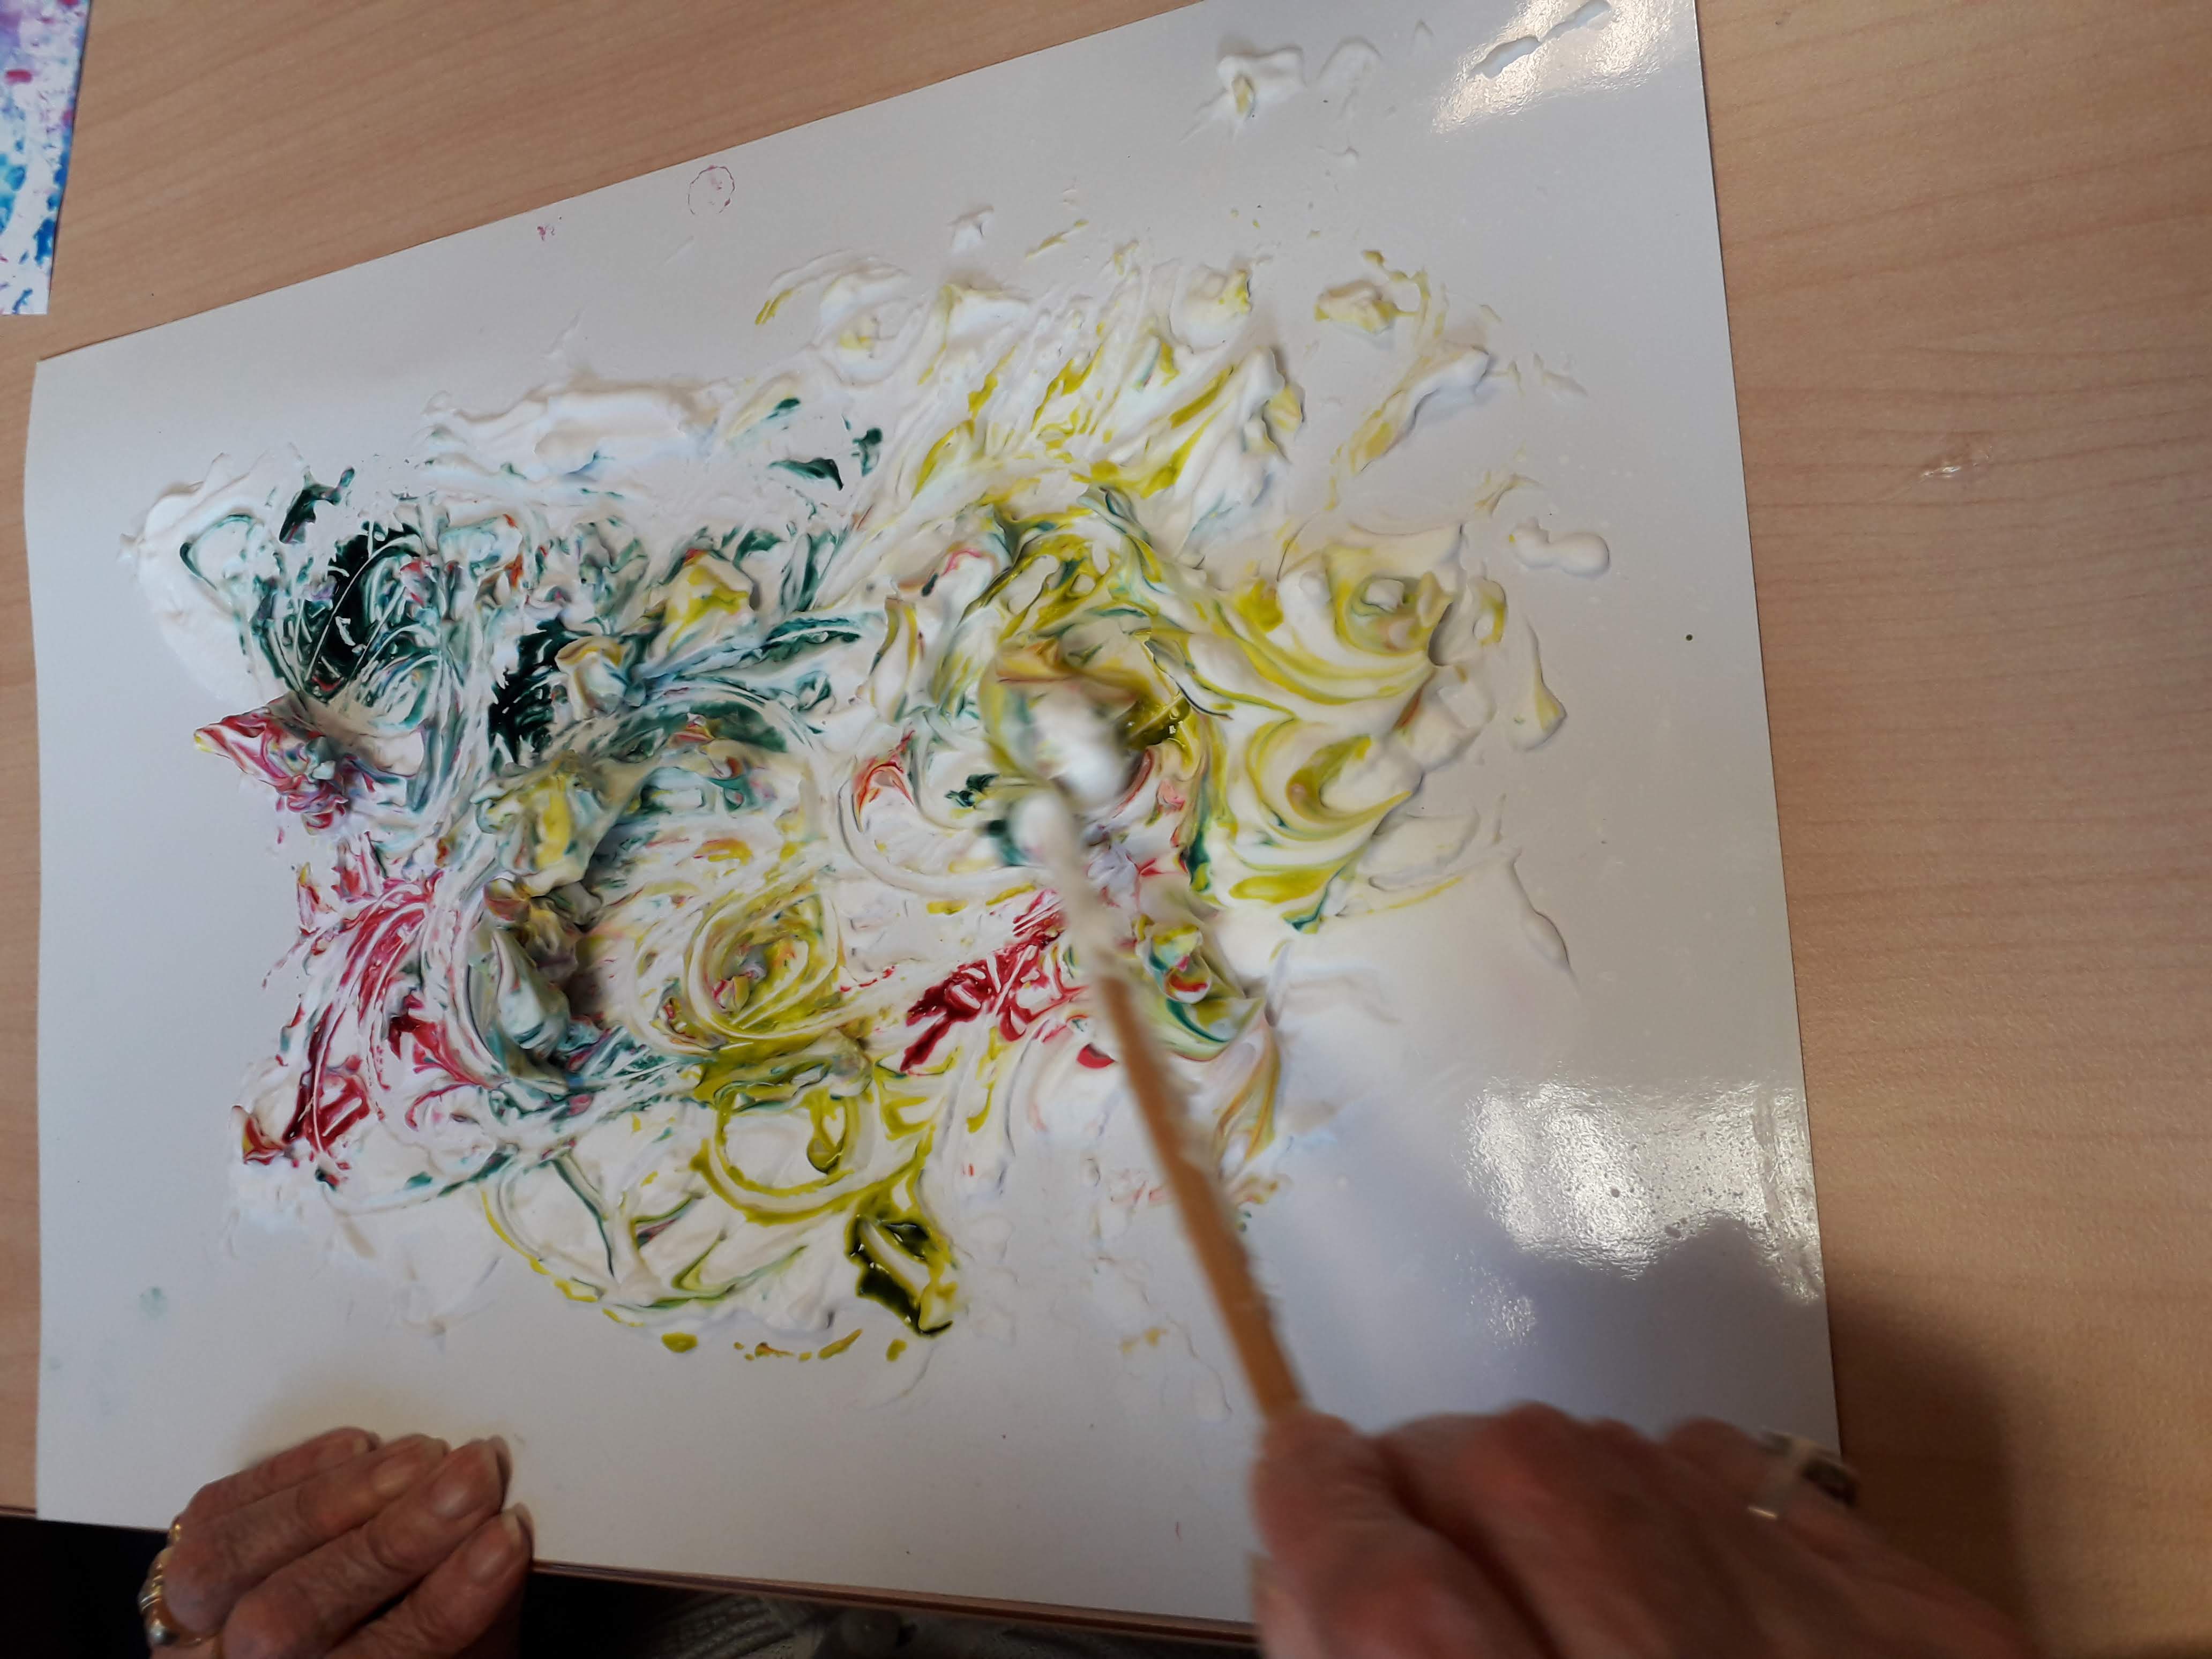
I had a big baby formula can I wanted to embellish, so I used the shaving foam technique once again to make the background.


Mousse toujours...


And I randomly stamped the Gardening and Mushroom plates from The Artistic Stamper


Then I painted my next a.k.a. and sticked the paper to the box :


Here are the plates I have used :

Garden #2 size A6


I hope you all will participate in our 

November's Creative Challenge - Square it!


for 3 chances to win !

Thank you so much for stopping by.
Your comments are very much appreciated here, on my blog
Bye for now and happy creating. 

Titbelsoeur


Monday, 19 March 2018

Canvas by Titbelsoeur

Hello everyone,
To make this altered canvas, I  first cut and corrugated cardboard pieces, then I applied gesso with my fingers, sprayed some ink and stamped Ephemera 1 A5 with black ink :


Then I added some ink on pieces of fabric and stamped garden tools, bees, butterfly and mushroom with black Archival ink. I also glued tissue paper on to my canvas and added some white gesso on it. Then sticked fabric on to cardboards and cardboards on to the canvas. 
Snapshots :


Here is the finished piece :


You will find the stamps I used here :
Ephemera 1 A5 Butterflies 2 size A5Honeycomb Background & Free Bees Garden #2 size A6Mushrooms A5 Plate © Tit Belsoeur 

Do not forget that you can win these fabulous stamps, just participating in our March challenge :  Stencils & Masks


 for 3 chances to win !

Thank you so much for stopping by.
Your comments are very much appreciated here, on my blog
Bye for now and happy creating. 

Titbelsoeur

Friday, 19 May 2017

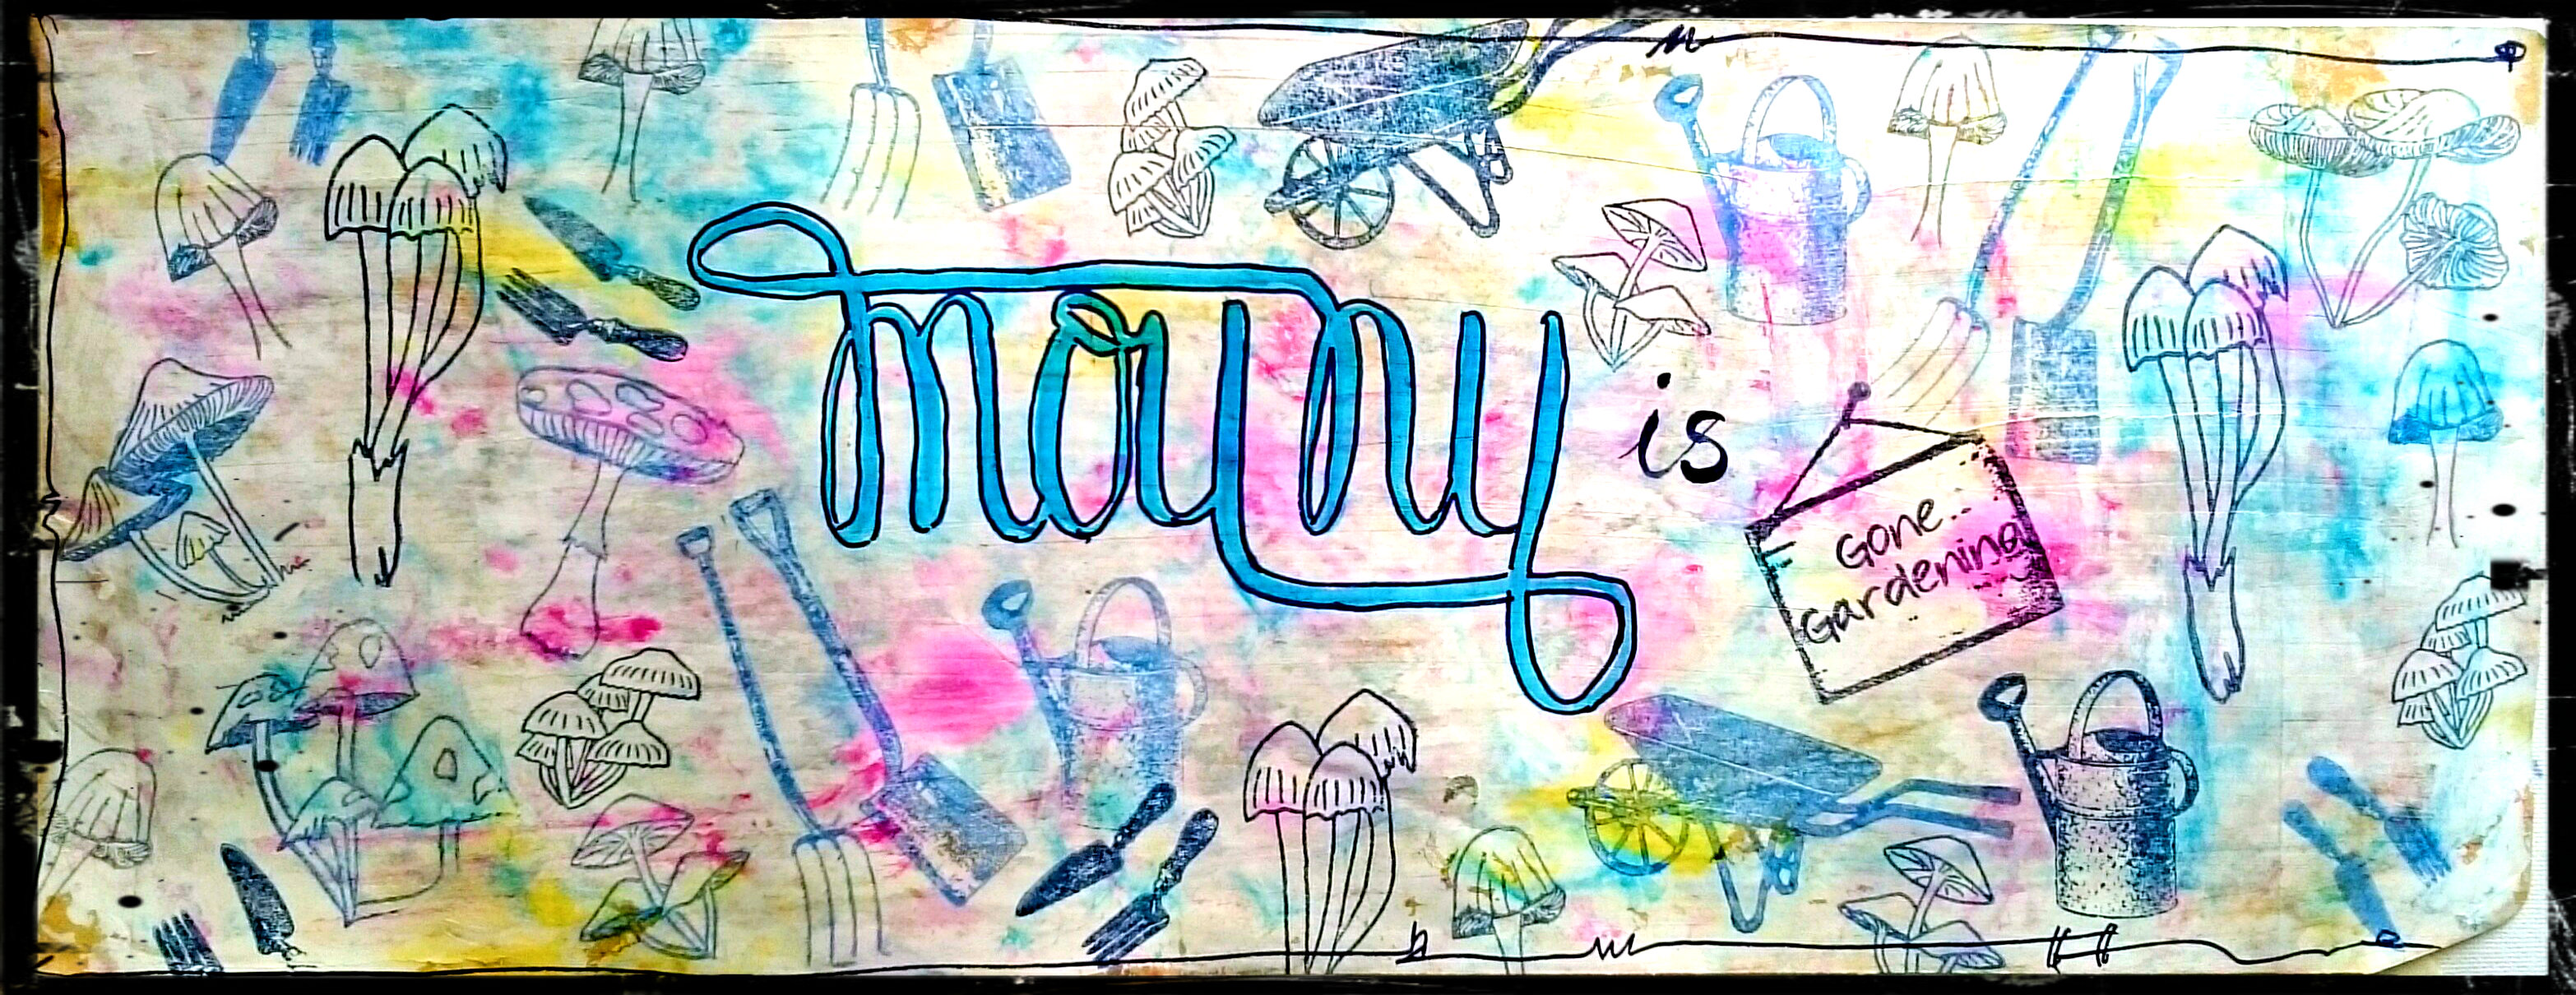
I'm gone gardening by Titbelsoeur

Hello happy stampers !
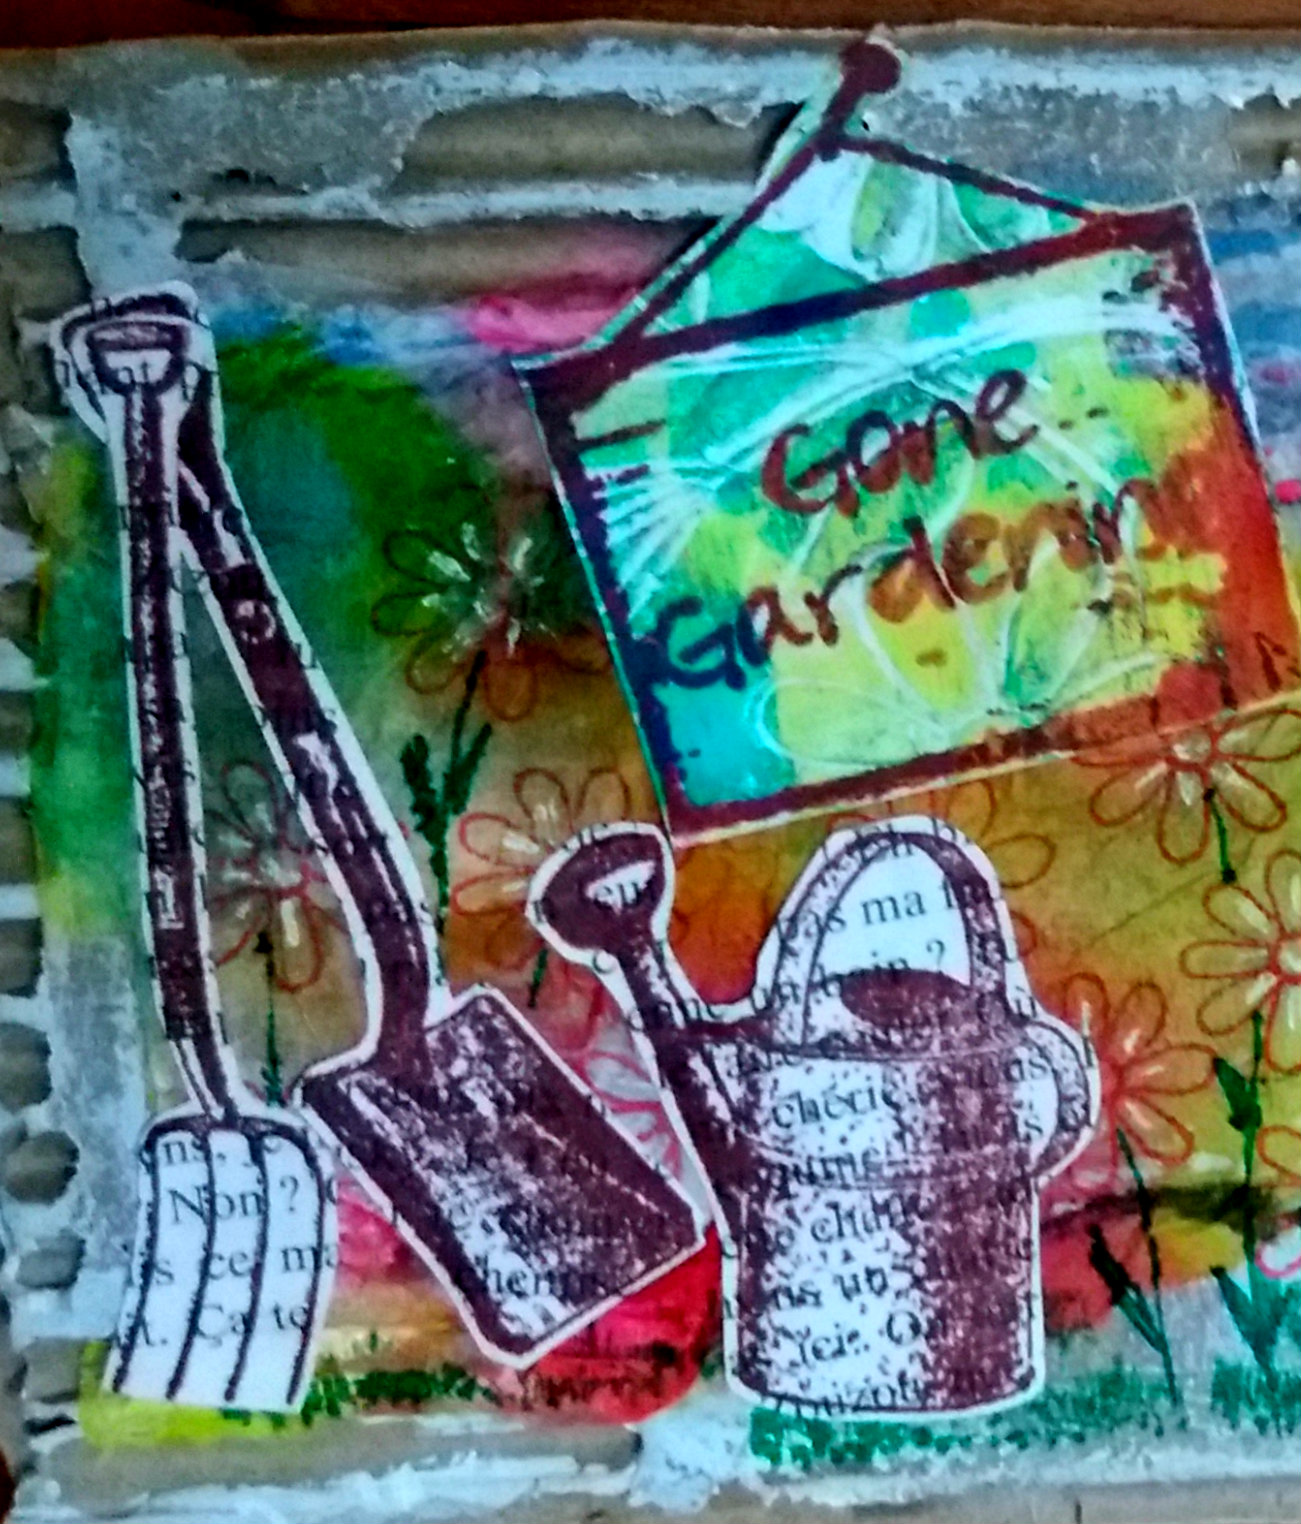
To celebrate my garden blossoming, I have made a mail art, the kind I love : on cardboard, with gesso, a scrap of paper towel for the background, and Artistic Stamper stamps to decorate !


Stamps I have used : 
tools and board from Garden plates 1 & 2, obviously !
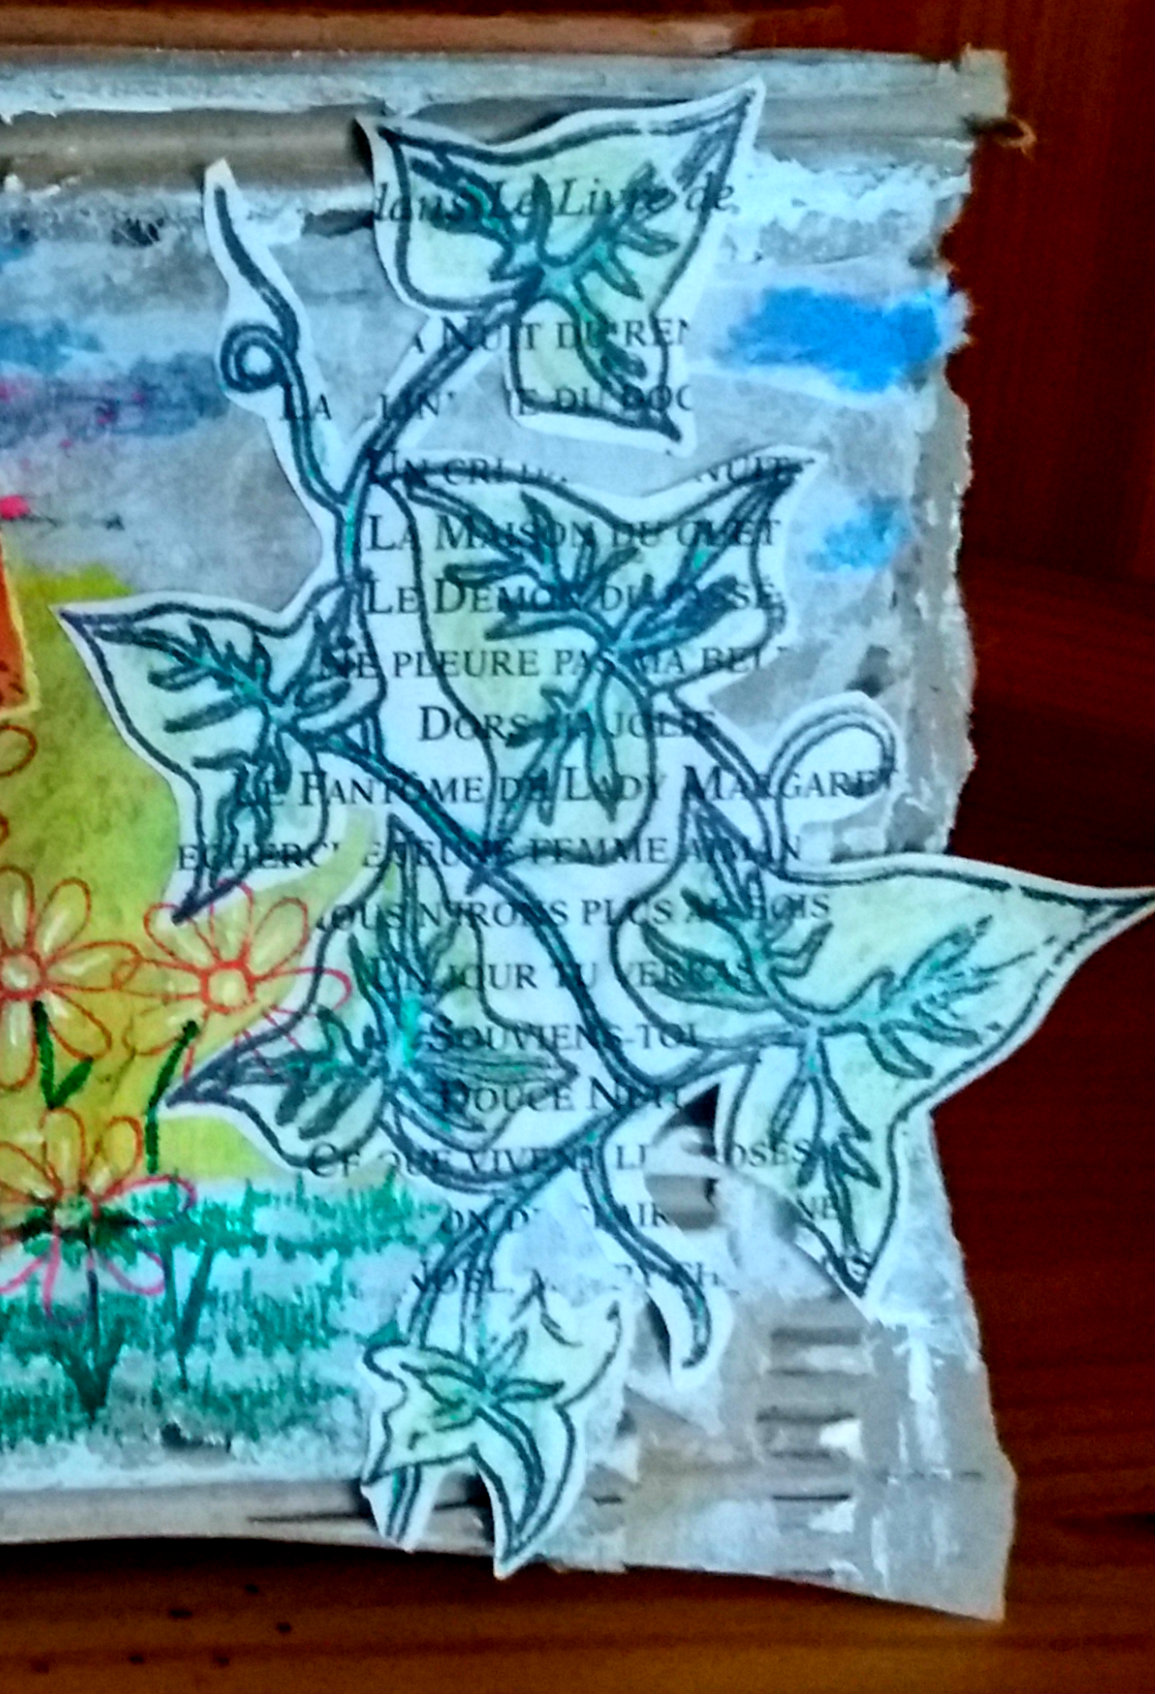
Ivy © Lesley Matthewsonand the tiny flower from Lesley's Flowers size A6 © Lesley Matthewson

And here is the mailart :


Would you like to win these fabulous stamps ? Easy : just participate in our monthly challenge "Floral Fantasy" here for 3 chances to win : 


Thank you so much for stopping by.
Your comments are very much appreciated here, on my blog

Titbelsoeur

Friday, 19 February 2016

A whole village... by Titbelsoeur

Hi everyone, Titbelsoeur here showing you how to build a whole village and have it all gather into a sardine can. Would you believe it ?
You should.
Because it is possible !
Just follow my step-by-step :

First, you want to gather all of your gelli print leftovers and stamp your houses from Kat's creations

and cut them out


On the bottom of the can, just cut out another print and glue it on


and on the back, you may glue a map :


then you glue a piece of cardboard and glue your first two houses


and so on and so on, house, cardboard, house, cardboard... until your village is complete :


add some grass from the Gardening Garden #2 set :


Stamped and cut the text out, then glued it on the top


and houses on both sides


Thanks so much for stopping by,
your comments are very much appreciated, 
here, on my blog, or on the Artistic Stamper's Facebook page.
Do not forget to participate in our monthly challenge
 to win some fabulous Artistic Stamper stamps.

To build this village, I was inspired by a Jessica Sporn's workshop

Titbelsoeur

Sunday, 19 April 2015

Use and re-use as much as you like....

... these awesome Artistic Stamper's gardening stamps !
Hello, this is Titbelsoeur with you today, organizing her backyard... upcycling, as usual... otherwise it is not me !
I have collected can caps and stamped flowers, salads and insects with Archival black ink, then dried the ink and written the names of herbs and vegetables with a permanent pen.

And tadammm, here they are, in context :


I have used :
gardening stamps
butterflies stamps
black Archival ink

Thanks so much for stopping by,
your comments are very much appreciated.
Don't forget to participate in our monthly challenge to win some fabulous Artistic Stamper stamps.

Titbelsoeur

Tuesday, 10 March 2015

Gardeners' Question Tags!

Hello all, Alison (butterfly) here with a set of gardeners' tags using some of the recent new releases here at Artistic Stamper.


They're very simple tags, as they're intended for practical use.  It occurred to me that (apart from crafters) there is a group of people for whom tags are useful, and that's gardeners, especially the novices amongst us.


They're useful for labelling plants, adding reminders of particular tasks or treatments an individual plant requires or enjoys; not to mention reminding yourself what's where or what's what (to avoid the horrible consequences of ignorance outlined in the quote I just had to include today!).


So the new Gardening Stamps seemed to be perfect combined with some of the small, cheap luggage labels in a nice earthy brown which were sitting in my stash.


I kept it simple with the stamping.  The images are stamped in Potting Soil (but of course!), and I added my favourite Calligraphy Mat #19 in Rusty Hinge to prompt the idea that the gardener should add some of her or his own writing to these tags on the back, with whatever information is needed.


I did a bit of inking, both with Potting Soil and Rusty Hinge, and finally added a couple of splatters of Ground Coffee Dylusions - again encouraging whoever's using them to get them good and mucky - no need to keep them pristine!


Some simple garden twine - what else? - to attach them with and we're done.  Thanks so much for stopping by today.  Perhaps these gardeners' tags will have put you in the mood to come and play in our Spring is Coming challenge here at The Artistic Stamper this month... we'd love to see you there.

When weeding, the best way to make sure you are removing a weed and not a valuable plant is to pull on it.  If it comes out of the ground easily, it is a valuable plant.
Anonymous
(Hence the need for good labelling with tags!)


Ingredients used:
Artistic Stamper stamps - Garden Plates #1 and #2, Calligraphy Mat #19
Archival Inks - Potting Soil
Distress Inks - Rusty Hinge
Dylusions - Ground Coffee
From my stash - small luggage tags, garden twine

Saturday, 7 March 2015

I'm in the garden


Hello happy crafters !
Titbelsoeur today gone gardening...
This is a canvas I have opened to have depth, I have added a chicken wire and a cardboard covered with gesso and dictionnary page, then I have added stamped paper and stamped the birds and the grass on to the cardboard.


Sticked flowers and drawed stems and leaves with promarker :


I stamped the grass with 3 different Distress inks :


And do you know what ? now that I am done with it, spring is really coming ! isn't that amazing ?

I have used the new stamps from :
Gardening
Backgrounds

Thanks so much for stopping by,
your comments are very much appreciated.
Don't forget to participate in our monthly challenge to win some fabulous Artistic Stamper stamps.

Titbelsoeur


Tuesday, 10 February 2015

How does your garden grow?

Hello all!  Alison (butterfly) here with a gentle tag for you today.  I've been playing with some of the lovely new gardening stamps just released here at The Artistic Stamper.  There are some fantastic new releases.  If you haven't seen them yet, do check them out.

So here's my relaxing garden tag - a fairly simple affair, but it gives me lots of pleasure.


I started by putting Distress Ink onto a large acetate gridblock, spritzing it with water and stamping onto a watercolour paper tag.  I did some spritzing and flicking of water to create even more of a textured look.


The fork and spade from Garden #1 are stamped in a combination of Coffee and Potting Soil Archival inks and clear embossed.


I stamped the very useful "extra bit of earth" from Garden #2 next to the main image, so as to 'fade out' the earth rather than have it stop abruptly.


I added another layer by stamping the tiny bubbles from the Borders 2 plate in colours to coordinate with the background.  And there's plenty of white splatter to create more life and movement.


The sentiment is from a PaperArtsy set, and is stamped in graduated Archival inks - Cobalt, Leaf Green and Olive, I think, and then clear-embossed as usual.


I tried out a number of different embellishments, but each time I preferred the simpleness of the tag without any extras until I suddenly remembered these tiny wooden confetti circles, hiding in my stash.


I glued them in place and gave them a tiny swipe of Chalk Fresco paint from one angle.


The Distress-dyed ribbons at the top are tied with some Idea-ology paper string, and the whole thing is mounted on some distressed corrugated cardboard for that rustic look.


And that's your lot for today.  Thanks so much for stopping by - your comments and visits really mean so much.

I hope you'll come and play along in our Love challenge here at The Artistic Stamper this February.  You don't have to use Artistic Stamper stamps, but if you do you'll qualify for a double entry in the prize draw.  What have you got to lose?!  Happy crafting!

Ingredients used:
Artistic Stamper stamps - Garden #1, Garden #2, Borders #2 A6
Distress Inks - Broken China, Stormy Sky, Vintage Photo, Gathered Twigs, Walnut Stain, Peeled Paint, Mowed Lawn, Pine Needles
Archival Inks - Coffee, Potting Soil, Cobalt, Leaf Green, Olive
Fresco Paints - Chalk
Seam binding
From my stash - watercolour paper, paper string, corrugated cardboard, wooden confetti, sentiment stamp