Showing posts with label Kat Creations. Show all posts

Friday, 19 February 2016

A whole village... by Titbelsoeur

Hi everyone, Titbelsoeur here showing you how to build a whole village and have it all gather into a sardine can. Would you believe it ?
You should.
Because it is possible !
Just follow my step-by-step :

First, you want to gather all of your gelli print leftovers and stamp your houses from Kat's creations

and cut them out


On the bottom of the can, just cut out another print and glue it on


and on the back, you may glue a map :


then you glue a piece of cardboard and glue your first two houses


and so on and so on, house, cardboard, house, cardboard... until your village is complete :


add some grass from the Gardening Garden #2 set :


Stamped and cut the text out, then glued it on the top


and houses on both sides


Thanks so much for stopping by,
your comments are very much appreciated, 
here, on my blog, or on the Artistic Stamper's Facebook page.
Do not forget to participate in our monthly challenge
 to win some fabulous Artistic Stamper stamps.

To build this village, I was inspired by a Jessica Sporn's workshop

Titbelsoeur

Monday, 18 August 2014

Our House Journal page by Alison Hall

Hello Stampers! I have a journal page to share with you today.


Ingredients...
Kat's Creations Stamps - Bunting & Home Sweet Home
Fresco Finish Paint - Bora Bora & Chartreuse
Dylusions Ink - Squeezed Orange
Archival Ink - Jet Black
Old credit card

Instructions...
1. First, I lightly brayered Fresco Bora Bora to the top left of my page, then Chartreuse to the bottom right, then dried with a heat gun.
2. Next, I placed the Lin Brown Stencil on my page, masked off the images I didn't want, and the rest of the page, then spritzed the Dylusions Squeezed Orange ink.
3. I stamped the flowery hill in black, at the bottom of my page, then used the waterbrush to paint the flowers with the Dylusions ink.
4. On another piece of watercolour card, I stamped the houses, words & lots of butterflies in black, then cut them out. I added colour with the paints & ink, & doodled some dots on the butterflies.
5. I used glossy accents to glue everything onto my page, then finished off by adding some black archival ink lines, using the edge of an old credit card.

Alison xxx

Friday, 6 June 2014

Art journal page by Titbelsoeur

Hello Happy Crafters !
This is Titbelsoeur here with a journal page. I got inspiration from a video from RachO113 on Youtube and followed her process - almost - entirely.... let's say as much as I am capable of !

Anyway, I am quite satisfied with my page.

I stamped the houses from Our House A6 with Archival ink on drawing paper, cut them out and colored them with watercolor chalks and pencils.

Then I stamped the quote from French medieval poet Joaquim du Bellay whose poem was put to music by a French rapper a few years ago :


Materials used :
drawing paper
Our House A6 
Dylusion inks 
Archival Ink
Stencil from my stash but you will easily find yours in the Artistic Stamper shop

Voilà, I hope my journal page does inspire you,
thank you so much for stopping by, 
I am looking forward to reading your comments !

A tout bientôt,
 

Friday, 8 March 2013

Oh for the life of a sardine! by Titbelsoeur

Salut les patouilleuses, c'est Titbelsoeur aux manettes !

Sardines are good for the health, one says... and they are good for mixed-media, I say ! don't you agree ?
Look, I have taken a basic sardine can, covered it with a slight coat of gesso mixed with blue acrylic paint, showing a very clear blue...
Glued images from the internet on the bottom and glued the children on a cardstock to strengthen it.


The stamp I used comes from the Kat's Creations "our house" plate


I hope you like my sardine can (I really hope, because I may show you others in the coming days ;-)
Thanks for stopping by, I am really looking forward to reading your comments !
A tout bientôt !

Tuesday, 8 January 2013

Layers... by Titbelsoeur

Salut les patouilleuses !
Here is my first creation for 2013, and I have chosen this card made of multiple layers. I started with purple ink I stamped the calligraphic mat on, and then glued various sheets on top of  the others, such as a piece of an envelope, postage stamps, lace, cloth label, stamped fabric, tea bag, fabric net, a button... and stamps, stamps and stamps !


Stamps I used :
Art
Inspiration
Gibson girl
Houses
Calligraphic mat


I hope you like my card,
thanks for stopping by, 
I am looking forward to reading your comments ! 
A très bientôt !!

Monday, 8 October 2012

Home by Titbelsoeur

Coucou les copines !

I tried to find a song that would fit with my project, this one by Jack Johnson looked wistful enough ;-)

I gotta get home there's a garden to tend
There's fruit on the ground 

and the birds have all moved back into my attic, 
whistling static
When the young learn to fly I will patch all the holes up again...


keep it in my records for a next project about gardening... if any !
    
To make this project, I have used a A4 sheet of drawing paper, some printed pictures, book pages and various pieces of fabric, lace and ribbons.

I have stamped HOUSES on a piece of fabric that I have glued on the back of the 4 sides to make a cover. Then I decorated it with lace and ribbons, a tag and some home made paper beads.
   

I have covered the front with book pages and colored them with various Distress inks on a pad through stencils. I then stamped some arch doors  and glued cropped images. Roofs are drawn with a black pen.


Thanks for reading to the end, I hope you enjoy my project,
 I am looking forward to reading your comments ! 
A tout bientôt !

Sunday, 2 September 2012

Chunky Houses by Lori!

Hi all! I was so honored to be asked to contribute to the Artistic Stamper Creative Team! There is truly so much talent here!

For my first project, I thought I would use Kat's Creations stamps..more specifically, the Our House A6 set.  Along with...Borders A6, which is in the background, hard to see, but it's there!  I chose to create a chunky ATC for my project, which is a dimensional ATC cut from a chunk of wood.  I sprayed the plain block of wood with Dylusions inks, which I love doing on bare wood, the wood grain really comes through and looks fantastic. I then stamped the houses and sentiment on white cardstock, then painted with the Dylusions inks! When I glued the houses on the wood, I used some foam behind the roofs and doors, to give them some more dimension. How about some pictures?
I did cut out some leaves from grungepaper and glued them on, after painting with a Citrus Paint Dabber.


Here's a little different angle, showing more of the top:
I painted some plain wooden plugs with the Watermelon Paint Dabber for the "feet" or base, to raise it up a bit.
I just love using the bright colors with the Our House stamp set, the stamps were meant for color!
Thank you for stopping by today, I hope I've inspired you to make some "chunky ATC's"!

Monday, 25 June 2012

THOSE PESKY BIRDS JOURNAL PAGE By Kat

Hi all, Kat here,
I have made a journal page to share with you today,
I haven't made it in a journal as I like the freedom a loose leaf gives me,
when I have made enough loose pages I am going to make them into a book.

I finally remembered to take pictures of the process,
I am really pleased with this page I hope you like it!

It features one of my empathy monsters (he is called Meenie)
I drew him myself, along with the flower,
he has 3 brothers Eenie, Mineey & Moe,
that I am sure I will be introducing you to in my pages at a later date,
along with their own special flowers,
anyway enough waffle from me, here's my page.
I would like to show you a close up of Meenie,
the birds have made their home on his head
& he is not to happy about it, LOL
another bird coming in to land
& others are circling over head
he's not getting any peace today,
Arr bless him.
OK on to the background,

the photos are self explanatory & the items I used are in them
so less typing for me, yaha!
I will list all the ingredients after the photos.


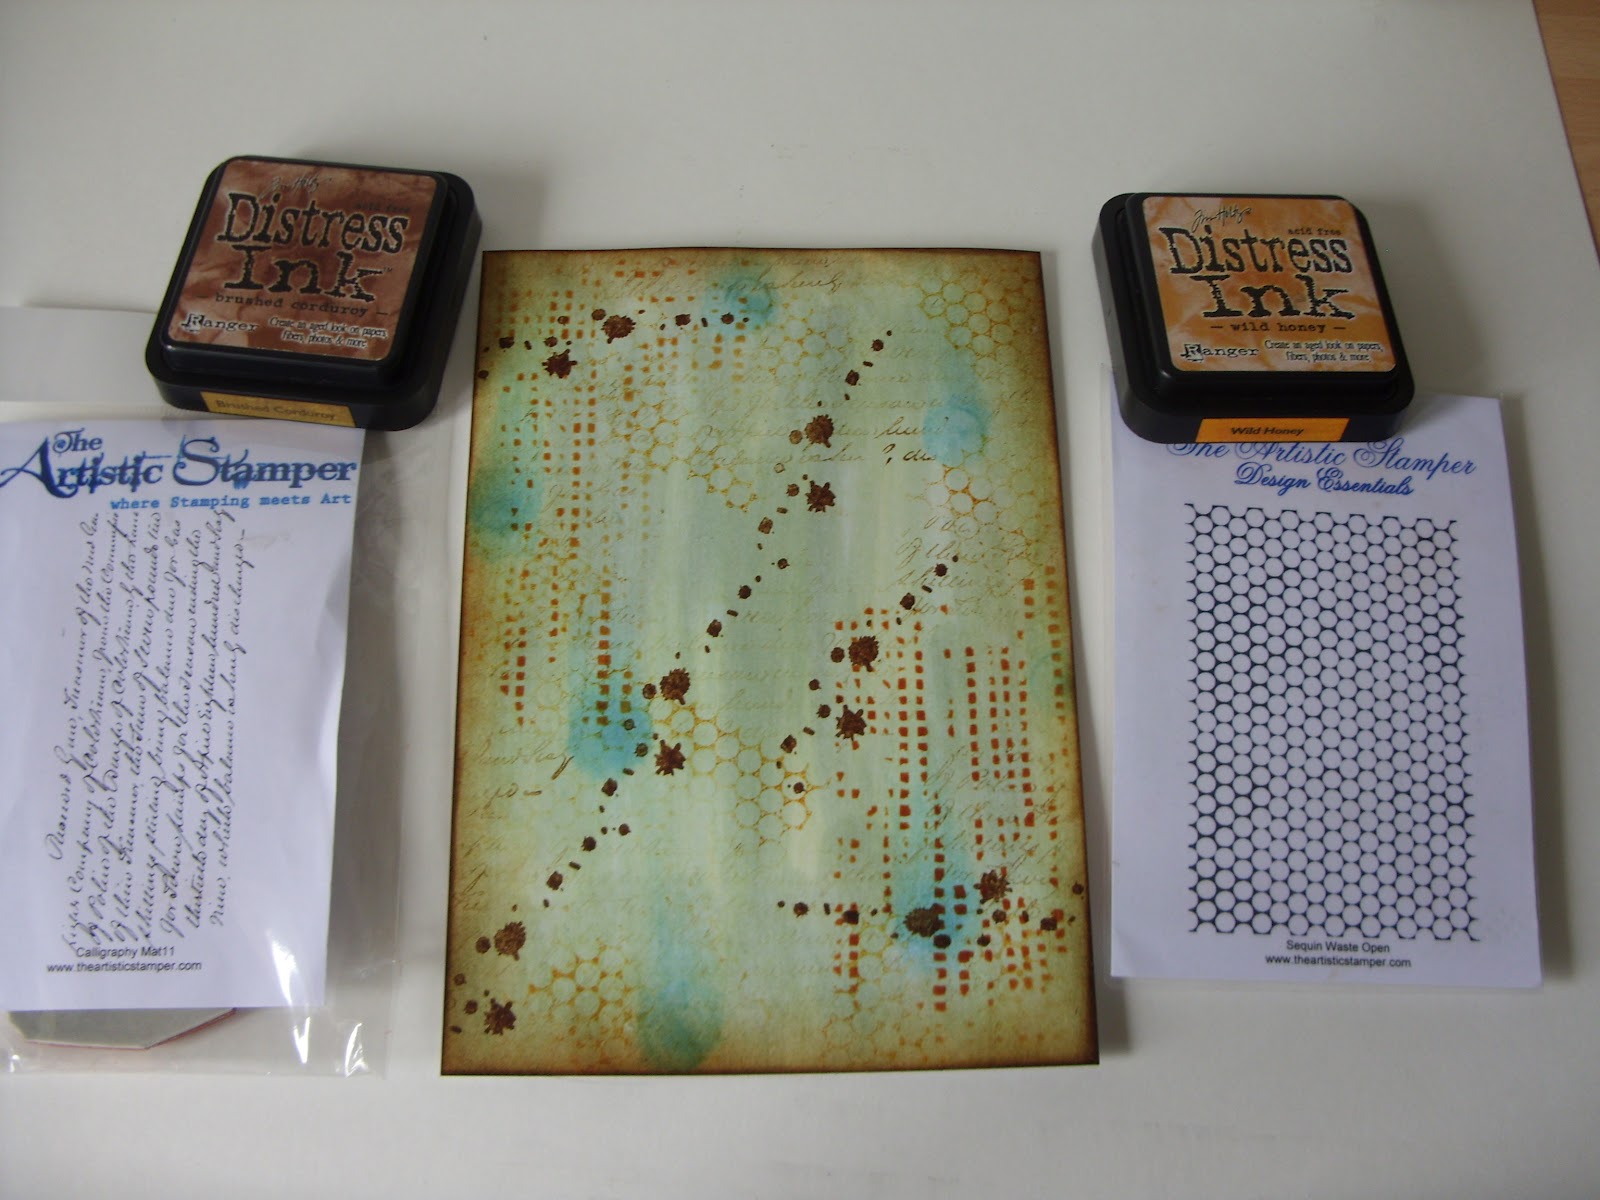
Here's what I used,

weathered wood, antique linen
 bundled sage, broken china, picket fence

vintage photo, gathered twigs, rusty hinge,
wild honey, brushed corduroy, worn lipstick

jet black


Stamps I used,


sequin waste open & ink blot,

from my stash,

my own images drawn by me & then coloured with pro markers,
the phrase typed on the computer,
patterned papers, staples & ribbon

well I think that's everything,
Hope you like it!

back soon,
Kat x

Tuesday, 12 June 2012

VINTAGE BUNTING By Kat

Hi all, Kat here,
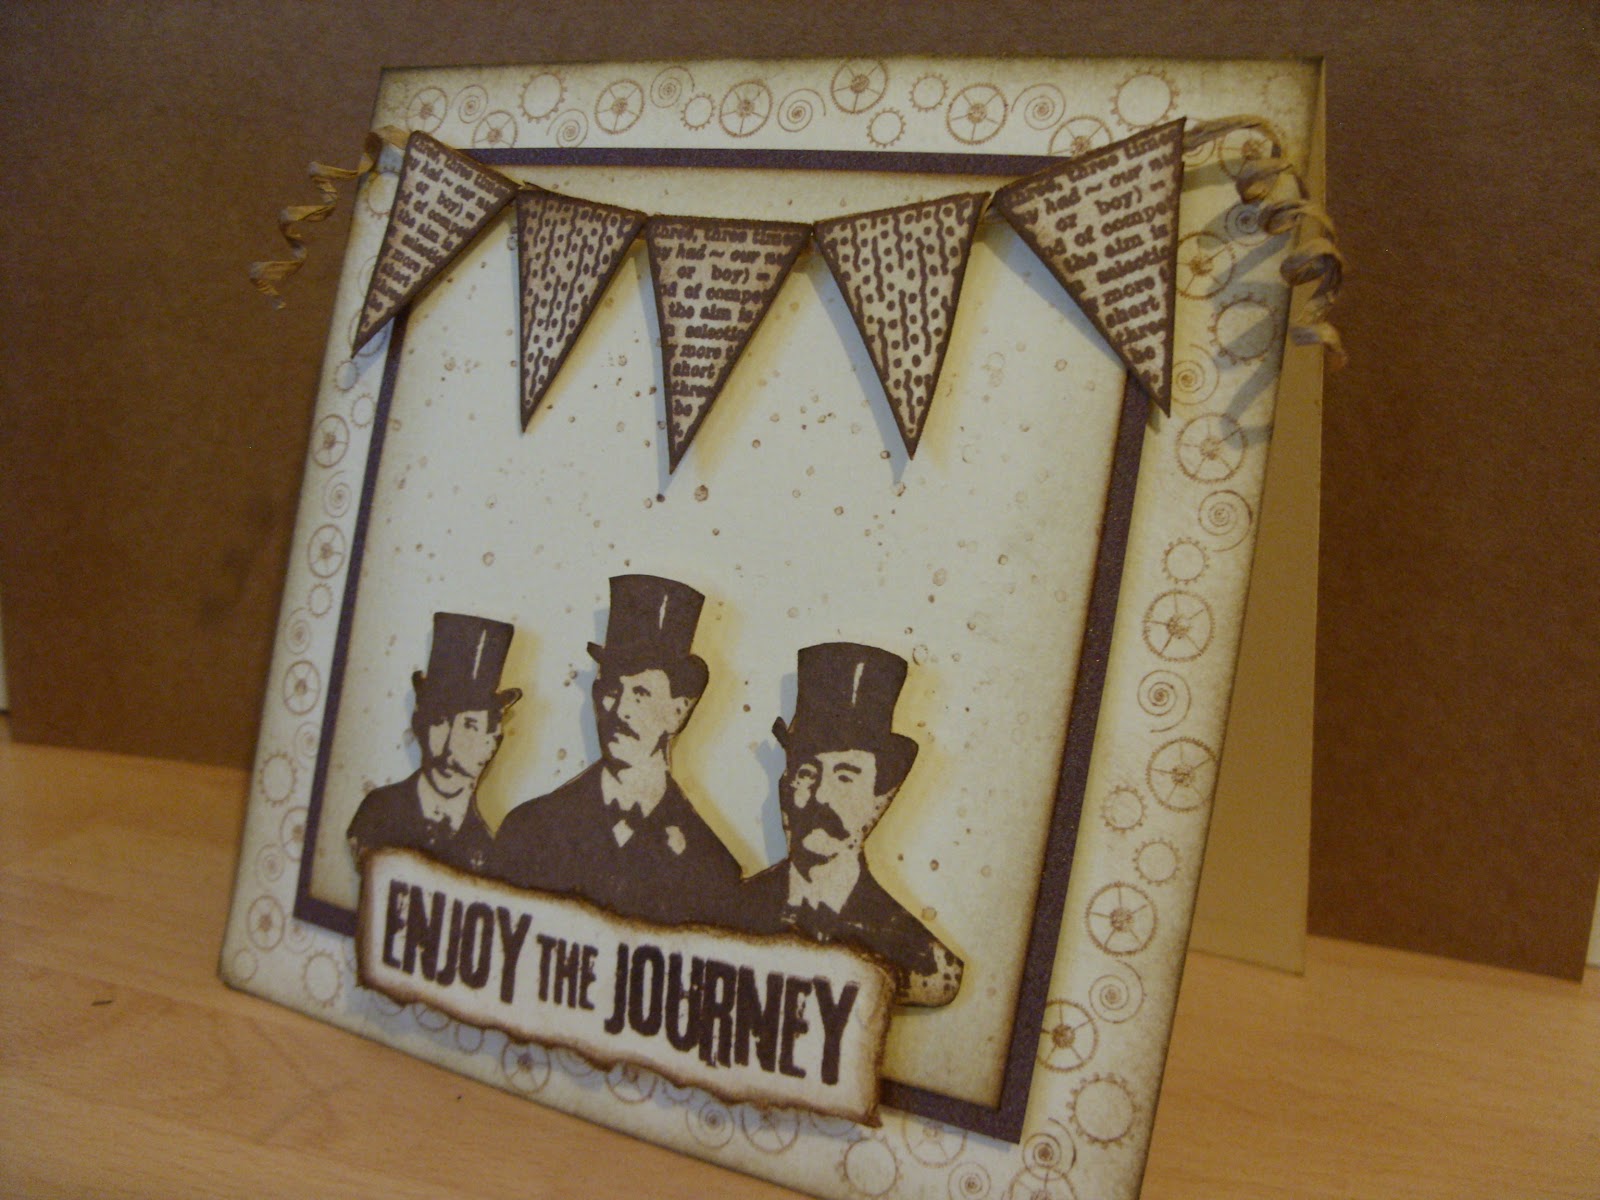
I'm here today with a monochrome card with a vintage feel.
I started with a 5x5 inch card
& blended Vintage Photo Distress Inks round the edge
I then stamped the cog border off the borders A6#2 stamp plate,
once onto scrap paper then onto the card to give it a lighter colour.
I then Matt & layered brown & cream card,
& blended Vintage Photo Distress Inks round the edge
& stamped the Stipple background stamp onto it.
I then stamped the focal images onto scrap card
which are Tim Holtz with Coffee archival ink cut them out
& stuck them in place with foam pads,
I used 2 of the flag designs off the Bunting plate again stamped with 
I attached the little flags to a covered wire & bent it into shape
with the ade of a pencil end, then stuck it to the card as shown.

Hope you like it!
thanks for reading my post,
Kat x.

Saturday, 26 May 2012

HOME & THRICE TAG by Kat

Hi all, Kat here,
The sun is shining & it feels like ages since I have made a tag,
& I also wanted to try out my new Spring Distress Inks
& the swirl stamp from the cover of craft stamper magazine.

So here it is,
To start I used Tim's Wrinkle free distress technique to colour the tag
with all three of the Spring Distress Inks, 
then stamped the swirl with the Shaded Lilac colour.
I then blended the edge with Gathered Twig Distress Ink.
Next I stamped in Jet Black archival ink
the houses off the Our House stamp set,
the large butterfly off the Bunting stamp set
& the sentiment off the Home Sweet Home stamp set
I cut them out then coloured them with a wet paint brush
After I stuck it all in place
I added the ribbon & trim from Tim Holtz Trim idea-ology range.
hope you like it!
it put a happy smile on my face anyway,
thanks for stopping by, to read this post.
Take care,
Kat x.

Wednesday, 16 May 2012

A HOUSE IS JUST A HOUSE by Kat

Hello, Hello, Hello, Kat here,
well the sun is shining (a rarity lately) but it makes me feel happy,
I'm here with another frame to share with you today,


as you can see it's in the same style as the frame
I made at the beginning of the month
I'm sorry I can't help myself,
I'm still so excited about the houses being turned into stamps
but this time I had my new bunting to go with them,
all though the bunting is designed to go with the houses,
It is a stand alone set as well
(I hope to make some samples soon to show this)
I just need more hours in the day, lol


the frame was painted with black acrylic paint
& aged with a bit of inka gold in antique silver,
the images are from my stamp sets HERE
I have my own button on the website entitled
kat's creations how cool is that
& now it has the bunting in there too!
every thing is stamped with Jet black archival ink
& coloured with a verity of Distress Inks
I used the stipple background 
to give a bit of texture to the sky.


for the bunting I stamped it onto scrap card &
left a piece at the top when I cut it out
 to fold over the wire & glue it to the back of itself
that way you can add the bunting flags to any 
wire, string, fibres etc,
as this is covered wire it was so easy to form it
into the shape I wanted & I twisted the ends around a pen
to get the twirly bits.
(I hope that makes sense)

that's about it from me today,
thanks for looking at this post,
Kat x.

Sunday, 6 May 2012

VINTAGE HOUSE BY KAT

Hi all Kat here.
I'm still playing with my House stamps,
today I would like to share a little hanging frame I made
in vintage colours.
here's a list of the things I used,
& scraps of white card.

Here are some close ups


I decided to make each frame almost the same
& just position the items differently.

Hope you like it!

I'm off to cut out my new bunting set of stamps
that arrived in the post today (exciting)
they are so hot off the press, they are steaming, LOL

Just before I go,
I would like to say a big thank you
for all your support & wonderful comments,
Kat x.


Thursday, 26 April 2012

HOME IS WHERE THE HEART IS, Frame

Hi all Kat here,
I am very excited to show my first piece of art work showing off my first ever set of stamp designs,
still having to pinch myself about it,
I hope you like them cos there's more on the way, fingers crossed.
here it is,

the frame was painted with black acrylic paint
& aged with a bit of inka gold in antique silver,
the images are from my stamp sets HERE
I have my own button on the website entitled
kat's creations how cool is that!
every thing is stamped with Jet black archival ink
& coloured with a verity of Distress Inks
I used the stipple background 
to give a bit of texture to the sky.

here are some close ups of all 3 panels.


Hope you like it!

if you are wondering where I have been
I have put a brief explanation on my blog 
for those of you that would be interested to know.

I would love to know what you think about the house stamps,
please leave me a comment
hope to be back to full capacity very soon
thank you for being so patient,

Kat x.