Thursday 28 June 2012

Taxi for the Butterfly Ball anyone? By Trish Latimer

Hello again!
Well, this is my third and final project! I have to say a great big Thank You to Jennie and Emma for inviting me to be part of the team, albeit for such a short time! I can honestly say I've had a ball creating these pieces to share......and that is a very dodgy way of introducing my creation today..... (ball? Butterfly Ball? geddit?!!)
Anyway.....
This project started out as something completely different.....but once I could 'see' a carriage shape sort of emerging from the canvas block and spools, this is what happened! Another quirky, painty, assemblage piece.
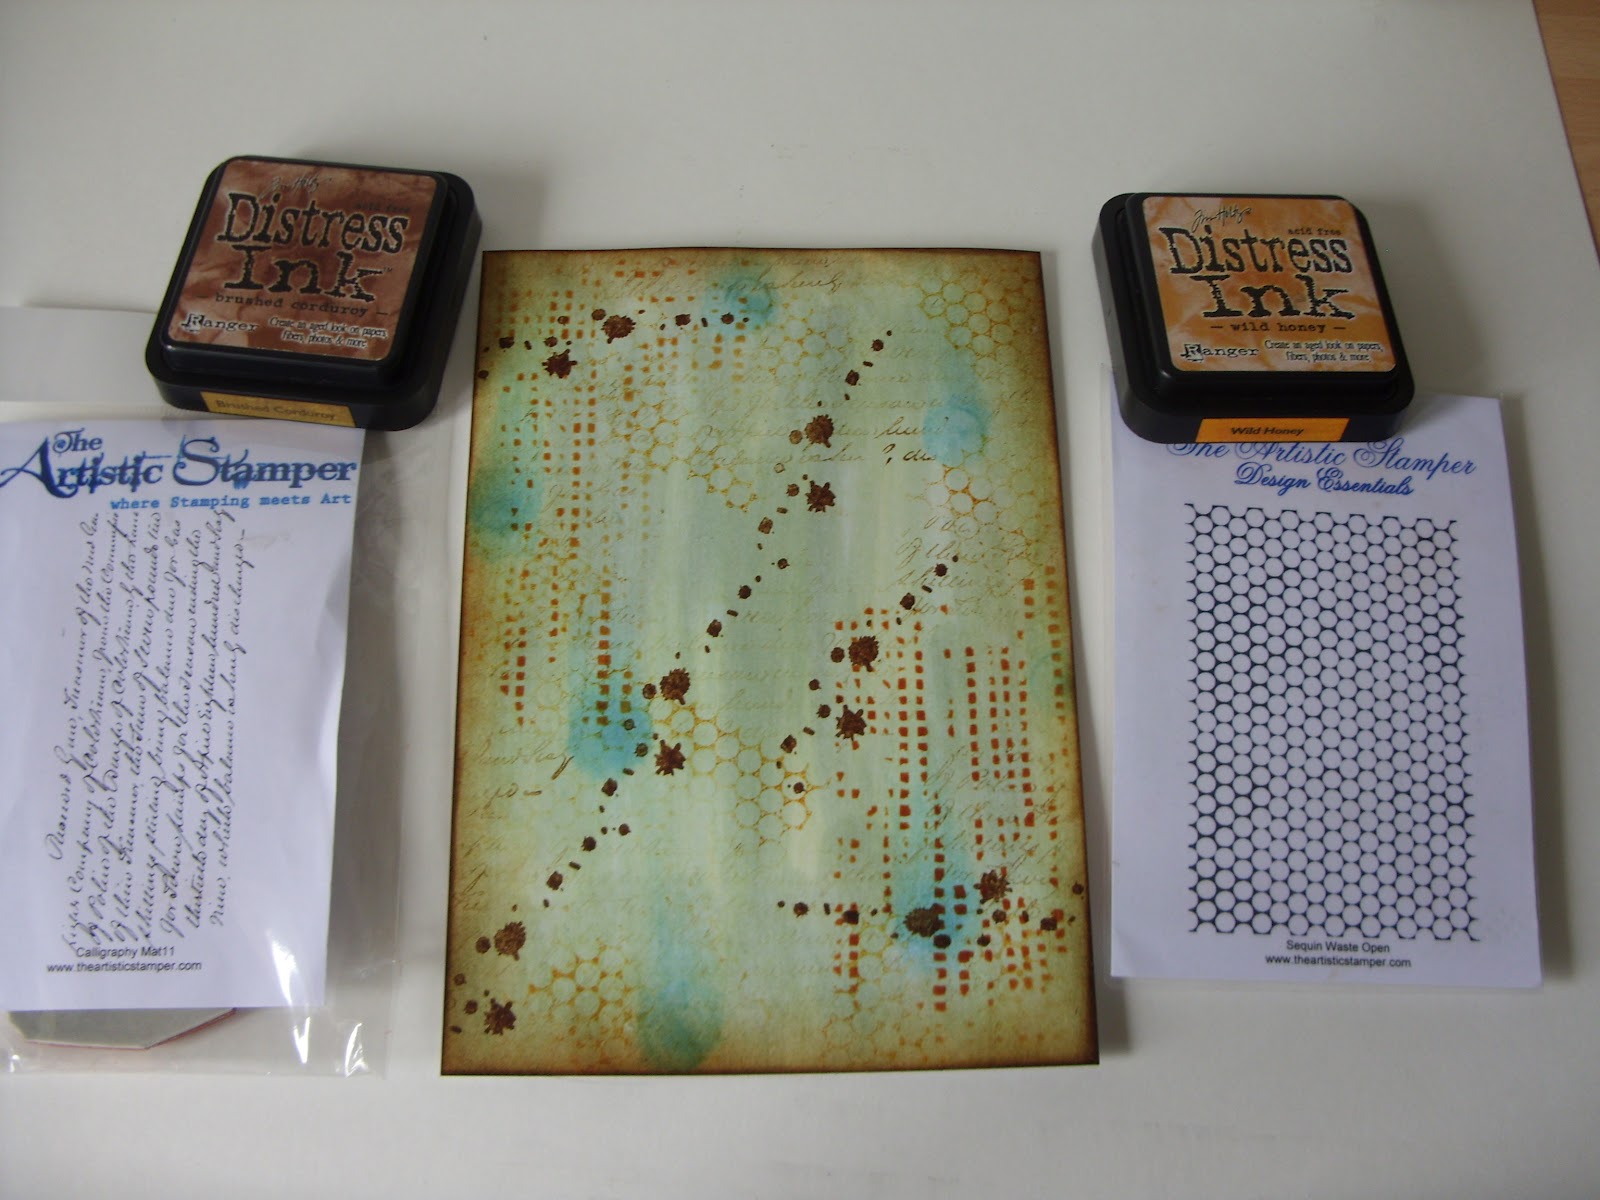
A little step by step 'how to'......
I started off with a wooden block (Chunky ATC sized, but that was coincidence rather than design, it was the first thing that came to hand!). I then covered it with Sticky Backed Canvas . Yes, I could have just painted onto the wood, but I really like the canvas texture!
I then smeared layers of Blank Canvas (white), Pool (turquoise) and Lettuce (green) paint onto the block. Make sure to dry in between applying each colour, and continue to build up the layers until you like it!
Next, its stamping time! Using the same three paints as before, stamp Grid Background, Open Sequin Waste Background, Random Dots Background and Harlequin Background onto the block.
 Once the stamping is dry, print some shapes using the sides of credit cards and bottle tops. I've used
Raspberry and Purple Twilight for this.....
I also added a little black detail using the squiggle stamp from the Flower Maker plate....
Whilst you have the paints out, paint two 70 cm x 48cm Wooden Spools white....
Then decorate to match the canvas covered block....
Once the spools are dry, attach them to the bottom of the block using hot glue.
Now, the butterflies. Paint some scraps of card with the four bright paint colours, then stamp the Butterflies using black ink. Cut out, then adhere to the block base....
To get the 3D effect, use strips of acetate stuck to the butterflies, then adhered at different points to the base. Now, this isn't a pic I'd normally show, but it really gives you an idea of the 'workings' of the butterflies..
The acetate on the side of the block can be hidden by adding an extra butterfly over it!
The 'guardian' of my carriage is a vintage image that I've backed onto card, cut out then stuck to a little square stand. She holds a bamboo skewer sign....
I made a hole in the image, then threaded through some fine chain to look like she's holding it. The chain is simply looped over a Resin Crown glued to the top of the carriage...
So...there you have it! A suitably strange project to end my guest designer stint here!
 Thank you for having me, I've loved it!
See you all soon,
Trish xxxxxxxxxxxxxxxxx

Wednesday 27 June 2012

Shabby Chic Altered Jewellery Box by Astrid

Good morning everyone, this is Astrid here with my second project for June.
I decided to make a little altered jewellery box as I needed a present for a friend that loves jewellery and adores this style.


I used a medium sized wooden box and first of all sanded it down a bit and then painted it all over with Gesso. When that was dry I painted it with Hazlenut Paintdabber. This colour is not at all like hazlenuts but more an old rose pink, which is just the colour I wanted. Next I sanded it a bit again to make it look shabby and stamped all over it with the Calligraphic Mat 12 in Archival Coffee.


I then darkened the edges and corners a bit with some dark brown chalk ink from my stash and added some gold highlight with Viva Decor Inka Gold.

My next step was to create a topper. I cut some smooth white card to fit the top of my box and sponged it all over with Victorian Velvet Distress Ink  Next I stamped three different stamps, The regency background stamp, the Script stamp again and one of the stamps from the swirls, splats and dots plate. I love how you can create some amazing old looking paper by using these stamps together and destressing the edges a bit.

I also added a strip for which I used one of the music stamps.

To finish the box I stamped one of the clocks from the Time and Key set in Black Archival, cut it out and shaded it just a little bit with The Tattered Rose Distress Marker. I added a lock embellishment from the Tim Holtz Locket and Keys set and finished by adding some lace from my stash.


Monday 25 June 2012

THOSE PESKY BIRDS JOURNAL PAGE By Kat

Hi all, Kat here,
I have made a journal page to share with you today,
I haven't made it in a journal as I like the freedom a loose leaf gives me,
when I have made enough loose pages I am going to make them into a book.

I finally remembered to take pictures of the process,
I am really pleased with this page I hope you like it!

It features one of my empathy monsters (he is called Meenie)
I drew him myself, along with the flower,
he has 3 brothers Eenie, Mineey & Moe,
that I am sure I will be introducing you to in my pages at a later date,
along with their own special flowers,
anyway enough waffle from me, here's my page.
I would like to show you a close up of Meenie,
the birds have made their home on his head
& he is not to happy about it, LOL
another bird coming in to land
& others are circling over head
he's not getting any peace today,
Arr bless him.
OK on to the background,

the photos are self explanatory & the items I used are in them
so less typing for me, yaha!
I will list all the ingredients after the photos.


Here's what I used,

weathered wood, antique linen
 bundled sage, broken china, picket fence

vintage photo, gathered twigs, rusty hinge,
wild honey, brushed corduroy, worn lipstick

jet black


Stamps I used,


sequin waste open & ink blot,

from my stash,

my own images drawn by me & then coloured with pro markers,
the phrase typed on the computer,
patterned papers, staples & ribbon

well I think that's everything,
Hope you like it!

back soon,
Kat x

Saturday 23 June 2012

Getting Messy with Gesso by Jennie

Hi, and welcome to another one of my blog posts. This time I thought I would show you a  step by step how to "gesso your way" into the world of altering books or journals, or just a plain old tag!!
This is one of those techniques where I get more on my hands than on the page, and don't tell my husband, but I got it on the camera too! Luckily it did come off!
I used a journal to show you how to do this technique , but you could easily do a smaller piece like a tag or ATC.
Start by laying the Stencil - I used a Dylusions 9 x12 one, and take a small amount of gesso  I used Claudine's studio gesso, which is lovely and thick), and spread it over the stencil with an old credit card or craft scraper. I do spread it quite thin, but not perfectly, if you know what I mean? Important tip, wash your stencil almost immediately as it does dry very quickly, and will be difficult to remove.


I also used a background stamp, and using a small piece of one of those household sponges, (the type that cost pennies in the supermarket) to dab gesso onto the stamps and stamp it immediately. I also stamped it a couple of times to get a sort of shadowy effect. Wash the stamp quickly to remove all the gesso.


I allowed it to dry naturally, and then sprayed over it with Dylusions sprays in greens, yellows and a touch of turquoise.


I love the effect the sprays have on the gesso, showing through some of the white. I just let it dry naturally, but, if you have no patience, use the Dyan technique of rolling a kitchen towel roll over the entire piece, or heat dry.

I added stamps by stamping them with Archival , which dries quickly. I also cut up one of the background stamps so that I had a strip of dots to stamp randomly with :))


I do hope you like this technique, and if you haven't any gesso, you can use any thick paint and get a similar effect.
I have linked all the products here:
Have a creative day, and thanks for looking
Jennie

Friday 22 June 2012

Playing cards album by Titbelsoeur

Coucou la compagnie !

A big thank you for leaving so many comments on my first blog post ! 
Today, I can't wait to show you this... thing... anyway !

My first intent was to use 14 playing cards, from 1 to Joker... 
then the idea came to transform the characters (king, queen and the guy-I-don't-know-how-you-name-him-in-English-cards) with pictures kept here and there on the web... 
then the idea came to use the lyrics of an old never-ending nursery rhyme aiming to teach the days of the week to little children... 
then I searched other pictures for all the cards...
then I started painting, first white to blur the backgrounds... second blue and yellow...
then I stamped the marvelous The Artistic Stamper stamps I don't get enough of (sounds English, huh?)
then I glued the pics
and I stamped the text... letter by letter... don't wanna talk about this, I'd better forget ;-)
Anyway, here is the... thing:
Those of you who know me already suspect I COULD NOT stop there !
They are right!
A little sardine tin was wandering around... I have put make-up on her, and look how happy she is now, and how smart she is with her little slippers ! And how proud for hosting such a nice playing card mini-album !

Stamps I used :


I hope you like my project,
thanks for stopping by, 
I am looking forward to reading your comments ! 
See you again soon...
Titbelsoeur

Wednesday 20 June 2012

Taller Alice by Emma

Hi everyone!
I can't believe that it's already time for me to share my second piece of the month...time is flying but here it is, I hope you like it...

To begin with...

I "splodged" some Weathered Wood and Antique Linen Distress Stains onto my craft mat, spritzed them with water and then dragged a large tag through the colour to give a good coverage of colour all over. I then spritzed the tag with Melted Chocolate Dylusions Spray and using the Letter Jumble Stencil, I dabbed Weathered Wood DI through part of the numbers section.

Next, I used the some Tumble Glass DI and applied this randomly over areas of my tag using the Dotted Flowers Stencil before finally stamping the edges in Black Archival Ink, using one of the stamps from the Borders A6 #2 stamp plate and matting the complete image onto a piece of brown card.

I inked up the Taller Alice stamp from the Mabel Lucie Attwell collection, stamped onto a textured cream card and painted it with Distress Marker Pens. I then blended the edges with Vintage Photo and Antique Linen DI, before stamping them with the bubble dots stamps from the Borders A6 #2 stamp plate.

Using the Movers and Shapers Mini Tattered Florals Die, I made five dimensional blooms and sprayed each of them with Postbox Red Dylusions Spray.

I added these to my tag, together with leaves and branches die cut from card using the Movers and Shapers Mini Branch and Leaves Set.

I used the "All Of Life Is A Journey" stamp and stamped it onto a piece of card, blended with DI and cut the card into a banner shape before adding it to my tag.
Finally, I coloured some seam binding with Fired Brick Distress Stain and tied it into a bow.

Thank you, so much for taking the time to come and look at what I've created...I'll really look forward to reading all your comments.

See you all again soon.
Emma x