Showing posts with label Swirls Splats and Dots plate. Show all posts

Tuesday, 10 January 2017

Tick Tock Birthday Card by Debs Smith

Happy New Year everyone

I have done a birthday card for you today! Its nice and bright and cheerful to take my mind off the miserable grey weather we have here at the moment!


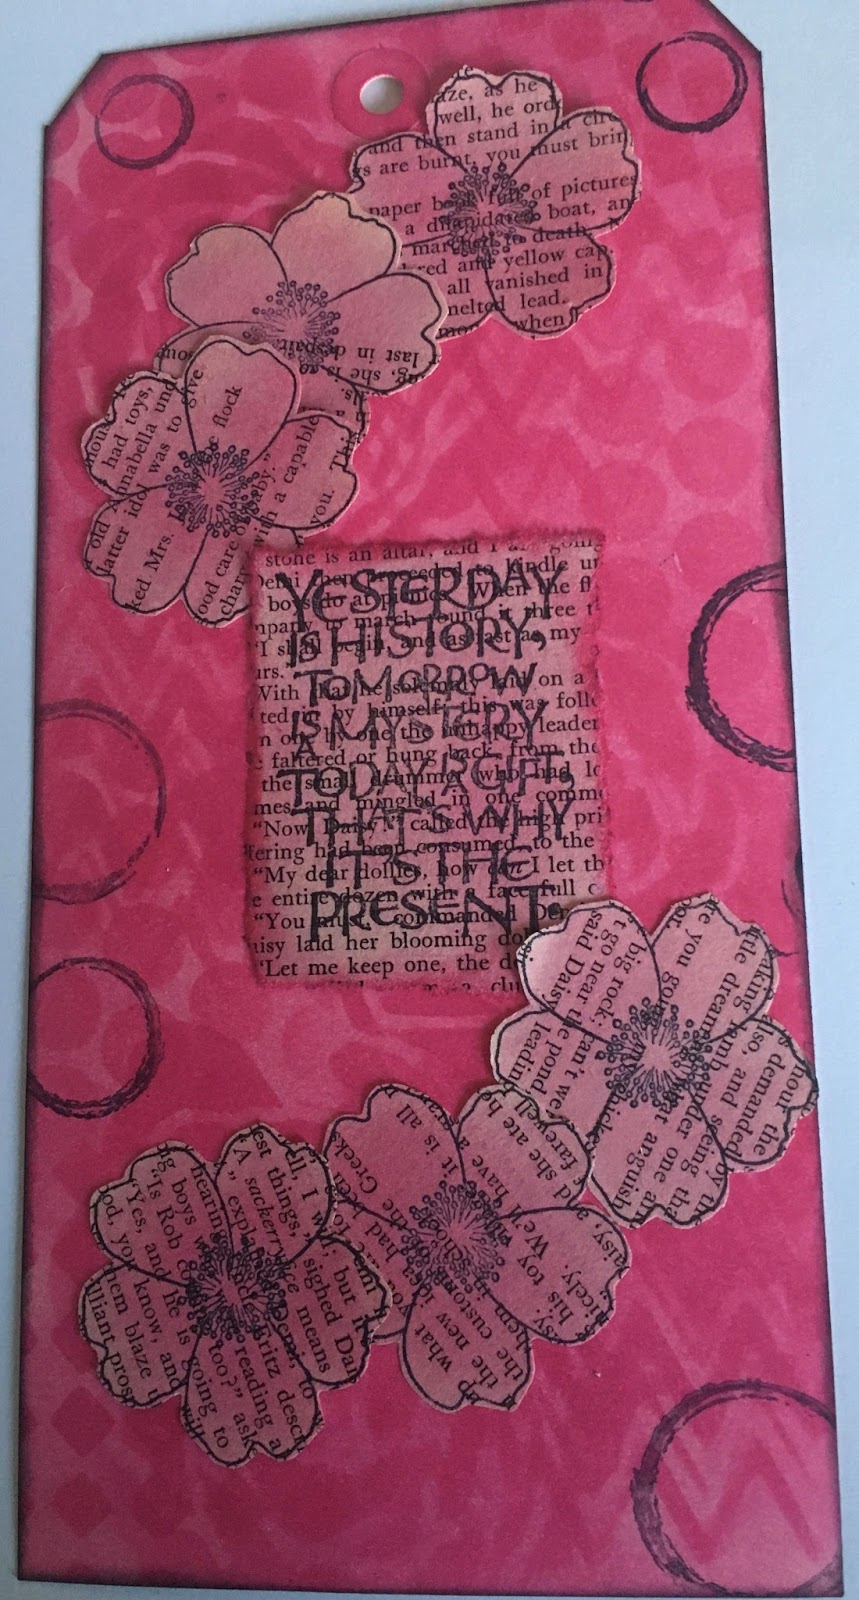
The background is brayered and to see how i achieved the look read on.  The flowers and the sentiment were stamped on a mop up sheet.

 I started with a piece of white card and bartered a small amount of Fresco Finish Mahogany to cover the card

I then applied Terracotta and Tangerine Twist over the top of the Mahogany.  At this point i wasn't quite sure if it was quite the colour i was looking for so i took the Snowflake

 and covered the whole thing with white to knock the colour back a tad
I then added Bouganvilla over the top of the white in places and it was starting looking so much brighter
I had used a spare piece of card to mop up the excess paint with some water expecting to put it in my stash for future use.  I have just noticed a red indian in the paint  wish i had seen it before!!

I then stamped tick tock flowers with black Archival onto the mop up sheet and cut them out using two of the large flower and one of the small.
I then added some background stamping to the main piece by using the number stamp from  the Family Values plate and then stamped one of the flourishes from the Swirls and Splats plate these would be under the flower so it didnt matter that they hadn't lined up completely 
I added the flower onto the top of the flourish and popped a button from my stash on the top and then stamped Happy Birthday from the Grungy Greetings plate onto another piece of the mop up sheet.

Added this piece to a white card and voila!!

Thanks for popping over and i am looking forward to seeing all of your entries this year!
Happy creating 
Debs


Saturday, 10 September 2016

Yesterday is History........In Pink by Debs

Hi Everyone


Here is my latest project in the monochromatic challenge!


With this tag i used just one distress ink for the whole tag.  

I used a large tag and covered it with Picked Raspberry


Next i took a selection of the new Artistic Stamper masks and again used the picked raspberry ink


I then stamped onto some book paper the new dog rose stamp from Lesley Mathewson and Yesterday is History..(stamp) and coloured them with picked raspberry

I also stamped some of the circles from the swirls and splats stamp

I then added some white pen to highlight the flowers and circles.
Thanks for popping by and looking forward to seeing more of your creations they are looking good so far!  


Monday, 16 May 2016

Bird Canvas by Gemma


Hello Everyone


This canvas roughly measures 5 x 6.5 inches. The background for this canvas changed a lot while I was working on it. I started off by tearing two pieces of patterned paper and gluing them to the canvas with a gel medium, over that I scraped some crackle paste and paint. I was fairly unhappy with the results and ended up going over the top with gesso, but some of the texture can still be seen underneath.


On the bottom third of the canvas I stuck bits of washi tape, and as the gesso was still wet I blended in blue acrylic. I then watered down some Teresa Green Fresco Finish paints and wiped it over the washi tape. I dried off those layers and then stamped over the blue paint with a slightly darker shade of blue and the honeycomb stamp. I stamped over the washi tape with a darker shade of green and the petal stamp.


On a sheet of white card I stamped out two birds and nine circles using black archival ink. I painted them using Tangerine Twist, Banana, Tango and Cherry Red Fresco Finish paints. I stamped over the top of the circle with the petal stamp using the same colour paints.


I then cut them out and using gel medium I glued the bird in place and the circles layering them up largest to smallest.


 I brushed some ground espresso distress ink around the edges, and then using a black pen I drew in the stems of the flowers. I edged everything with the same black pen and drew in few leaves on the stems.


There is still plenty of time to join in this months challenge both on the blog and on the facebook page here

Thank you for reading
Gemma (inkykitty)


Tuesday, 26 April 2016

"Journey with Dragonfly" by Shilpa

Hello Everyone,

I am sharing with you a creation with Artistic stamper Dragonfly stamp and Swirl stamps.


As we are celebrating all things distress this month here at Artistic stamper, I've used distress inks and stains to bring the colors on my page.


I started the background with stamping Dragonfly and flourishes with Jet Black Archival ink. Next I applied fossilized amber and wild honey distress stains on the surface, spritzed water to spread the color and heat set it with heat tool. With honeycomb stencil and Walnut stain distress ink, I created texture. Further I stamped text with Calligraphy Mat 3


Dragonfly is die cut from Sizzix Tim Holtz design.


Hope you liked my creation and got inspired,
You have 4 more days to join our "All things distress" challenge this month.
Thanks so much for stopping by.

Monday, 29 February 2016

Hearts Canvas by Gemma

 Hi Everyone

February is over and it is my last chance to use as many hearts as I possibly can for another year. So this time I painted a 12x12 inches square canvas.


After covering the canvas with gesso, I painted the whole canvas with two different shades of green fresco finish paint. I used Teresa Green and Granny Smith. I then stamped over top with the darker shade of green (Granny Smith) using  Calligraphy mat 11. When I was stamping I made sure to cover the whole canvas but stamped two or three time before applying more paint to the stamp as I wanted some areas to be more faded than others.


 I used both Haystack and Chalk fresco finish paints and the dots from the swirls, splats and dots plate, to add the circles to the canvas. I love how imperfect they are, areas where you can see the paint has splodges or areas that were missed.  


The hearts are wooden and just something I had floating about in the crafty stash. I covered them with gesso and then with the Haystack fresco finish paint. I really should have added a second layer of gesso because as time has gone on I have noticed areas where the wood is still visible. Then I stamped on the top of them using Tango fresco finish and the dots background stamp.
.


After edging the hearts with the same Tango paint I glued them in place using Cosmic shimmer acrylic glue. Then with a black stabilo pencil I added a boarder, some stems and some grass, so the hearts are a little like flowers. To finish I added the word love from the words mask.


Thank you for reading, taking part in the challenges and commenting. Me and my Team mates really appreciate it.

Gemma (inkykitty)


Wednesday, 24 February 2016

HeArt Art with a twist

Hi All

So we have got Valentines Day out of the way, and unless we are making cards etc for loved ones or the occasional wedding.  I know i tend not to bother too much about hearts.  However, we all like extra usage out of our stamps so here is alternative use, which I am sure some or all of you will have already thought of  - turn hearts into petals and make up a flower.


This was quite a simple canvas and came from an idea about using the three colours of Distress Paint which were sitting on my desk! Weathered Wood, Frayed Burlap and Victorian Velvet.  The three colours are all quite muted colours and as paints personally come into their own, working really well with each other.


I started off with a 12 x 12 canvas and added grunge paste through The Artistic Stamper Chevron 6x6 and Large Dot 6x6 Mask with Grunge Paste  

Whilst i was waiting for the Grunge past to dry I stamped 8 of the large hearts from the Roses are Red Plate with Black Archival Ink onto Tim Holtz Grunge Paper

And then cut them out and painted with a quick coat of Gesso not quite sure why as I didn't really need to!!

And also stamped the Chinese Background stamp onto a piece of beige tissue paper again with Archival


Then painted stripes in Weathered Wood and Frayed Burlap overlapping as i went across


Whilst waiting for the stripes to dry I painted all of the hearts with the Victorian Velvet.  The paint comes out a beautiful dusky pink, far less muted than the Distress Ink

I then stamped each heart with the Dots Background A6 stamp using Victorian Velvet Distress Ink

I also went around the outside edge of each heart with Ground Espresso Ink


Using the Dots Background again i added some Victorian velvet paint and stamped some random dots directly onto the canvas, and also added some bottle top marks from the lids of the three colours


Ripped up pieces of the tissue I had stamped with Chinese script and added that to the canvas using Prima Soft Matt Gel

And added the heart petals to make the flower using Prima 3D Matt Gel This gel is absolutely amazing.  You can use it through stencil or as an ordinary glue however if you put a dollop of it onto a project it will stay raised so that you can add dimension really easily.  Plus it adheres pretty much everything including metal and it dries really quickly.  You do have time to move it but you do need to be quite quick if you do.


I stamped the lovely flourish from the Swirls Splats and Dots Plate onto white white tissue and carefully tore around the edge.  I also stamped Follow your dreams from  Journaling Words #1 onto a bit more of the beige tissue and added it onto a piece of cardboard and painted in Weathered Wood and Frayed Burlap but when mounting ensured the colours were the opposite of underneath!  Stuck down the tissue with the soft matt gel 


I made three smaller hearts and coloured the same as the large ones however, this time i used Ground Espresso Ink to add the dots as well as to edge


Added a metal embellishment and a glass bead from my stash and there it is!
As always do let me know your thoughts good and bad, and don't forget to add your project to the blog, we do enjoy seeing what you have produced and you still have a few more days to go.

Happy Crafting Debs