Sunday 26 January 2014

Explore Art Journal page

Hello everyone and lovely to have you drop in, this is Astrid here with my latest project.
One of my New Year's resolutions was to do more journaling and so I thought I would share a journal page with you. But before I start by giving you a description, I want to say that this page was heavily influenced by some of the fabulous journal artists that can be found on the internet, particularly Roben Marie Smith, one of the artists behind the Documented Life Project that some of you may have heard about. Obviously I gave it my own twist...

These are the stamps and products I used:
Chickenwire Background
Calligraphic Mat 12
Leaves A5 by Katie Fox
Journaling words 3
Gesso
Distress Paints in Broken China,Salty Ocean, Peeled Paint, Ripe Persimmon, Aged Mahogany
Distress Inks in Peeled Paint and Walnut Stain, Mustard Seed
Archival Inks in Jet Black, Library Green and Cobalt, Potting Soil
Masks: Large Sequin Waste, Chevron
Dylusions: Dirty Martini
From My stash:
Faber Castell Gelato Brown
Faber Castell Big Brush Pen black and dark green
Sequin waste, old journal page, old book pages,scraps of card, gel medium matte, glue, pallet knife, make-up sponges, baby wipes

Alright, here is a quick step by step:
Cover your journal page with a coat of Gesso, using a pallet knife, when dry, colour with Distress Paints and spritz with water to let the colours run and marble, add a few spritzes of Dylusions to deepen the colour in places and blend with a baby wipe..
  Tear some strips of an old journal page and adhere to the sides to frame your page a bit. Then add further interest with the help of the large sequin waste stencil: Place the stencil on the page, dip your finger in gesso and dab through the stencil. Dry, then add colour with the help of some Archival Inks, sequin waste and make-up sponges.
Outline your circles with a big brush pen for more contrast.
Next add some torn strips of old book pages and blend them in with the help of some more paint.
Here is a close up:
Time for some background stamping, I used the chicken wire and a journaling stamp.

Right, now to get some focus to the page... I cut a heart shape out of an old scrap of card to create a home made stencil.
I held it down over my page and then added colour with Ripe Permisson and Aged Mahogany Distress Paints and then to tie it in with the circles on the other page, added some more sequin waste dots with  Archival ink. Some of the colour had leaked out from underneath the stencil, so I blended it into the background with a baby wipe and then outlined the heart shape with my Big Brush Pen.
This is what the whole double page now looked like:

Time for the final touches: I coloured some smooth white card with first green Distress Paint and then Peeled Paint and Mustard Seed Distress Inks. I then stamped one of the leaves of the Leaves set in Library Green Archival and cut them out.
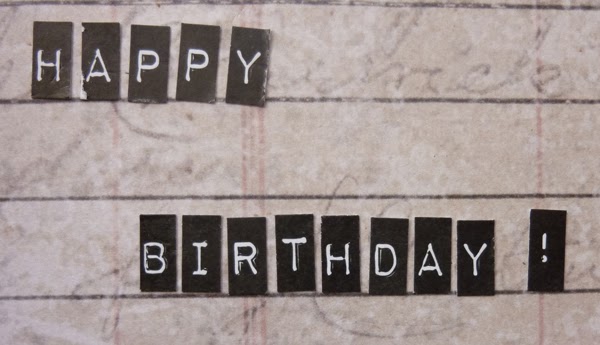
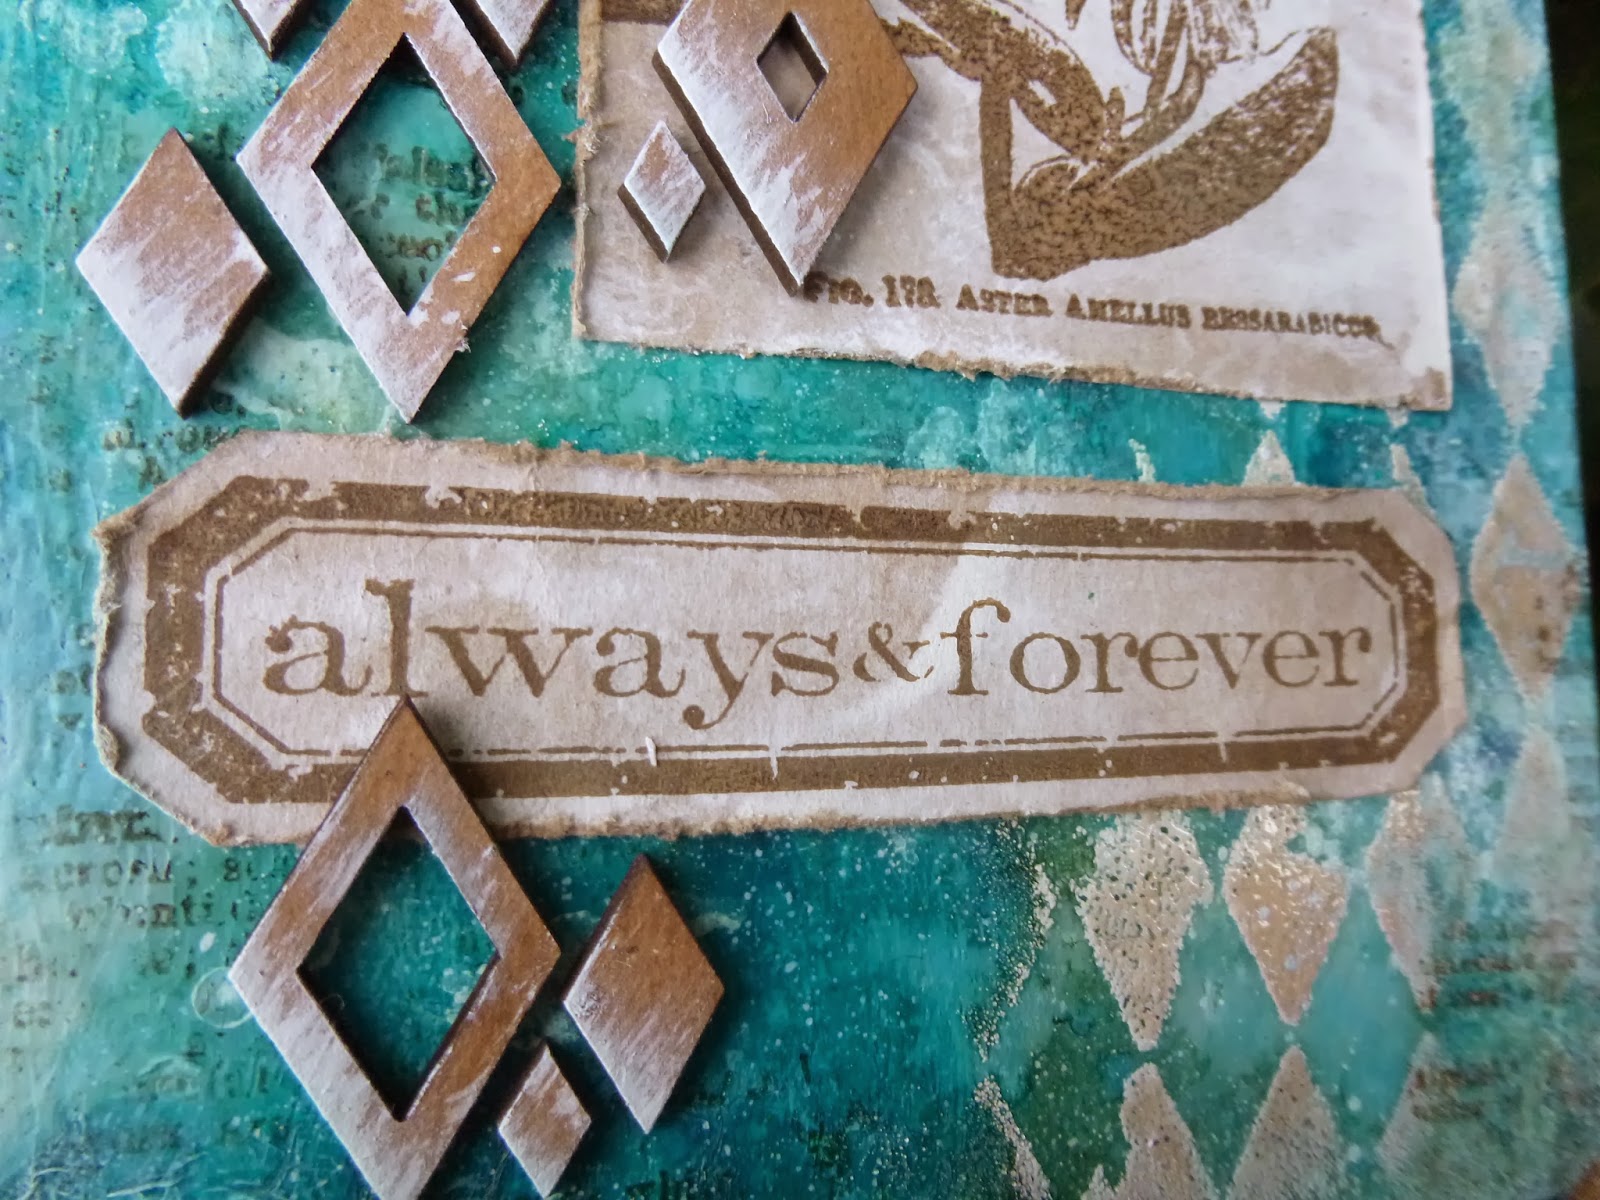
I glued them onto the page  and then it was time to complete the page with some journaling and a sentiment stamp from the Journaling Words 3 set, which I had stamped on what was left of the torn up journal page I had used already for the edges of my page. I also cut some strips of that same page and added additional journaling as you can see from the pictures below. Finally I added a few more sequin waste dots in some of the spaces that appeared a bit empty still and some further stencilling along the bottom edges with the Chevron stencil and finished it all by going around the edges with my brown Gelato.


Well, there you have it, page complete.
Hope you like it and that perhaps I have inspired you to do your own journal pages. The Artistic Stamper has a large selection of journalin supplies!

Thank you so much for visiting today and see you next month!

Friday 24 January 2014

Lots of Love

Hello everyone, Alison (butterfly) here with a folded tag which I made as my mother's birthday card (these people with birthdays so close to Christmas...). I'm writing this before the birthday (though it will all be over by the time you're reading this) and I'm guessing that her complaint will be that there are no fungi amidst the undergrowth - I'll have to get Jennie onto that for the next stamp release! - but I hope she'll like it, nonetheless.

The folded wallet structure comes from Linda Coughlin's brilliant tags offered up as bonuses in her recent Funkie Junkie 12 Tags competition.  I loved making my version so much that I've added it to the repertoire!


I started with some wrinkle-free distress technique on a large tag - colours, I think, were Evergreen Bough, Broken China, Peacock Feathers, Peeled Paint, inks and stains combined - and I also added a couple of spritzes of Perfect Pearls Blue Patina to the craft mat, so there are lovely touches of shimmer.


I gave the edges a good inking with Walnut Stain - I never tire of how this gives such depth to the colours and draws the eye inwards.  There are a couple of flower stamps on the outside cover: the little one is from Botanical Plate 1, and the larger head is from Katy Fox's Encyclopaedia Botanica set...


... as is the little butterfly on the flap.  All the stamping is done in Archival Potting Soil.


I added some Idea-ology Foliage, positioning them so that the petals of the lower flower actually form the closure to tuck the tag behind (very pleased with this little brainwave - and it works beautifully!).


And then lots of painty splatter - one of my favourite things to do at the moment.  Once you open it up, you're heading into the undergrowth (seems I like it in the undergrowth!)...


Here you get the full version of Katy's large flower...


There's a little bug on the inside of the flap... bugs like to hide under things, I find, don't you?!


The layered background started with mopping up the leftover inks from the front cover's wrinkle-free distress - so you get a paler version of the same shades.


There's some stencilling: Evergreen Bough through the Artistic Stamper Splats and Swirls mask, and Broken China and Walnut Stain through the Tim Holtz Bubbles stencil.


Then I got going with one of the Tim Holtz flourishes to add some detail into the layers.


The gorgeous wording comes from the fairly new Grungy Greetings plate - what a font! - and it's stamped (Potting Soil still) onto kraft card, and layered over an inked book page (and I promise I didn't notice the words surrounding it until I was taking the photos...)


Closed up again, you get a full version of the flourish on the back, and a little butterfly stamp (from Unity) that, with my monogram, seems to be becoming my "signature".

Thanks for stopping by today.  You've still got time to play along in our challenge this month: Love Is In The Air.  With Valentine's Day around the corner, I'm betting you've been working on something that fits the bill.  You don't have to use Artistic Stamper stamps on your project, but if you do you get two entries into the prize draw!!  Hope to see you there...

Ingredients used:
Artistic Stamper Stamps: Botanical Plate 1, Katy Fox's Encyclopaedia Botanica, Grungy Greetings
Artistic Stamper Mask: Splats and Swirls
Distress Inks and Distress Stains: Evergreen Bough, Broken China, Peacock Feathers, Peeled Paint, Walnut Stain
Tim Holtz stencils - I used Bubbles but you could use any of these
White acrylic paint
Idea-ology Foliage
Large Tag - size 10
From my stash: Tim Holtz flourish by Stampers Anonymous (lots of lovely alternative possibilities here), Unity butterfly stamp, book pages,

Tuesday 21 January 2014

Hanger with my granny's postcards...

Salut la compagnie, this is Titbelsoeur here !
Today, my project for the Artistic Stamper's CT is a hanger I have made placing each element on top of the other one...

the support is a cloth label you see a bit of at the very bottom of the picture.
the 2nd layer is a piece of cardboard I have distressed with gesso, walnut stain and black paint
on top of it, I glued a book page, a flower-stamped tag and a paper mat, all distressed,
then added a photo negative and the cupcake-cloth label
And on the top, the post card stamped on painting paper.
After that, I slipped the 2 old post cards between the label-support and the cardboard, and made them solid to the string with a tiny clothespin.


The Artistic Stamper's stamps I used to make this hanger are :


post card, address and text from the Carte Postale size A5© Katy Fox
flower from the Encyclopaedia Botanica Size A5 © Katy Fox
and you may find both HERE

I would be very happy if my make inspires you, thank you so much for stopping by, I am looking forward to reading your comments !
A tout bientôt,

Saturday 18 January 2014

Resolutions Tile by Alison (Craftytrog)

Hello Stampers!
I love playing around with my Gelli Plate, & thought it would be fun to try using it on a bisque tile for a change.
Here's what I came up with...
I like to use bubble wrap & interesting textured vegetable packaging to create patterns with the Gelli Plate, so I combined these with a few colours of Claudine Hellmuth Studio Paint. I did a few layers of printing, using only one colour at a time.
When the paint was dry, I stamped Neil Walker's Kiki, together with phrases from the Be Creative Plate. I used Jet Black Stazon ink for this, and added some ink to the edges of the tile also.
I finished off by sealing the tile with DecoArt triple thick brilliant gloss glaze. 
I hope that 2014 will be happy, creative & artful for you all!
Thanks for visiting,
Alison xxx

Monday 13 January 2014

It's your birthday...

Hello everyone, this is Astrid here and as this is my first post for 2014, I'll start by wishing you all a Happy and Creative New Year.

Now, it has to be said, I am not a card maker, but I needed a card for a friend's special birthday, so a card it was going to be.

Now this person is definitely not into over the top creations, so I had to keep it all quite simple (well for me anyway)...
I started by creating the background to the main panel of my card by covering a piece of card stock with Gesso to give it some tooth. I then added some colour with the help of Salty Ocean and Brushed Pewter Distress Stains. I just splatted them on, let it drip a bit and then wiped around a bit with a baby wipe.

Next it was time for some background stamping. I used the Smudge Background and the Calligraphic Mat 12 for that and stamped them in Watering Can Archival.


Now to complete the front panel, I first stamped the Butterflies from the Tim Holtz Papillon plate directly onto my background, but this time in Jet Black Archival Ink. I then stamped the largest of the butterflies again, cut it out and mounted it onto the panel on top of a bit of died cheese cloth. I also added some faux stitching around the edges and created a sentiment panel with one of the phrases from the Journaling Words 3 plate. Below you can see how I put it together with some inking round the edges and some wired garden twine from my stash.


Finally I mounted the panel on a piece of corrugated card and then some dark blue and some Kraftcard, Distressed with some Vintage Photo Distress Ink.
Now for the inside of the card: I cut a piece of the Tim Holtz French Industrial paper to size and glued it to the inside of my card. I then stamped further phrases from the Journaling Words 3 set in random places.

Finally I added the words Happy Birthday with the help of the little Ideaology Label Letters.

Love these, they are so versatile (you get several sheets of them) and are great for journaling and all sorts of projects.

Well, hope you like it and thanks for visiting like always!!


Friday 10 January 2014

Always and Forever Changing!

Hello all!  Alison (butterfly) here with my first Artistic Stamper post of the New Year.  I should probably have made a resolution about trying to write shorter posts, but I didn't, sorry!  I've another photo-heavy marathon for you (and remember you can click on the photos for a closer view).


I started with one idea in my head with this one, went via a completely different possibility and ended up in an utterly unexpected destination - but one that I'm very happy with.  In fact, it may be one of my favourite makes.


I'm afraid I don't have many photos en route since most of the way along I was pretty sure I was going to bin it.  Very glad I didn't now!


I started with one of the papier mâché icons and some PaperArtsy crackle glaze, but that's long lost under some heavy gesso and loads of ColorWash sprays.  What I can tell you is a little bit of how the background shaped up once I'd gesso'd over my first idea.


I started with some text, stamping the botanical definitions from Katy Fox's Encyclopaedia Botanica plate in Potting Soil Archival (just as well I picked Archival with everything that then happened).


I stencilled Walnut Stain Distress Ink through the Harlequin stencil - it's really pale because of being over the gesso - and then clear embossed it, using only a light covering of powder.  (Again, just as well I kept it in place with the embossing - it wouldn't have lasted through the spritzing.)


At this point I had a gentle neutral affair on the way - white background, dark brown stamping, and I was still planning to stamp one of Katy's flowers directly onto the icon.  But, in my usual fashion, I had more than one thing on the go, and chance intervened at this point.


I happened to use a kraft tag to mop up some white paint from the mat, and suddenly wondered how the flower would look stamped onto that instead... the answer was "lovely"!  This particular flower is from Katy Fox's latest Botanical 2 release, and it's stamped in Potting Soil.


But then it started looking a bit bland to me.  I thought I'd like just a little hit of colour in the background... hmm!  I got out the ColorWash sprays, with their yummy earthy, natural tones, and tried them out on a nearby tag which gave me lovely spray patterns and some gentle blending and dripping.  But when I sprayed them onto the gesso, they behaved very differently and I ended up with really full on colour going on - not what I'd intended!


However, thanks to the embossed Harlequins, there was a lovely resist effect in places that toned in with the whitewashed kraft tag, so I decided to persevere.


I stamped the Artistic Stamper Messy Art blots and splashes (Katy Fox again!) in Fresco Snowflake...  I hadn't used these before and, oh, how I love them now!


I added a couple of spritzes of Dylusions White Linen too...


... and dry brushed some Snowflake around the edges of the icon too.  Obviously, all this is being carried over the edges as usual.


I stamped one of Tim Holtz's Simple Sayings in Potting Soil onto another whitewashed kraft tag and cut it out and distressed it.


And I added some Idea-ology Linen Ribbon to the top of the tag.


My final brainwave was to add some "Diamond Confetti" chipboard from the UmWow Studio, and highlight it with a dusting of Snowflake Fresco brushed up from the bottom corner.


I'm really pleased with how these drift across the piece, echoing my embossed Harlequins, and adding a touch of dimension to the composition.


So that's me for today.  Thank you so much for stopping by, and I hope you'll come along and play in The Artistic Stamper challenge this month - Love is in the Air - we'd love to see you there.

Ingredients used:
Artistic Stamper stamps: Katy Fox stamps - Encylopedia Botanica, Botanical 2, Messy Art
Tim Holtz Simple Sayings
Papier Mâché Icon - large
Adirondack ColorWash sprays - Meadow, Stream, Denim
Distress Inks - Walnut Stain
Archival Ink - Potting Soil
Gesso
Fresco Finish Paints - Snowflake
Clear Embossing Powder
From my stash: Diamond Confetti by UmWow, Idea-ology Linen Ribbon (find similar here), small kraft tags