Showing posts with label Distress Inks. Show all posts

Sunday, 11 November 2018

All Squared Up with Lisa

Hello there!! Lisa here with today's post for The Artistic Stamper. This month's theme is "Square It".

So here is what I did...


I cut a card blank at 7&3/4" square for a background then cut several other smaller pieces to fit inside the background piece.

I coloured all the individual pieces with Peacock Feathers and Dusty Concord Distress Inks.


I placed all the different card pieces in the correct places then stamped the Tick Tock Christmas Baubles on to the card.


I then matt and layered all the pieces on to black card leaving a very slim border, then used foam pads do stack each layer to give a 3D effect.


Thanks for popping by,
toodles for now.
Lisa x


Tick Tock Christmas Baubles A5 (cut out and mounted on cling cushioning)

Thursday, 10 May 2018

Backgrounds with Lisa - the mini version....

Hello folks! Lisa here and welcome to My post for The Artistic Stamper. This month's theme is 'backgrounds'.

The Artist Stamper have a fantastic collection of stamps which can be used for backgrounds. 
I love making my own backgrounds - starting with a white piece of card and adding colours, textures and layers to create a background. 

And this is what I did for this creation...


I started with a white piece of card - size 7" x 7" and coloured the white card with a selection of blues and purples Distress Ink.
I then added a couple of squirts of water and let the water run down the card. 

I used The Artistic Stamper Mini Backgrounds A6 stamp set, Mini Backgrounds A6 #1 and Mini Backgrounds A6 #2 by Neil Walker. 
(These stamps do all come as individual A5 stamps. But with the Mini Background set, there are 4 stamps in the set which I find gives me much more variety as I can never make up my mind which is my favourite...)

I used stamps from all three sets and stamped using the same Distress Inks, layering and overstamping the patterns.
I then stamped the butterfly from the Insects and Butterflies A5 stamp set on to the background with black ink. I then heat embossed it with clear embossing powder.
To finish I added a sentiment sticker.


Thanks for popping by the blog today.
Toodles for now,
Lisa xxx 

Here is everything I used...


Mini Backgrounds #1  size A6 (cut out and mounted on cling cushioning)       Mini Backgrounds # 2 size A6  ( cut and  mounted on cling cushioning )       Mini Backgrounds size A6  © Neil Walker (cut out and mounted on cling cushioning)   Insects and Butterflies 1 A5  (cut out and mounted on cling cushioning)      


Wednesday, 25 April 2018

Birds and Bees month - with a twist...

Hello, Lisa here with another inspirational look at April's theme - Birds and Bees. 
But with a twist... I've used butterflies.

I used The Artistic Stamper A5 Insects and Butterflies stamp set, which has a gorgeous collection of winged creatures. 

My previous creations for this theme included bees and birds. So, this time I went with a more pretty version of a winged creature - butterflies. 

Of course, there is no limit to what winged creature you could have using this technique. 

Here is my creation...


I coloured a piece of white card with Distress Inks using Mustard Seed, Cracked Pistachio and Blueprint Sketch. I then sprayed the inked background with water and left to dry.


I used The Artistic Stamper 3 x 3 Harlequin Mask with the same colours of ink to add some depth.


I then stamped the butterflies and coloured them them with Carved Pumpkin, Wilted Violet and Picked Raspberry Distress Inks.


I stamped the word 'fly' using black ink then 
over-stamped with Carved Pumpkin Distress Ink, and lightly brushed Blueprint Sketch ink over the top. 


To finish, I matted the background on to Kraft Card.


Thanks for popping by.
Toodles for now,
Lisa xxx


The stamps and stencil I have used are available on The Artistic Stamper website. 


Insects and Butterflies 1 A5  (cut out and mounted on cling cushioning)   The Artistic Stamper Mask Harlequin 3" X 3"      Decay Alphabet lower case size A5 (cut out and mounted on cling cushioning)

Tuesday, 19 December 2017

Christmas tag by Titbelsoeur

Goodly Morning Stampfans! 
Today I am here showing you a quick Christmas tag I have made using some of my favourite Artistic Stamper stamps... 


I hope you like it, and here's how I made it :
To begin I stamped the bird image from 
Modern Christmas # 1  onto a small piece of white card, coloured it in with Distress inks and then cut around the outline of the image.
Next, I made my own tag support from a cereal box and covered it with black gesso, then I used a piece of  white watercolor paper and blended some Distress inks over it with blending tool and foam. And I stamped baubles and holly (find them in Christmas Stamps) on it with the same inks.
Just had to stick the bird to the tag and add a nice ribbon.

So, that's about it for this creation and I won't be posting again this side of Christmas...so, I'd just like to wish everyone a wonderful Christmas and thank you for all your comments since I joined The Artistic Stamper Creative Team. It's been lovely reading each and every one of them and I really do appreciate them all.

And don't forget you can win these fabulous stamps, just participating in our challenge 

December's Creative Challenge - Christmas

 for 3 chances to win !

Bye for now and happy creating. 

Titbelsoeur

Thursday, 7 December 2017

Christmas present by Titbelsoeur

Good morning friends,
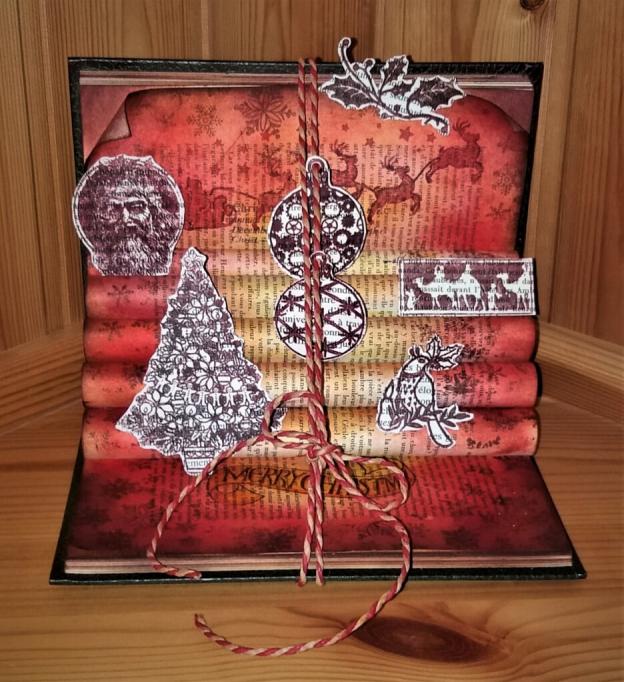
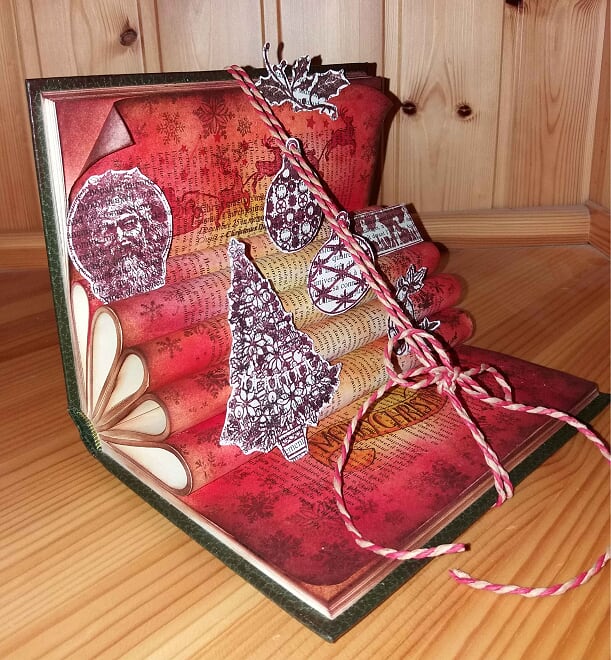
What about home-made Christmas presents ?
Like altered books ?
They are easy to make and are usually very well appreciated.
First of all, grab an old book and roll 5 groups of pages.

Then, colour them with Distress ink on blending tools and foam
Make your Christmas Stamps choice, stamp some of them directly on the book, and others on separate book pages that you will cut out and stick to the book. Use a pretty ribbon to bend the book, and here it is :


Would you like to win these fabulous stamps ? Easy : just participate in our challenge 

December's Creative Challenge - Christmas

 for 3 chances to win !

Thank you so much for stopping by.
Your comments are very much appreciated here, on my blog

Titbelsoeur

Tuesday, 19 September 2017

Door card by Titbelsoeur

Hello everybody !
Are you looking for ideas to participate in our monthly challenge ? Here is another easy-to-make card, I have done it the same way as the other, used the same inks and the same stamp plate, but not the same door stamp ! 
Here is the how-to : just ink your mat with your Distress ink pads, spray water and press your paper on it. Then ink some mini background stamps with the same inks, stamp it  here and there, and then stamp this awesome door with black archival ink. 


And here is your beautiful card with little colour !

here are the stamps I used :


Would you like to win these fabulous stamps ? Easy : just participate in our monthly challenge "Take a little color" for 3 chances to win !

Thank you so much for stopping by.
Your comments are very much appreciated here, on my blog

Titbelsoeur


Tuesday, 16 May 2017

Wet Wipe Flower Card by Gemma


Hello Everyone

For my post today I have a card I made using used wet wets that I dried out and stamped over.


I glued the wet wipe to a piece of card, that I had already cut to fit the card blank and trimmed off the edges. Then I stamped the words dream, imagine and creative from the framed words set.


I then stamped around the edges with distress ink and the mini honeycomb stamp, before adding extra colour to the edges with distress ink. 


On two or three other dried wet wipes I stamped out Lesley's Ivy and one of the extra stamps that come's with the solid floral background. I cut them out and glued them to the card front.
.


Thank you for stopping by
Gemma

Tuesday, 7 February 2017

He[art] Journal page by Ttibelsoeur

Hello happy Journalers, how are you doing ?
It was great to use these Artistic Stamper stamps to make a new art journal page.


The page was not blank in first place : I have gathered many monoprinted pages to make a new art journal. Hence the first layer, gelliprinted with Bamboo Open Texture Mat C156 © CaroLines
The second layer was made with the new Mini background stamps and assorted Distress inks. Then I stamped Decay forms and steampunk border from Borders A5 2 on the edges with black Archival ink. Some white marks made with white acrylic paint on bottle caps, and the background was done.

Then I stamped the 2 Inspiration Jars with black Archival Ink on a separate drawing paper, already colored with Distress Ink Pads (Mustard seed, Spiced Marmalade and Broken China), I added the new Mini Heart © Neil Walker on the blank jar, highlighted some details with a white pen, cut both out and glued both on my page.

I was just missing a title 😅... easy peasy, found it in the Journaling section !

Thank you so much for stopping by,
your comments are very much appreciated, 
here, on my blog, or on the Artistic Stamper's Facebook page.
Do not forget to participate in our monthly challenge
 to win some fabulous Artistic Stamper stamps.

Titbelsoeur

Friday, 16 December 2016

Pocket Christmas Planner by Gemma

I like to be organized at Christmas and admit that I have many lists on the laptop. Unfortunately, that doesn't help me when I am out and about so I made this little folder that I can easily put in my bag.
   

The inside was constructed using a couple of envelopes and a card blank. I glued the flaps of two envelopes to the sides of a card blank and then cut a third envelope in half to make pockets on the inside. Then I folded in half a sheet of Kraft card and trimmed it down to make a cover.


To decorate I pulled a few prints from my Gelli plate using different background stamps. Which I cut down and glued in place leaving myself lots of places to slide in my gift lists and to do lists.


To decorate the cover I cut a tree shape from one of the Gelli prints and ripped a piece of white pearl paper for my snowy hills. Before glueing them to the cover I painted the whole thing blue and stamped over the top with blue distress ink.


Thank you for reading
Gemma


Wednesday, 7 December 2016

My last greeting cards by Titbelsoeur

Hi there,
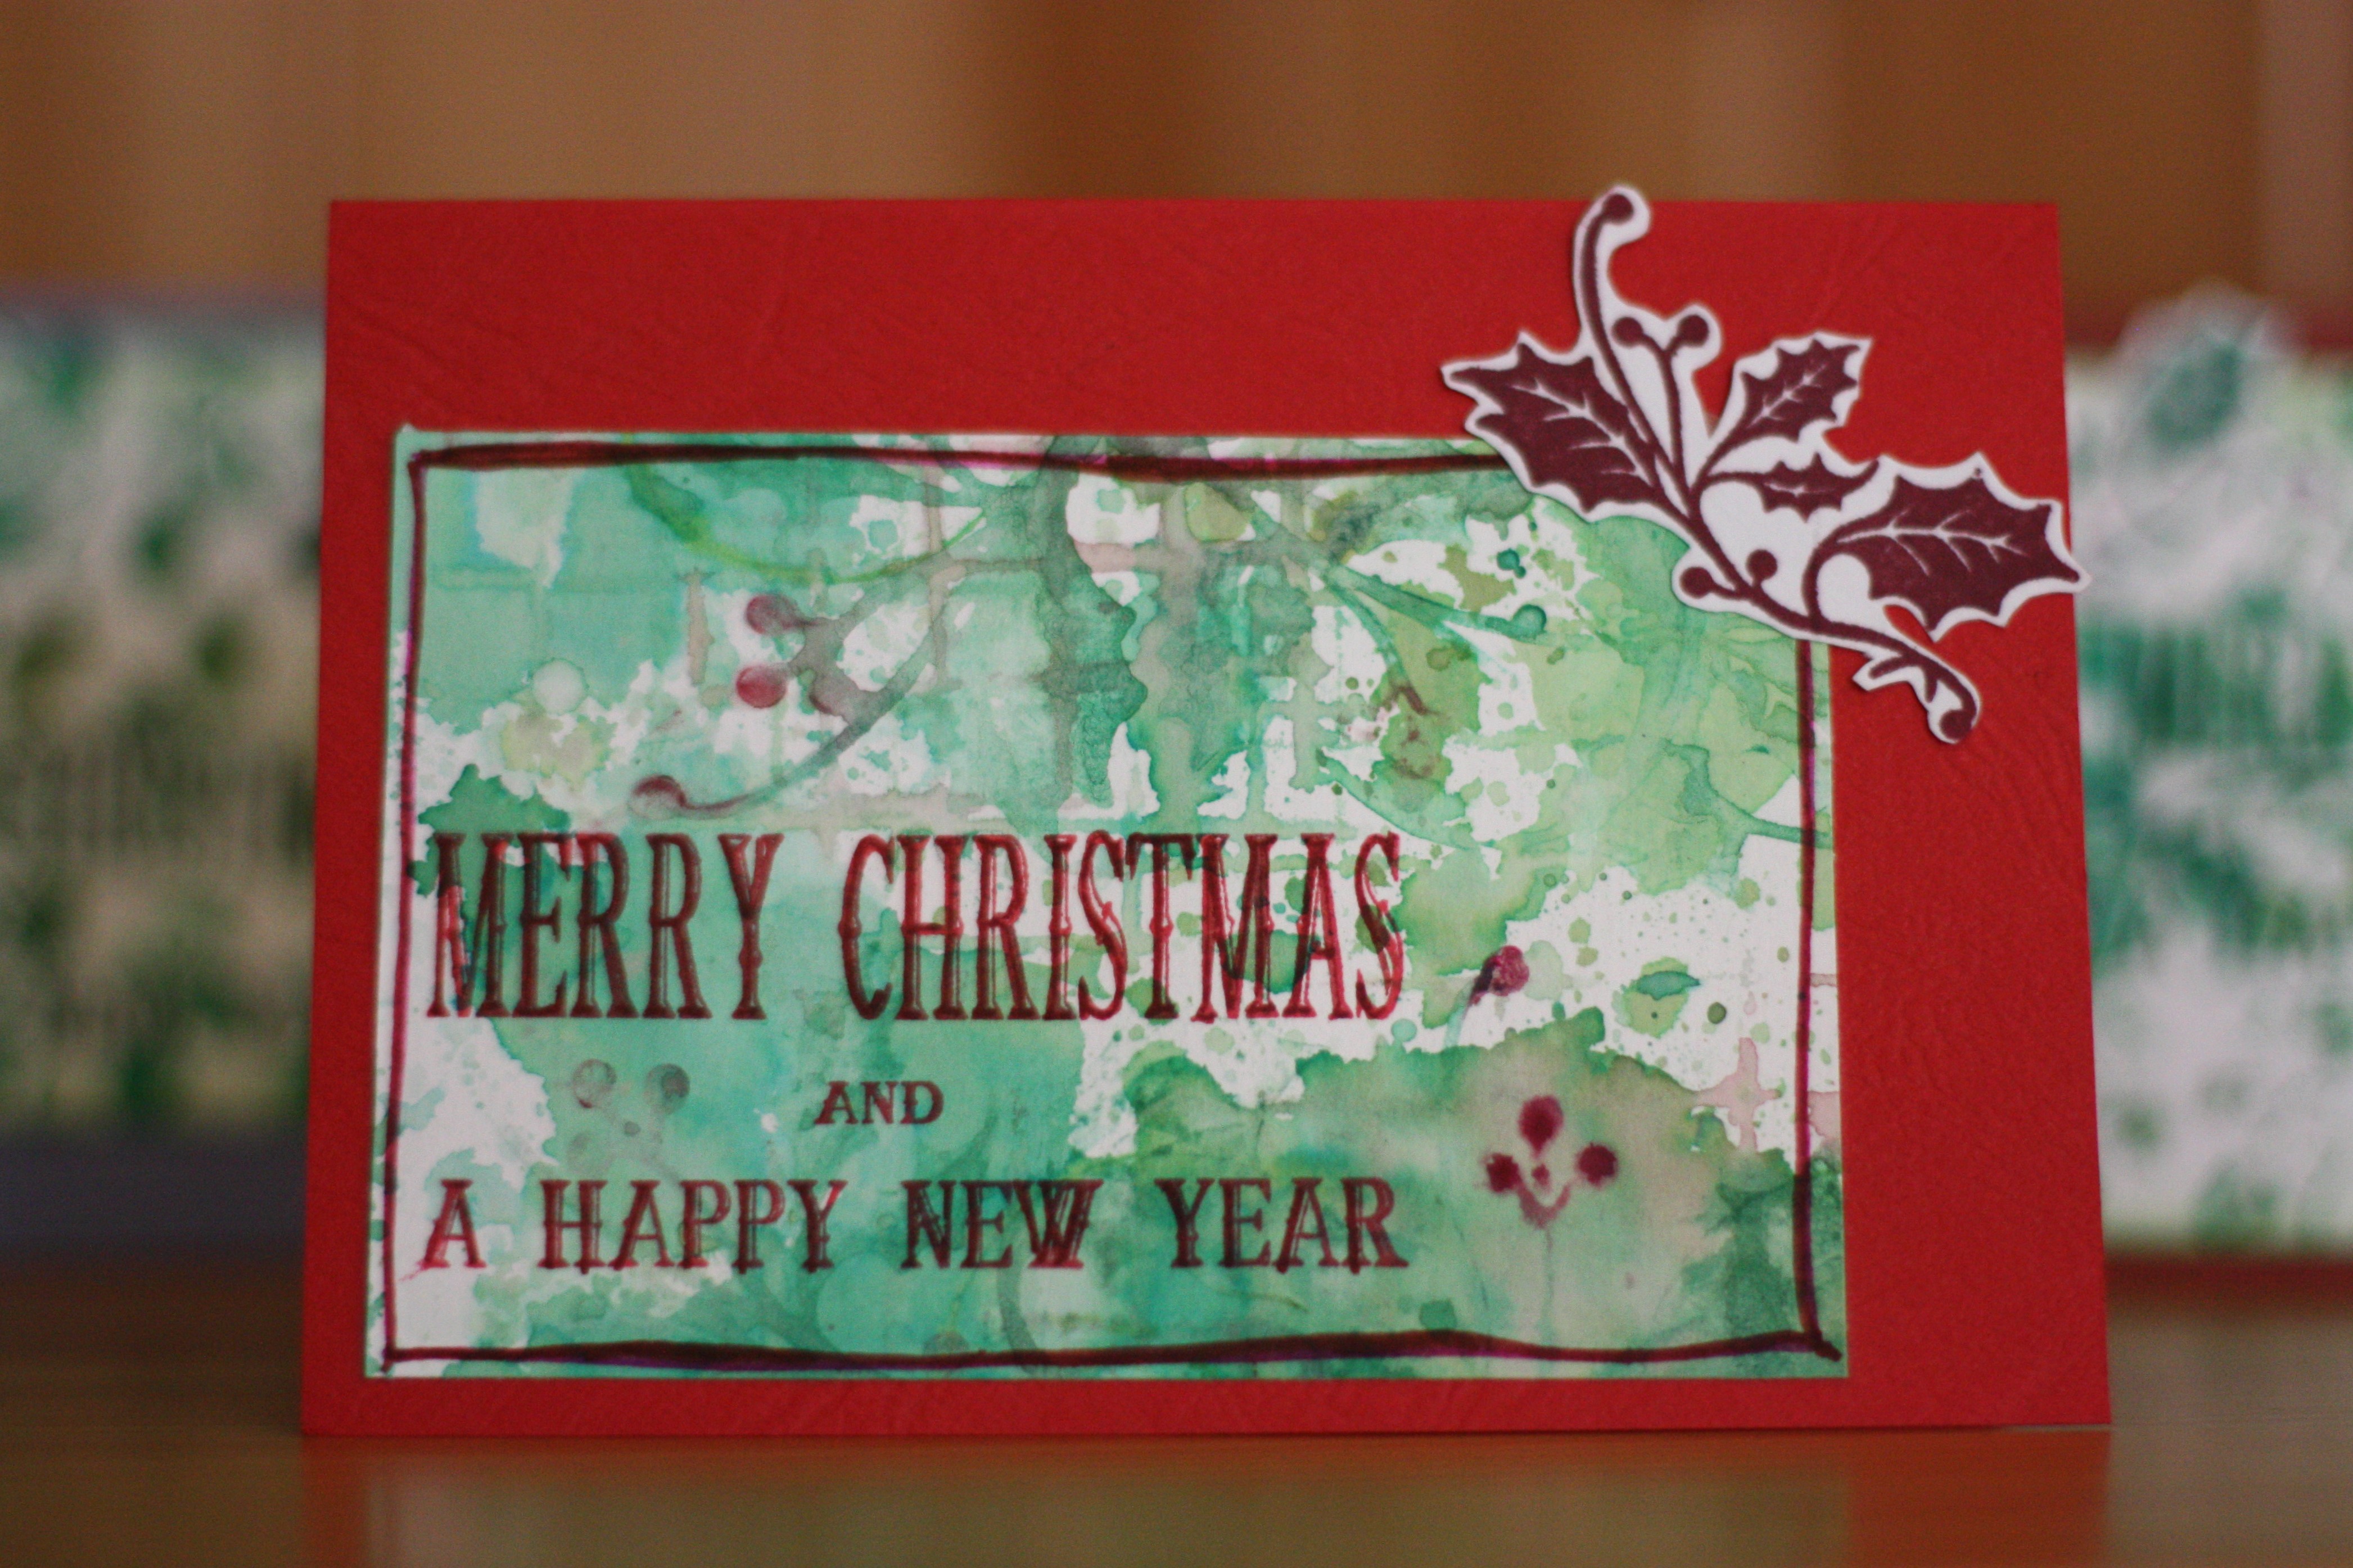
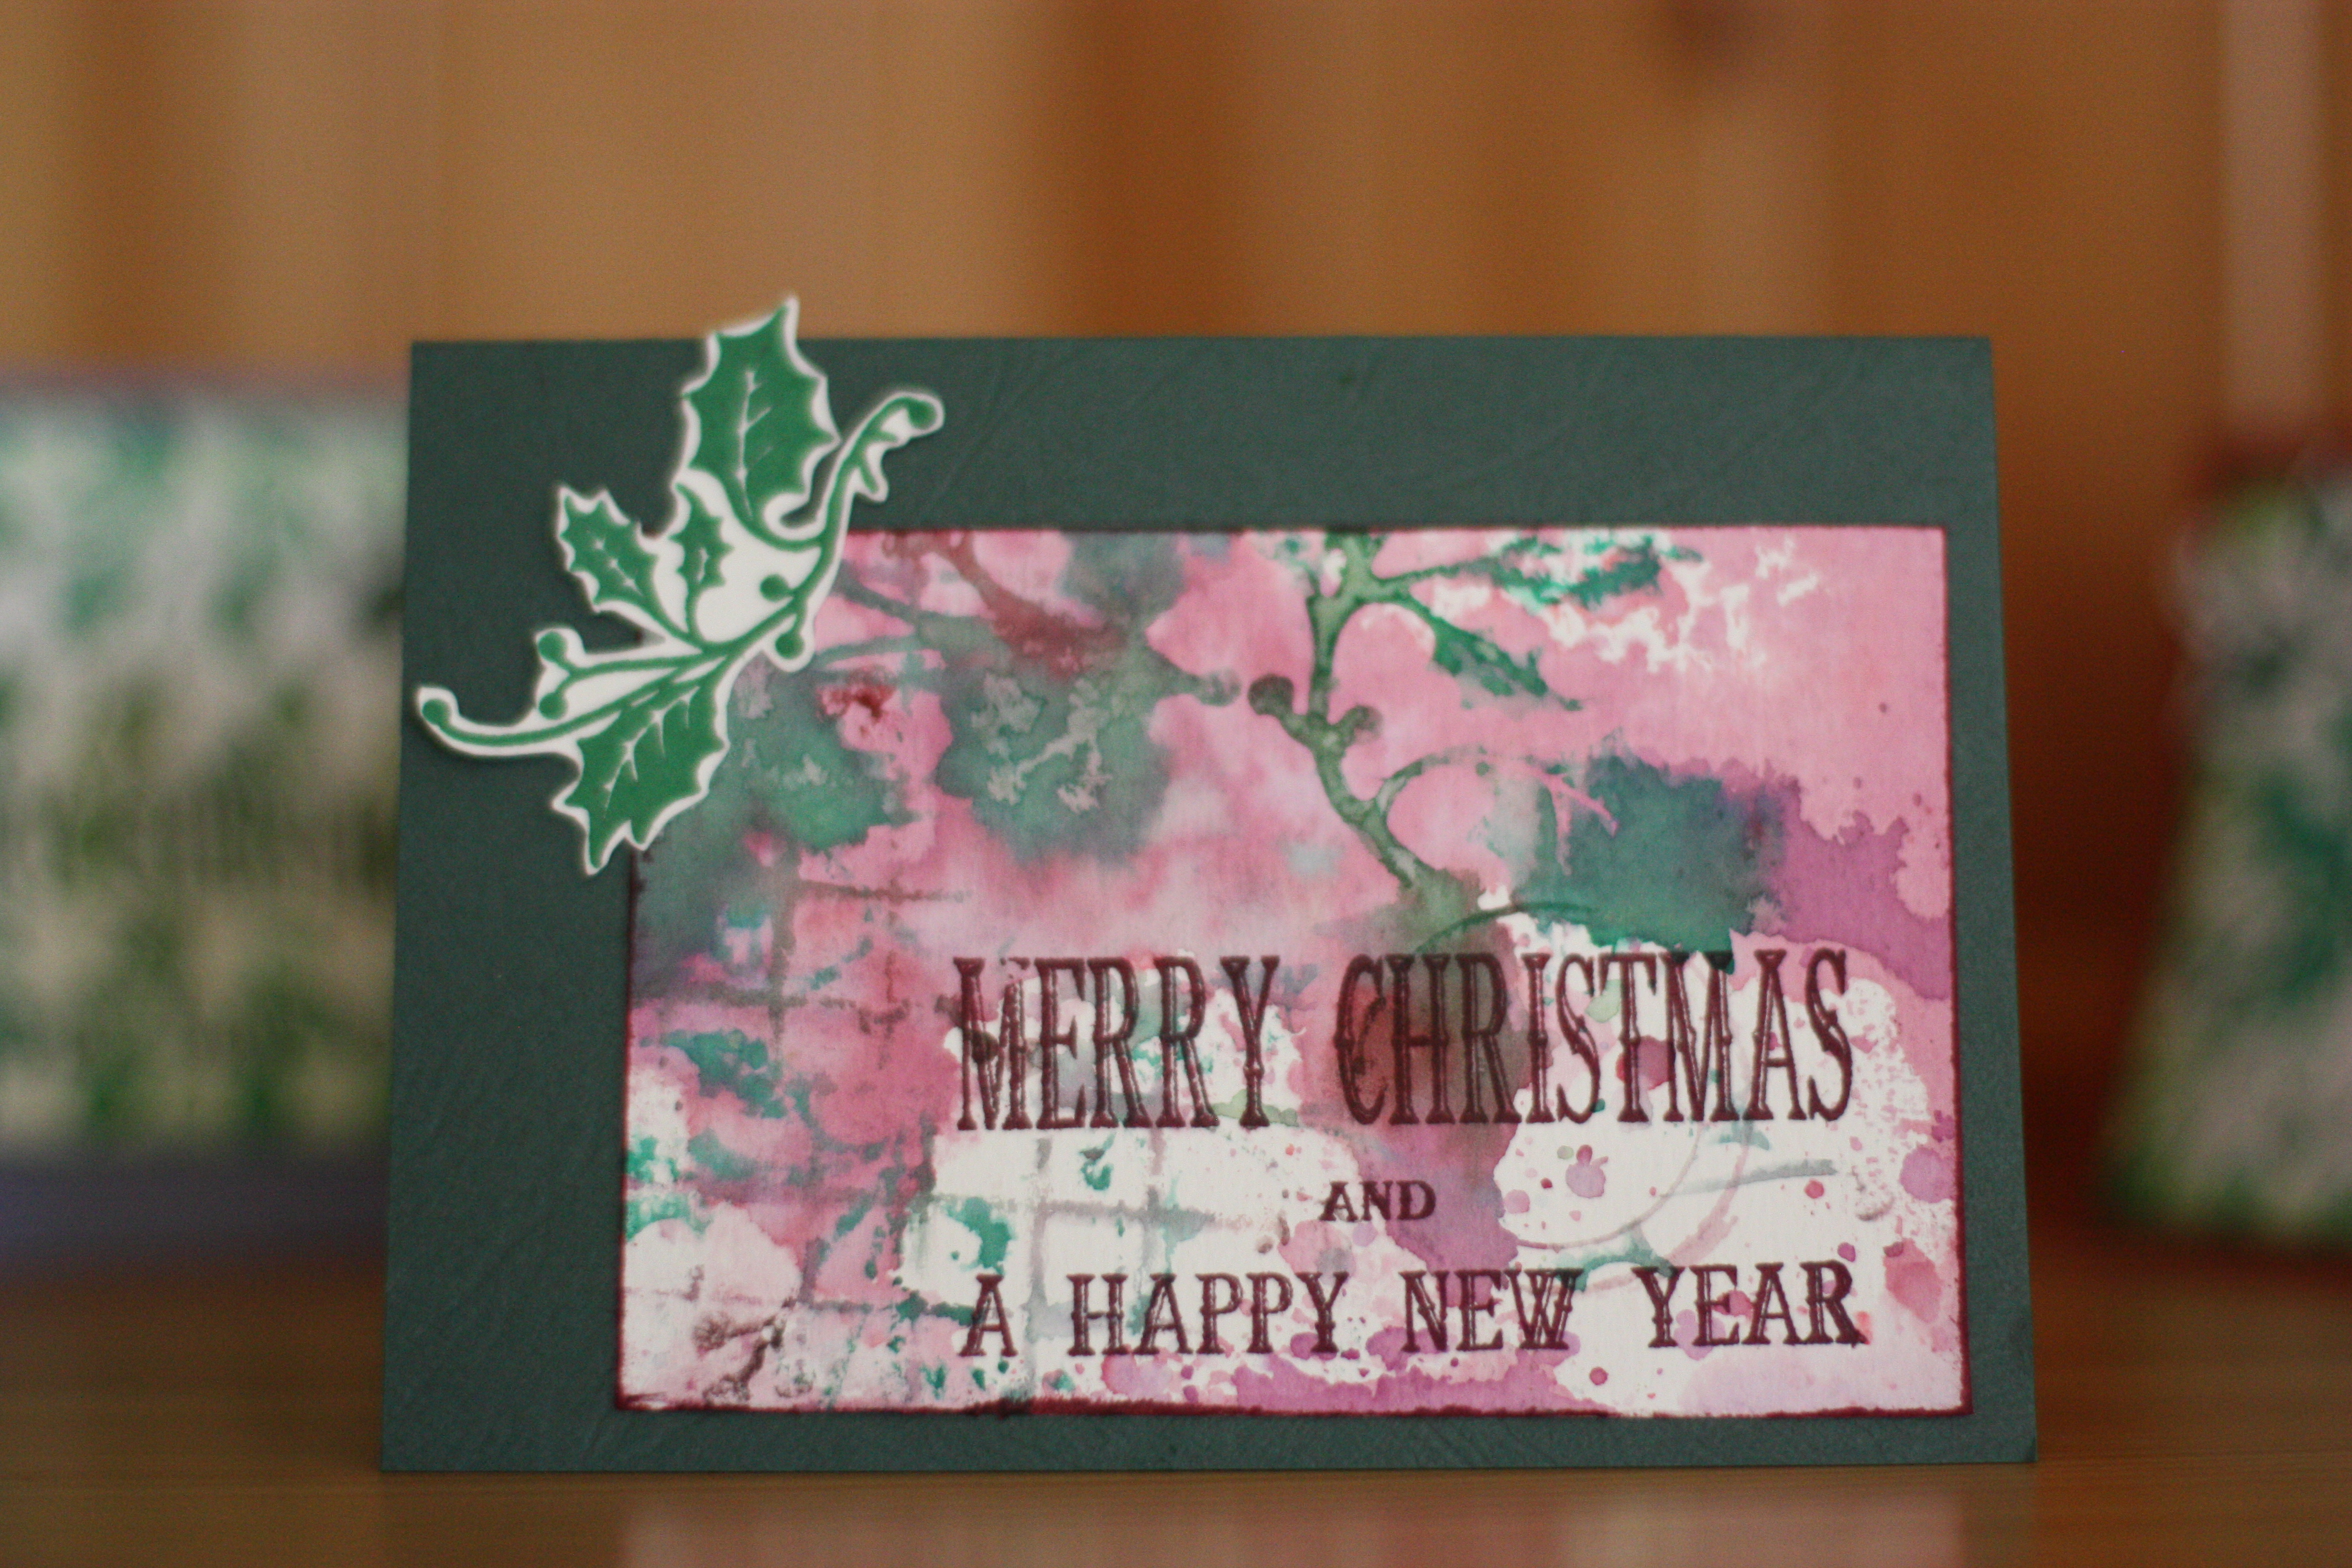
this is the last bunch of greeting cards I have to show you, with a more blurry background, these I like the most !
To make these, I have first put Distress ink pads on to a plastic sheet and sprayed with water, then put the drawing paper here and there. And stamped  Holly Background stamps and things from my stash like fish punnet, bottle caps... while it is still wet.
Then, while the paper dries, I stamped some holly branchs from the  Christmas Reindeer plate on another paper with Archival ink and cut them out.
And finally I cut the background in 8 pieces, stamped the sentiment with Archival ink and stuck them to the support with double-sided tape, then the branch.
And here they are !


Do not forget to participe in our

December's Creative Challenge- Christmas

 to win some fabulous Artistic Stamper stamps !

Titbelsoeur

Tuesday, 26 April 2016

"Journey with Dragonfly" by Shilpa

Hello Everyone,

I am sharing with you a creation with Artistic stamper Dragonfly stamp and Swirl stamps.


As we are celebrating all things distress this month here at Artistic stamper, I've used distress inks and stains to bring the colors on my page.


I started the background with stamping Dragonfly and flourishes with Jet Black Archival ink. Next I applied fossilized amber and wild honey distress stains on the surface, spritzed water to spread the color and heat set it with heat tool. With honeycomb stencil and Walnut stain distress ink, I created texture. Further I stamped text with Calligraphy Mat 3


Dragonfly is die cut from Sizzix Tim Holtz design.


Hope you liked my creation and got inspired,
You have 4 more days to join our "All things distress" challenge this month.
Thanks so much for stopping by.