Hello everyone and HAPPY BOXINGDAY!!!!
Well I hope that you have survived the festivities and Santa has been good to you!
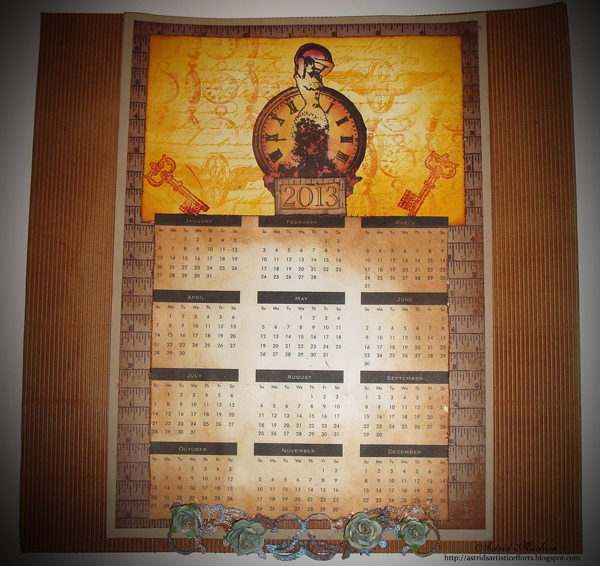
The moment Christmas is over I always start to think "Calendars", large, small, to give away or on the wall. Whatever, I decided to share a 12 x 12 Wall Calendar for 2013 with you and hopefully you will feel inspired to make one of your own.
These are the stamps and other products I used:
Stamps:
Calligraphic Mat 12
Watch Background
Girl with Clock
Time and Keys
Winged Wheel
Other products:
Distress Inks: Mustard Seed, Wild Honey, Rusty Hinge, Aged Mahogany, Vintage Photo
Archival Ink: Jet Black
Perfect Pearl Mist: Patina Blue, Copper
I downloaded a 2013 calendar from the internet, printed it on light card and inked around it with some vintage photo. Next I made the top panel by cutting a piece of smooth white card to the size I wanted and then blended Mustard Seed and Wild Honey Distress Ink over it. Then I stamped the Calligraphic Mat 12 in Mustard Seed all over it and then over-stamped the Watch Background and Winged Wheel in several places with Wild Honey. Finally I stamped one of the keys from the Time and Keys set in two corners with Aged Mahogany.
For the vocal image I stamped the Girl With Clock in Archival Black ink, cut it out and coloured with Wild Honey and Aged Mahogany as shown. I mounted it onto the background with foam tape. The 2013 bit was computer generated and then matted on some scrapbook card from my stash.
I embellished with a chipboard swirl which I sprayed with Perfect Pearls mists and then I added some little roses from my stash.
Finally I matted it all first on some scrapbook paper, some beige card and finally a piece of 12 x 12 corrugated card which I inked with vintage photo.
That's it, hope you like it and I wish you all the most wonderful New Years celebrations and all the very best for 2013!!
Showing posts with label Time and Key stamps Distress Inks. Show all posts
Wednesday, 26 December 2012
Wednesday, 28 November 2012
Timeless Twenties... by Joanna King
I can't believe it's already time for my final post as the November's Guest Designer at The Artistic Stamper... Where has November gone???
Before I share my final project, I would like to say a big 'thank you' to Jennie and the Creative Team for inviting me to share this fabulous Artistic Stamper adventure. Another big 'thank you' to Emma, for all her help and hard work to make this adventure so much fun! And I mustn't forget about You lovely crafters - for leaving such wonderful comments on my previous projects :).
Today I have an altered shadow box/frame to share. The stamps I used are from Twenties #1 A5 plate, Lacy Border and the sentiment is from the Time and Keys set.
I started my project by painting the frame with a few coats of matt emulsion paint. Then, using the Coffee Archival ink, I stamped the Lacy Border on each side. If you stamp the pattern by hand without a stamping block, you can control the amount of pressure you apply. This way you can easily create a worn, distressed look by leaving parts of the image unstamped :).
The front and the inner part of the frame were decorated with printed napkins. Napkin art is my fave technique at the moment :).
Then I stamped the lovely Twenties Ladies and the sentiment onto patterned papers and coloured them subtly with chalk pencils. The peacock feather was highlighted with metallic markers.
Before I sealed the background image within the box, I added some highlights with Stampendous glitter and colour fragments around the glass and the inner frame. And I also added some crushed glass glitter to turn my shadow box into a shaker box :).
To decorate the front I used a couple of peacock feathers and a moulded flower I made from embossing enamels and UTEE.
I hope you like this last project from me and I have really enjoyed sharing inspiration here with you. I hope you will still pop over to my Creative Spell to say 'hello' from time to time :).
Big hugs
Before I share my final project, I would like to say a big 'thank you' to Jennie and the Creative Team for inviting me to share this fabulous Artistic Stamper adventure. Another big 'thank you' to Emma, for all her help and hard work to make this adventure so much fun! And I mustn't forget about You lovely crafters - for leaving such wonderful comments on my previous projects :).
Today I have an altered shadow box/frame to share. The stamps I used are from Twenties #1 A5 plate, Lacy Border and the sentiment is from the Time and Keys set.
I started my project by painting the frame with a few coats of matt emulsion paint. Then, using the Coffee Archival ink, I stamped the Lacy Border on each side. If you stamp the pattern by hand without a stamping block, you can control the amount of pressure you apply. This way you can easily create a worn, distressed look by leaving parts of the image unstamped :).
The front and the inner part of the frame were decorated with printed napkins. Napkin art is my fave technique at the moment :).
Then I stamped the lovely Twenties Ladies and the sentiment onto patterned papers and coloured them subtly with chalk pencils. The peacock feather was highlighted with metallic markers.
Before I sealed the background image within the box, I added some highlights with Stampendous glitter and colour fragments around the glass and the inner frame. And I also added some crushed glass glitter to turn my shadow box into a shaker box :).
To decorate the front I used a couple of peacock feathers and a moulded flower I made from embossing enamels and UTEE.
I hope you like this last project from me and I have really enjoyed sharing inspiration here with you. I hope you will still pop over to my Creative Spell to say 'hello' from time to time :).
Big hugs
Wednesday, 13 June 2012
Shabby Wall Hanger by Astrid
Good morning everyone. This is Astrid here with my very first post for the Artistic Stamper. I am very honoured to be part of the team and look forward to share some of my creations using The Artistic Stampers wonderful line of stamps.
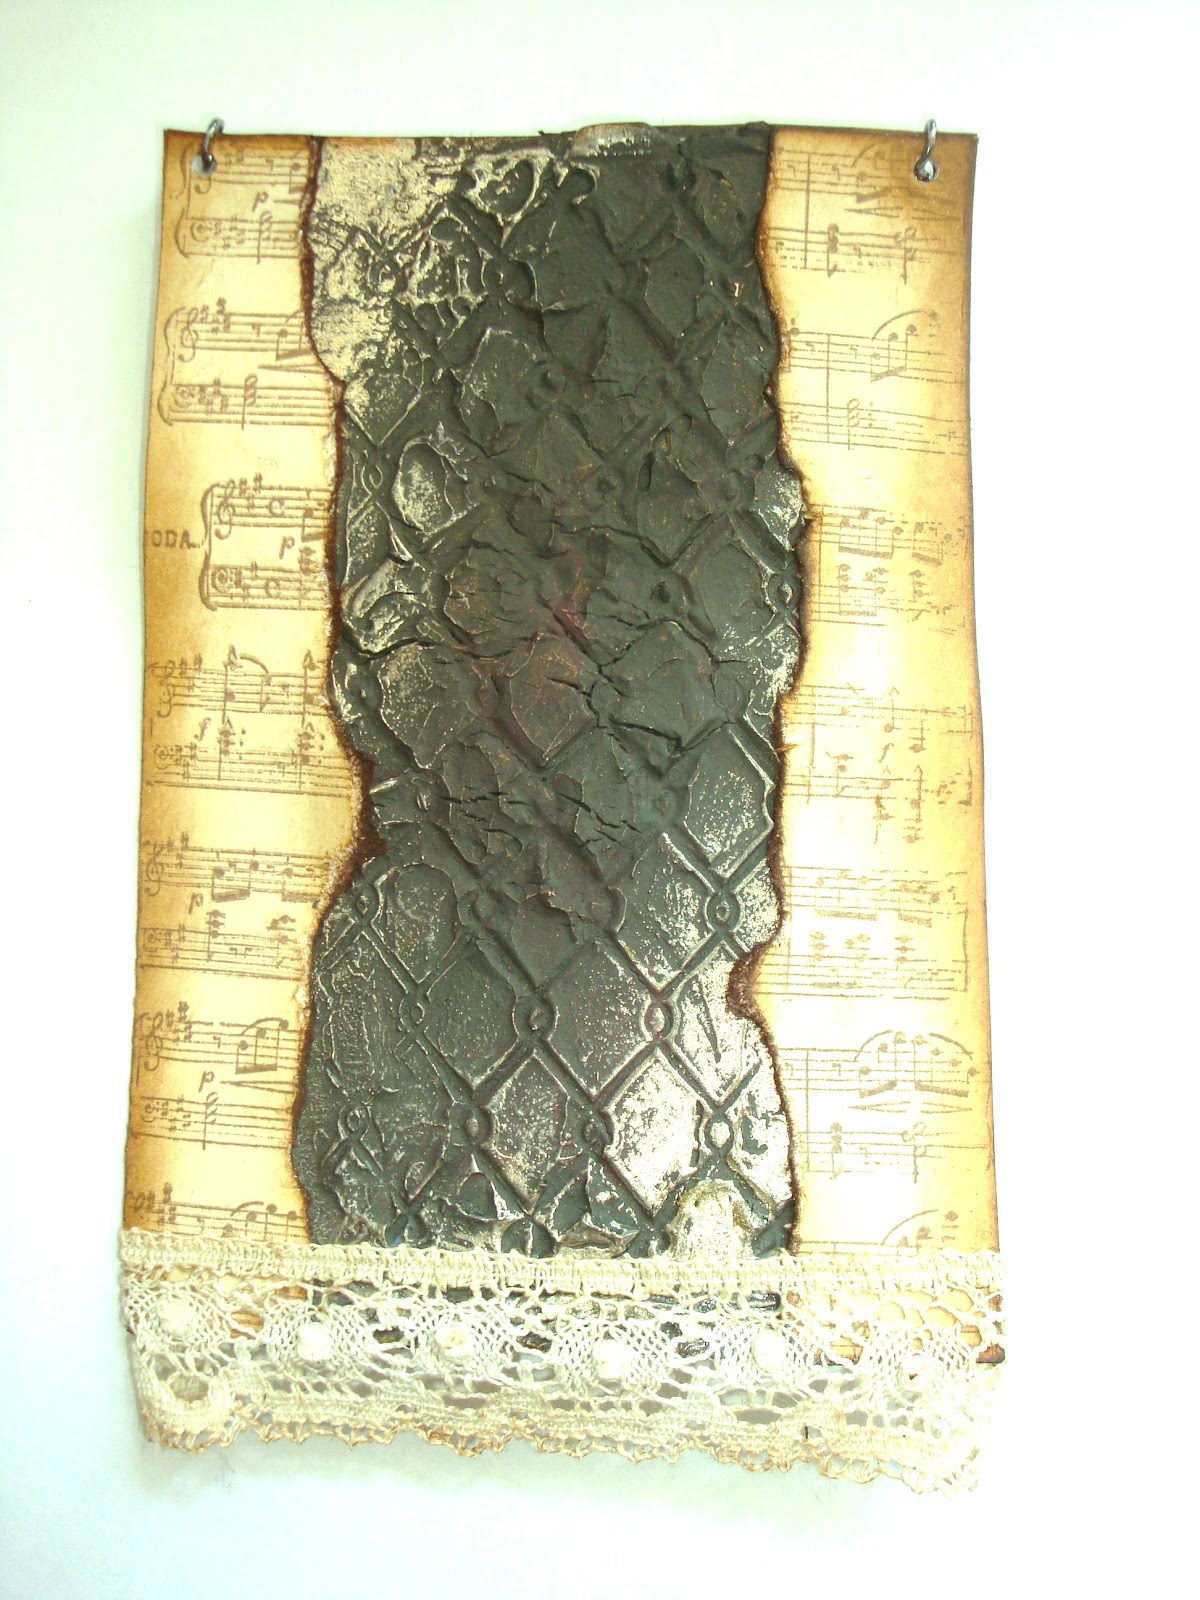
For my first project I decided to create a little wall hanging;
I started by cutting a piece of 4 x 6 Kraft card. In the centre I sloshed on a thick layer of the Terra Sahara and stamped the wetted Chicken Wire Background stamp into it to add lots of texture to my project. I love how the background stamps lend themselves so well to this kind of technique. I let the Terra dry overnight and the next day I coloured it with Black Paint Dabber and when that was dry rubbed some Viva Inka Gold lightly over it to give it some sheen.
I stamped the Music Background Stamp in Archival Coffee on some smooth white card stock and spunched some Antique Linen and Vintage Photo distress ink over it to give it an aged look. I tore a rough edge, edged it with Walnut Stain Distress Ink and glued it on either side of the central panel. I also adhered some lace from my stash with Claudine Helmutt Matte MediumI stamped and cut out three of the stamps from the Time and Keys stamp set in Archival Black on thick white cardstock, and sponged some Antique Linen and Vintage photo around them.
I then glued the clock stamp onto one of the Tim Holtz Idea-ology Locket Keys and glued that to the hanger.
Finally I finished my project by adding one of my home made roses and some little silk roses from my stash. To complete the hanger I still added some Link Chain to hang it by with a couple of jump-rings
Well, I hope you enjoyed this little project, thank you for stopping by and I will see you again later in the month.
Subscribe to:
Posts (Atom)