Showing posts with label Acrylic paint. Show all posts

Tuesday, 7 July 2020

In the home canvas by Titbelsoeur

Hello you crafters !
Here is a reversed canvas, covered with white gesso, then blue acrylics. The huts are painted with watercolours and overlapped to make depth. Then I have added stuff collected on the beach : drift wood, seashells, sand... 


Thank you so much for visiting, I hope I have given you some inspiration to participate in our 

You may visit my folder : Titbelsoeur stamps @ the Artistic Stamper
Happy creating and thank you for your comments,

Titbelsoeur

Thursday, 13 September 2018

"Shine brightly" by Angie Coomber


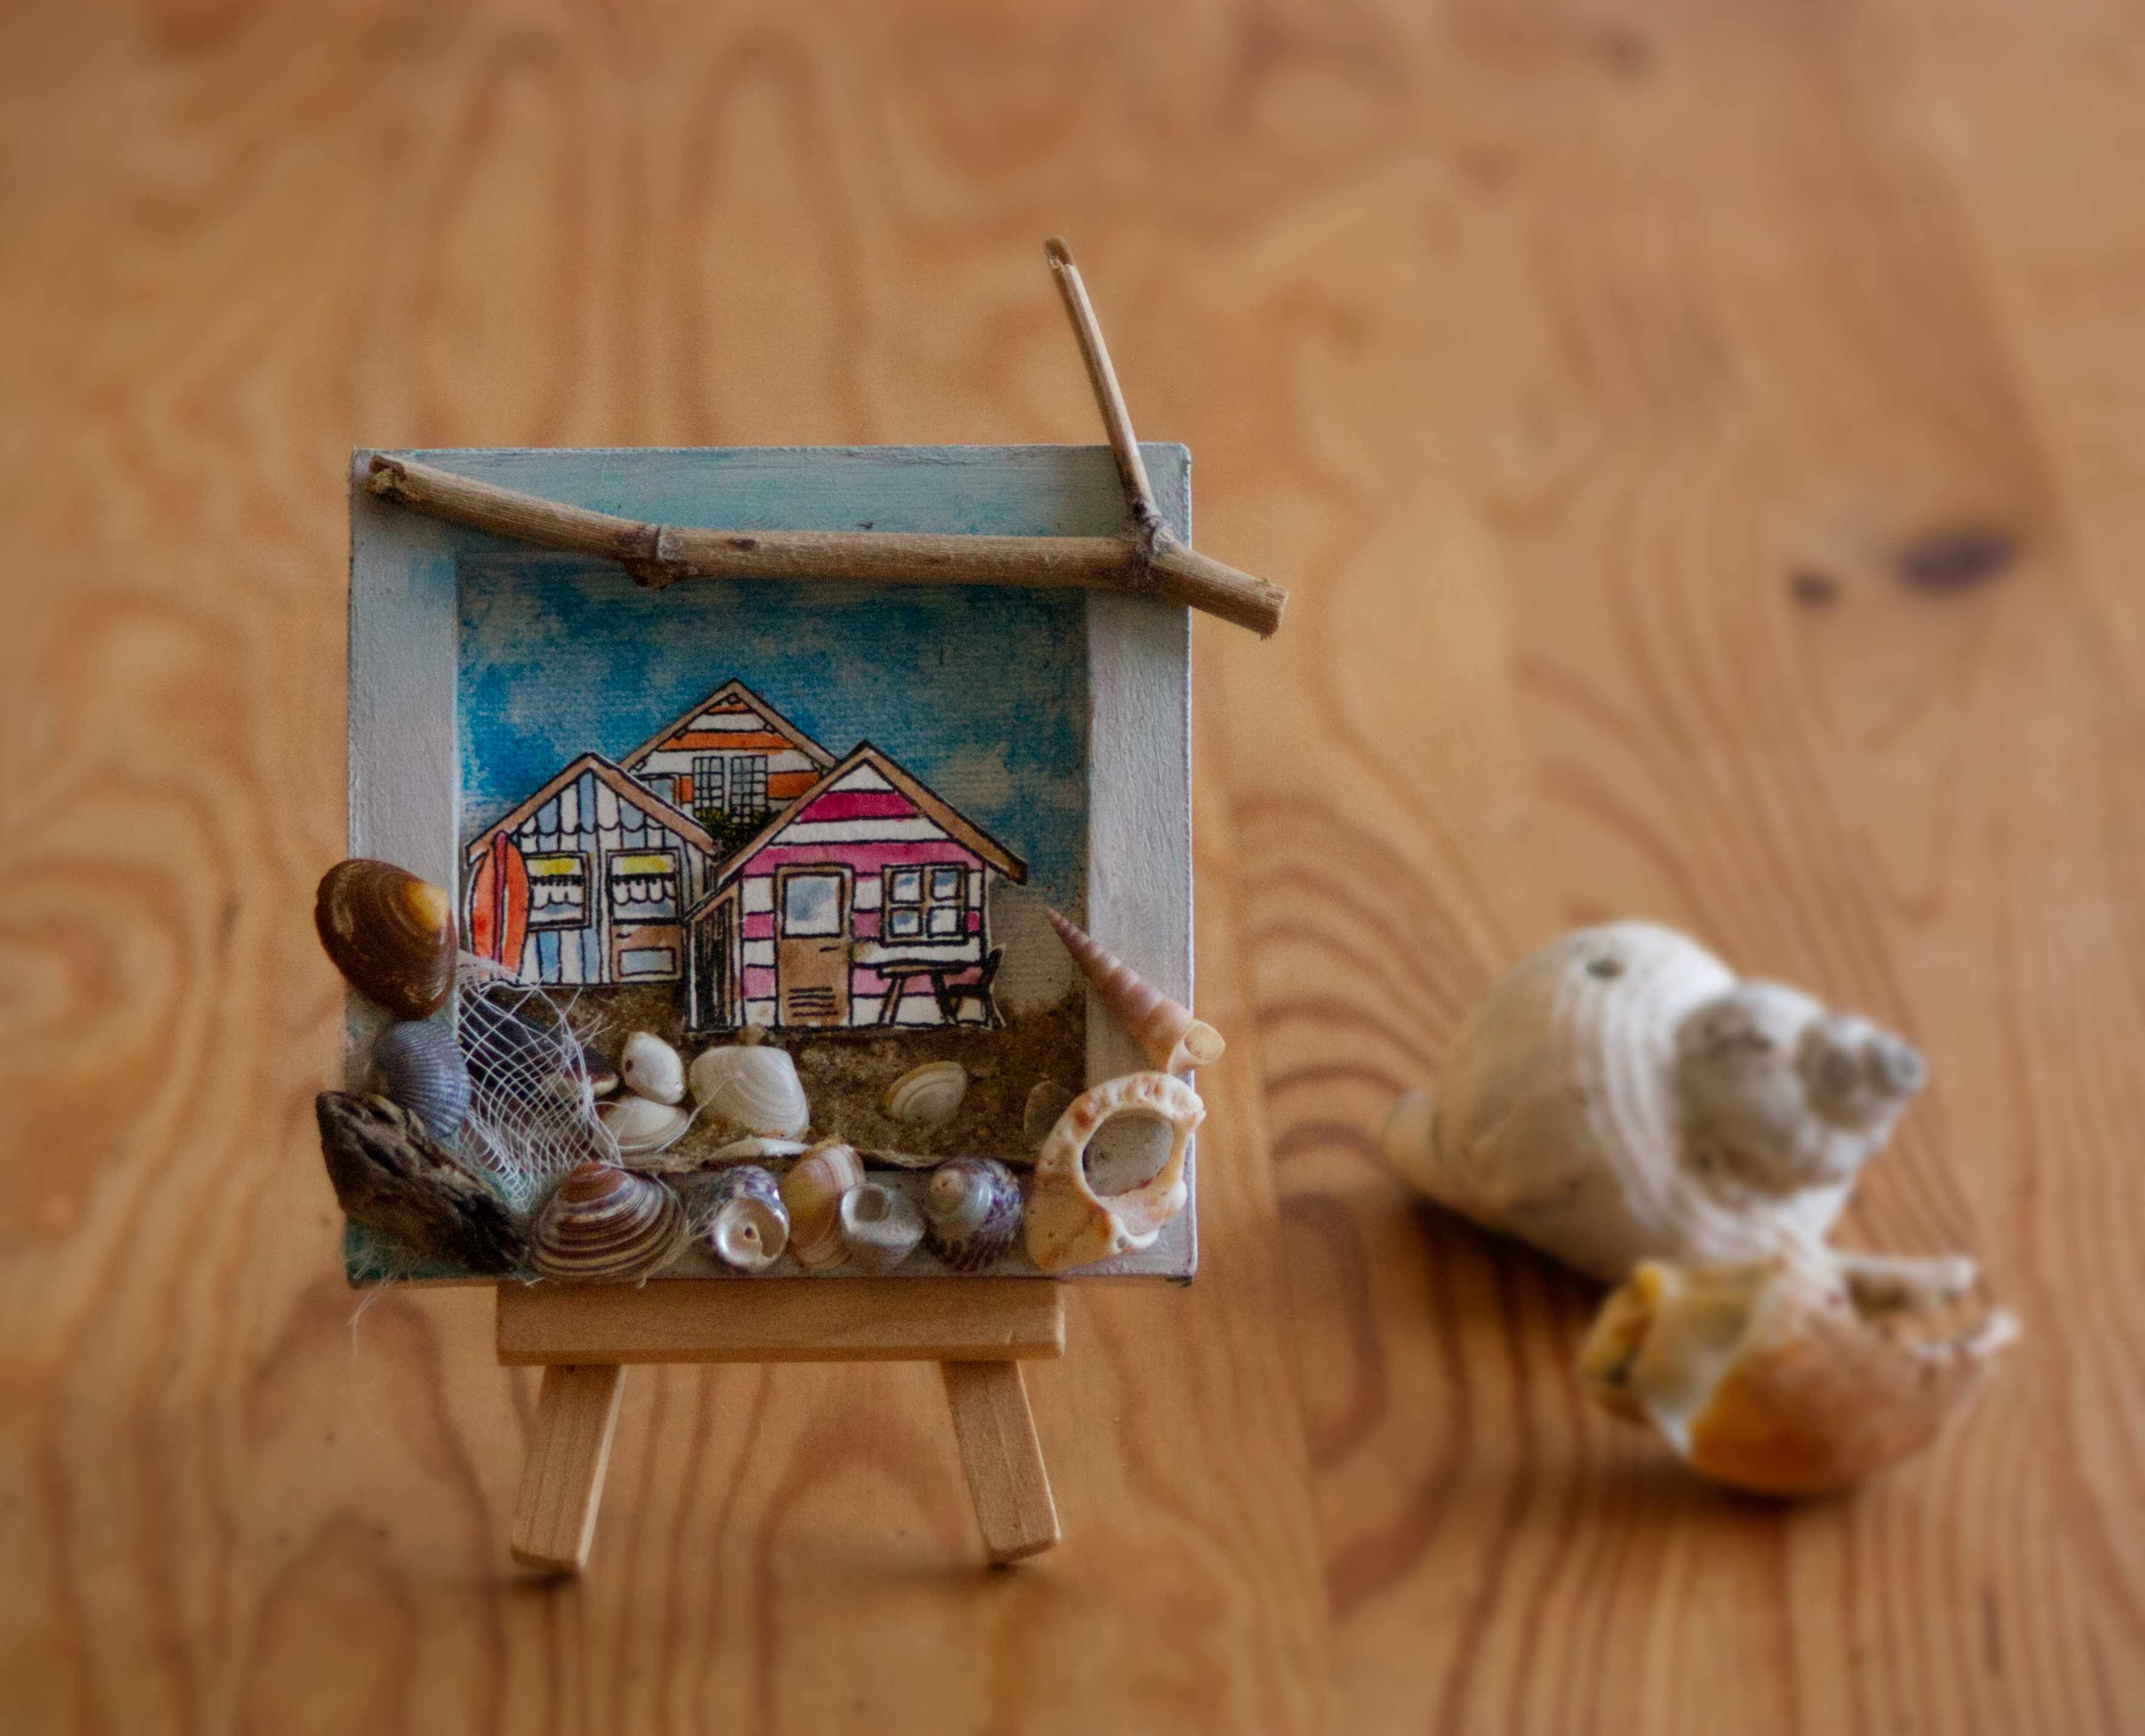
Hello everyone! It's been very hot in the South-East of England this summer and my cabin is a lovely cool, shady place, so I have been spending a lot of my spare time hiding in there messing about with paints. I've been trying out new techniques and I'm into these flower pages at the moment.


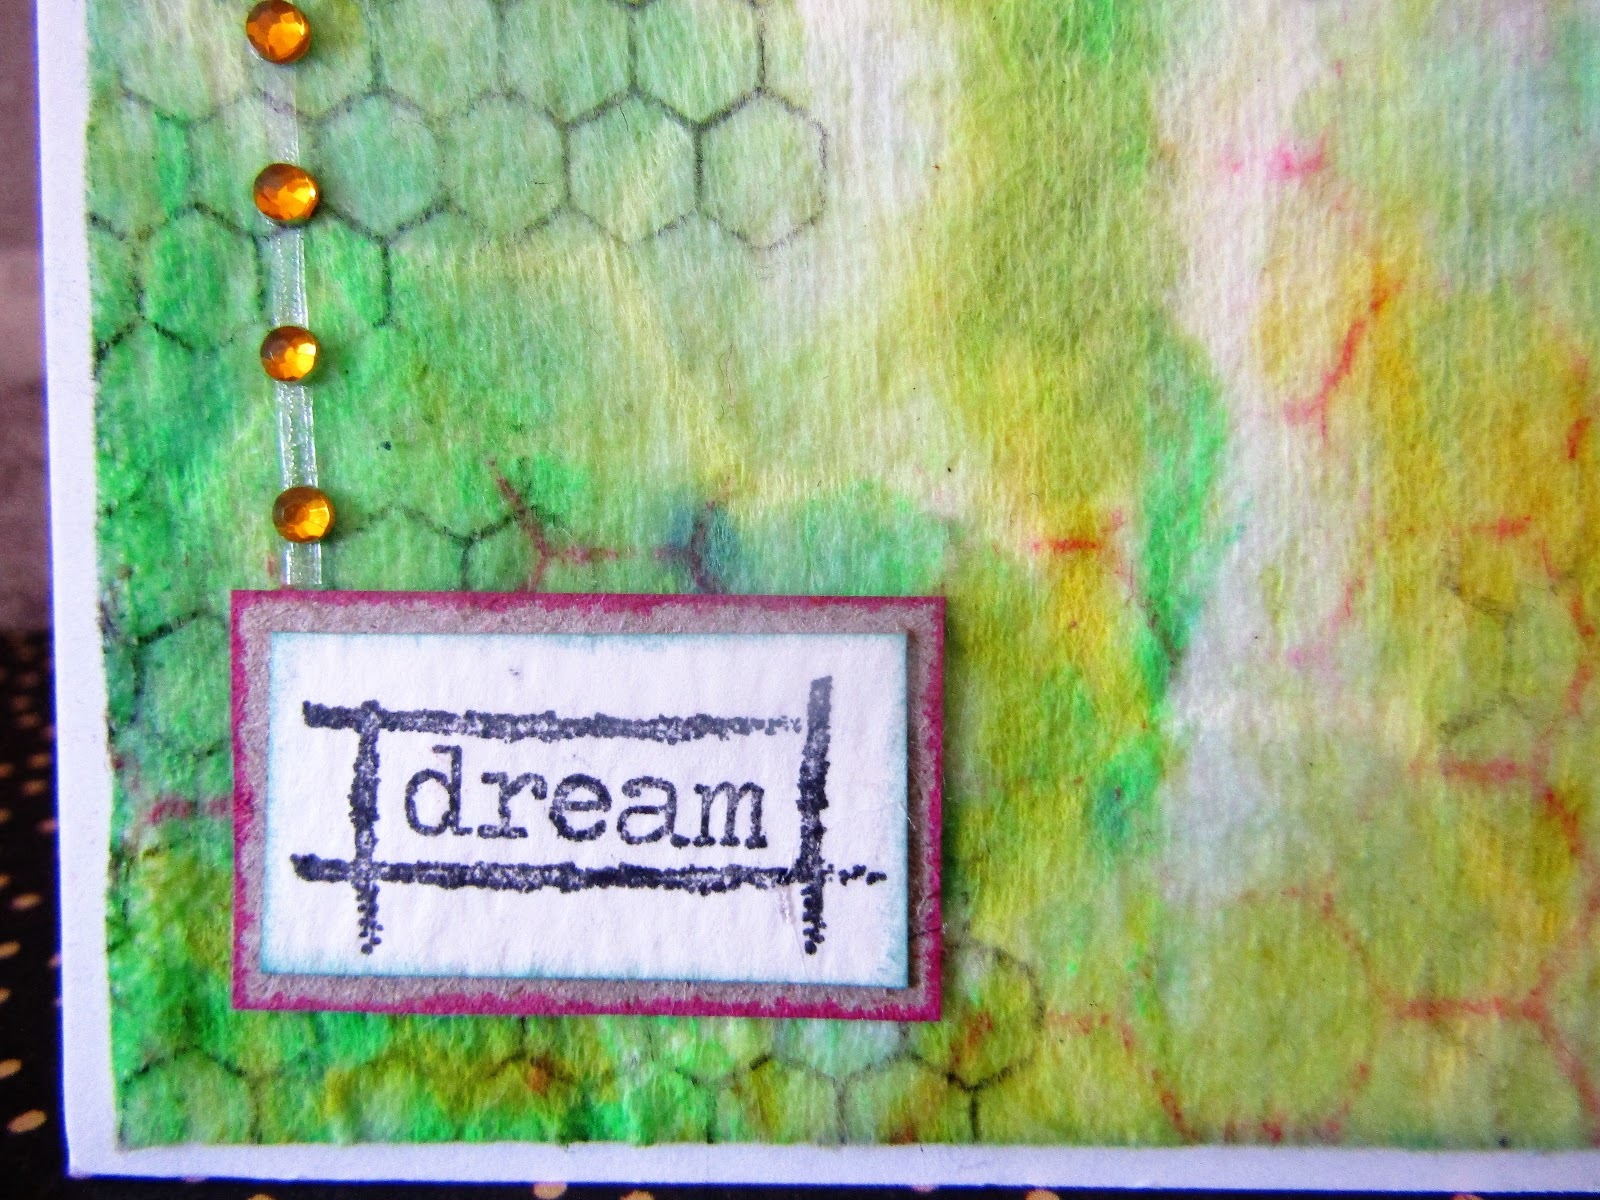
I started by scribbling random colours (in this case Distress Crayons) on a journal page and then blending them with a water brush.


I added scraps of book pages and some stickers that I made a while ago.


Next I drew a simple flower with a black Stabilo pencil.


I coloured the petals and leaves with Distress Crayons, then went over with the water brush. You automatically get some lovely shading from the Stabilo this way.


I painted some black and white patches with my fingers, using acrylic paints.


Next I used some background stamps, both on the actual background as well as the petals.


Lastly I added some gold paint splatter, white doodling and a quote sticker.
I really hope you like it!


Until next time!
Angie x

Saturday, 29 April 2017

Wet Wipe background by Gemma

 We all use wet wipes to clean up after our very messy selves when we craft, and sometimes they end up the most beautiful colours. If you dry them out they can by used in so many ways here I have turned one into a background for a very simple card.


One dried out and beautiful wet wipe, Hmmmmm I wonder if I could ever get that deliberately  


I then added some blue with a distress ink and the honeycomb mask. Over that, I stamped with different coloured distress ink, the honeycomb stamp and mini honeycomb stamp.


Then I added the word dream from the framed words set and some gems to finish.


Thanks for reading, I have loved seeing everyone's challenge entries this month and can not wait to see what next month brings

Gemma


Thursday, 29 December 2016

My Favourite three creations 2016 by Gemma


This is my second year doing this for The Artistic Stamper. My time to look back on the things I have made and pick my top three.  It is always hard looking back, we all have those, what was I thinking moments, those I should have done this instead moments and those I just plain don't like that any more moments. Anyway below are my top three for 2016


I still love this, it still lives on my wall. One of my first cleaner, less messy canvases. I remember how much I enjoyed making this and looking at it always makes me want to get my paints out.


This tag combined many of my favorite things, tearing, distress ink, calligraphy mats, and the beautiful dancer stamp. Still love it and often wished I still had it! 


This card is still a keeper, I just can not seem to give it away. It was something very different for me and if I am very honest I'm not sure how it came to me. I just sat down to play and then this happened. 

Thank you for reading,
 I hope everyone has a great holiday 
Gemma


Saturday, 29 October 2016

Note Board by Gemma Hynes

 Hello Everyone

For my post today I wanted to share with you all a little note board I created on a piece of black chipboard. It's supper handy to hang next to my table to keep track of supplies used in projects or those very handy to do lists.


Cut a piece of chipboard to the desired size and mask off a boarder around the edge with low tack tape, then paint a layer of yellow acrylic paint over the top.


Place the honeycomb over the top and sponge through some red acrylic paint, remembering to check the bottom of the mask for paint before moving and lining it up to the next section. 


Mix the left over red and yellow paint together, apply this to the honeycomb background stamp and in random places stamp over the whole board.


Taking some white acrylic paint and the same stamps, stamp over the whole board, this time ensuring most of the board is covered. Then using black archival ink stamp over the top of the whole board with a calligraphy mat


Add the word notes to the top of the board and stamp the bees from the honeycomb stamp set in both the top right and bottom right corners. Glue your note pads in place I make mine from plain printer paper.


I stamped the word happy from the framed words 1 set between the two bees at the bottom. To finish remove the tape from the edges of the board and punch two hole in the top to add string so the board can be hung in place.


Thank you for reading, Please leave us comments and tell us what you think, The next creative challenge will be starting shortly and I can not wait to see everyones entries.

Gemma Hynes