Showing posts with label Gemma Hynes. Show all posts

Sunday, 16 September 2018

A Fond Farewell by Gemma Hynes


Hello Everyone

This will be my last post for The Artistic Stamper's Design Team. I have been a team member here since (I think) the summer of 2015 and I have loved every minute of it.

 I have been surrounded by so many talented people, including all my teammates both past and present, all the wonderful people who enter our challenges and Jennie who makes all the fabulous stamps we use. I have loved being able to look at everyone's creations and have been inspired by so many of you and I hope to have inspired some of you as well.

 I have had the pleasure of making and sharing with you all so many different projects and Jennie has asked me to share some of my favorites with you.

So in no particular order......


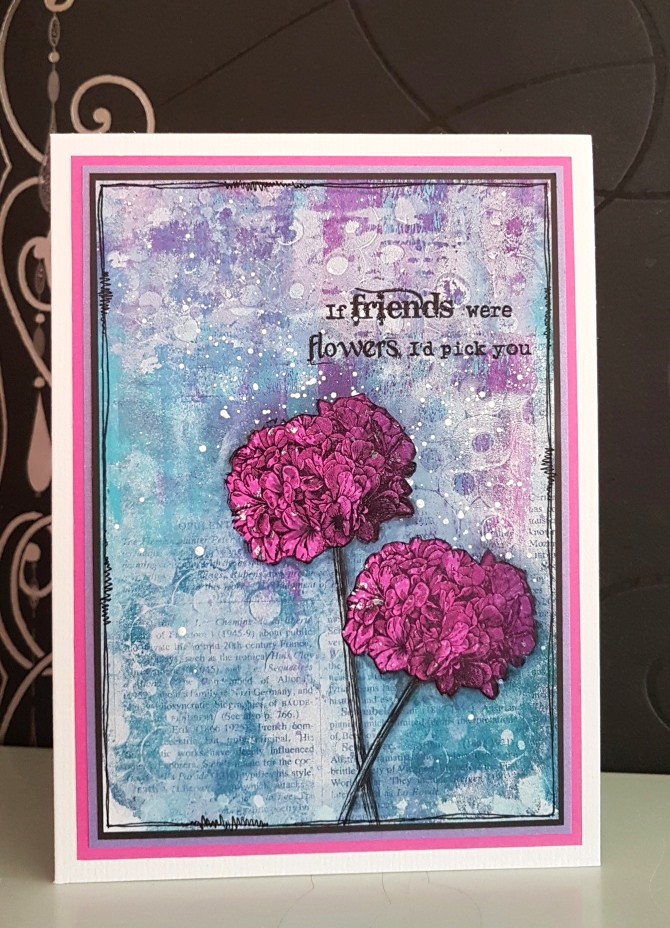
I love everything about this one, the colours, the finish, the photo. I wouldn't change a thing and that is not something that happens often.


This is a recent make, and it just makes me smile.


I made this card in 2016 but it's still a design I love and go back to again and again.

Number 4


This was also a make from 2016, I love the browns and yellows together with the torn card glued over the script stamp background.

Altered CD


This was one of the first if not the first project I ever made as a member of this team and altering CDs is still something I like to do.

I want to thank each and every one of you who has taken the time over the years to read my posts or to leave me a comment, it was hugely appreciated, so thank you. 

xxGemmaxx


Wednesday, 29 August 2018

Heart Tags by Gemma


I have a set of tags to share with you all today, decorated with circles, hearts, and doodles.


STEPS


I started off by applying Distress Inks and Oxides to some pre-made small tags.


I stamped over the tag with a script stamp and a small squiggly stamp for texture.


I stamped over the top with different sized circles and swirls. I made sure to overlap the circles and to stamp some of the images off the side of the tags.


I then stamped and coloured a few hearts with Distress Ink, before gluing them to the tags and adding extra interest with black and white pens.

xx Gemma xx


Thursday, 16 August 2018

Butterfly Journal Page by Gemma Hynes

I have a journal page to share with you all today using some of Jennie's great circle stamps.


STEPS


I started by applying Gesso to my glass mat and pressing some scraps of Hessian into it for texture. I then placed a page from my 7 Gypsies mix and match book over the Gesso rubbing over the back of the page to transfer the Gesson to the page.


I then build up the background using PaperArsty paints and circle stamps. I varied the sizes of the circles and kept the colours cool in tone. 


On a sheet of card, I stamped out a few butterflies in black Archival ink. I painted them with High Impact paints which I spritzed with water so the colours would blend easier. 


I then cut the butterflies out and glued them to the page with mat gel, before finishing the page of with some text.

xx Gemma xx

Products from The Artistic Stamper

Neil Walker Butterfly
Large Sequins
Decay Journaling Stamps 1
Swirls, Splats, and Dots


Wednesday, 1 August 2018

August's Creative Challenge - Anything Goes!

Hello!
Welcome to August's  Creative Challenge. Thank you to everyone who joined in last month's challenge.. it was a not at all Distressing to see such gorgeous creations! 


This month the theme is Anything Goes, and can be interpreted any way you like, as long as it has rubber stamps on it.    To join in with this challenge (we are limiting the challenge entries to 3 per person), is simple; all we would like you to do is, make a piece of artwork, making sure that you include the theme and some rubber stamping. Pop back here to link up using the Inklinkz at the bottom of this post, so that we can see what you've made and then, leave us a comment to let us know you have joined in with the challenge.

 As always, there will be candy for one randomly picked entrant - the winner will receive a stamp of their choice from The Artistic Stamper .


In addition, you can enter the same challenge on Facebook! There is no prize on there, it's just for fun!


To join us on just go to our new Facebook group, and send us a request to join..
And don't forget....if you use The Artistic Stamper stamps on your entry, you will entered into the draw, twice! To get you started here are creations fron some of the team...


I have a canvas board to share with you that I decorated for this months challenge of Anything Goes. All the paints I used were tester pots from the DIY store and I loved how the canvas worked out mixing them with great stamps from The Artistic Stamper. You can find out more here. 


Titbelsoeur


Anything goes : let's make a tag !
First you cover with black gesso a tag you have cut out of a cereal box. 
Then you colour a piece of drawing paper with sprayed distress ink.
And you stamp Artifacts - Postscript with Archival ink.
Then you hide it with a piece of paper and stamp Artifacts - Times Past 
 all over the paper, and ink the borders with your ink pad.
You stamp "I am... creating" from Journaling Words #5 A6 
cut it out and stick it on the tag, in-between a piece of dry and used baby wipe you have torn.
The final creative touch is to stick a piece of the dry paint you collect on your colour tube...


You can be forgiven if you think that I stamped the hydrangeas on a book page, but it was actually an image transfer (or is it called a resist technique??) from a magazine page done on the gelli plate..a Birgit Koopsen special!. The image didn't come out too well so I just added some light stamping with the Tracey Scott Background 6 stamp, then stamped the flowers onto a gelli print, cut them out and stuck them onto my background, then added the sentiment, both from the Botanical 3 stamp set.


I first created two backgrounds, one slightly larger than the other with Tracy's Background 8 stamp. On the larger on I added Seedless Preserves Distress Ink and on the smaller one I added Shaded Lilac. 
I mixed some texture sand paste to a smearing of Seedless Preserves Distress Ink and made another batch with worn Lipstick Distress Ink and mixed on to a craft mat. I added the two mixes to a separate piece of card. When it had dried, I tore a piece of the card and added it to the background.
I then coloured a another piece of card with the Seedless Preserves ink and stamped Neil's Heart stamp on to the card, then cut them out and adhered the hearts over the top of the textured card. 


We hope that you will join in this month's challenge, and also join us on Facebook too.
We look forward to seeing your creations. Don't forget to add a comment when you have posted your entry.
Have a very creative  month
Jennie xx


Sunday, 29 July 2018

Star Card by Gemma


I have a new messy square card to share with you all for my post today using one of my first stamps from The Artistic Stamper. It was a very loved stamp but one I had completely forgotten about, and it was lovely to come across it and love it again, but then who doesnt love a good numeral/number stamp. 


My Process


I started by cutting a piece of white card to fit my card blank and then creating a border around the card by masking off the edges with washi tape. Once that was done I gently tapped on some Color Burst ( a little really does go a long way) and sprayed it with water. I did this twice drying between layers adding a lot of water to the first layer and a little to the second. Over this I stamped the large dot stamp in ink before removing the washi tape.


Once dry I stamped over the whole piece of card with a script stamp and black ink. On a separate piece of white card, I drew a star using the star mask as a template and stamped in the center with the number stamp and black ink. After cutting the star out I glued it to the background and added some detail with black and white pens.

xx Gemma xx

Sunday, 1 July 2018

July's Creative Challenge - Distress it!

Hello!

Welcome to the July Creative  challenge. Thank you to everyone who joined in last month's challenge.. we loved all the Blue that covered the blog :) 

. This month the theme is Distress it, and can be interpreted any way you like, as long as it has rubber stamps on it.    To join in with this challenge (we are limiting the challenge entries to 3 per person), is simple; all we would like you to do is, make a piece of artwork, making sure that you include the theme and some rubber stamping. Pop back here to link up using the Inklinkz at the bottom of this post, so that we can see what you've made and then, leave us a comment to let us know you have joined in with the challenge.

 As always, there will be candy for one randomly picked entrant - the winner will receive a stamp of their choice from The Artistic Stamper .

In addition, you can enter the same challenge on Facebook! There is no prize on there, it's just for fun!

To join us on just go to our new Facebook group, and send us a request to join..
And don't forget....if you use The Artistic Stamper stamps on your entry, you will entered into the draw, twice! To get you started here are creations fron some of the team...


Jennie

I made a card using Distress Oxides , which I spritzed, and layered . I added Backgrounds from Tracy Scott,  a calligraphy mat and a border from  Borders 1 . The words are some of my favourites, and come from Creative Art thoughts

Gemma


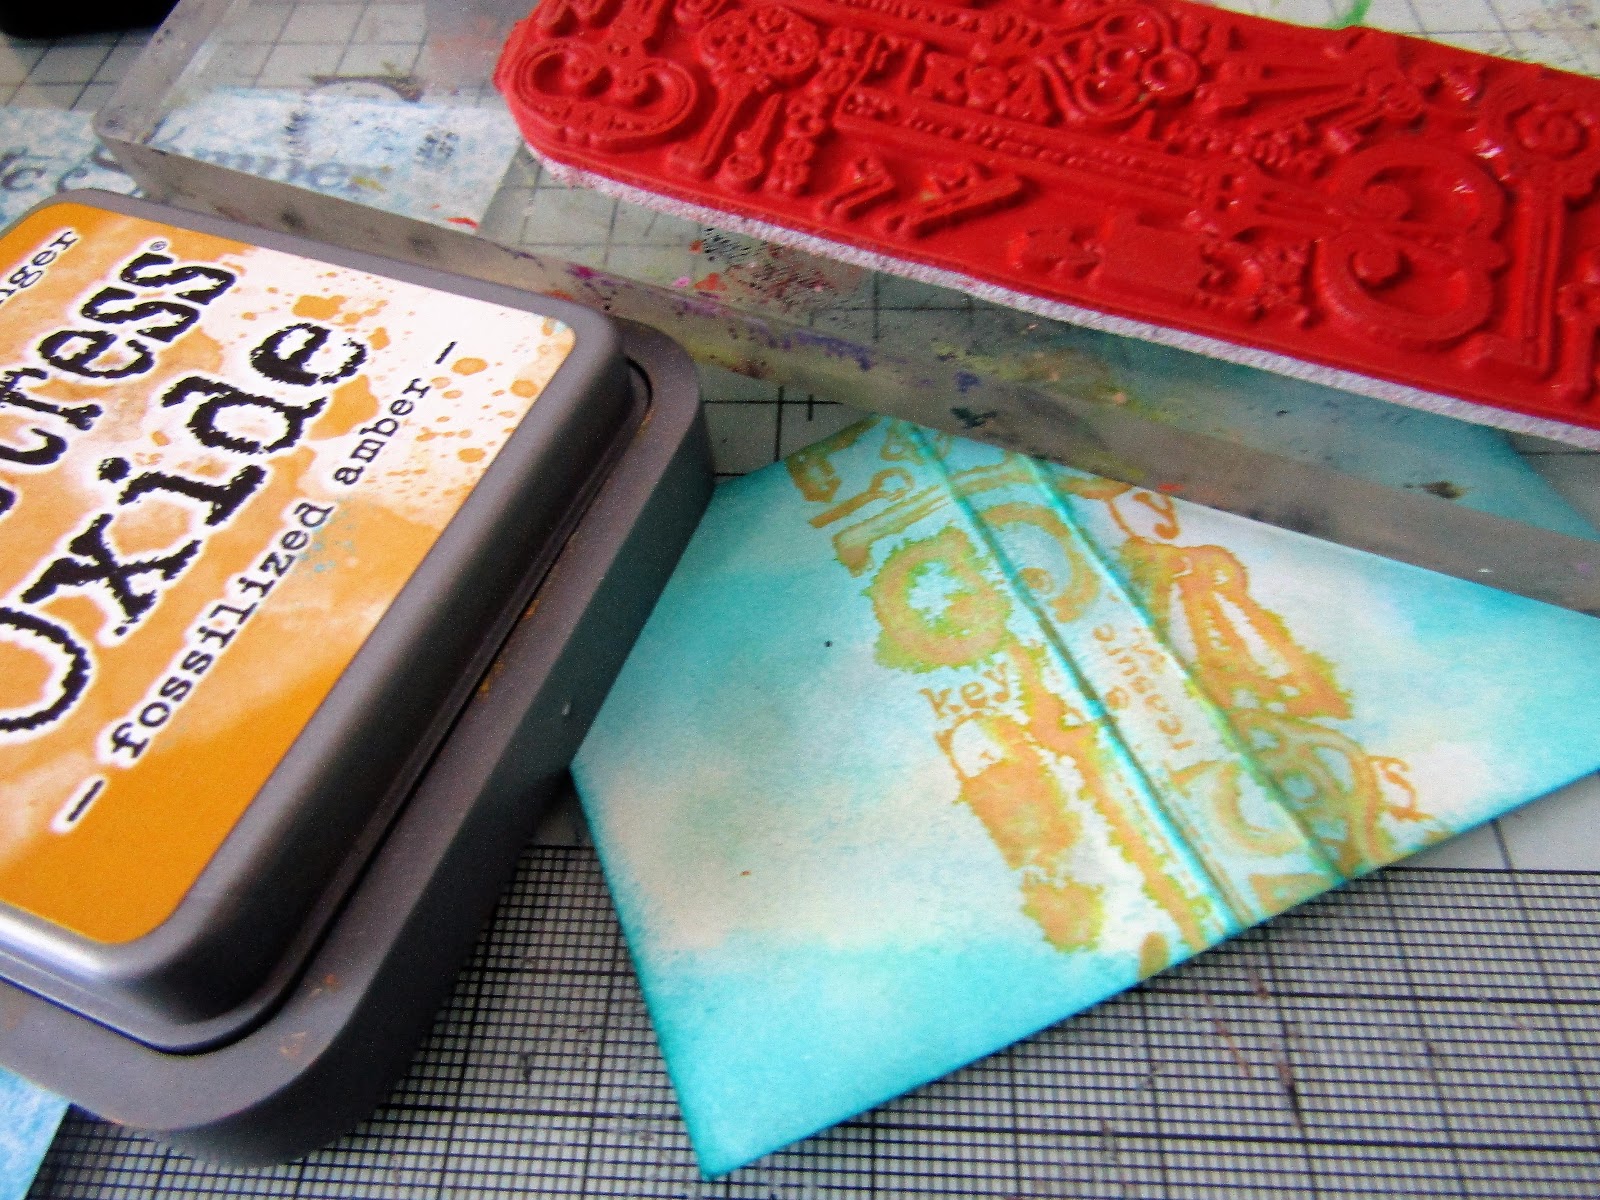
I had fun creating this tag for this months challenge, using Distress Ink and Distress Oxides along with Secret KeysTreasured Memories and Neil Walkers Butterfly stamps from The Artistic Stamper.


JANE


Distress inks and oxides and tags...oh my!!!. Distressed!!!....definitely de-stressed...while playing with my distress inks and oxides to tie in with this months "distressed" challenge.
I started by using the fabulous distress oxides on my tag, then stamped the hydrangeas and the sentiment from the BOTANICAL stamp set, then mounted it on  an oxide spritzed piece of craft card. I even distressed the edges of the card stock!!. 

We hope that you will join in this month's challenge, and also join us on Facebook too.


We look forward to seeing your creations. Don't forget to add a comment when you have posted your entry.


Have a very creative  month


Jennie xx

Friday, 29 June 2018

Mini Blue Book By Gemma

I have a fun little mini book to share with you all today. This is a simple little project that is not material heavy.  All I needed for this project was white card, Distress Inks, and the Artifacts secret key stamp. 


What I did 😀


I cut the white card down to 3x2 inch rectangles for my pages and folded these in half. I then pushed them into Distress ink that I had spread onto my glass mat and sprayed with water. 


Once dry I edged all the pages with more ink and then stamped along one side of each page. The stamp in a long one so I made sure to stamp different sections onto the pages. I then glued the pages back to back to form the book/signature.


When cutting the card for the cover, I cut the card a little larger than the pages and with a spine section in the middle. I then inked the cover following the same process as the pages, except for when it came to stamping. This time I stamped in a contrasting coloured ink and I stamped along the spine, I also added some more stamping using black ink. After gluing the pages into the book I cut a small band to hold the book closed and add interest. 

Thanks for stopping by

XX Gemma XX

Saturday, 16 June 2018

Blue Star Card by Gemma


Loving the theme of this months challenge and there is still plenty of time to join in both here on the blog and on the Facebook group.

For my post today I have a card and tag to share with you all using Distress Inks and lots of Jennie's stamps


What I did


1- I cut card to the size of my card blank and covered it with a layer of Distress Ink


2- I then stamped one of the new designs by Tracy Scott over part of the card. I heat embossed this with a clear embossing powder. 


3- I filled the opposite side of the card with the small Scribble stamp


4- On a separate piece of card I stamped several different sized stars from the star set with black ink and heat embossed them before cutting them out.


5- I also stamped out and heat embossed the words Happy Birthday from Grungy Greeting 1


7- I coloured all of these pieces and an extra mat I cut with Distress Inks and Distress Oxides before gluing everything in place and adding doodles with both black and white pens. 

xx Gemma xx


Tuesday, 29 May 2018

Mini Notebook by Gemma Hynes

I have a sweet little 4x4 notebook to share with you all today, There is something I really enjoy about the process of making books of any kind. The mix between the precise measurements of the book construction and the messy relaxed decoration that comes after. 


 Steps


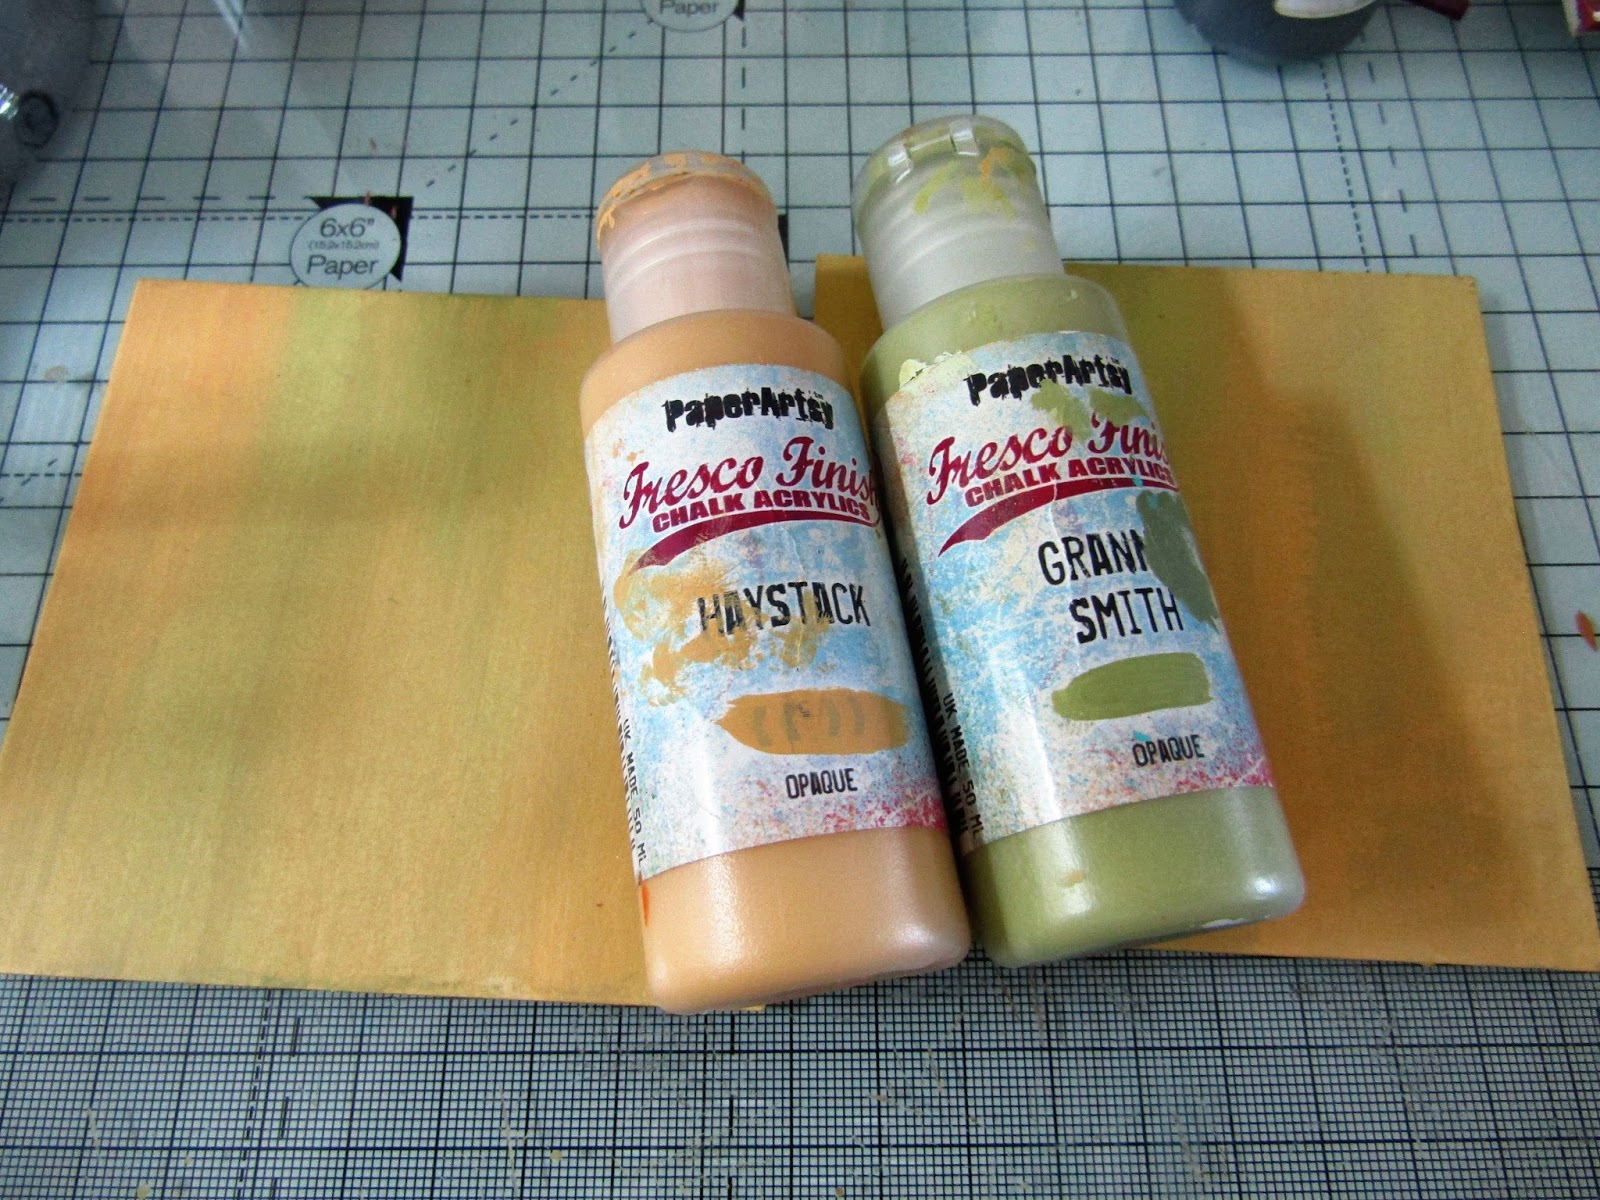
I brushed layers of Haystack and Granny Smith PaperArtsy paints over 4x4 bits of board that are the covers of my book. When layering I made sure the paints were still wet so the colors would blend easily together.


Over the top, I stamped a calligraphy mat with caramel paint, When I stamp I try to roll the stamp from one side to the other so I get an incomplete print. 


Over that, I stamped the honeycomb background stamp with Slate paint, still rolling not pressing the whole stamp down for an incomplete print. 


I painted a little chipboard bird from my stash blue and stamped the word Hugs from the greeting stamps set in black Archival Ink. 


I also painted two little hearts from my stash in red before stamping over the top with the Chicken Wire background stamp.  When everything was dry I wrapped some string around the covers and glued the hearts into place. 


I then painted some white duct tape blue and used that to bind the covers together before gluing the bird to the front cover. To finish the book off I added some elastic for a closure and attached the pages to the inside.

xx Gemma xx