Showing posts with label Embellishments. Show all posts

Wednesday, 23 July 2014

Klimt Take On Salome By Dee


Hi everyone I hope you are all well, this piece is inspired by the artist
Gustav Klimt if any of you know about him
he was a symbolist painter. 


The moment I spotted this stamp I thought of his work
So with that in mind it would be rude
not to use gold.


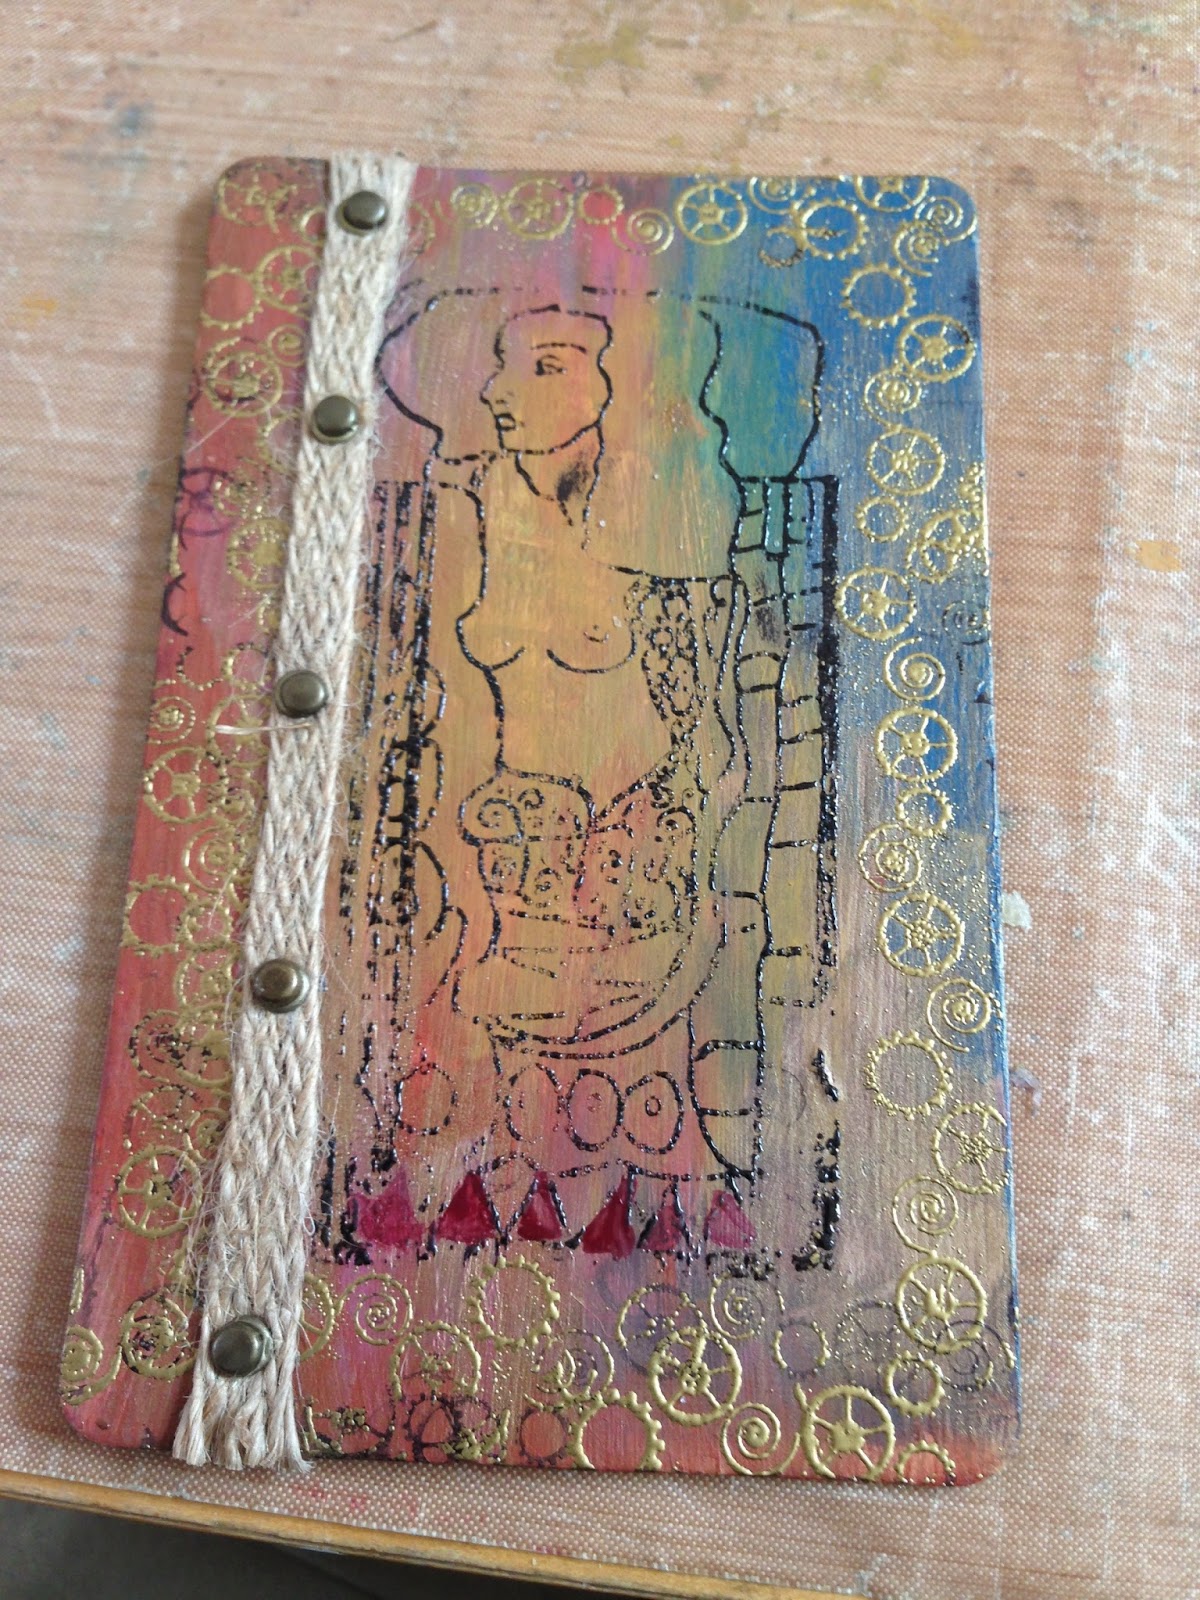
Firstly I painted my board with Fresco  Finish paints in the
following colours Tikka, Seaweed, Brownshed, 
claret and Baltic Blue.


I stamped the Salome stamp to the centre in versa fine onyx black
and then clear embossed it. Then around the edges I stamped


I then added some hessian ribbon down the left hand side and
attached this with five brads. 


Next I picked out areas to highlight with old gold 


I also used the Claret and brown shed to highlight 
other area's.


Next I used a small paint brush and applied glossy accents to 
highlight certain area's.


I poped this on to a vibrant red covered foam board.
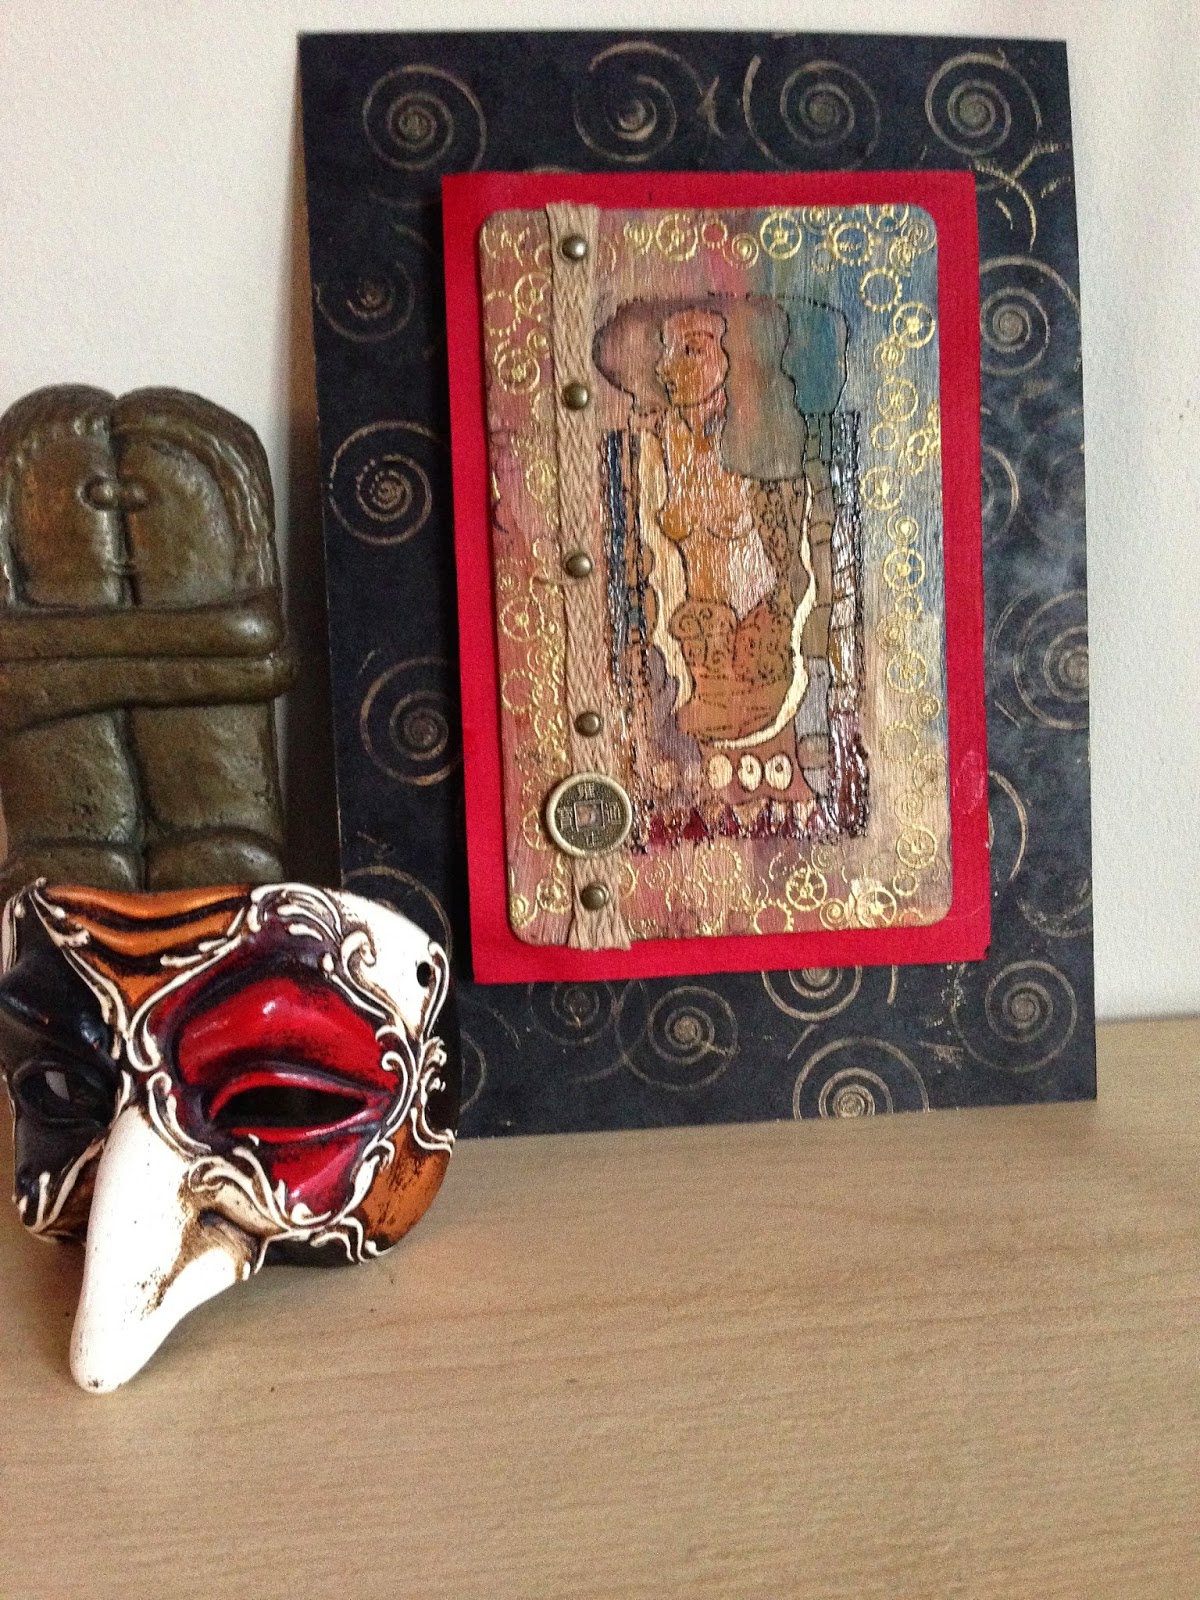

I then placed this on to a black piece of card that I had randomly
stamped with the swirl pattern of the tick tock plate that had
 been inked with gold brilliance and heat set.

That's it from me today thank you for taking the time to pop by
please feel free to leave your comments 
happy stamping!
Dee x


Materials used:- Artistic Stamper Stamps  Tick Tock, Borders A5, Salome 4 x 9 
  Embellishments,  Dee Adams 


Thursday, 13 September 2012

Simple Book card

Hello everyone, this is Astrid here with my first project for September. A quick and simple card that has a spine so you have space to add embellishments inside.

The Artistic Stampers stamps are great for making your own back grounds, but on this occasion I decided to use some stamps for focal images and use some paper from my stash as backgrounds to them.
Here is a list of the stamps I used:
Gibson Girls Plate 1
Girl with Clock
Journaling words 11
Traveling Words
Watches background
Labels
Calligraphic Mat 12
Other products available at the Artistic Stamper:
Distress Inks Brushed Corduroy, Antique Linen
Archival Ink
Inkblending tools
From my stash: Scrapbook paper, Kraft card, little roses, Spellbinder dies, seam binding
Here is how I made it:
1. Cut a piece of Kraft card to 81/4 x 5" and scored it at 4" from each side along the 81/4" side. This gave me a 1/4" spine in the middle
2. Fold along the score line, ink the edges with Brushed Corduroy, you now have a kind of book shape.
3. Cut 4 pieces of your chosen paper to 3 3/4 by 4 3/4",  distress and then ink the edges with Brushed Corduroy and glue to both the outside and the inside of  your little book card. For the back cover make sure you glue on a piece of ribbon underneath the cover paper first.
4. For the front of the card, cut a piece of stamping card to 3 1/4 by 4 1/4  stamp one of the Gibson Girls in Archival black and then mask. Overstamp the Watches Background with Brushed Corduroy and then colour the girl with coloured pencil and blend Brushed Corduroy ink around the image. Distress and ink the edges If you add some shadow around you main stamped image it will make it pop.
5.  Glue a second piece of ribbon to the font of your little book, taking care it is at the same height as the back and then glue your stamped panel over it.
6. Time to embellish the front: Stamp a second stamping of the Calligraphic Mat on to white card, then stamp the word Dream from the Journaling Words ll plate over it. Cut a strip around the word and then ink and distress and curl the edges. Adhere to the front together with some little die cuts and roses as shown in the picture.


7. For the inside, stamp the girl with clock on some paper in black archival, cut out and colour with coloured pencils. glue to the side and embellish as shown.
8. For the other side stamp the traveling words onto a square piece of paper and ink the edges. Add glue around 3 sides and stick down to form a little pocket. Next stamp the label from the labels plate, cut out and ink the edges. Embellish with a little rose and some ribbon and tuck inside the pocket. The back of the tag can be used to add a personal message.
I still added some "pearls" with a pearl pen and a little diecut to finish it all off. Tie your little book card with the ribbon and you are done.