Showing posts with label icon. Show all posts

Monday, 18 November 2013

Christmas arch:By Zuzu...

 
well, keeping with this months challenge them of Christmas, i have given last years christmas arch a makeover.
it looked like this last year....
 
I pulled all the bits off and sanded it back and with a  bit of gluing and stamping it now looks like this....

I covered it in old book pages and some bits from old manuscript  music books then stamped on it. i used rubons for the star and the word "BELIEVE" and added some embellishments and gave it a coat of crackle varnish and rubbed some paint in to the cracks (taking excess off with a baby wipe.)


Supplies used:

wooden arch (icon)
            : Christmas plate 4 (wise men)
Remnants rubs (tim holtz rubons) "believe" and star.

Thursday, 12 September 2013

Amaze Yourself!

Hello all, Alison (butterfly) here to share a hanging icon.  I had so much fun playing with this, building up the layers.  And I ended up with a background I liked so much that I had to come up with a creative way of not covering it up too much!


I started with the large size icon and gave it a coat of white acrylic paint.


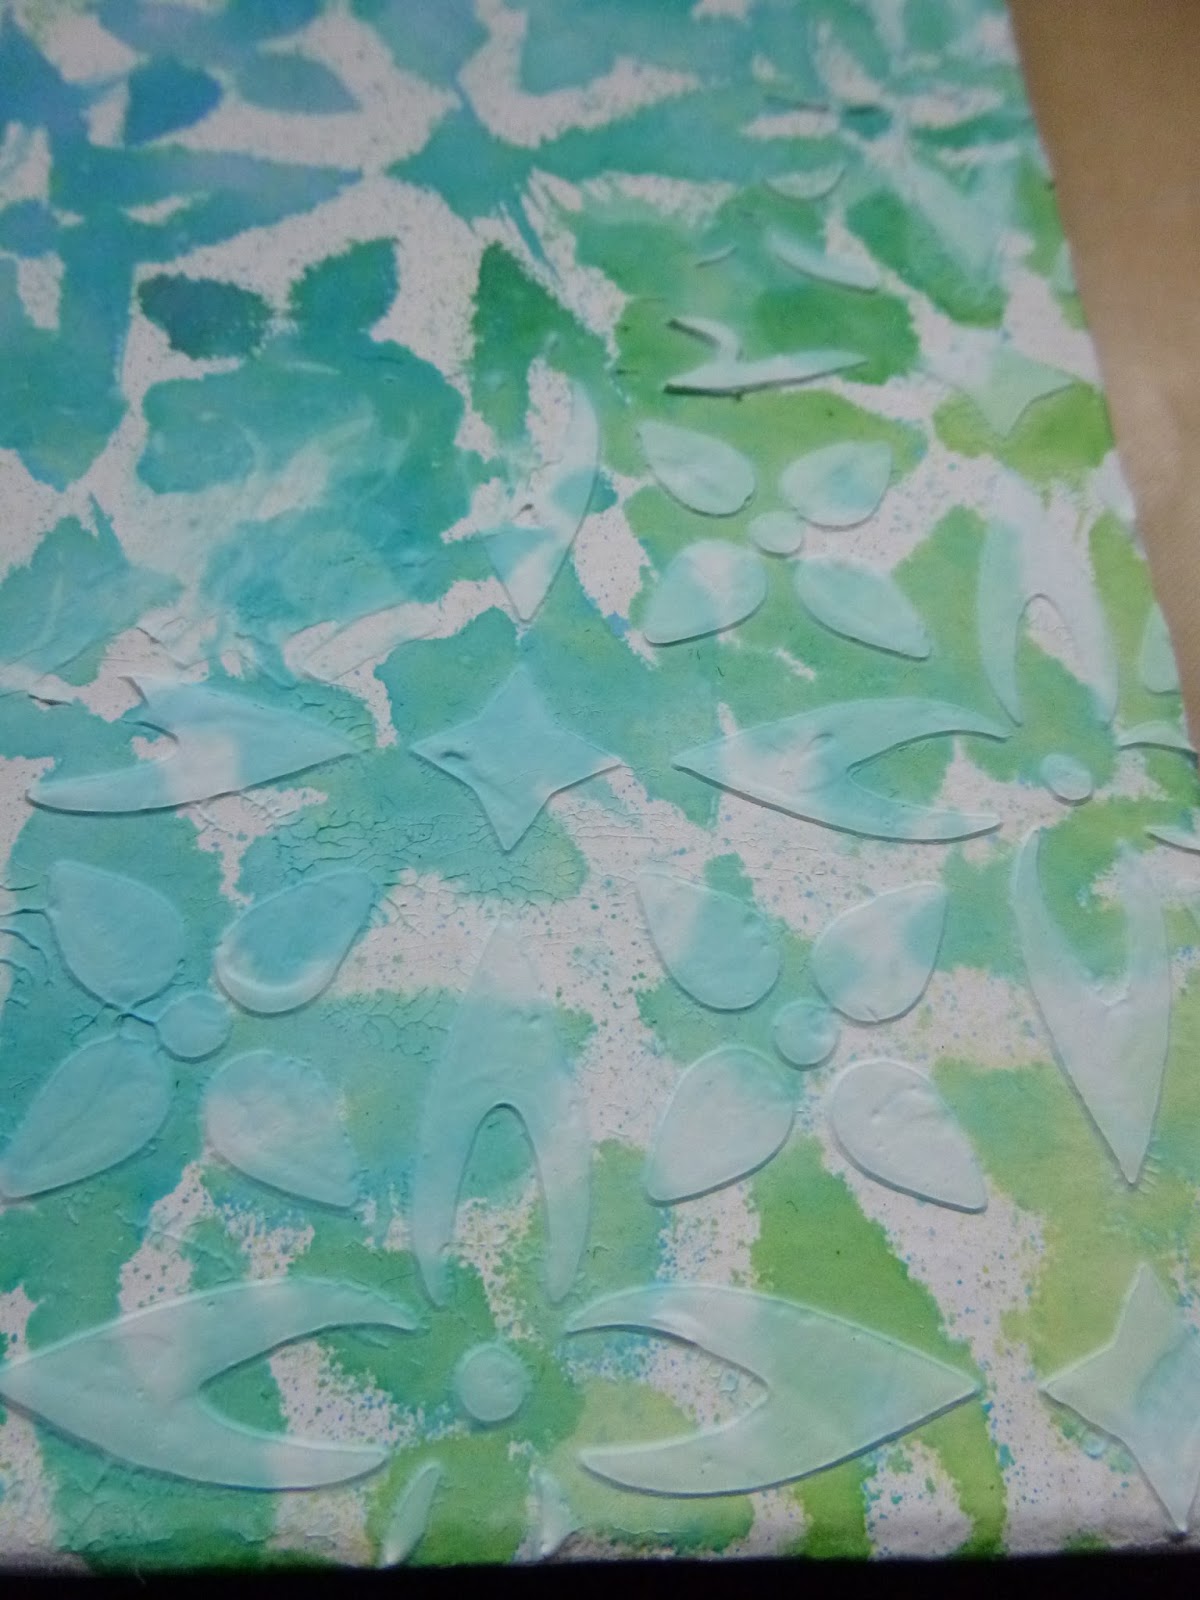
Then I spritzed some Dylusions sprays through the Crafter's Workshop Flower Piecing stencil.


I used the same stencil with some texture paste to add a bit of extra interest.  The colours slightly soaked into the paste, which I rather liked.


 Next step was some stamping... I used The Artistic Stamper's fabulous Mini Polka Dots and Sequin Waste background stamps to continue building my layers.


Of course, all of this is also trailing over the edges of the icon too...


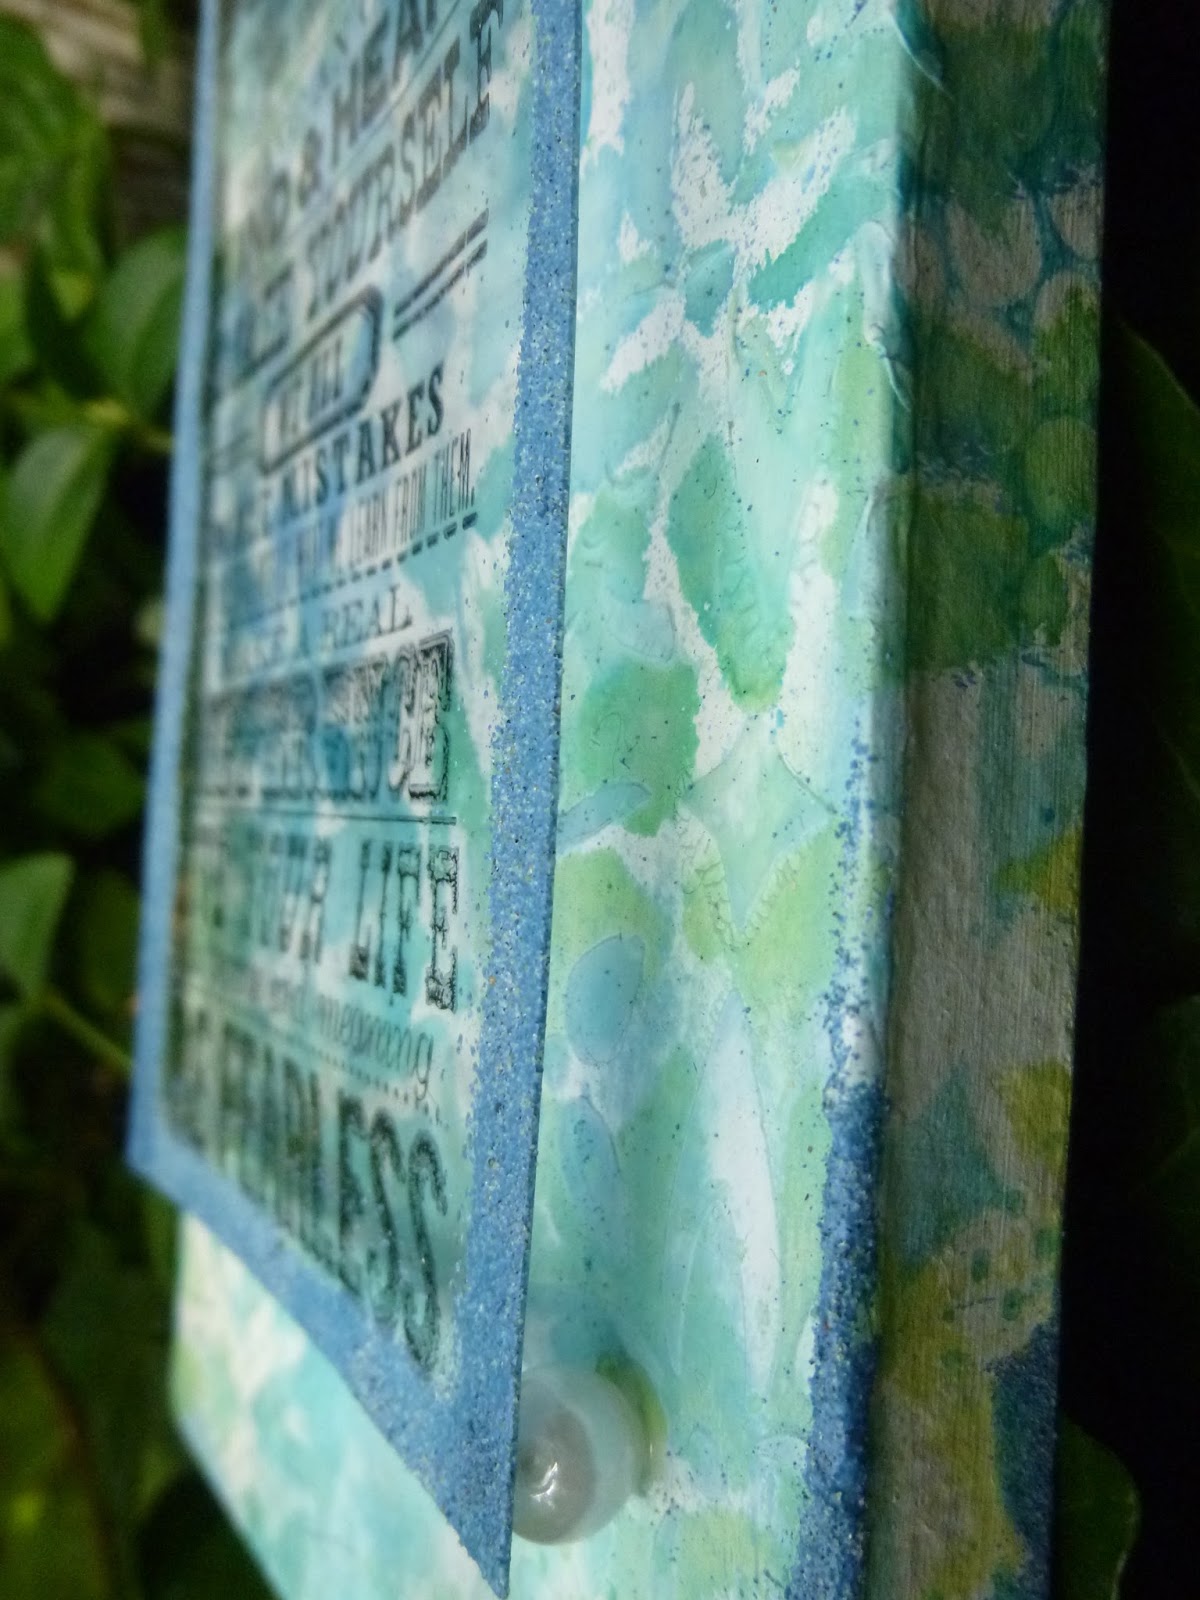
And for some extra texture and definition on the edges, I used Faded Jeans Distress embossing powder... yummy colour!


So now I had this background which I really liked... and I had to find a way to keep as much of it visible as possible.  Bring on the recycled acetate packaging!


I used Staz-On black to stamp the brilliant sentiment from Tim Holtz's Way With Words set onto the acetate.  You can use it whole, like this, or stamp individual phrases... so it's like having loads of stamps in one.  


I edged the acetate panel with some more of the Faded Jeans Distress embossing powder, applied over Versamark embossing ink that I simply swiped onto the edges.  You have to heat it with care, so that the acetate doesn't end up all curly!


To mount the panel, I butchered some hanging decorations that I got for peanuts in the Czech Republic... just in order to get the pearls out, you understand.


I used Glossy Accents to glue the pearls to the corners of the acetate, and then once that was firmly dry, I glued the whole thing to the decorated icon.


Very happy with the dimensional look, as well as the fact that you still get to see all those lovely background layers behind the words!

Thanks so much for dropping in today.  Oh, and don't forget to come and play in our September challenge here at The Artistic Stamper.  The theme is Autumn, so there are loads of possibilities.  Hope to see you there!

Ingredients used:
Artistic Stamper stamps: Mini Polka Dots and Sequin Waste Open Size
Stampers Anonymous: Way With Words
Dylusions Sprays: Calypso Teal, London Blue, Fresh Lime, Vibrant Turquoise, Cut Grass
Distress Embossing Powder: Faded Jeans
White acrylic paint
Large Hanging Icon Board
Staz-On: Black
Ranger Archival: Cobalt, Viridian
Versamark embossing ink
Texture Paste
Pearls from stash, acetate packaging

Monday, 24 June 2013

In the undergrowth by Alison (butterfly)

Hello everyone, Alison (butterfly) here.  I'm sharing a hanging today, inspired mainly by Katy Fox's beautiful flower from her Encycopaedia Botanica set.


Even though that's the main image, I'm pretty taken with the background behind it, so what's underneath - in the undergrowth - is also part of the story here.  Links to all the ingredients are at the foot of the post.


I started with one of the papier-mâché hanging boards or icons, and used Tim's wrinkle-free distress technique with Distress Paints to create my background.  I wanted natural colour tones - earth, sky, soil, water.


Once I was happy with the paint, I blended Broken China Distress Ink through the Crafter's Workshop harlequin stencil and then clear embossed it.  I love the translucent watery effect of this.


I layered in some stamping - using stamps from Insects and Butterflies, Botanical Plate #1 (both in Coffee Archival) and Calligraphic Mat #4 (in Broken China DI).


The main image is stamped separately on white cardstock.  I tore the edges and inked it for a vintage look.  I also added some splatters of ink for a slightly more distressed effect - loved doing this for my version of TH's June tag - I'm thinking you'll see it again.


I mounted it on padded tape to add dimensionality to the piece.


As always, I carried the inking, embossing and stamping over onto the edges of the board, so that you get a lovely dimensional look.


And because the stamps, inks and paints seemed to me to be doing a pretty good job, I put away the various embellishments I'd got out, leaving the piece unadorned to speak for itself.


I hope you like it... Thanks so much for stopping by today.  Don't forget there's still a week to join in with our Makes For Men challenge here at Artistic Stamper - we'd love to see you there.  See you again soon.

Artistic Stamper Stamps: Katy Fox Encyclopaedia Botanica, Botanical Plate #1, Insects and Butterflies, Calligraphic Mat #4
Distress Paints: Broken China, Salty Ocean, Frayed Burlap, Walnut Stain
Distress Inks: Broken China, Vintage Photo, Gathered Twigs
Archival Ink: Coffee
Papier-mâché icon, large
Clear embossing powder
Crafter's Workshop Mini Harlequin Template

Thursday, 6 September 2012

Imagination street. A shrine by zuzu.

 Today, I have decorated one of the alterable wooden shrines; you can find it HERE. I have used the little "our house" stamps HERE, the birds from the"free as a bird" stamps HERE and the Dylusions alphabet stencil from HERE.


I also used the star background stamp from HERE and to highlight the little doodle leaves I drew, I used some glitter stickles (crystal) from HERE...

 To decorate the outside, I have used some ideaology findings. you can find those HERE...but as this is the back of the shrine, if you are going to leave it open, then you dont need to add anything at all and save some money. But I like adding curios to things ;)

See you on the 17th
Z x