Showing posts with label Dylusions sprays. Show all posts

Sunday, 16 December 2018

Christmas is coming by Siobhan Brignull

Hi!
So what do you do when you  need to wrap a christmas present and you haven't bought your wrapping paper yet, (I know how unorganised!)

So I grabbed some snowflake stamps from The Artistic Stamper and some embossing powder and spray inks.


I then embossed in silver and white on a 200gsm paper, as I needed it to withstand the heat and wet, I was going to subject it to.


Once embossed I used a Dylusions mica spray set to create a pastel Christmas effect, and then added some splatters from the sprays to add some interest and contrast.


The paper actually folded nicely around my gift and I just needed a tag and then I had my eureka moment, the free stamp with Craft Stamper this month was a Happy Christmas tag designed by Jennie, perfect.


Have a very Merry Christmas
Siobhan x

Sunday, 29 October 2017

Kiki Cards by Gemma


I love a messy grungy card and I have one to share with you all today.


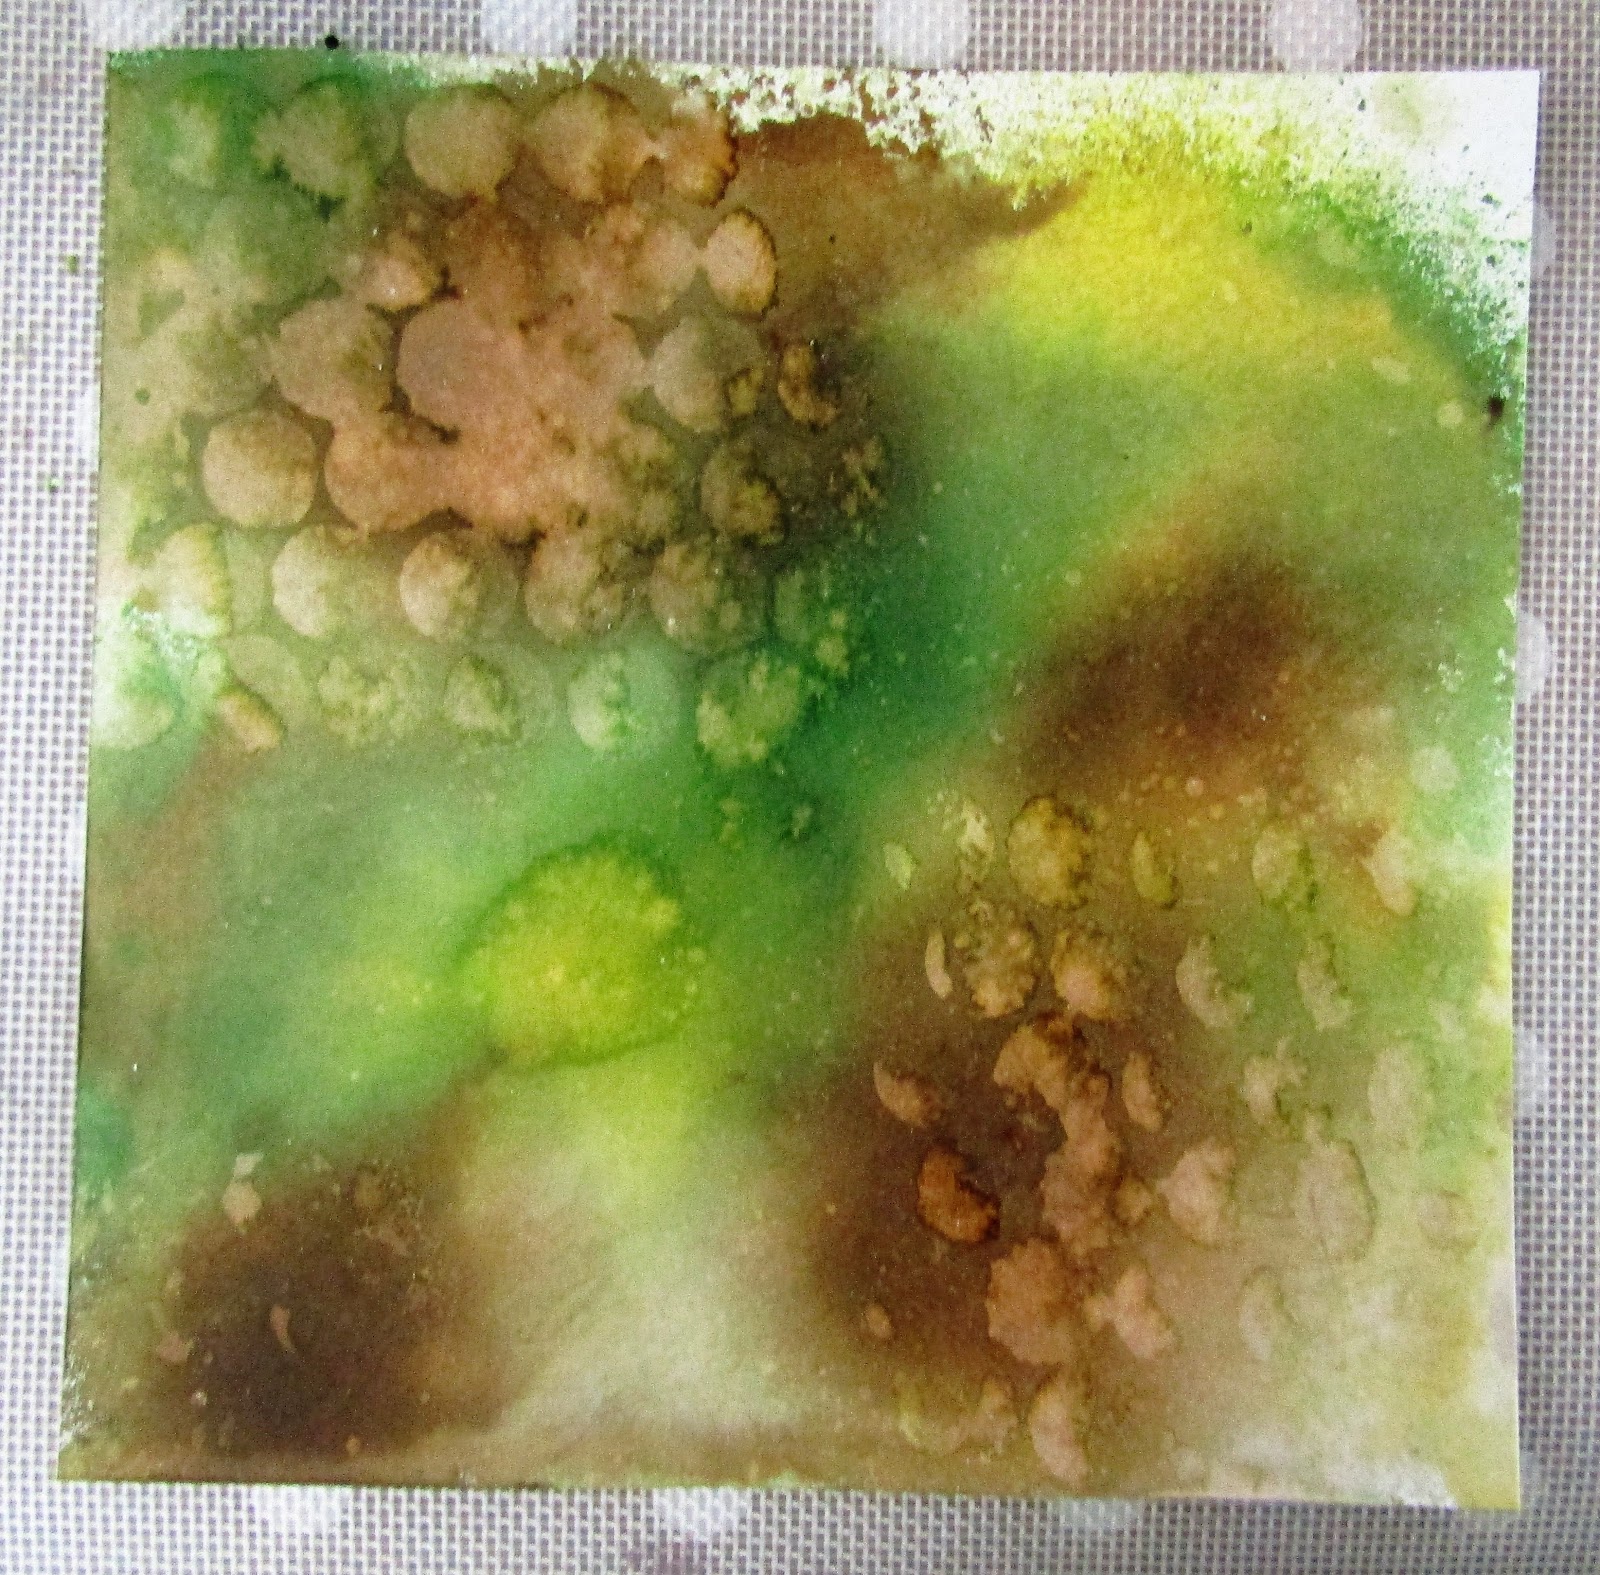
I cut a piece of cardstock to fit the front of my card blank and sprayed the cardstock with Chopped Pesto, Ground Coffee and Lemon Zest, I sprayed water over the top and allowed them to blend together. While the inks were still wet I pushed a dot stamp and mask into the ink for extra interest.


I stamped Kiki onto a piece of card that I sprayed with Lemon zest and a little Pesto that was left on my mat. I layered this up on the background with paper scraps and washi tape. To finish my card I stamped the sentiment 'best wishes' in one corner and then doodled over Kiki and the other corners with a black pen.

Thanks for reading
Gemma xx


Tuesday, 18 April 2017

A little Dylusional by Debs

Hi Everyone

Sorry this post is a bit late, going to Harrogate for the weekend with Jennie, put me a bit behind. So i thought as i had learnt so much on Dyan's workshop, i thought it would only be fair to share one of those techniques with you.


I started by spritzing the page with water and then filling the page with Dylusions sprays 
and using water through a stencil I added some ghosting.

I stamped the image from the Faces #2 Plate and then added a frame using Black Dylusions paint and then added more paint through assorted Artistic Stamper stencils.

I added some white pen around the outside of the shapes and flowers and added some doodling.  I also added some white and grey pencils to the main image, for definition.

Take care and happy crafting
Debs
x


Wednesday, 29 March 2017

Butterfly Tag Card by Gemma


I have a card to show you today using two tags, Distress Inks and Dylusions sprays


Spread some Squeezed Lemonade, Twisted Citron and Carved Pumpkin Distress ink onto a mat, spray it with water and drag the larger tag through the ink. Repeat this with the smaller tag and Twisted Citron Distress ink. Once dry place the petal mask over the tags and spray with White Linen.


Continue spraying the tags through the mask with Squeezed Orange and Lemon Zest Dylusions sprays.  


Once dry blend some Twisted Citron Distressed Ink over a Honeycomb mask and around the edges. Mount the tags to some black cardstock, and glue them together.


Stamp two butterflies using archival ink and blend some Squeezed Lemon Distress Ink over the top, doodle over the butterflies with a black pen. Once dry glue the butterflies and some die cut flowers to the front of the card.


Thanks for reading
Gemma

Thursday, 16 March 2017

Sunflower Card by Gemma


I have seen some amazing entries this month. and there is still plenty of time to join in the challenge on the blog and the facebook page

I have a fun birthday card to share with you all 


Cut a piece of card to fit the card blank and spray with Dylusions ink sprays. Only half press the spray pump for limited coverage. 


Edge the card with Peeled Paint Distress Ink and glue into place pieces of washi tape. The washi tape should be different thicknesses.


Stamp five of the larger sunflowers from the sunflower stamp. Paint them with Distress Inks and add some pastels over the top for added interest.


Cut them out, shape them slightly and glue them down the centre of the card. Add a sentiment and draw a line around the edges to finish 


Thanks for reading
Gemma

Friday, 24 February 2017

Where there is love.......by Debs

Hi Everyone

I have done a journal page for you this week.  I have used stamps as a base to doodle on!
 

I love Journaling as some of you may know and just lately i have been playing with doodling, I suspect this page may well be added to in time.

To create the background i sprayed one side of the page with White Linen Dylusions Spray 
Then I added 
Lemon Zest, Squeezed Orange, Bubblegum Pink, Polish Jade and Pure Sunshine, added a spritz of water and then closed the book!

I used Lesley's Flowers and Leaves Mask with white linen to create a border, and then turned the mask over on the opposite page

I then added on more stencilling with the Artistic Stamper number and signs mask and the circle mask, adding spray with a sponge and then i stamped the large heart from the Roses are Red stamp plate.  I also stamped the hollow heart on to the white circles and wrote on them to look like love hearts.  Then doodled all over it!!
The quote is also from the roses are red stamp plate.

Take care, happy crafting and i shall look forward to seeing all of your entries, there are still a couple more days before the end of the month! We really do enjoy seeing them all

Debs


Monday, 4 January 2016

Finnbair inspired Butterfly By Dee

Hi everyone Dee here with you today kicking of the New Year on the Artistic Stamper Team Blog!
I am a great fan of Finnabair's work and have always wanted to try a canvas
 inspired by her work.
The canvas was made by firstly putting embossing paste through The Artistic Stamper
Swirl mask, and allowing it to dry.
I used Neil Walkers butterfly stamp for the main focal piece this 
was made by triple embossing into gold embossing powder.
This was then coloured with alcohol inks once the stamp had
been triple embossed.
The centre piece had crystal gems stuck on to form the body of 
the butterfly. 
The main canvas once dry was painted with Gesso then fresco sage paint
& various colours were used to paint the background. Then
A mix of metallic paints and spray was used to paint 
over the background.
Well that's it from me for today folks please feel free to ask any 
questions if you have any. There is a product list below
Thanks for dropping by and wishing you all
A Happy New Year!
Dee X 
Products Used
  1. Artistic Stamper products used :- Swirl Mask, Neil Walkers Butterfly stamp.
  2. Fresco Finish paints :- Chalk, blue oyster & sage.
  3. Dylusion sprays in lime and chopped pesto 


Wednesday, 26 August 2015

'Bliss' Mixed Media creation by Shilpa

Hello Everyone,

Have you seen new butterfly stamps at Artistic stamper, they are so ...beautiful. My today's mixed media piece is with them as a focal point.


I've taken photos while making this..hope you will enjoy the process.


I started with adhering book page onto the thick cardstock. Applied gesso as I was creating lots of layers.

  
I stamped Decay Swirls with Java Bean ink.


I used Dylusion paints  Vibrant turquoise and Crushed Grape here. 
I also used White Linen paint through alpha stencil.


With honeycomb stencil and Evergreen bough DI I created next layer. I also stamped music notes.


Dylusion inks works beautifully on paints, I used Lemon Zest ink for more texture.


I spritzed Lemon zest dylusion ink on paper and on that I stamped these butterflies. Cut them out to adhere with 3d foam.


here is full reveal...


Isn't is pretty! don't forget to try new stamps from Artistic stamper this month.

Thanks so much for stopping by.


Products Used from Artistic Stamper:


Friday, 24 July 2015

A Spoonful of Good Spirits

Hi Everyone,

Debs here with another Tag to hopefully inspire you to enter this months challenge.

I started off with a large #10 Kraft tag, a plastic spoon some netting, corrugated cardboard and some tape I used Tim Holtz but any washi tape is fine.  And positioned it all on the stage down one side and down to the bottom.


Then I gave it a coat of gesso, and then added Fresh Lime, Lemon Zest and Squeezed Orange Dylusions paint, blending the colours into one another, I made sure that the orange and green didn't touch so as not to make a muddy mess.


After this had dried i then knocked it back with white linen, and then sprayed with Dylusions Sprays in the same colours, this adds a bit more texture to colour.  


I stamped the Flower Fever stamp twice and the Into Each Day once onto tissue paper.  I cut out the flowers and used one of the big one and two each of the rest of the stamp expect the smallest blocked.   Stamped them all with the mini calligraphic mat 20.  Turned them over and painted them lightly with Lemon Zest.  I painted the spoon with gesso and then brushed pewter Distress Paint, when that was dry I put some silver gilding wax over the top to make it shiny!  Added some metal embellishments.


Once i had assembled it all together i added some Brushed Pewter Distress Crackle Glaze.  It does say not to heat it with a heat gun but if you do it bubbles and gives it a lovely effect!


Thanks for checking by and don't forget you still have a week to enter this months challenge.

Products used
Ranger #10 Kraft tag
Washi tape
Metal Embellishments
Dylusions Sprays
Dylusions Paints
Flower Fever
Mini Calligraphic mat 20
Into Each Day

Friday, 10 July 2015

Make me live tag by Debs

Hi All

I had a bit of fun with sprays and stencils on this tag.


I started with a large craft tag and covered it with gesso

Then out came the ink sprays, I used Dylusions and Distress ink sprays and stencils.  I started by putting a layer of just ink down, waited for that to dry off and then sprayed more ink through stencils until I was happy with the background.  Whilst I waited for it all to dry I stamped one of the Gibson girls onto plain white card with brown archival and coloured her in with distress markers.


Once the ink was dry, I then stamped the swirly stamp from the Decay Journaling stamp set in Peacock Feathers and Salty Ocean, after these were dry i also did a couple in Archival black.  The words were stamped as a block onto white card with Archival and then cut out the words that I wanted.  I used grunge paste with the swirls and splodges stencil, one of the nice things about grunge paste is its ability to soak up the ink that is underneath it, meaning in. This instance I didn't need to colour it.  I made a large paper flower with a die, some book pages and stuck a wooden bead in the middle.  Then re-arranged the words and stuck them down.

Hope you are all enjoying this months challenge.  See you all soon

Debs

Products used

Artistic stamper Masks