Showing posts with label texture paste. Show all posts

Saturday, 16 July 2016

Butterfly 3D frame by Gemma

 Hello everyone

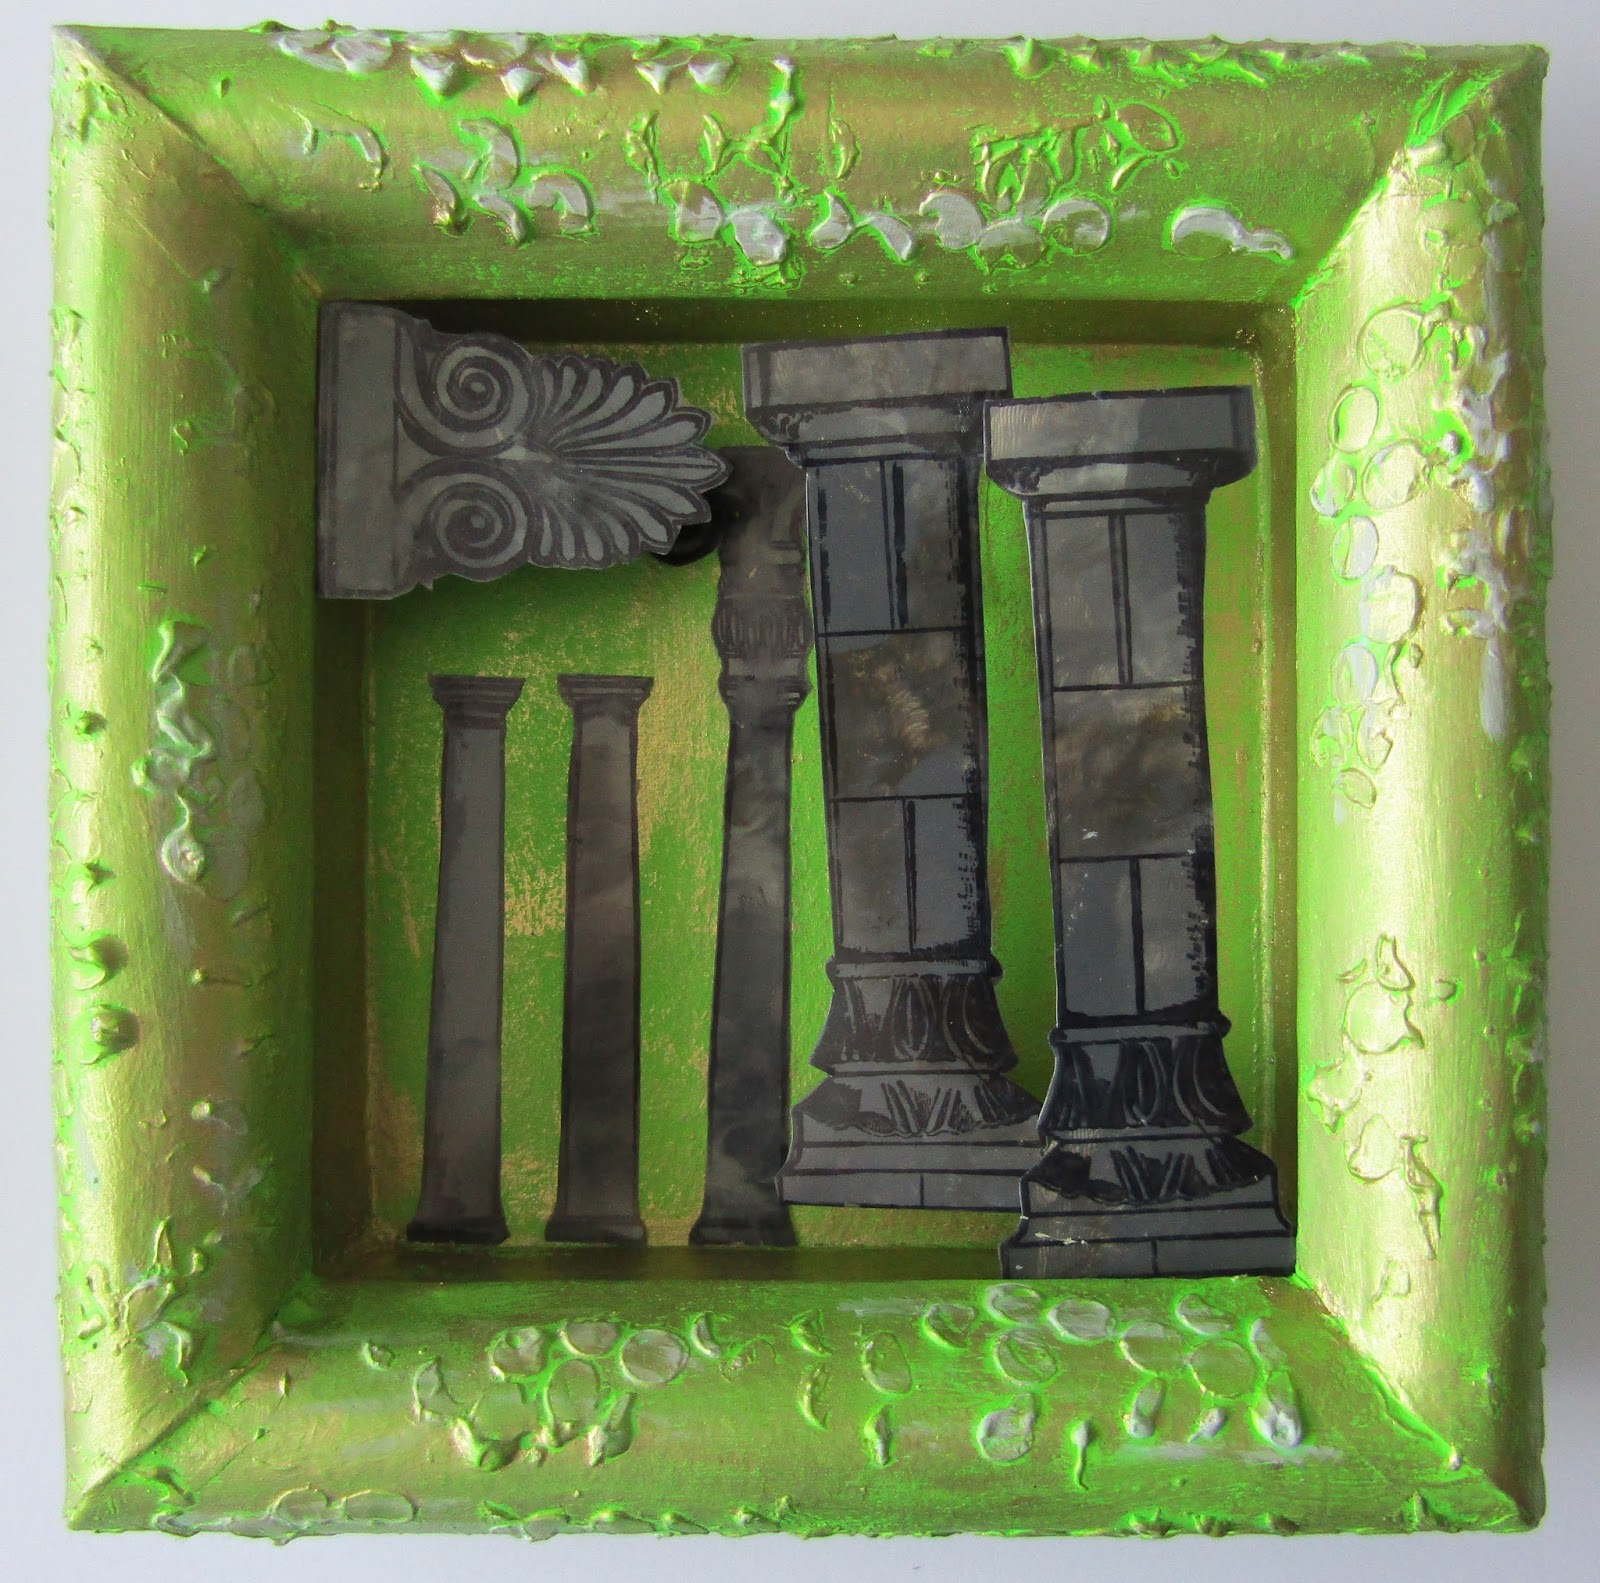
I have a bit of a butterfly theme going on this month. For this post I decorated a 3D frame that measured 20 x 20 cms.


To start I coated the frame in a white paint to prime it.  Then I put some Fresh Lime, Dylusion paint and basic florescent green acrylic on my craft mat.  I applied the different paints to the frame blending them together as I went. It took two coats to cover the frame.


Once dry I applied some grunge paste through the Random Dots mask  and some gilding wax along the inside edges of the frame, once the grunge paste was dry I also brushed gilding wax over the paste.


On sheets of acetate I stamped out butterfly's and columns from the architecture plate, and butterfly plate


Using my fingers so the paint was applied fairly thickly I applied Titan Buff and different shades of grey acrylic to the backs of the columns. When cutting the pieces out, I had to remember to leave tabs so they could be glued in place on the frame. 


On the back of the acetate sheet with the butterfly's I sprayed different ink sprays including cherry pie and lemon zest Dylusion sprays.


Gluing the pieces into the frame was very fiddly and I ended up making little stands from acetate to prop everything up.


I then added a strip of green paper along the bottom to represent grass and some die cut swirls from patterned paper.


I then stamped the same butterfly's onto card stock and coloured them in with pens, gluing the acetate butterfly's over the top. Then I just had to glue them into place on the frame.


Please take a look at this months challenge- All Things Bright and Beautiful, here on the blog and on the Facebook page. There is still plenty of time to enter for your change to win some lovely stamps.

Thank you for reading
Gemma

Tuesday, 16 February 2016

Blue Heart canvas by Gemma


 Hello Everyone

I am not much of a mushy valentines day person, but I do love creating pieces of er............well anything with hearts on it really, Well hearts and circles. I managed to get both of those on this canvas.

The canvas measures 16 x 20 inches, and I started by spraying some Blues, greens and purple sprays. I used a mixture of different sprays from my stash including dylusions ink sprays. Then as I often do, I completely changed my mind on how I wanted to create this canvas, and started adding gesso, crackle paste, texture paste and gel medium with beads. 


I spread a fairly thick layers of crackle paste in a few different areas. Then I placed the large dot mask over the top, and pressed it down into the paste.


 I also spread texture paste through the petal mask, after that I added circles with the beaded gel and the large dot mask. I wanted them to be dangling from the top so using I spatula I carried the beaded gel to the top in lines. This feels so strange now its dry, its a bit bubbly and scratchy all at the same time. I had areas of texture paste scrapped onto the canvas that felt quite plane so I stamped into it with the dots background.


Once all of that was dry I went back to spraying, letting the different colours run down the canvas and blend together, focusing the green spray along the top and bottom. I also added white dylusions paint to the raised areas of texture and crackle paste.


 I cut out three different sized hearts covered them in texture paste and pressed the petal background stamp into them. I then painted some grey ink onto the hearts and on to the dangles from the top.


  I went over the dangles and around the hearts with a black stabilo pencil, which I blended in with a water brush. Then to finish with the same pencil I added the word inspiration from the words mask and drew stems/lines from the hearts to the bottom of the canvas.

I am loving at the entries for this months challenge, there's still plenty of time to enter and be in with a chance of winning some great stamps.

Thanks for reading
Gemma (inkykitty)


Saturday, 4 July 2015

Art Board by Dee

Hi everyone hope you are all well I have a board for you today 
using a mix of Paperartsy Fesco finish paint and 
lots of lovely Artistic Stamper Stamps.
Firstly I used Vanila and stone Fresco Finish paint to coat the board.
I used Brown Shed mixed with Blood Orange, Smoked Paprika, 
Mocha Mouse, and Bora Bora.
Black texture paste colour grunge paste with paint.
Put it through the Artistic stamper mask.
When wet drop in the small watch parts.
Stamp all the other stamps in black and coffee Archival ink.
pour gold embossing powder down the dry board so it just catches the ink
in places.
Stamp the houses onto similar coloured card and emboss. Well that's it for today
a very simple project but with great results. I tend to use my fingers when 
painting as I find that I can get the paint where I want it and its easier
 to blend.As always please feel free to ask any questions and let 
me know what you think.
Cheers Dee x
Products used

  1. Artistic Stamper Stamps Decay Journaling Stamps, Lace background C75, Boarders A6 lace, Home sweet HomeStamps.
  2. Fresco Finish acrylic paint  Vanila, Mocha Mouse, Stone, Bora Bora, Brown Shed/Blood orange and smoked paprika.
  3. Distress crackle paint picket fence.
  4. Black & Coffee Archival Ink.
  5. Gold embossing powder.


Friday, 10 April 2015

Stamping for Texture

Hello all, Alison (butterfly) here with some textured tags for you today.

It won't have escaped your notice that I'm pretty obsessed with the new Flourish Background stamp.  I've used it on journalling pages and jars already, and now I've been experimenting with using it to create texture in different ways, and here are two of the tags which arrived as a result.


There's so much gilding and shimmer going on that it was hard to get a photo of them together that does them both justice at the same time - either one was in shadow, or the other was catching too much light - hopefully you'll get the idea from the close-ups as we go!


The texture on the blue/gold tag was created with gesso.  I applied a generous coating of heavy gesso to the stamp using Cut'n'Dry foam and pressed it down firmly onto the tag.  As well as the relief stamping of the flourish itself, you get lots of additional textural interest as you peel the rubber away (like when you press two gesso'd or painted tags together and peel them apart) - lots of lovely organic ripple patterns.


Then I spritzed away with a combination of Distress Sprays and Perfect Pearl Mists and a few other sparkly sprays.


The colours settled nicely around the flourish textures, but I wanted to highlight them further so I used gilding waxes to zhuzh them up a little.


I love the golden gleam in the sunlight.


The texture on the coppery green tag has a slightly chunkier look.  I put a layer of texture paste onto the tag and pressed the Flourish Background onto it, just as I did with the gesso - though I don't seem to have a picture of this one "naked".  The texture paste obviously gets you a lot more dimensional bang for your buck!


I started with Dabbers and Distress Paints, including metallics, to get a good covering over the paste, and then added some spritzes of shimmer sprays.


Since I was leaning more to the greens than the blues on this tag, I then found myself reaching for coppery gilding waxes to highlight the textures.


Having created these two backgrounds, I really didn't want to cover them up very much!  I don't often reach for flowers - though for some reason I do have a whole box of paper flowers in my stash! - but that seemed to be the way to go with these tags.


They started out fairly innocuously in various colours... so I got busy with the Distress Sprays again.  I wanted them to look as if they were emerging out of the tags, so I spritzed them to co-ordinate with the respective colour palettes.


The blue-green ones got a spritz of Tarnished Brass to give a hint of a metallic look to fit with the gilded texture.


The flowers for the coppery green tag went through the same process with slightly different colours, and their metallic spray was the Antique Bronze - a warmer shade.


I liked the gilded look, so I emphasised the metallic shimmer even more by adding some gold embossing powder to the edges of the rose flower petals, large and small.  And I used copper embossing powder to add the extra gilding to the tips of the green petals.


It may have been slightly crazy to reach for the kraft card to create my word panels... kraft with all that gilding?!  But I really like the contrast.


The "with thanks" wording comes from Katy Leitch's Leaves set, and it's embossed in gold for one tag and in copper for the other.


It needed a bit more of the rustic earthiness to balance the shimmer, so I mounted the tags onto kraft card with padded tape, edging everything with Archival ink to give little more definition.


And some simple twine at the top completes the look - continuing the contrast between baroque gilded texture and rustic earthiness.


So, I hope you like them - a more gilded look than normal for me.  I think I've been influenced by Dee's fabulous work here!  And with all those flowers these would fit right in to the Flora and Fauna challenge theme here this month.  I hope you'll come and join in.  Remember, we do have to see some stamping, but it doesn't have to be with Artistic Stamper stamps (though if you do use them you get a double entry into the prize draw!!).  Hope to see you there.

Thanks so much for stopping by today, and I'll see you soon.

Ingredients used:
Artistic Stamper stamps: Flourish Background, Leaves
Distress Spray Stains - Faded Jeans, Peeled Paint, Evergreen Bough, Peacock Feathers, Tarnished Brass, Antique Bronze
Distress Paints - Antique Bronze, Peeled Paint, Tarnished Brass, Evergreen Bough
Ranger Paint Dabbers - Copper, Bottle
Perfect Pearls Mists - Blue Smoke, Patina Green, Sour Apple, Heirloom Gold, Perfect Copper, Mint, Patina Blue
Gilding Wax - could use Crafty Notions Gleam or Cosmic Shimmer in various colours
Embossing Powders - Rich Gold, Copper
Texture Paste - PaperArtsy Grunge Paste or Cosmic Shimmer paste should both work
Manila Tags
Kraft Card
Inkssentials Cut'n'Dry Foam
From my stash - paper flowers, twine, gesso

Wednesday, 4 March 2015

Golden Rain of The Dragonfly & Butterfly


Hi every one, I hope you are all well and are playing and being very crafty.  Today I 
have a project that I started a while ago that I added bits to each day. Well as
 you know The Artistic Stamper has released New Stamps
 this is what I created with the NEW! Butterflies plate.


I picked up a two wooden box's at a boot sale as I thought they were perfect for altering.
I am trying not to waffle so I will TRY!!! to give brief account of how I achieved 
this result. 


I covered the box in Gesso then once dry I used Deco art crackle paste through a Memory 
Box stencil, on the top I used plain texture paste through the same
 stencil & the Tim Holtz crocodile layering stencil. 
I allowed it all to dry over night 


I painted the entire box with Deco art Americana Desert Turquoise
and used Raw Umber on the edges. 
Left to dry over night.


Next I used the triple emboss technique with gold embossing powder
and stamped the Butterfly & dragonfly
X 2 on black card.


As in my previous post's I used alcohol ink to colour the butterfly &
dragonfly.


Once the box was dry I got out my Deco art Media misters and started spraying
everything! including whatever was on my desk and the 
floor lovely mess.


I highlighted the embossing on the insects. slightly with treasure gold


I embellished with cogs and beads from my stash.


All I can say about the Deco art misters is that they are really intense compared
to other brands and the turquoise shimmer is my new love it is
amazing I think this photo captures it beautifully.


The golden rain was a technique picked up on one of my blog catch up days and I 
changed it slightly I think it was called how to make your own pearl drops 
or something so I tried it and wasn't that happy so used
 treasure gold as well as the mica powder.


It is basically the melted glue from your hot glue gun brushed with mica 
powder and in my case treasure gold.


I attached the ornate lock.  


Luminarte H20's in the following colours key lime, Teal Zircon, Moss Agate, 
Sky Blue & Dutch Iris the pots were sprayed with water from a mini mister.
 I then used my finger to rub the colours over the surface until I was 
happy with the results. I brushed the treasure gold over the rest
 of the box to highlight the pattern.


I hope I didn't bore you all! I have tried to keep it as short as possible if you have 
any questions please feel free to ask.   

Products Used
  1. Deco Art Media line crackle paste, Misters in the following colours Yellow Green, Primary Cyan & Shimmer mister in Turquoise. Americana Desert Turquoise.
  2. Luminart H2o's Moss Agate, Sky Blue, Dutch Iris, Teal Zircon & Key Lime.
  3. Stencils Tim's layering stencil crocodile & memory box
  4. Alcohol Inks in lettuce, stream, and denim.
  5. Treasure Gold Spanish Topaz
  6. Texture paste
  7. Gesso 
  8. Embossing powders
  9. Artistic Stamper Butterflies 2
I really love the new stamps from the Artistic stamper so don't forget to have a look.
remember when you are out at a boot sale look beyond and imagine 
what that item could look like altered.
Let me know what you think.

Cheers Dee x