Wednesday, 11 December 2013

Seasons Greetings by Emma


Hello everyone!

Today, is my turn to share here at The Artistic Stamper and for my piece, I've created a hanging ornament. As an alternative to the traditional Christmas colours, I thought it would be nice to have something a little bit different and because I love the look of chalkboard, that's what came to mind and here it is, my hanging chalkboard ornament ~ hope you like it!
To create this, I gave an MDF bauble two coats of Black Soot Distress Paint, allowing it to dry between coats each time. Next, and using the Seasons Greetings and Holly bough stamp from the Mini Christmas 1 stamp plate, I stamped directly onto the painted bauble with Versamark ink and applied white embossing powder over the top, then heat embossed, until it was molten and shiny.
I used a piece of chalk to create the chalkboard effect onto the black paint and then added some Snowflake Fresco Finish paint around the edges before sealing the whole bauble with a coat of Mod Podge. 
 I created my poinsettia with Tim Holtz's Tattered Poinsettia die from Sizzix and added some glass glitter into the centre. I used some die cut foliage which I coloured with Iced Spruce Distress Ink and then sprinkled with Rock Candy Distress Glitter. To complete the bauble, I added some rusty wire and distressed some seam binding, which I added with some twine to create the hanger.
So, that's it from me for today and I'll see you again later in the month.
Thank you so much for stopping by and I'm looking forward to reading your comments.
Love Emma x

Tuesday, 10 December 2013

I am creating...

Hello all!  Alison (butterfly) here with a hanging that is nothing to do with Christmas - except for me giving myself the gift of a bit of playtime!  Click on the photos if you want a closer view of the fun I had.


It's full of my favourite things - materials and techniques - and there were a couple of experiments along the way.  I just kept following my fingers...


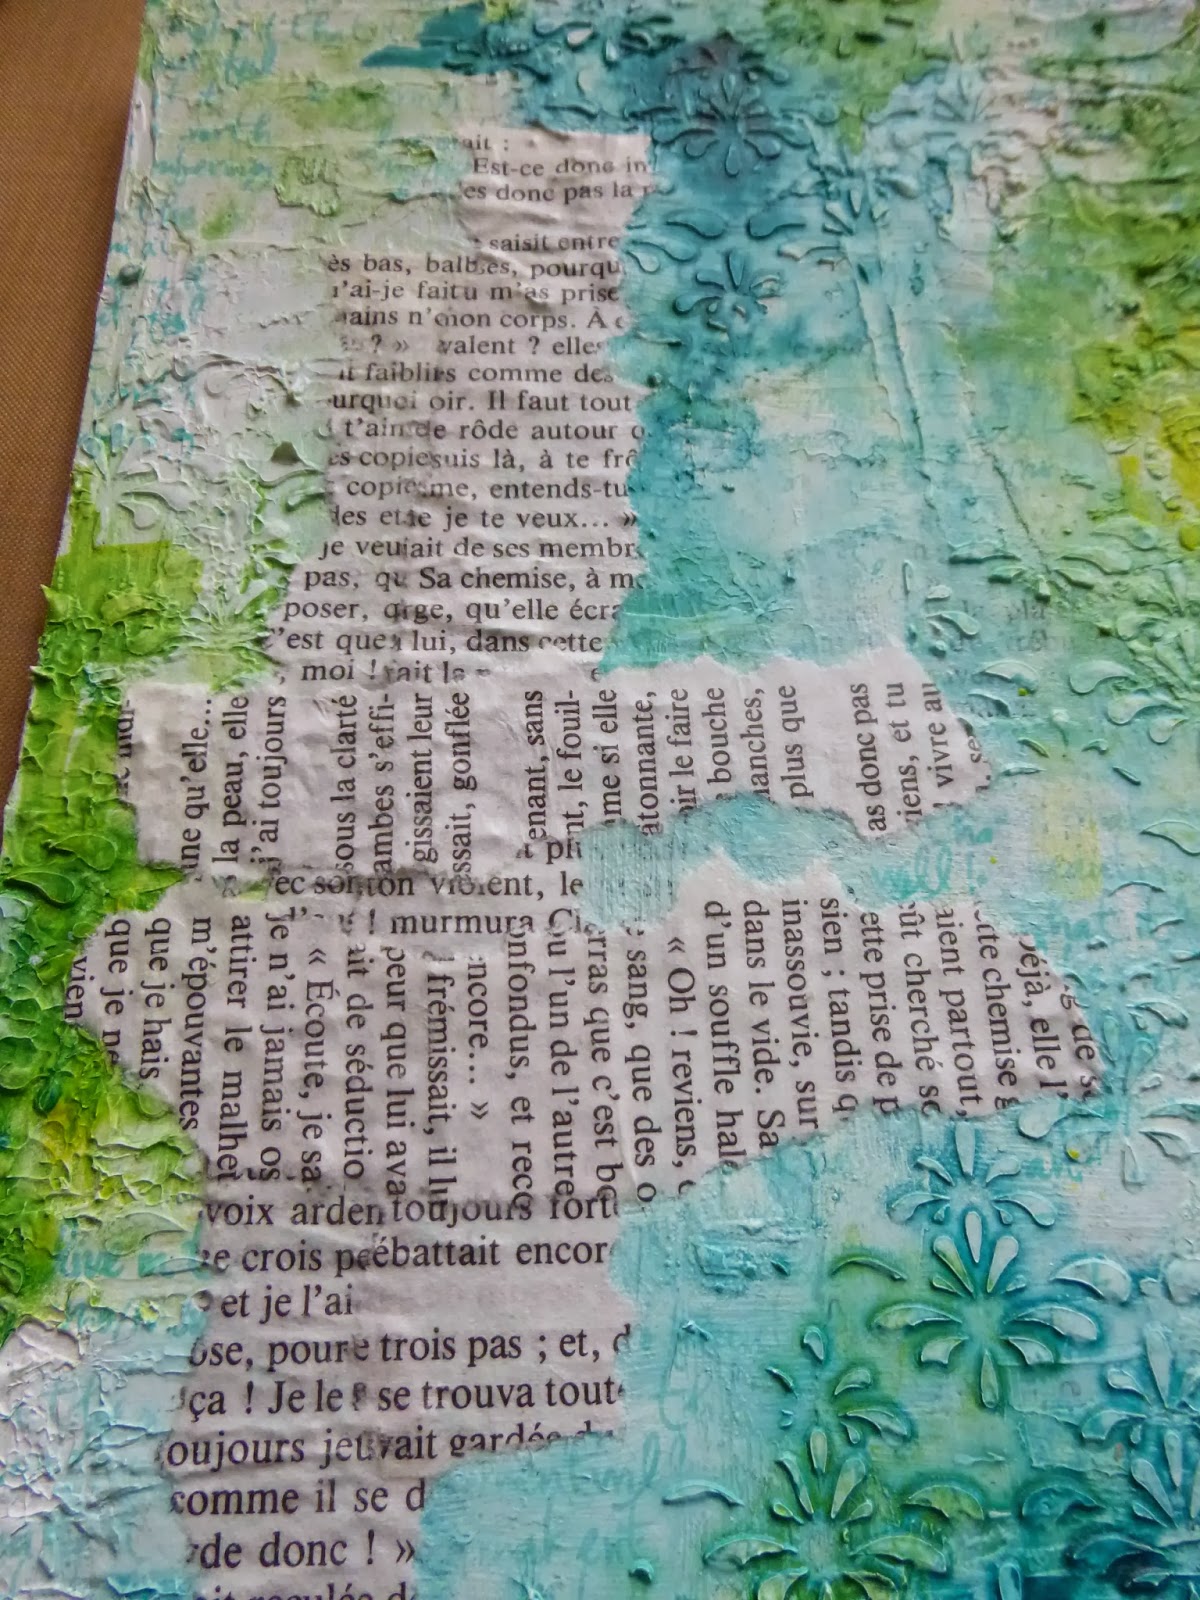
I started with a piece of mountboard and added torn book pages and lots of texture using both gesso and texture paste.


I applied the paste both freehand and through a stencil to create a less precise, slightly grungy look.


Then I had a play with adding a blob of Fresco paint, spritzing generously with water and then letting the colours trickle around the textures.


At times, I helped the paint along with a paintbrush; at others I just tilted the mountboard and let it trickle.  It's a technique I played with recently and wanted to have another go with, as I loved the results.


It's basically just two colours - Limelight and Inky Pool, blending and re-blending to create gorgeous blue-greens of all kinds.


The book pages ended up getting a bit swallowed, so I added some more, and used more gesso and some Dylusions sprays as well as the Frescos to blend them into the existing background.


In a recent trip to a certain Swedish furniture shop, I leapt upon some jars of coloured sand and chipped glass - and here's the sand putting in its first appearance on a project (the glass is still to come).  Cool texture!


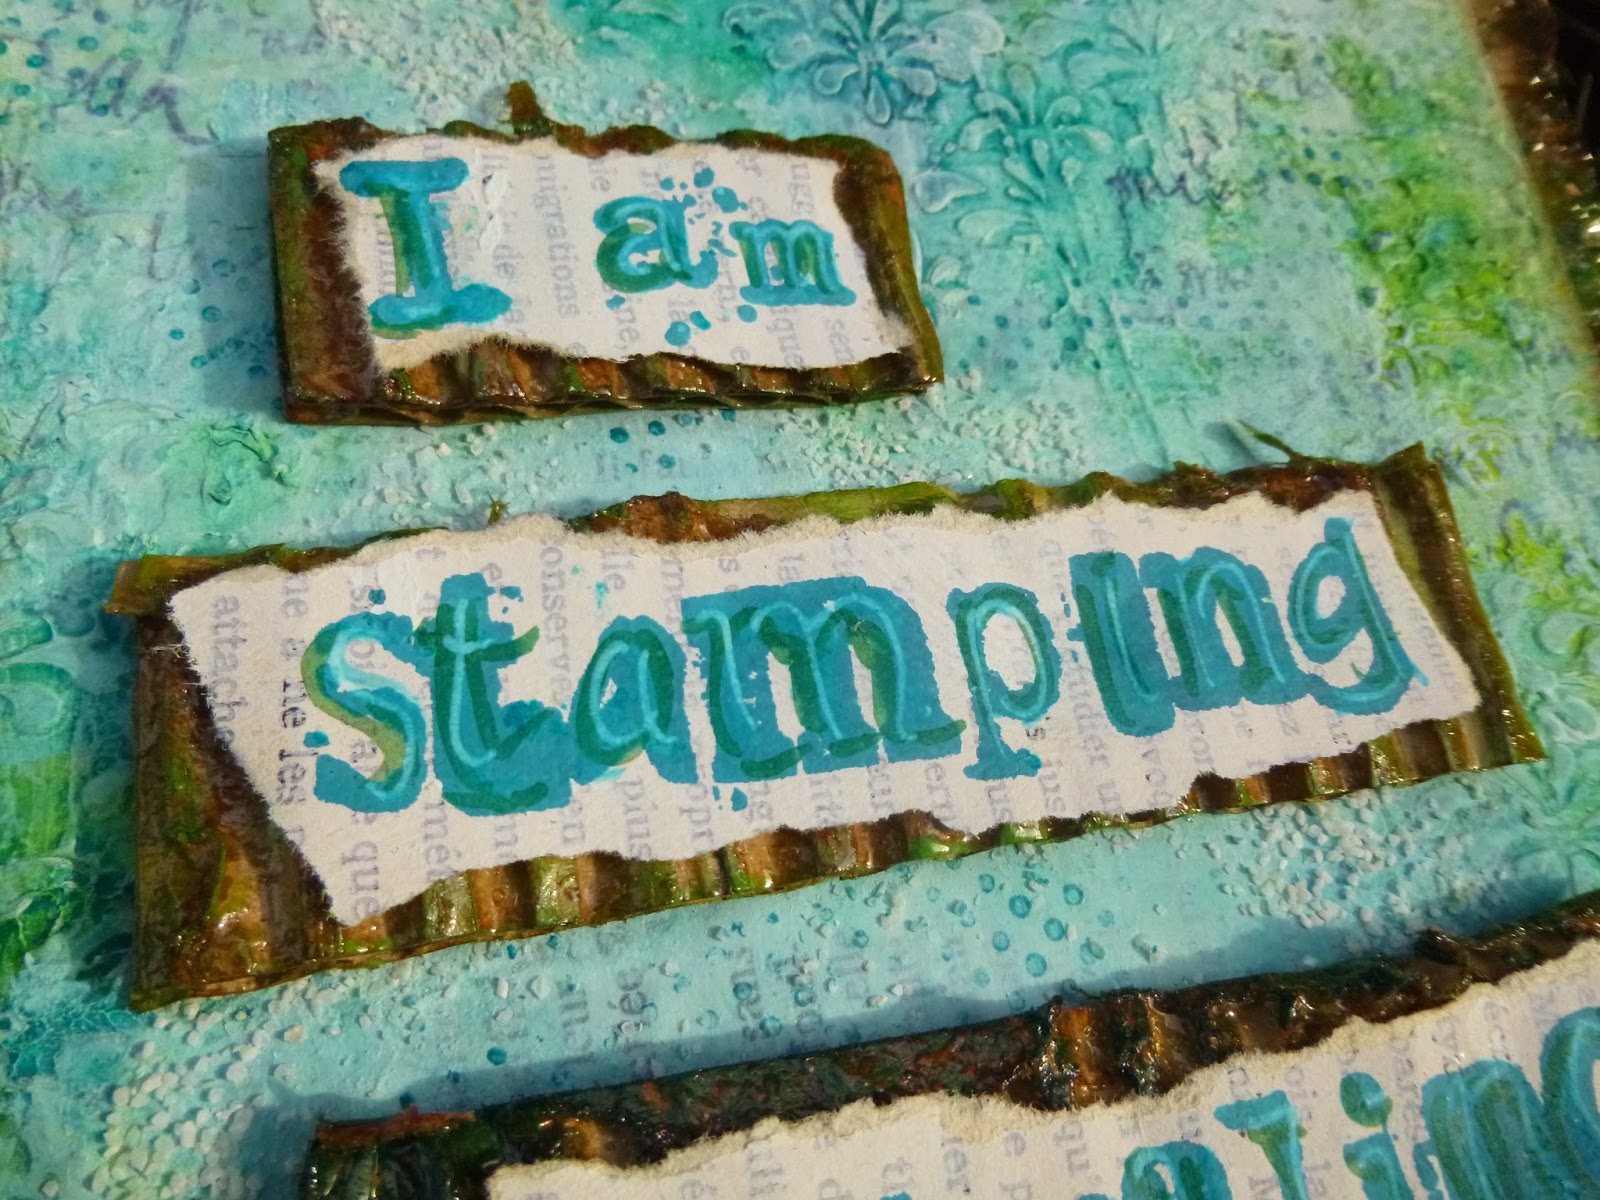
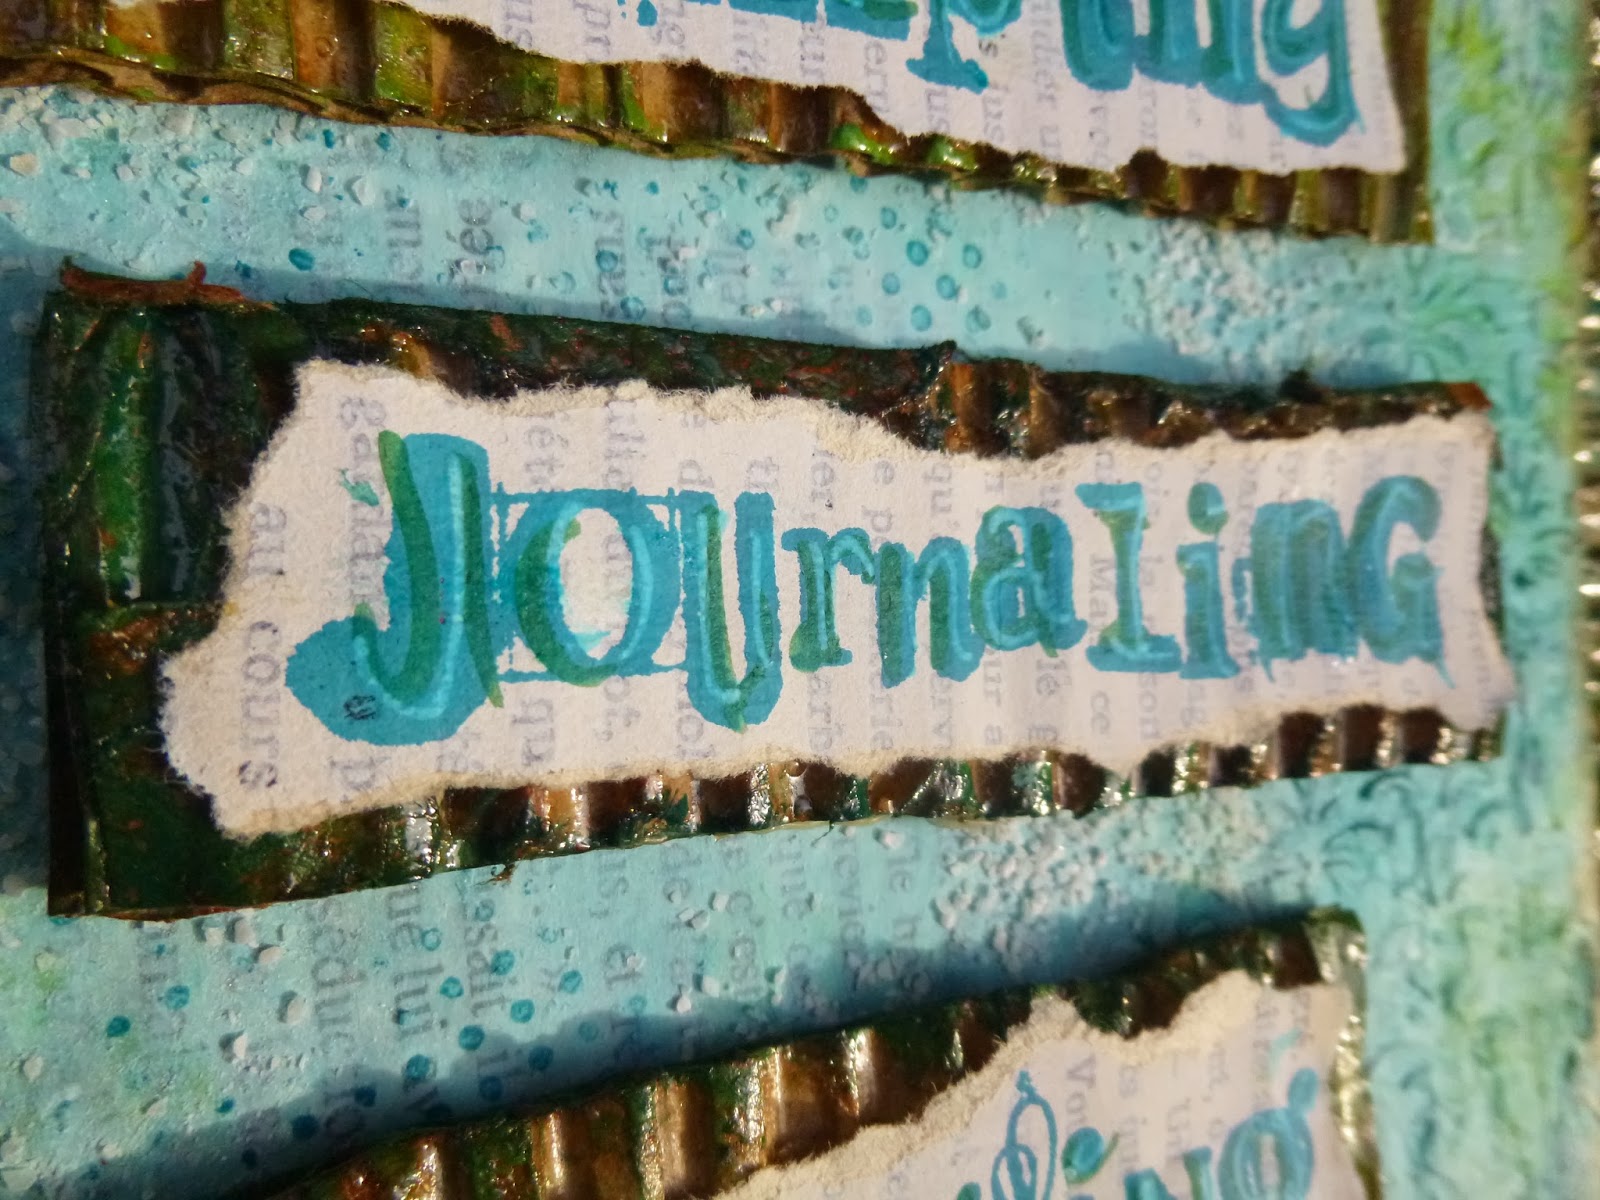
The words are from the new Artistic Stamper plate, Journaling Words #5 (or "journalling" for the Brits!).


They're stamped on gesso'd book pages using Adirondack Stream.  You'll notice some Artistic Stamper Mini Polka Dots and Calligraphy stamping in the background too, done in Archival ink.


I just love these slightly mad fonts.  I added to the wackiness with a bit of extra text doodling using a Sharpie white pen and a green Stampers Big Brush pen.


Even having inked the edges of the mountboard with Gathered Twigs Distress Ink, I felt it still needed a bit more body to the whole thing.  So it was off to my favourite crafting material - a bit of recycled corrugated cardboard!


I inked it with some Gathered Twigs first of all, but that wasn't quite right, so I ended up adding my two Fresco paints to the edges too, and then gave the frame a good coat of Gloss Medium.


It was at this point that I decided to mount the words onto cardboard too, so that all got the same treatment.


It took a few goes, but worth persevering with, I think.  I love the glossy edges setting off the gesso'd central panel.


And I'm so happy with the texture and those painty effects...


It just really pleases me.


Another favourite crafting material, a bit of rough twine, and a couple of eyelets finish the piece off.


I had no idea where we were going when we started, but I do like where we ended up!


Thanks so much for stopping by today - and I'm sorry that it's not more Christmassy here.  Hope you like it anyway... it's always lovely to hear what you think.

Ingredients used:
Artistic Stamper stamps: Journaling Words #5, Mini Polka Dots, Calligraphic Mat #19
Fresco Finish Paints: Inky Pool, Limelight
Distress Inks: Gathered Twigs
Dylusions Sprays: Calypso Teal, Dirty Martini, Cut Grass, Vibrant Turquoise
Adirondack Ink: Stream
Archival Inks: Cobalt, Aquamarine
White Sharpie pen
Claudine Hellmuth Studio: Gesso, Gloss Multi Medium
Twine
From my stash: mountboard, corrugated cardboard, Prima stencil (but there are plenty to choose from here), book pages, Stampers Big Brush pen, texture paste (but this Soft White would work just as well)

Monday, 9 December 2013

Some Christmas Recycling by Alison (Craftytrog)

I have a Christmas card to share with you today Stampers. But it wasn't always a card...it started off as an ornament, grew into a tag, then became a card...well, one more doesn't hurt...does it?! 
The recycling comes in the form of some corrugated card packaging, & some Christmas cracker embellishments that I saved from last year.
I started off by dabbing silver paint dabber onto a Tando frame. Then I decided it needed crackle, so I used some two-part Deco-Art crackle, then dabbed on & rubbed off some gathered twigs distress paint to accentuate the cracks.
I stamped the Santa image from Christmas Plate 3 onto white card, water-coloured with fired brick & faded jeans distress ink, then glued him in the frame.
I added a layer of glossy accents to seal the image, then once this was dry, I added the recycled Christmas cracker berries through the bottom hole of the frame.
I dabbed gold paint onto a Festive Foliage poinsettia, then attached it to the top of the frame with a red painted long fastener.
I die-cut a tag from the corrugated packaging, gave it a coat of white Studio Gesso, then sprayed it with Dylusion inks in london blue & melted chocolate. There's also some broken china distress paint swiped along the ridges, rich silver embossing powder melted on the edges & also sprinkled randomly on the tag.
I stamped the greeting from Christmas Plate 3 onto white card, sponged with faded jeans & walnut stain distress ink, then added some sprinkles of rich silver embossing powder.
A die-cut border was given the same treatment a the Tando frame, then attached to the bottom of the tag.
I finished the tag by adding some recycled ribbon, heated with my heat tool to crinkle it, then I glued the frame & greeting in place.
I stamped the Christmas corner from Christmas Plate 3 onto a 7x5" kraft card, then edged it with silver acrylic paint dabber.
I attached the tag to the card, then finished off with some candy cane stickles berries on the card & the red brad.
Here's a little bonus project I made, using the little girl from Victorian Christmas Plate 1.
I hope this has inspired you to go recycle & create!
Thanks for visiting,
Alison xxx


Sunday, 8 December 2013

I feel it in my fingers, I feel it in my toooooes....

Christmas is all around me, and so the feeling groooooows....

This is Titbelsoeur today, showing you 2 Christmas cards.

I made the first one with paint on the gessoed background, and on the Numerical stamp. I stamped my home-made gate stamp with gesso and the snowflakes and Merry Christmas stamps with archival ink. Then I highlighted the words with a white pen.


I made this one on a gessoed background, again, but used alcohol inks. Mixed them and let dry. The next day, I let white paint run down from the top, then inked the pines and snowflakes with paint as well. Stamped the Seasons greetings with archival ink on a phone book page and highlighted the letters with a marker pen.

I hope my cards will inspire you and I am looking forward to reading your comments !
Thank you for visiting, à tout bientôt !

Friday, 6 December 2013

Snowy window card... By Zuzu

I have made a simple (but hopefully effective) white on white twinkly christmas card to share with you today. I stamped out the little girl (from the "Victorian christmas #1 plate) on to white paper using black archival ink and glued her behind the die-cut window.

I added glittery twinkle to all the die-cut shapes and simply assembled them on to the card. the words in the top corner are remnant rub rubons.


Thank you for looking.
Z x

Thursday, 5 December 2013

Card Duo by Sioux Jenneys

I'm back again to share not one, but two cards :)


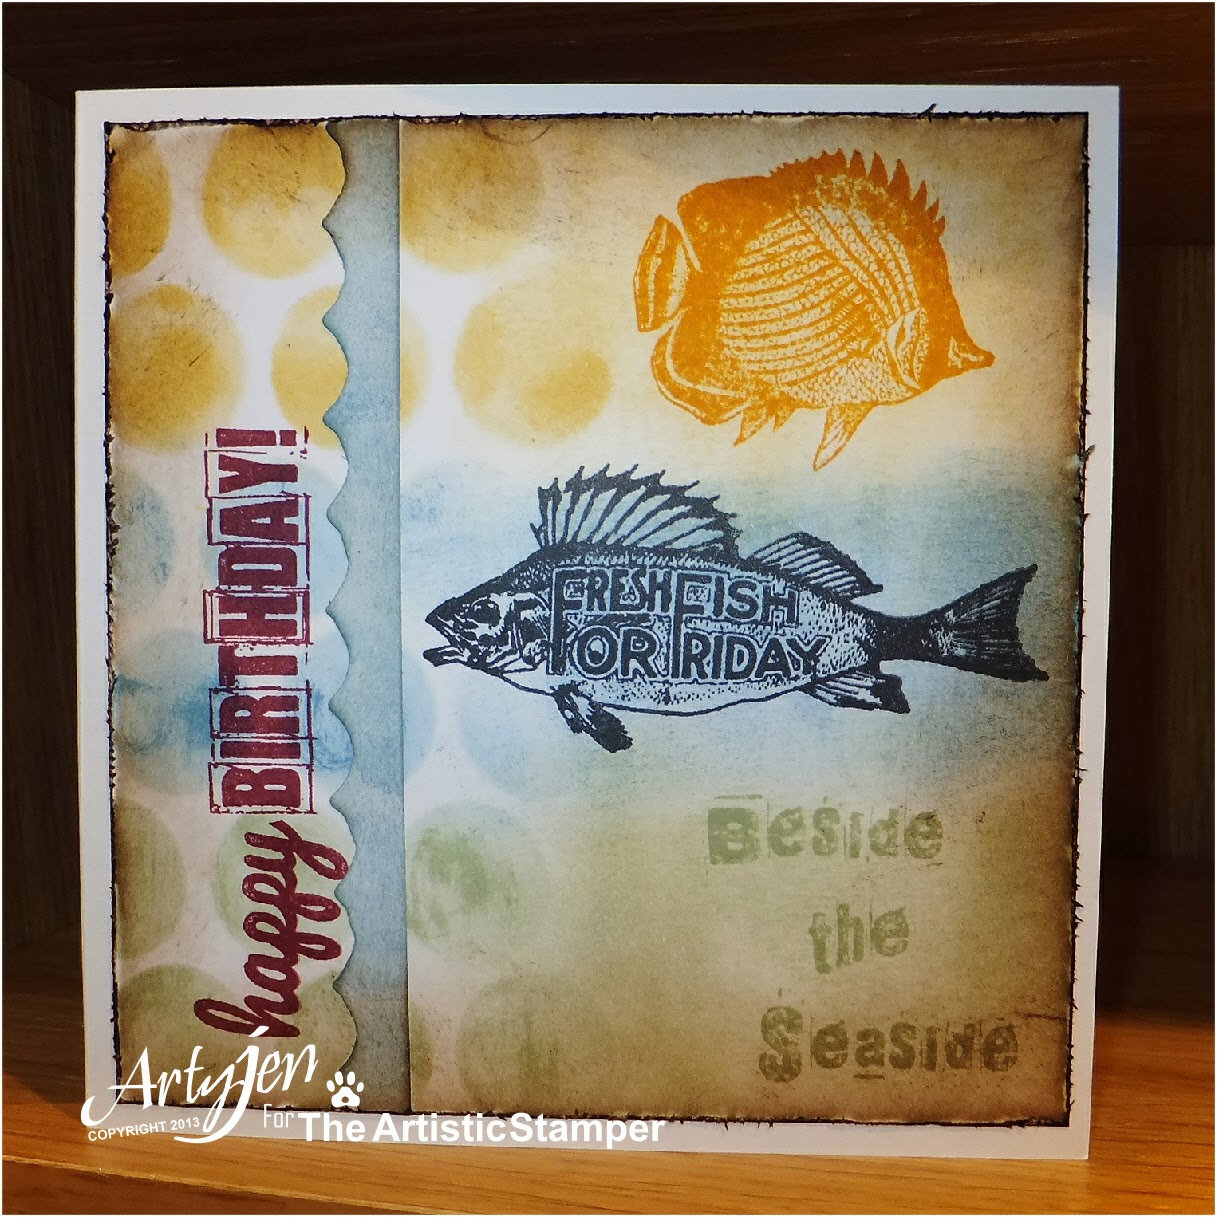
This one uses stamps from Beside the Seaside A6 and Happy Birthday from Greetings A6


This card uses stamps from Crowning Glory and Best Wishes from Grungy Greetings #2


They both use the same principle but turned out just that little bit different ;)

1. Cut a square of card slightly smaller than your base card and drag three different coloured bands of Distress Inks across the card using Cut and Dry Foam on an Ink Blending Tool. I used faded jeans, bundled sage and scattered straw on the "fish" one. The "King" one used worn lipstick, antique linen and vintage photo.

2. Stamp your chosen image for the middle band in Archival black.

3. Stamp your other images top and bottom using the same colour Distress Ink you dragged across in step 1. (Although I confess having tried stamping the bottom crown in antique linen on top of antique linen it did not show up at all well...so over stamped that one with brushed corduroy...
and ditto with the top fish...that should have been scattered straw but I used wild honey)

4. On the "King" one I masked the stamped section and stamped the Europe Map background in Distress Ink antique linen on the other half. On the "fish" one I used one of the fab new Artistic Stamper masks (Large Dots) and applied the same colours through it that I had originally dragged across the card.

5. Stamp your chosen sentiment in Archival plum (love that new colour). I used Happy Birthday from Greetings A6 on the "fish" one and Best Wishes from Grungy Greetings #2 on the "King" one.

6. No co-ordinating card to apply some sizzex die cut bands down the centre? Cut them out of plain white card and colour up with Distress Ink . ;)


7. Tatter the edges and age with Distress Ink walnut stain and attach to the base card. Add your insert and stamp Happy Birthday from Grungy Greetings #1 in Archival black.


Thanks for looking...see you again soon!
xoxo Sioux

Wednesday, 4 December 2013

Challenge Winner!

Hi, its Jennie again , with my favourite part of the month, where I get to give some stamps away and showcase a piece of some else work :)
A BIG thank you to everyone who joined in November's challenge which was Christmas. WE had some gorgeous pieces of art, and sadly , as usual, there can only be one winner. I used Mr Random.org to pick them ,and he came up with
with this lovely piece.


Susan, Congratulations and please email me so we can arrange your prize.
This month's challenge is Anything Goes. You can find the challenge here, and we would love to see your creations.
Watch this space later in the month, when I will be back with you again!

have a creative day
{hugs}
Jennie