Showing posts with label Christmas Stamps. Show all posts

Saturday, 7 December 2019

Christmas cards by Titbelsoeur


This is time to make our Christmas cards. There are many beautiful stamps in our Christmas cards folder here. For the occasion, I have made square cards. They are super-easy to make so you can make a bunch of them in one go, and still have some variation in them.
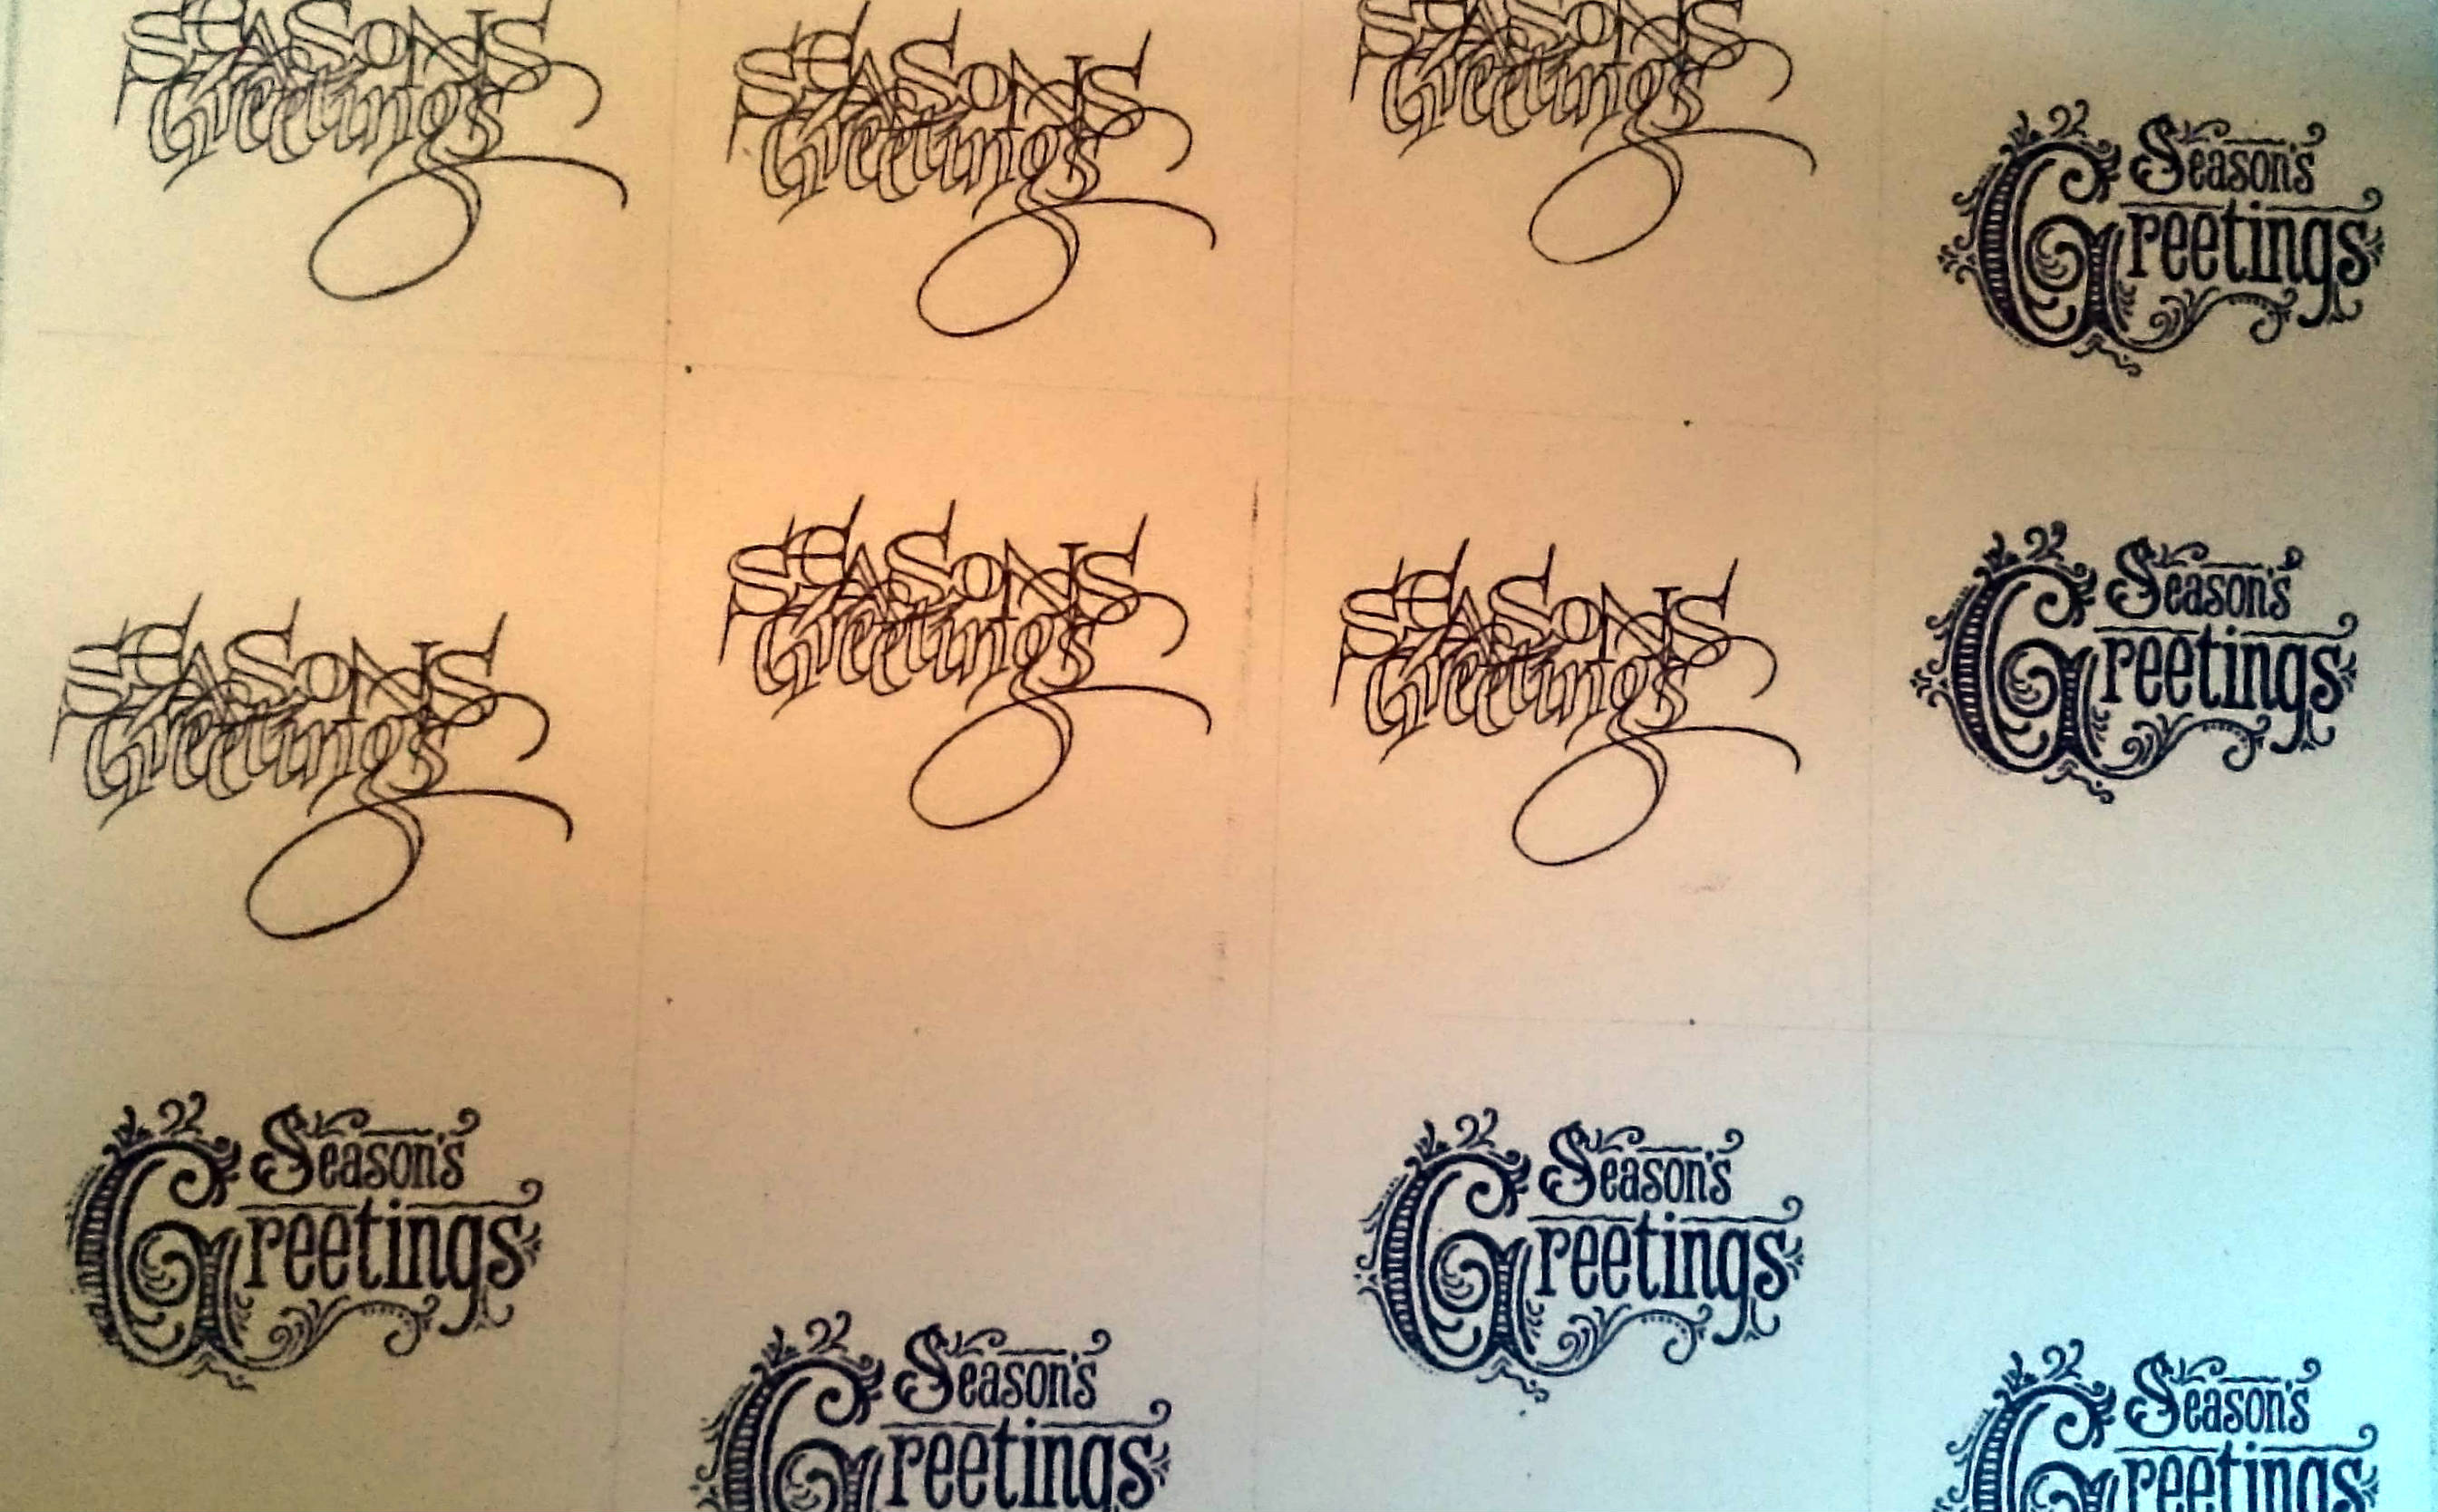
I have first divided a A4 watercolour sheet by 12 squares and stamped a Season's greetings from Mini Christmas 1 or Christmas Greetings # 1 A5 with black ink on each of them :


Once dried, I have stamped Happy new year! from Christmas Greetings # 2 A5 with water-based ink such as Distress everywhere on the page with various colours from blue to red :


Added a snowflake from Modern Christmas # 1 A5 on each, then cut out the squares and inked the edges, glue each one on to their card, et voilĂ  !


I hope these cards give you inspiration to participate in our 

for 3 chances to win some of these fabulous
Artistic Samper stamps !
Thank you so much for stopping by.
You may visit my folder : 
I will be happy to read your comments about it !
Your comments are very much appreciated here, on my blog
Bye for now and happy creating. 
Titbelsoeur


Monday, 7 December 2015

We wish you a merry Christmas by Titbelsoeur

Hello happy readers, this is Titbelsoeur today showing you how to easily make nice greeting cards.

First, stamp your baubles, snowflakes, trees and greetings from the Christmas stamp plates on to a watercolor paper with Archival black ink. 
Then add watercolor in 2 steps : start with warm colors on the background of card 1 and on the baubles on card 2, let dry and then add cold colors at the opposite.
Then end splashing white paint :


Cut your paper and stick each card on color paper to make your cards :


and here they are... quick and easy, and gorgeous, aren't they ?


Thanks so much for stopping by,
your comments are very much appreciated, 
here, on my blog, or on the Artistic Stamper's Facebook page.
I hope that my cards did inspire you and help you
participate in our monthly challenge
 to win some fabulous Artistic Stamper stamps.


Titbelsoeur

Saturday, 6 December 2014

Waiting for Christmas...

Hi there, this is Titbelsoeur today !
I love to use books for home deco, especially for Christmas. Do you remember my Nativity scene in a book from last year (here) ?

Here is a foretaste : little card, season's greetings from Christmas Greetings # 1 on a pinecone :


Then I divided my book on 3 thirds, stamped a Best wishes quote from the same Christmas Greetings # 1  set and glued it with a Christmas image on the last page of the 1st third :


then glued a Girl by Fireplace  card on the first page on the 3rd third of the book :


the 2nd third was folded to make a pine tree, you will see how I did it here (tried to find a short video for you), and here it is :


And, as a bonus, here is my last experiment of the year : how to embellish basic baubles with Artistic Stamper's stamps ?
Just stamping some snowflakes with white acrylic paint ! I am not very gifted at such practicals, but I couldn't resist to give you the idea !


I hope my experiments will inspire you and I am looking forward to reading your comments !
Thank you for visiting, Ă  tout bientĂ´t !

Friday, 22 November 2013

Titbelsoeur's nativity scene

Salut les gens !

I did it again ! I am afraid I am in a "folding book" phase... Doctor, will I live?

I have used a pocket book (10x18 size) I glued on a larger piece of cardboard.


 And I glued multiple things on it such as pinecones, cinnamon sticks, cupcake molds, poststamps, ribbons... and the nativity scene people.

I then added some Norman Rockwell's Christmas images, and... stamps, of course !


from the Christmas Greetings  # 1 plate :


and from the Christmas Greetings  # 2 one :


My nativity people are epiphany cake charms.

I hope you like my project and will read your comments with great pleasure !
See you !

Wednesday, 20 November 2013

Starry Christmas by Alison (Craftytrog)

Hello Stampers.
I have a sparkly Christmas card to share with you today.
Here's how I made my card...

On a piece of white card, 5.25" square, I applied Grunge paste through the swirl on the Splats & Swirls Stencil, in two opposite corners. 
I spritzed with Crushed Grape & London Blued Dylusion Spray Ink, then spritzed with water to blend the colours. When the ink was dry, Silver Gilding Wax was applied to the embossed swirls.
I stamped the Snowflakes with Seedless Preserves Distress Ink, then spritzed lightly to give a watercolour effect.

I sprinkled a little silver tinsel embossing powder randomly onto the background, then heat set it. 
I edged the background with black ink, matted it onto silver mirror card, then attached it to a 6x6" card.
I stamped the sentiment from the Christmas Greetings 1 Plate onto card, coloured with the same Dylusions Inks, cut it out, edged it with black ink, then matted it onto silver mirror card. 
I used foam pads to attach the sentiment to the card, then finished off by adding some silver, blue & purple confetti stars.
I hope my blue & purple Christmas card gets you in the mood for Christmas, I do love this colour combination!
Thanks for visiting,
Alison xxx

Thursday, 13 December 2012

Who does not love to read??

Hello everyone
Welcome and good to see you here!. Hope you are all well ahead with your Christmas preparations! Can you believe it is now less than 2 weeks away (scary.....)
I love making gifts and have a friend who is an avid reader, so what better gift than a homemade book mark? To make it look a bit more special, I created a book-shaped holder to tug the bookmark into.

These were the stamps and other products I used:
Stamps: 
Traveling Words
Christmas plate 3
Mini Christmas
Calligraphic Mat 12
Other products:
Ideaology Kraft Resist Seasonal
 Claudine Helmuth Multi Medium Matte
Ranger Distress Stains in Pewter, Bundled Sage and Picket Fence
Distress Inks in Bundled Sage, Brushed Corduroy, Peacock Feather, Festive Berries
Adirondac Color Wash Cranberry
Archival Ink in Jet Black and Cobalt
From My Stash:
Various dies, Treasure Gold, corner rounder punch, smooth stamping card, foam tape, gold embossing powder, small piece of scrapbook paper, crinkled seam binding, script embossing folder, various small embellishments.
1. I started by cutting a piece of the Kraft Resist Seasonal paper to & 3/4 by 7 1/2 inches and scored and then folded along the long side at 3 3/4 and 4". I rounded the corners, inked around the edges with Brushed Corduroy Distress Ink and then Treasure Gold White Fire, to give it an aged antique look. This is the cover of the booklet.

2. I cut a piece of smooth white card to the same size and scored in exactly the same way. I spread the distress stains on my craft mat, swiped my card through it several times, spritzt it with water and dried it with my heat gun. I then inked it further with my chosen Distress Inks until I was happy with the result. Next I gold embossed the Calligraphic Mat stamp all over it and inked around the edges, and finally glued it onto the cover using Multi Matte Medium

3. To embellish the outside I stamped the Santa stamp from the Christmas Plate twice with Jet Black Archival ink, coloured with Distress inks and  die cut and layered as shown in the picture. I fastened a piece of seam binding, died with Cranberry Color Wash underneath my ornament first.I then mounted it onto the cover with foam tape. Those of you who are observant will see that the die cut is a Spellbinders die and the great news is that in the new year the Artistic Stamper will start to stock Spellbinder dies, so keep your eyes peeled!!

4. The inside was done in a similar way, creating a pocket with one of the die-cuts that I ran through an embossing folder first.
Here you can see some more detail:


5. For the bookmark I cut a a piece of strong card to 2 by 6" and covered it on two sides with scrapbook paper. I stamped one of the stamps of the Traveling Words set in Jet Black archival ink, cut, inked and mounted it as shown and finished it with some ribbon and small embellishments.

Here you can see the bookmark inside its pocket:
Here finally you can see the back of the booklet, again I first cut a bit of seam binding and then glued a small die cut ornament over it

Well |I hope you enjoyed this little project and feel inspired to make some of your own last minute gifts still.
I wish you all the most wonderful, peaceful and happy Christmas. I will be back on Boxing Day with another project.
Until then, stay happy and crafty!

Thursday, 6 December 2012

We three kings...


I couple of simple cards and tags made for christmas. I used a mask of torn paper for the cards and inked up the visible area in a graduated colour tone. you can use any kind of ink.paint or chalk you like for this (maybe distress inks and a blending tool).

Once the strip of colour had been inked and it had dried, I simply stamped over with black ink using some christmas stamps.

Monday, 26 November 2012

Let it Snow...


Hello everyone, Astrid here with my second project for November.

I seem to have fallen in love with the colours blue and brown, not exactly traditional for Christmas projects, but for some reason I can't seem to get away from them.....
For my second project this month  I decided to make a piece of Christmas wall art.
I used the following stamps for my project:
Mini Christmas 1
Christmas Greetings 1 and
Music# 011
I started by taking a piece of 5.5 by 4" smooth white card and coloured it by putting some Distress Stains in Tarnished Brass, Bundles Sage and Picket Fence on my craft sheet and swiping my card stock through it several times. I then coloured it further  with some  Distress Inks in Chipped Sapphire, Vintage Photo and Scattered Straw. I  crumpled it all up, roughly flattened it again and then dried it with my heatgun. I then ran it through an embossing folder from my stash and darkened the embossed bits some more.
The next step was to colour a small canvas board with Pains Grey acrylic paint, it's called grey but is actually blue. I'm pretty sure you would get a very similar effect with Sapphire Blue Distress Stains, but I don't have that one. Before it had dried I dabbed it with a piece of kitchen towel to get a textured effect and when it was dry I  stamped some of the little snowflakes from the Christmas Greetings 1 plate in white by using the Picket Fence Distress Marker. Love how they slowly start to appear against the dark background. I embellished the background with a strip of canvas tape, stamped with the music stamp and some lace.
The final steps were to stamp some of the Christmas stamps from the two plates I used on smooth card, cutting them out and colouring them with the same colours of Distress Inks. Next I cut theTim Holtz Decorative Snowflake Rosette Die, slightly inked and glittered with some Diamond Stickles. I ran the topper through a little snowflake embossing folder in my stash to give it some more texture and then I put it all together as you can see on the photo.
Thank you for dropping by, - I hope you liked my project and feel inspired to use some of the wonderful Artistic Stamper Christmas stamps for your own Christmas projects.

Sunday, 18 November 2012

A bit of a pickle..... by Zuzu


Well this is a pretty simple project post (apologies). But its not a project done because i HAD to do a project; its something I actually do each year and this year I used artistic stamper stamps.


 I made my christmas mincemeat and I made some "Caramelised red onion and spiced cranberry" chutney last week ( a bit late for the chutney really but I haven't been able to do it sooner)... I over did it on the amounts again, and ended up with more chutney than i can ever use before next years batch gets made, so I am giving some away as gifts, only because, some of my friends have asked me to make them some after eating mine last year.
So if its going to be a gift, I feel it needs proper festive labels and such...


I have used the following three stamps from this page HERE: 
The bauble from Victorian christmas #4.
the snowflakes
CHRISTMAS from Christmas plate #3

I coloured the images in with "artists" pencils. (only because they dont sell "general amateur crafter's" pencils)...

See you next month. Z x