Showing posts with label Goose Grease. Show all posts

Friday, 18 July 2014

Goose Grease Tag by Alison Hall

Hello Stampers! I have a large inky tag to share with you today.


Here's what I used...

Manila Tag - Size 10
Old Book Paper
Crunchy Waxed Kraft Paper
Ideaology Long Fasteners, Mini Gear, & Pen Nib
Blending Foam
Distress Tool
Sequin Waste
Paper Tape Measure (from a Christmas Cracker!)

And, here's what I did...

1. I used matt medium to glue some scraps of book paper to the tag, then realised that the matt medium resists ink! So, I added a thin coat of Fresco Snowflake paint.
2. I used blending foam to apply Cobalt Archival ink to the tag, sponged some of the ink through sequin waste, then stamped images from the Numerical & Ephemera Plates, using Cobalt, Watering Can & Potting Soil Archival inks.
3. I used blending foam to darken the edges of the tag with the Cobalt, then distressed the edges & applied Vintage Photo Distress ink.
4. I stamped Goose Grease & the words from Ephemera Plate 1 onto white smoothy card. I inked Goose Grease with Antique Linen Distress ink, cut him out, distressed the edges, then inked them with Vintage Photo. 


5. I cut out the words, distressed the edges, then inked with Vintage Photo Distress.
6. I tore a piece of crunchy wax kraft paper, crumpled it up, inked the edges & applied coppery gilding wax. I attached Goose Grease to the wax paper & tag with long fasteners, adding a mini gear & a pen nib.
7. I glued the words to the tag, then added the paper tape measure to the bottom with long fasteners.
8. Finally, I coloured some seam binding with Vintage Photo Distress Stain, crumpled it up, inked the creases with Potting Soil Archival, added some gilding wax, then threaded it through the top of my tag.
9. Oops...nearly forgot to say, I also added some glossy accents to the Prof's glasses!

If you click on the photos, you may just see the book paper texture in the background. 

I hope you like my tag. I really love the gorgeous colour of the Cobalt background against the kraft paper. 

Thanks for visiting,
Alison xxx


Saturday, 24 May 2014

Can I interest you in...

Hello all, Alison (butterfly) here with a mischievous little trio of ATCs... each of them attempting to entice you into a purchase you didn't even know you wanted!  I love these Artistic Stamper Steampunk stamps - they're like a little touch of time-travel, which regulars at Words and Pictures will know is something I yearn for.


There's the frankly malevolent-looking Phineas Pinchbeck, offering up his clocks to the satirically appropriate clients.


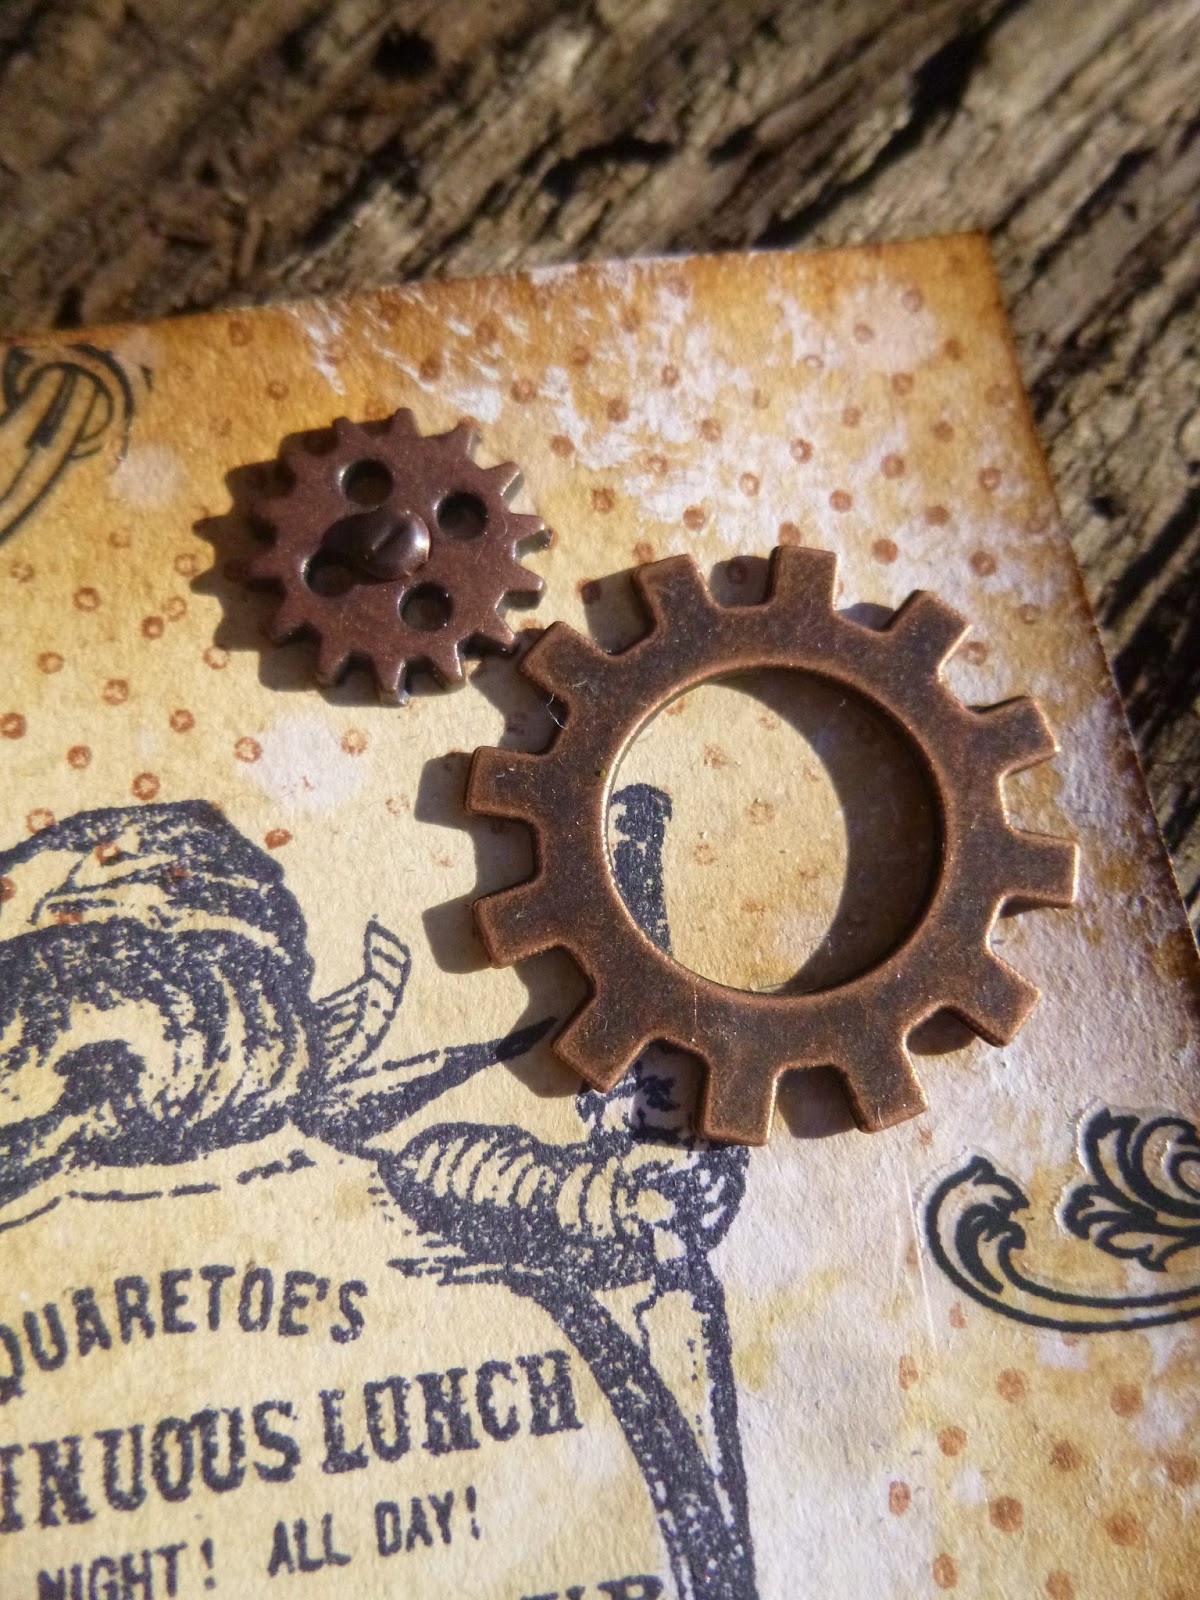
Master Squaretoe's Continuous Lunch sounds just the ticket for a queasy stomach (in the sense of you ending up with one, rather than it being a cure!).


And for the proud possessors of Luxuriant Moustaches, you won't want to be without Professor Barber's patent pomade.


The ATCs themselves are pretty simple, as I think these advertising images pretty much sell themselves.  I started with some ink on the craft mat - Pumice Stone, a hint of Vintage Photo and a few spritzes of Heirloom Gold Perfect Pearls spray, which adds a lovely metallic touch.


I stamped the images in Jet Black Archival, and used a blending tool to add plenty more Vintage Photo.  I also stamped the Artistic Stamper Mini Polka Dot Background in Sepia Archival.


There are some Tim Holtz Remnant Rub flourishes around the edges, and a dusting of gesso for some extra highlighting and texture.


And finally each of our tempters got his own little bit of metal embellishing: a clock for the Professor...


... some gears to keep the digestive system churning for the duration of the Continuous Lunch...


... and Mr Pinchbeck clearly deserves to be labelled Unique with an Idea-ology Muse Token.


So that's my historical advertising trio for you today.  Hope you don't get tempted into anything unwise!  Mind you, there's still a week to join our In The Garden challenge and while you don't have to use Artistic Stamper stamps to join in, if you do you get two entries into the draw... so you might want to go stamp shopping!!  Thanks so much for stopping by, and I'll see you again soon.

Ingredients used:
Idea-ology Muse Tokens
Distress Inks - Pumice Stone, Vintage Photo
Perfect Pearls Mist - Heirloom Gold
Gesso 

Sunday, 11 August 2013

Love Art...Love Life ~ by Emma


Hello everyone!!

Hope you've all had a fabulous weekend, so far and the sun is shining for you... Today, is my first share of this month and for my post, I decided to make a little ATC sized gift card holder. There's lots of pics to show all the details and I really hope you all like what I've created...
To make this card holder I began by cutting pieces of chipboard to size and mounting it onto a piece of Manila cardstock which measured 22.5 x 10cm. When placing the chipboard pieces onto the Manila cardstock, I left a very narrow gap between each of the pieces, where I would need to score in between to make the folds of my folder. I neatened each of the edges by folding the Manila cardstock onto the inside of my folder and sticking them down with a strong adhesive tape, before covering the inside of my folder with a piece of Kraft cardstock.
Once the booklet folder was complete, I covered the outside of the folder with my favourite Weathered Wood, Antique Linen and Frayed Burlap Distress Paints, blending the colours of paints together until I was happy with the look. I then dabbed some Picket Fence Distress Paint onto an old lid and stamped randomly over the surface of the cover to create the rings of paint. 

Once the paint had dried, I then used the large ledger stamp from Katy Fox's Numerical Plate and stamped random areas of the cover in black Archival Ink before punching a small hole into the front cover, where I then threaded through some seam binding, dyed with Distress Stains and which has to be long enough to wrap around the entire folder and then tied.
Once the outside of the book was complete, I then moved onto the inside and to begin with, I made a small pocket from some more Manila cardstock and stuck this onto the middle section of my folder. I then die cut lots of cogs from chipboard using the Gadget Gears Sizzix die from Tim Holtz and stuck these onto each panel of the folder and then once again, covered the entire surface with Vintage Photo, Antiqued Bronze, Picket Fence and Black Soot Distress Paint.

Once the paint was dry, I then used a smaller stamp from the Numerical Plate and stamped down the spines of my folder.

I added some Treasure Gold onto the cogs and around the edges of the book to age it and then to finish the inside of my folder, I added some old screws and bolts that I had in my crafty stash, together with a Prima embellishment, again from my stash.

To decorate the cover of the folder, I stamped the Goose Grease image onto Manila card, coloured it with Distress Marker pens and blended the surface of the card, with Old Paper Distress Ink. I distressed the edges of the card and made small tears into the card and then used Walnut Stain DI on them. I then mounted the image onto a piece of kraft card and attached it to the cover of my folder, together with some pieces of Idea-ology, which I highlighted with Treasure Gold and some Film Strip Ribbon.


Finally, I added the word "Love" down the outside spine of my folder and then used an Idea-ology Journalling ticket and stamped a Tim Holtz quote onto it before adding it, with a Starbucks gift card to the small pocket inside my folder.

So, that's it from me for today and I hope I've inspired you with my little giftcard holder. I'll look forward to reading all your comments and thank you so much for stopping by to take a look at what I've created.

Don't forget you can still enter our monthly challenge which this month, is all about Postcards, Travel and Holidays and we would love it if you would join us and show us what you've been creating!! Click HERE for details.

See you all again very soon and have a lovely day...Emma x

*Edit* ~ Chipboard measurements as follows:
2 pieces x 9.5 x 7cm
2 pieces x 9.5 x 2cm
1 piece x 9.5 x 3cm

Sunday, 2 June 2013

Up Up & Away! By Anita Houston

Hello Stampers! I'm Anita Houston, of The Artful Maven. WOW! WOW! WOW! I am thrilled and honored to be the Guest Designer here for the month of June, and it was pure JOY to use these exceptional quality stamps for my three projects! Thank you so much for asking me over Jennie!
Since I had so many wonderful images to work with, I thought it best to do a larger project, so a canvas fit the bill. 
I had a lot of fun making this 8x10 inch whimsical steampunkish canvas. The eight different stamp sets I used from The Artistic Stamper made it super easy.
I stamped the clock face from the Tick Tock set in Ranger's Jet Black Archival and heat embossed it with Clear Embossing Powder. I also heat embossed the Mountain Background after I stamped it with Ranger's Sepia Archival.
I wanted to add some wind to the scene, so I used the swirls from the Tick Tock set and stamped them using Picket Fence Distress Paint.
Dylusions Ink Sprays gave the canvas it's color, and I strategically covered up the spots I wanted to be certain colors so there wouldn't be a lot of blending going on. The Distress Paint and Embossing acted as a resist for the Dylusions, so those parts were not colored.
I had some scrap Metal Foil Tape already adhered to paper lying around, so I used this to stamp the next three images. I stamped the curvy diamond border from the Borders A5 set using Bronze Distress Paint, the key from the Time & Keys set using Jet Black, and the speedometer from the Slow & Fast plate using both the Bronze and Jet Black, which gave this a very dimensional feel.
This little guy was so fun to stamp and emboss. He is from the  Goose & Grease plate.
I used several Distress Paints to color in the Professor, and some Idea-ology bits and a little Glossy Accents to finish out the speedometer.
Using the Sizzix Picture Wheel and Mini Mustache, I die cut some kraft and cardstock to construct the balloon. I coated it with Rock Candy Crackle, added the numbers, inked it, and then added the speedometer, and finally connected it to the now make shift basket with the Professor.  More Idea-ology metal was added, and finally I stamped the sentiment in Jet Black using the Journaling Words 2 and Journaling Words 3 sets.
 
 
Thank you for looking. I shall be back in a few weeks with project #2.

Thursday, 28 February 2013

The Good Old Days by Alison Bomber

Hello everyone, Alison (butterfly) here for my final post as Guest Designer this month with The Artistic Stamper.

So, I promised you something simpler for my final piece (in the hope of writing a post shorter than War and Peace for once)... and I did make something simpler, but I ended up making it in two different versions!


I knew I wanted to work with the glorious Victorian advertising bills - they are so much fun: fantastically detailed in their wording, with brilliant cartoons.  They are simply wonderful pieces of print ephemera that rocket me back in time when I look at them.


So my first thought was that I wanted to stick them on a wall; a grimy, crumbling wall in a forgotten alleyway, with these three ancient posters still clinging on.  So I had to create a wall background... lots of ways to do that - you could use the Decorative Strip Die by Sizzix, or some texture paste through a stencil.  I used an embossing folder, Tim Holtz's Bricked Texture Fade on a large tag (running it through twice to emboss the whole thing).


Then I set about it with some inks - Vintage Photo, Pumice Stone, Black Soot and Aged Mahogany - until I had a suitably grungy look.  I used the Paper Distresser on the edges, and then ran the Black Soot DI pad around them to give it a good strong inky edging.


For the posters themselves, I did a bit of TH's wrinkle free distress technique using Old Paper and Antique Linen DIs - not too much ink, as I wanted age spots rather than a complete change of colour.  (I'd already done one version with darker inks, very beautiful, but once I'd stamped the images, they didn't really look like posters.)


So with this new, paler version, I stamped the three adverts in Black Archival, and then did lots of distressing - ripping, rolling, using the TH paper distresser, and adding Vintage Photo to some of the tears and creases.  It's one of my favourite things to be able to age a piece of paper like this!


Simple enough then to stick the bills on the wall (hope I don't get prosecuted), all in a row, and add some trimmings.  And you can read what you like about Victorian society into those trimmings: it's raffia, inky twine and some leather all tied up with a beautiful shiny satin black ribbon.


I was pretty pleased with that, but I still had those spare stamped images still sitting on my desk, stamped on the darker inky paper (two sets in fact, safety in numbers you know).  I started shuffling them around, thinking that they'd look pretty good in a slightly grungier version of the tag.


I grabbed some corrugated card, and added Distress Stains and thick Gesso to it randomly and roughly.  I created a background like this for a recent project and really liked it, so it was fun to resurrect it.  It creates a fantastically grungy, textural mess - no other word for it really.


I gave my three posters the distressing treatment again, and started positioning them on the tag.  They seemed to want to go in the other direction for this one, so I let them.


It was crying out for some metalwork, but I didn't want to go too smart, so I used some black alcohol ink to grunge up a key and some pen nibs from my stash, as well as an Idea-ology clock.


I particularly love how the clock looks, with the black face and the figures sanded back to reveal the gold underneath.


I've always sort of thought that I was born in the wrong century, and I'd love to go back in time and visit, but looking at these images did just make me wonder whether my historical glasses are a little rose-tinted... were they really the "good old days"?


So I added a little slogan at the bottom asking just that question... stamped in black on paper inked to match the advertisements.


Again, I added some varied trimmings: string, raffia and some black paper string to tie them together.  So there are my two variations on a theme using these fabulous little stamps, and I think I've brought it in under the 10,000 word mark!


I'd like to say a huge thank you to Jennie and Emma for having me here - I've had a ball; and thank you also to the rest of the DT and all of you for your fantastic support.  Happy Crafting!

Ingredients:
Stamps: Goose Grease, Phineas Pinchbeck and Squaretoes Continuous Lunch
Distress Inks: Vintage Photo, Aged Mahogany, Pumice Stone, Black Soot
Distress Stains: Vintage Photo, Walnut Stain, Old Paper, Antique Linen
Ranger Archival: Black
Alcohol Inks: Pitch Black
Gesso
Idea-ology: Time Pieces, Game Spinners
Decorative Strip Die Brick Wall (as an alternative to Bricked Texture Fade)
Tim Holtz Paper Distresser
Manila Tags