Showing posts with label Jewelled Snowflakes & Ornaments plate. Show all posts

Monday, 12 December 2016

A little late - Debs

Hi Everyone

I hope you are all ready for Christmas, i am not quite there yet, as you may have guessed, getting behind with everything at the moment!!   Here is a seasonal journal page to help you feel a bit more Christmassy if you are not already!!


I had started this page some time ago, playing with some blue and white acrylic paints, it was crying out for something frosty looking.


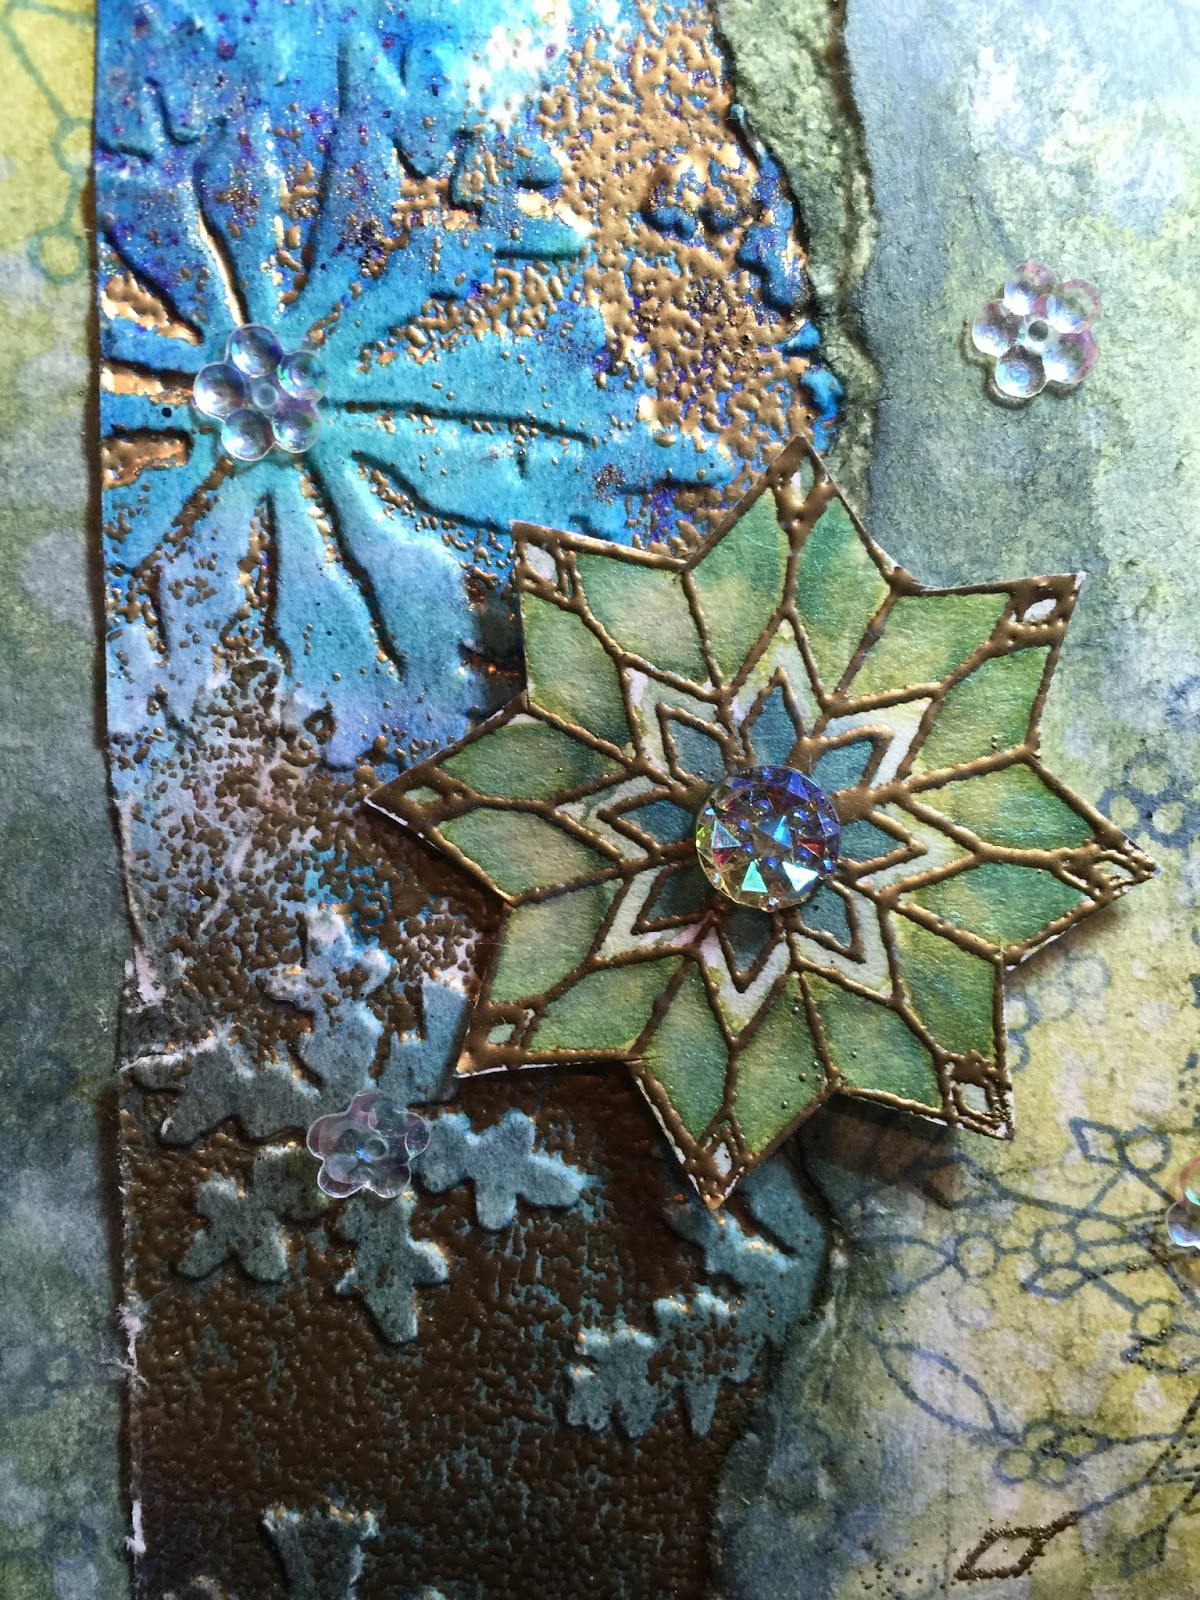
I stamped the large snowflake from the jewelled snowflake set with versa mark and embossed with wow silver embossing powder.  I then stamped the new snowflake background stamp, with Picket Fence Distress Ink around the edge of the page.  Then stamped the Noel and Seasons Greetings from the Christmas Greeting #1 set with Black Archival.

The final part was to get out the silver and white gel pens.  I coloured the Noel and Seasons greetings with the silver and then added white on the tops of the letters to look like snow had settled on them.  then coloured the snowflakes in with the white pen.

Happy creating
Debs

Thursday, 10 December 2015

Christmas Card by Debs

Hi  All

Here is a Christmas Card I made using a Gelli print, Jewelled Snowflake and Ornaments stamp plate and the Christmas Greeting #1 plate.


First I stamped and embossed the lightbulb onto plain white card and then stamped and embossed a large snowflake using Versamark Ink and Wow Silver Embossing Powder 
Then I stamped and embossed the banner from the Borders #1 plate and the Swirl Background Open stamp.
I then cut all three elements out.

I found some silver twine and made some bows and stuck these to the lightbulbs.

I made a Gelli print using Brushed Pewter Distress Paint with a little bit of Broken China and did three or four pulls from the Gelli Plate.  Once they were dry I stamped the same large snowflake with White Linen Dylusions paint over the whole of one of the sheets in a random manner, ensuring that the snowflakes weren't too dominant i wanted a subtle effect so that the one in the lightbulb would stand out.
Apologies for the lack of photos at this point - Brain was obviously not in gear 

I cut the card down to a DL size and also trimmed the gelli print and then mounted it onto a piece of card, distressed the edges and mounted onto the card with 3D tape, adding the banner before sticking down.
I Added one lightbulb directly to the paper and the other one with 3D tape overlapping slightly.
Thanks for Stopping By
Debs


Friday, 4 December 2015

Snowflakes by Dee

Hi everyone I hope you are well and getting all your Christmas
shopping & prep done. I have a Christmas Tag 
for you today.
I used the fabulous Artistic Stamper's new stamp
to create this tag.
I created the background using the same technique 
as my last post just used different coloured 
Distress inks.
I ran the distressed card through my machine using a versa mark
swiped embossing folder I then poured gold embossing
powder over it and heat set it.
I gold embossed the snowflake and cut it out  then coloured with 
distress ink pens.
The rest of the tag was coloured the same way but was stamped 
with the snowflake stamp.
Ta day That's it for today folks really sorry messed up my posting on this 
one hope you will forgive me. 
Happy Christmas! 

PRODUCTS USED

  1.  The Artistic Stamper stamps used Jewelled Snowflakes & Ornaments C396.
  2. Distress inks in the following colours:- Peeled Paint, Stormy Sky, Shabby Shutters & Weathered Wood.
  3. Distress Stain Peeled Paint.