Saturday, 10 May 2014

How to write a letter...

Hello all, Alison (butterfly) here with a romantic tag for you.  I've loved the Jean-Jacques Rousseau quote about how to write a love letter for years, so I was delighted when it appeared amongst the new Tim Holtz releases.  And who else but the Gibson Girls could possibly fit so well with those words?!


I started by adding Grunge Paste to a large tag through the Tim Holtz doily stencil.


Once that was dry, I painted over the whole tag and texture with gesso.
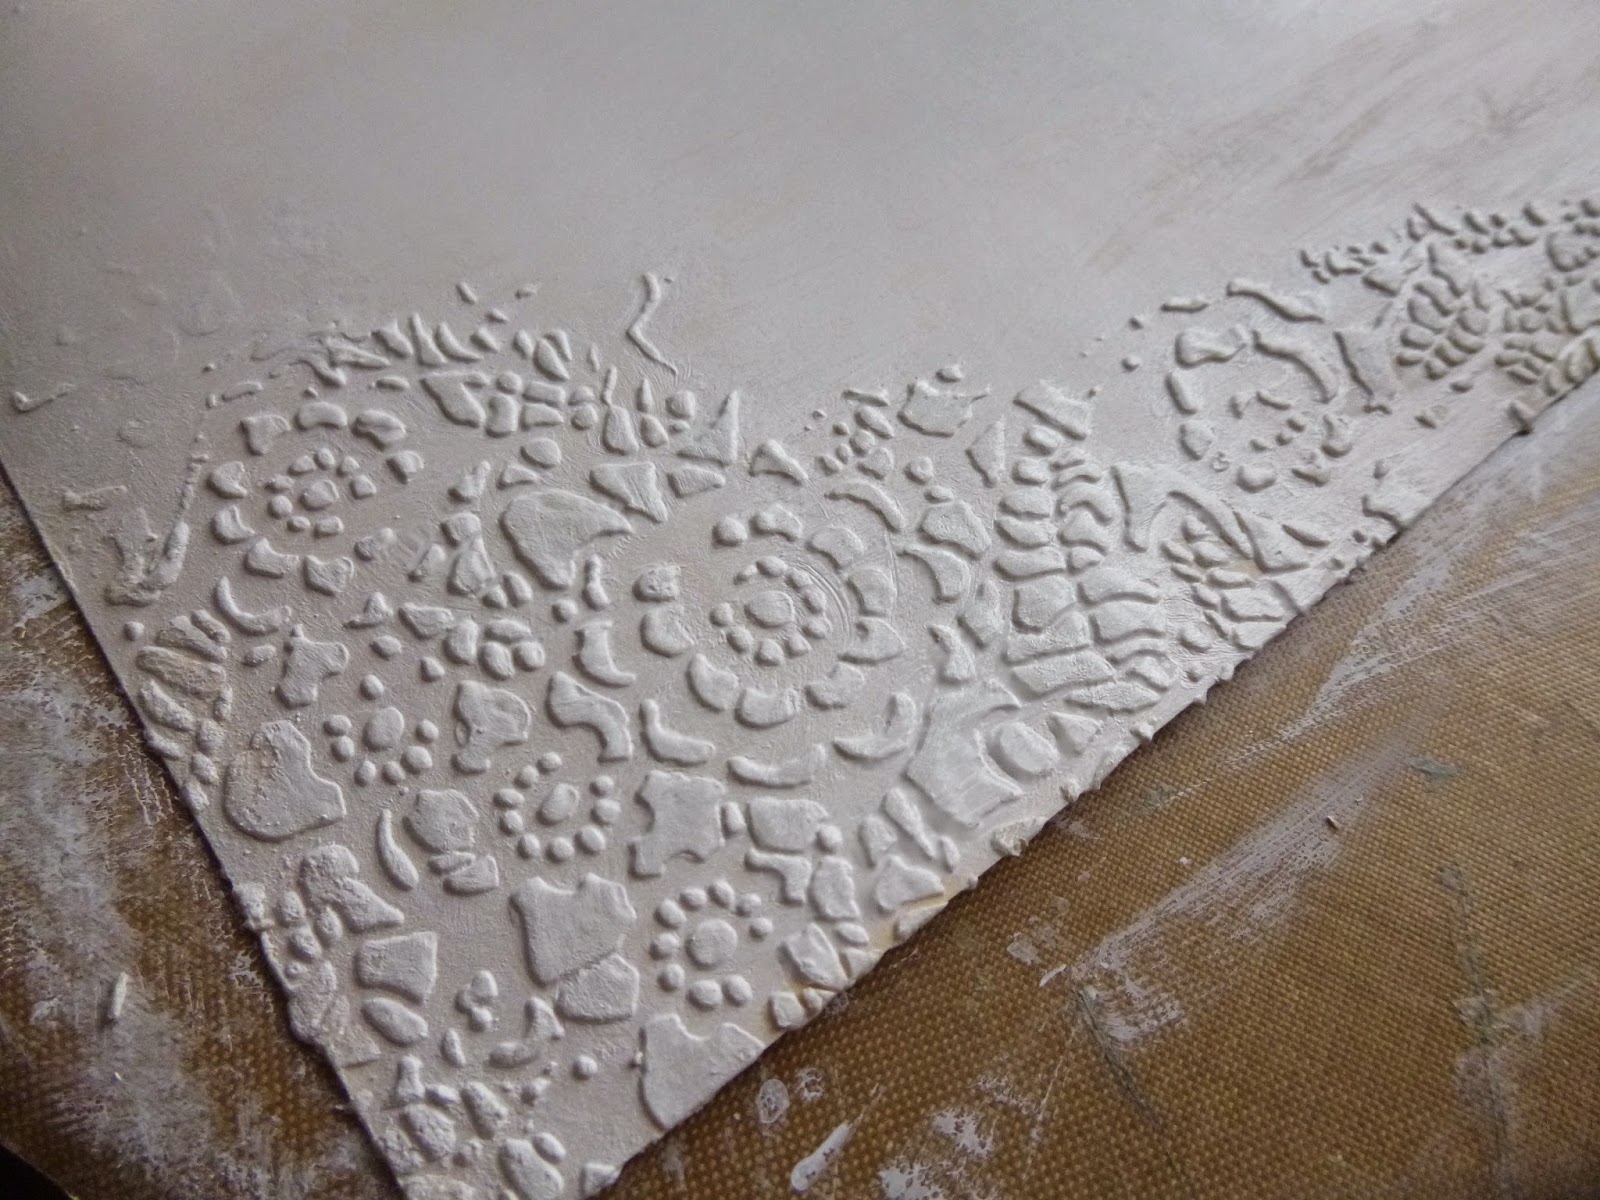

I hadn't at that point planned what I'd be stamping, so it was pure luck that the two women and the quote all fitted (just!) between the textured areas!


I have some Gibson Girls masks ready cut (from the very first time I used them) and stored with the stamp set so I grabbed those and my go-to stencil at the moment, the TH Latticework.  In the first image, she seems to be struggling slightly to free her mind to just write... maybe she's falling out of love?


I used Stormy Sky, Faded Jeans and Chipped Sapphire Distress Inks.  Because they're going over gesso, all the colours end up quite muted, but that was fine for me with this tag.  In this second image, I think she's just reading a love letter she's received, and is pausing to let the thoughts sink in... good or bad news?


I added postage accents using Carte Postale by Katy Leitch (formerly Katy Fox).  There are the stamps and postmarks...


... stamped in Cobalt Archival and mounted on padded tape.


And the lovely Carte Postale stamp itself...


... as well as these fabulous postal ephemera labels.


I altered an Idea-ology Muse Token with some paint and White Fire Treasure Gold.


And then there's the quote itself, in such delicate handwriting.
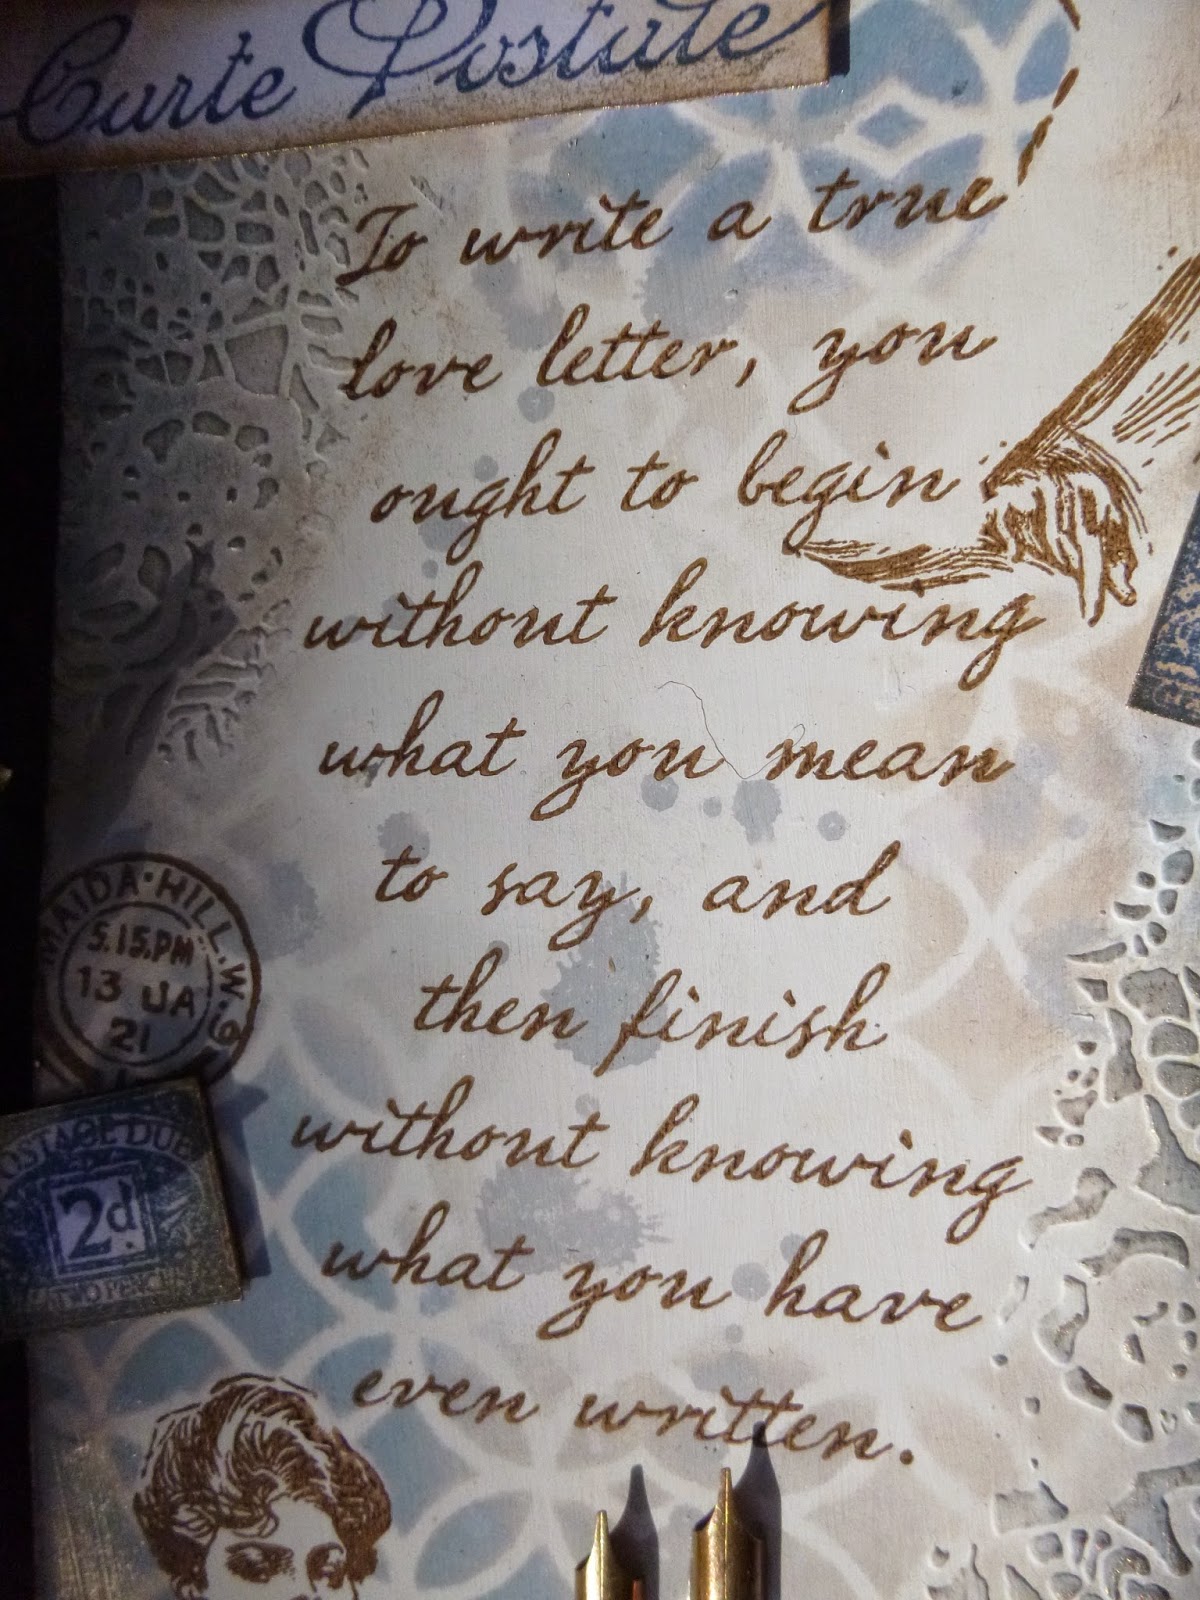

And I've got some blotches from Katy Leitch's Messy Art, stamped in Pumice Stone.  Ink blots, or perhaps tear drops?

There's a shimmer of White Fire across the doily texture and on the edges of all the embellishments.


I couldn't do a tag all about letter-writing without adding a couple of pen nibs, also gilded with the White Fire.


And the whole thing is topped off with some very feminine lacy ribbon tied with delicate twine.


I don't know.... I must have been having a girly day!


Thanks so much for stopping by.  Do come and play along with this month's challenge In the Garden.  We'd love to see you there.  Happy Crafting all!


Ingredients:
Artistic Stamper stamps:  The Gibson Girls Plate #1; Katy Leitch sets - Carte Postale, Messy Art
Stampers Anonymous stamps: Random Quotes
Distress Inks: Stormy Sky, Faded Jeans, Chipped Sapphire, Pumice Stone
Archival Inks: Coffee, Cobalt
Tim Holtz Layering Stencils: Doily
Idea-ology Muse Token
Grunge Paste
Gesso
Twine
Size #10 Manila Tag
From my stash: Treasure Gold, lacy ribbon

Thursday, 8 May 2014

Have Courage Canvas by Alison (Craftytrog)

Hello Everyone! I have a mini canvas to share with you today. 


The canvas I used is slightly bigger than ATC size, about 10 x 7 cm.

Here are the ingredients...

Mini Canvas
Fresco Finish Paint - Beach Hut, Limelight, Lilac
Archival Ink - Jet Black
Distress Ink - Black Soot
White card
Scraps of old music sheet or book paper
Tim Holtz Ideaology Chit chat Stickers
Palette Knife

And here's the instructions...

1. Use Glue 'n Seal Matt to glue some scraps of music sheet or book paper to the canvas, then prep the canvas, front & sides, by applying gesso with a palette knife.

2. When the gesso is dry, use the Lacy Border & Calligraphic Mat 15, and Black Archival to stamp a background, not forgetting the sides. I didn't bother using a stamping block. There's no need to be too perfect, as most of it will be covered by paint.


3. Use the palette knife to apply the beach hut paint down the right-hand side & over the edges. Dry this, then apply some lilac top right. When this is dry, add some beach hut over the lilac, & fill in any gaps with limelight paint, but leave a few bits of white showing.

4. When the paint is all dry, stamp the diamond border bottom right & top left, as per the finished canvas.

5. Stamp the Gibson Girl onto white card with black archival ink, then cut her out. Use glue 'n seal to adhere her, 'standing' on the diamond border.


6. Ink the Chit Chat stickers with black soot distress ink, adhere them to the canvas, then paint a layer of glue 'n seal over the front of the canvas to seal everything.

7. To finish, use the palette knife to scrape a little limelight paint over the words & diamond borders, to bed them on the canvas.

Here's my canvas again, hope it inspires you...


Thanks for visiting,

Alison xxx


Tuesday, 6 May 2014

Bring me flowers...

Salut Patouilleurs zet Patouilleuses !

I had decided that I wouldn't stamp any flower to participate in the May Challenge... it is my rebel side... though I have got my flower stamps out... and since they were out... I have stamped them !!!

In colors !!

primaries :


 and secondaries :


And when I have had enough... I have gathered all of them...
on to a  canvas :


I would be very happy if my canvas does inspire you, 

thank you so much for stopping by, 

I am looking forward to reading your comments !
Do not hesitate to ask for any help !


A tout bientôt,


Sunday, 4 May 2014

Guest Designer - Sherry Cheever

Good morning!  Sherry Cheever here today and I can’t begin to tell you how excited I was when Jennie asked me to be the May Guest Designer.  I have followed the Artistic Stamper’s Creative Team for years and love all their work.  I’m thrilled to be here for the month!

My first project for the month is a frame that I have altered using Graphic 45’s Botanical Tea Collection and Botanical 3 A5.

Frame C1

I started with a plain wood frame purchased for $1 from a local craft store, which was painted with linen acrylic paint.  The page Birds of a Feather from the Botanical Tea Collection was glued to the frame using Ranger Glue ’n Seal.

Frame 1

The excess paper was sanded away using my favorite sanding tool, a cheap nail file from a discount store.

Frame 2

After the paper had been completely removed, an antiquing solution using white acrylic paint and an antiquing medium was applied to the sides of the frame and the paper.

Frame Antiquing

After antiquing, the sanded edges of the paper were sponged with Antique Linen Distress Ink.

Frame 3

Flowers were die cut from the Sweet Chamomille and Herbal Infusion pages.  The edges of the rose were sponged with Stormy Sky Distress Ink and then shaped with a stylus.

Frame Rose

The sentiment from  Botanical 3 A5 was stamped on cream card stock with Ranger Archival Ink Cornflower Blue.  The flowers were assembled and glued to the top of the frame.

Frame Sentiment CloseUP

The sentiment was mounted on another piece of coordinating paper and raised within the frame opening with foam mounting tape.

Frame C2 Angle

That’s all for me today.  Thanks for stopping by and joining me!

SHERRY SIGNATURE

Saturday, 3 May 2014

Winner of April's Creative Challenge

Hi! 
I am here again with the winner of April's challenge, which was Embossing & Texture, and a  Big Thank you to everyone who joined in. There was a wonderful array of creativity!
I have chosen a winner by the way of Mr Random.org, and a big drum roll please for

Karen P 
 
with this gorgeous creation :)
© Karen P

Congratulations and please email me so we can arrange your prize.
This month's challenge is In The Garden, and you can interpret it any way you like, as long as it has stamping in it. We look forward to seeing your creations!
Have a very creative weekend
{hugs}
Jennie

Friday, 2 May 2014

New Stamps from The Artistic Stamper

Hello!
I am so excited to show you our new stamps! If you have been following my own personal blog and our Facebook page, you may have seen my sneaky peeks, but if you haven't, then now you can see them all in full, and get to buy them too!
There are 6 new designs from Neil Walker, including this fabulous butterfly.

© Neil Walker

Katy Leitch has designed some gorgeous Jumbo florals, and solid butterflies and birds, just perfect for kiss stamping and the Gelli plate too!


© Katy Leitch


We do hope you like them, and you can find them all here.

In case you were wondering our guest designer Sherry Cheever will be here on Sunday with her first post. Do come back to check it out!
I will be back tomorrow with the winner of last moth's challenge.

Have a creative day
{hugs}
Jennie

Thursday, 1 May 2014

May Challenge- In the Garden

Hi to all of our blog readers

A BIG thank you to everyone who joined in April's Challenge, The entries were fabulous, and I will be choosing a winner in a couple of day's time.
This month, we have as guest designer the talented and creative
Sherry Cheever from the USA joining us at The Artistic Stamper, with the first of her projects tomorrow . Don't forget to pop back to check it out!

Our new challenge for May is In the Garden. You can interpret this anyway you like :)
 We are  looking forward to seeing all your fabulous artwork and stamped projects that you submit in relation to this theme. To join in with this challenge (and you can join in as many times as you want), is simple; all we would like you to do is, make a piece of artwork, making sure that you include the theme and some rubberstamping. Pop back here to link up using the Froggy at the bottom of this post, so that we can see what you've made and then, leave us a comment to let us know you have joined in with the challenge. As always, there will be candy for one randomly picked entrant - the winner will receive £15 worth of The Artistic Stamper stamps of your choice. And don't forget....if you use Artistic Stamper stamps on your entry, you will entered into the draw, twice!!!! You can also enter as many times as you like!

For inspiration check out these gorgeous creations from some of The Creative Team :

Alison (Craftytrog)

I created a painty background on water colour card, using my brayer. Stamped the lady onto white tissue with jet black archival, & glued using glue 'n seal matte. Used my finger to add gesso to blend around the lady and edges. Stamped flowers around the edge with olive green Stazon, script with jet black archival. Stamped butterflies & 'garden' phrase onto painty scraps, cut them out, matted the phrase on black card, & used glue 'n seal to adhere. Matted my art onto black card, & attached to square white card.

The Artistic Stamper Stamps used...


I'm still slightly hooked on the double stamping technique from Tim Holtz's March tags.  I played with Katy Fox's Encyclopaedia Botanica stamps and Distress Inks and Markers to make this pair.


I cut a mask and used the Distress Marker Spritzer and some Distress Markers to create the sky, and even the little butterflies perched on the ribbon are a double-stamping pair.  And I altered the Idea-ology metal plates with Distress Paints to match.

Artistic Stamper stamps used - Katy Fox - Encyclopaedia Botanica


Titbelsoeur

I wanted to do something different than flowers to illustrate this challenge... this was a good opportunity to make a tag with  Neil Walker's birds


I made the brick wall with molding paste, sprayed Distress ink with a mini mister and stamped the birds on a bristol paper and colored them with Promarker pens.

We hope you will join in this month's challenge and look forward to seeing you creations. Don't forget to add a comment when you have posted your entry.

Finally A BIG thank you to everyone who sent in their applications for joining the Creative Team.  Sadly we couldn't ask all of you , but come back later in the month when I will be introducing you to our new members :)
Have a very creative month
{hugs}
Jennie