Showing posts with label Layering Stencils. Show all posts

Monday, 10 November 2014

Time's Up!

Hello all!  Alison (butterfly) here, and delighted to be back after a break.  I'm so grateful to Jennie for letting me take a sabbatical while I was busy with theatrical life in New York.  And I'm sorry that my first post back is a few hours late - computer troubles I'm afraid.  But (fingers crossed) it all seems okay, so I'm here with a timely tag!


I'm going to keep it quick today so as to get as close to the deadline as possible!  I created this using the fantastic Time and Keys plate and a tag background which had been floating around on my table for months.


I put texture paste (this was the new Ranger Texture Paste if I remember rightly) through the Tim Holtz Gothic stencil and then used Distress Stains in some of my favourite blues and greens to tint the whole thing.


I was inspired to create my platinum watch case by some fabulous pocket watch pendants I found at a street market in New York.  I stamped the back of the watch case in embossing ink and used platinum embossing powder to create a vintage sheen.  I blended over some Walnut Stain and Black Soot Distress Inks to highlight the intricate detailing.


For the watch face I stamped the front twice - once to create the platinum frame, and another version where I used fine detail black embossing powder for the numbers and clock hands.


I cut and layered them together and then mounted the front and the back on layers of padded tape to give extra dimension.


The quote was also embossed using the fine detail black powder, and I inked the edges with Pumice Stone and Frayed Burlap.


I layered the whole thing onto one of the pre-printed Prima tags as it seemed to need a bit of a frame.


Some satiny ribbon from my stash tops the whole thing off.


I'm pretty pleased with my vintage pocket watch - and I can only apologise that it doesn't keep better time!  Still, I'm only a couple of hours late, so I hope you'll forgive me.

Thanks so much for stopping by.  I hope you'll find time to join in with our Christmas Is Coming challenge this month.  You don't have to use Artistic Stamper stamps, but if you do you get two entries to the prize draw, so come and play along.

Ingredients used:
Artistic Stamper stamps: Time and Keys
Tim Holtz Layering Stencils - Gothic
Texture Paste
Distress Inks - Pumice Stone, Walnut Stain, Black Soot, Frayed Burlap
Distress Stains - Evergreen Bough, Faded Jeans, Stormy Sky, Iced Spruce
Embossing Powders - Ebony Superfine and Platinum
Versamark Ink
Treasure Gold, Ribbon and printed tag from my stash

Saturday, 10 May 2014

How to write a letter...

Hello all, Alison (butterfly) here with a romantic tag for you.  I've loved the Jean-Jacques Rousseau quote about how to write a love letter for years, so I was delighted when it appeared amongst the new Tim Holtz releases.  And who else but the Gibson Girls could possibly fit so well with those words?!


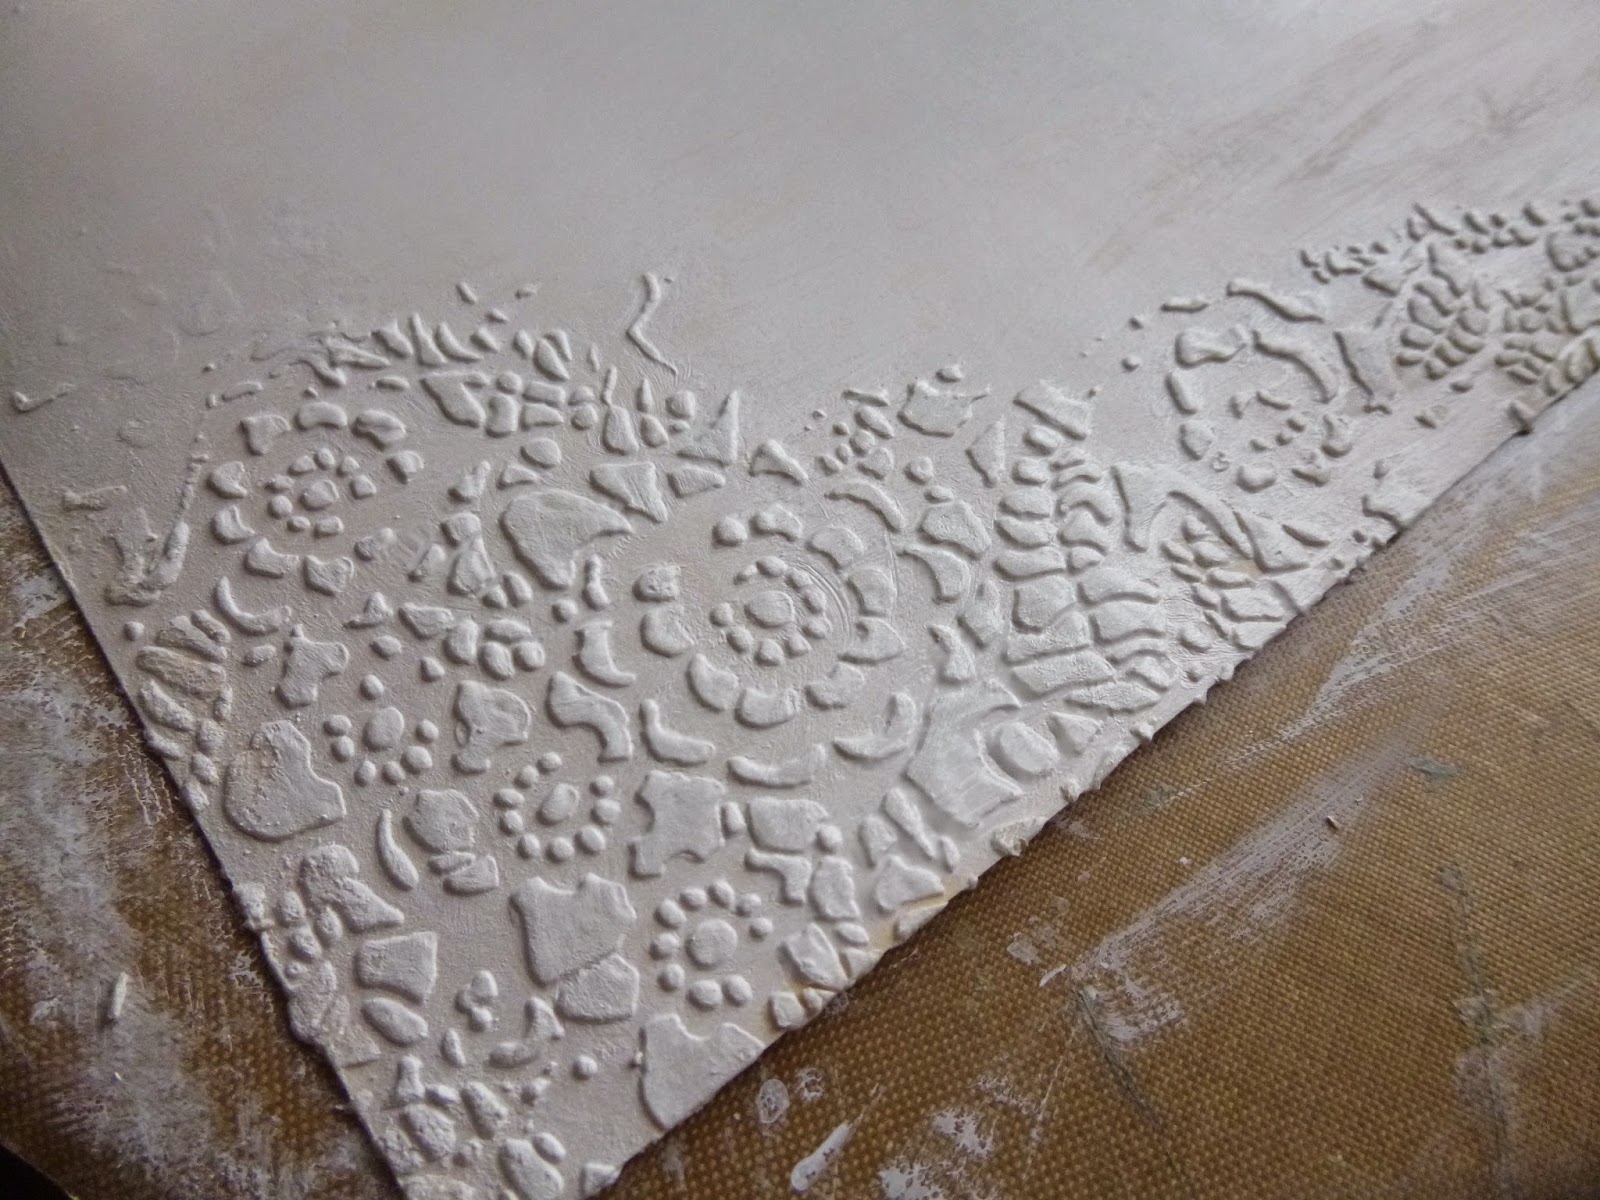
I started by adding Grunge Paste to a large tag through the Tim Holtz doily stencil.


Once that was dry, I painted over the whole tag and texture with gesso.


I hadn't at that point planned what I'd be stamping, so it was pure luck that the two women and the quote all fitted (just!) between the textured areas!


I have some Gibson Girls masks ready cut (from the very first time I used them) and stored with the stamp set so I grabbed those and my go-to stencil at the moment, the TH Latticework.  In the first image, she seems to be struggling slightly to free her mind to just write... maybe she's falling out of love?


I used Stormy Sky, Faded Jeans and Chipped Sapphire Distress Inks.  Because they're going over gesso, all the colours end up quite muted, but that was fine for me with this tag.  In this second image, I think she's just reading a love letter she's received, and is pausing to let the thoughts sink in... good or bad news?


I added postage accents using Carte Postale by Katy Leitch (formerly Katy Fox).  There are the stamps and postmarks...


... stamped in Cobalt Archival and mounted on padded tape.


And the lovely Carte Postale stamp itself...


... as well as these fabulous postal ephemera labels.


I altered an Idea-ology Muse Token with some paint and White Fire Treasure Gold.


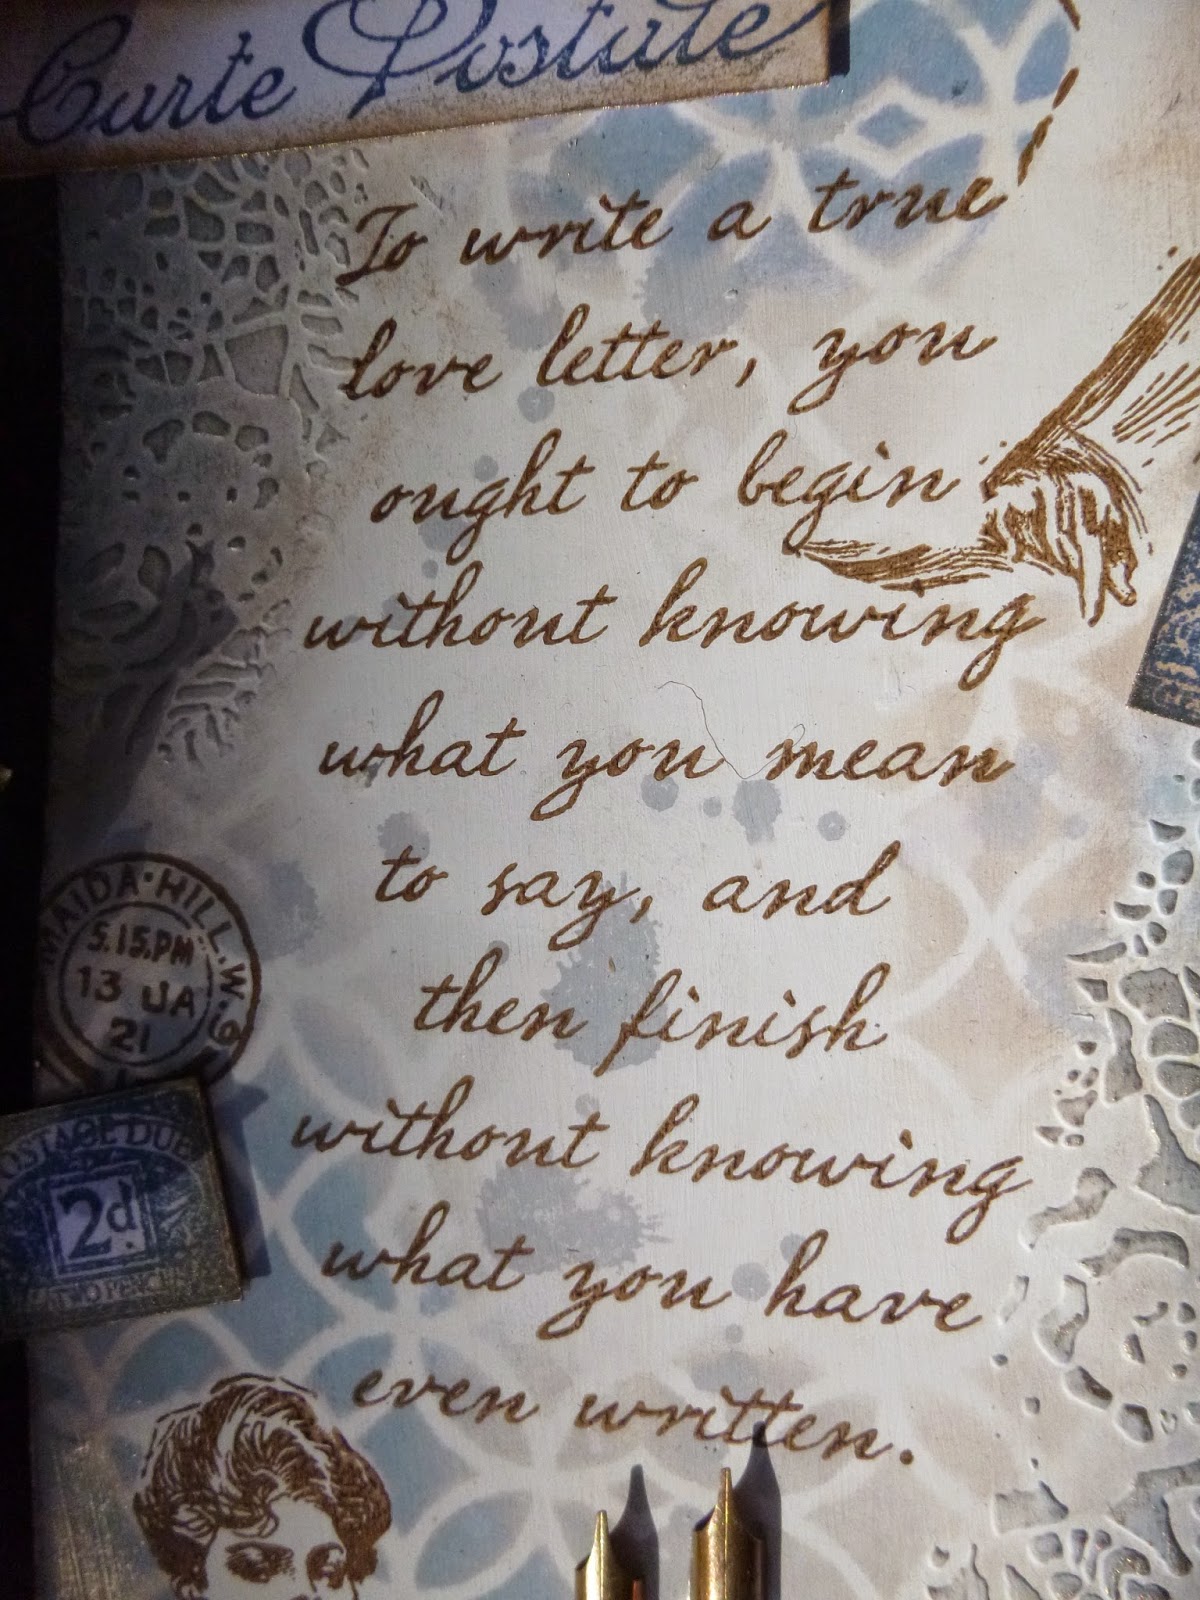
And then there's the quote itself, in such delicate handwriting.


And I've got some blotches from Katy Leitch's Messy Art, stamped in Pumice Stone.  Ink blots, or perhaps tear drops?

There's a shimmer of White Fire across the doily texture and on the edges of all the embellishments.


I couldn't do a tag all about letter-writing without adding a couple of pen nibs, also gilded with the White Fire.


And the whole thing is topped off with some very feminine lacy ribbon tied with delicate twine.


I don't know.... I must have been having a girly day!


Thanks so much for stopping by.  Do come and play along with this month's challenge In the Garden.  We'd love to see you there.  Happy Crafting all!


Ingredients:
Artistic Stamper stamps:  The Gibson Girls Plate #1; Katy Leitch sets - Carte Postale, Messy Art
Stampers Anonymous stamps: Random Quotes
Distress Inks: Stormy Sky, Faded Jeans, Chipped Sapphire, Pumice Stone
Archival Inks: Coffee, Cobalt
Tim Holtz Layering Stencils: Doily
Idea-ology Muse Token
Grunge Paste
Gesso
Twine
Size #10 Manila Tag
From my stash: Treasure Gold, lacy ribbon

Monday, 24 February 2014

Les Fleurs

Hi all, Alison (butterfly) here, with a pair of tags for you today.  It will come as no surprise to regulars that they use Katy Fox's beautiful botanical stamps... I seem to be obsessed with them!  (Remember, you can click on the photos if you need a closer look.)


So I started with a couple of plain manila tags, and inked them up with Tim's wrinkle-free distress technique and some spritzing and flicking.  I layered in some stencilling, rays and letters with Broken China and Vintage Photo Distress Inks.


Then I added some background stamping with the Artistic Stamper Large Random Dots.  They're stamped in Picket Fence Distress Paint, and then I used a white pen to add a little dimensional shading.  I also stamped the Sequin Waste in Peacock Feathers - which you can see in a later photo.


The main stamp for the first tag is from Encyclopaedia Botanica, from Katy's first release.


And the second tag uses the large flower from Botanical 2.  On each of them, I've used a very light wash of Mermaid Fresco paint to just highlight the flower heads a little.


The adorable little Les Fleurs label is also from that second set.


It's simply stamped on card in Black Archival and then torn and inked, and positioned to complement the flower stamping.


Regulars at Words and Pictures will see that I've created some new glass pebbles for this project.  Rather than sticking my glass pebbles onto book pages, as I've done previously, this time I created some musical embellishments!


I spritzed some colour onto some card (Dylusions and Perfect Pearls Mists), and then stamped the Music Background over the top in Jet Black Archival.  


Then you just glue on the pebbles (the sort you use to fill vases and so on) using gel medium - I use gloss, but I think any would do - wait until dry and then cut around the pebbles.  I do love how they catch the light!


I've also been having another little play with the beeswax (loved my first go on some journalling pages also using Artistic Stamper stamps and stencils).  I painted melted beeswax onto some book pages, and tore and inked them.  


You get a lovely translucence from the beeswax, and I really like the look of ancient parchment that it gives the paper.


As you can see, I also added some Idea-ology cogs and gears - somehow the composition just needed them - and then I simply couldn't resist the urge to mount the tags onto corrugated cardboard (another obsession).


This time it's had a rough coat of a couple of paint colours that complemented the tags, and then a good bit of inking with Gathered Twigs around the roughened edges.  (And here's that Sequin Waste stamping - such a cool background texture stamp!)


A little bit of crinkle ribbon, dyed with Distress Stains and Paints - the paints give it that lovely opaque look - and tied with paper string to top the whole thing off.


You can probably tell from these tags that I'm longing for Spring.  


Again, I caught one of those odd pockets of sunshine to take some of these photos, but I hope you are all keeping safe and dry in these storms in the UK, and not too cold in the US, and generally happy, safe and sound wherever you are in the world.


Thanks so much for stopping by today, and if you've been using Distress products then come and play along in this month's challenge here at The Artistic Stamper where that's all you need to do: Use Distress.  Hope to see you there!

Ingredients used:
Artistic Stamper stamps: Katy Fox - Encyclopaedia Botanica and Botanical #2; Backgrounds - Music Background, Large Random Dots, Sequin Waste
Tim Holtz Layering Stencils
Melt Art Natural Beeswax
Distress Inks - Broken China, Vintage Photo, Peacock Feathers
Distress Paints - Picket Fence
Distress Stains - Peeled Paint, Broken China
Archival Inks - Jet Black, Sepia
Fresco Paints - Mermaid
Dylusions - Dirty Martini, Cut Grass
Perfect Pearls Mists - Turquoise
Inkssentials White Pen
Idea-ology Findings - Sprocket Gears
From my stash: book pages, corrugated cardboard, Idea-ology paper string

Sunday, 26 January 2014

Explore Art Journal page

Hello everyone and lovely to have you drop in, this is Astrid here with my latest project.
One of my New Year's resolutions was to do more journaling and so I thought I would share a journal page with you. But before I start by giving you a description, I want to say that this page was heavily influenced by some of the fabulous journal artists that can be found on the internet, particularly Roben Marie Smith, one of the artists behind the Documented Life Project that some of you may have heard about. Obviously I gave it my own twist...

These are the stamps and products I used:
Chickenwire Background
Calligraphic Mat 12
Leaves A5 by Katie Fox
Journaling words 3
Gesso
Distress Paints in Broken China,Salty Ocean, Peeled Paint, Ripe Persimmon, Aged Mahogany
Distress Inks in Peeled Paint and Walnut Stain, Mustard Seed
Archival Inks in Jet Black, Library Green and Cobalt, Potting Soil
Masks: Large Sequin Waste, Chevron
Dylusions: Dirty Martini
From My stash:
Faber Castell Gelato Brown
Faber Castell Big Brush Pen black and dark green
Sequin waste, old journal page, old book pages,scraps of card, gel medium matte, glue, pallet knife, make-up sponges, baby wipes

Alright, here is a quick step by step:
Cover your journal page with a coat of Gesso, using a pallet knife, when dry, colour with Distress Paints and spritz with water to let the colours run and marble, add a few spritzes of Dylusions to deepen the colour in places and blend with a baby wipe..
  Tear some strips of an old journal page and adhere to the sides to frame your page a bit. Then add further interest with the help of the large sequin waste stencil: Place the stencil on the page, dip your finger in gesso and dab through the stencil. Dry, then add colour with the help of some Archival Inks, sequin waste and make-up sponges.
Outline your circles with a big brush pen for more contrast.
Next add some torn strips of old book pages and blend them in with the help of some more paint.
Here is a close up:
Time for some background stamping, I used the chicken wire and a journaling stamp.

Right, now to get some focus to the page... I cut a heart shape out of an old scrap of card to create a home made stencil.
I held it down over my page and then added colour with Ripe Permisson and Aged Mahogany Distress Paints and then to tie it in with the circles on the other page, added some more sequin waste dots with  Archival ink. Some of the colour had leaked out from underneath the stencil, so I blended it into the background with a baby wipe and then outlined the heart shape with my Big Brush Pen.
This is what the whole double page now looked like:

Time for the final touches: I coloured some smooth white card with first green Distress Paint and then Peeled Paint and Mustard Seed Distress Inks. I then stamped one of the leaves of the Leaves set in Library Green Archival and cut them out.
I glued them onto the page  and then it was time to complete the page with some journaling and a sentiment stamp from the Journaling Words 3 set, which I had stamped on what was left of the torn up journal page I had used already for the edges of my page. I also cut some strips of that same page and added additional journaling as you can see from the pictures below. Finally I added a few more sequin waste dots in some of the spaces that appeared a bit empty still and some further stencilling along the bottom edges with the Chevron stencil and finished it all by going around the edges with my brown Gelato.


Well, there you have it, page complete.
Hope you like it and that perhaps I have inspired you to do your own journal pages. The Artistic Stamper has a large selection of journalin supplies!

Thank you so much for visiting today and see you next month!