Showing posts with label Botanical Plate 3. Show all posts

Thursday, 4 June 2020

A thing of Beauty, by Jane

For this months "Retro" challenge, I have made a card using retro 70s style taking inspiration of the colours from that time, which were lots of brown, beige, and turquoise. I used to absolutely hate this kind of combination and style, but, now I love it, oh the beautiful wallpapers and shirts with their bold shapes, and symmetrical lines, just gorgeous.


The Artistic Stamper stamps used:
DECAY JOURNALING
beauty from NUDES stamp set

JANE


Sunday, 12 April 2020

"Blossom with Time" by Jane

Do artists blossom with time?...I certainly think so, when I look back at my style of crafting when I first started, it has definitely changed, I am still working on trying to be much looser, much freer, and less analytical, I'm not there yet,will I ever get there!!!,definitely not if I am always getting to a point where I dare not make another mark on it for fear of ruining it!!! heck...what do I have to fear...the piece will only go on the teetering mountain of previous stuff anyway!!LOL.
Anyway, enough of my mentality and on to this months challenge, in the garden. sorry guys for my overuse of this brilliant stencil yet again, but I love it.


I love it for its random feel..which I think was more luck than on purpose, but is totally my case in point with trying to be freer..!!
Artistic Stamper products used;
Hope your'e all having fun in your craftrooms


Friday, 5 October 2018

The White Rabbit!!!

Hi Guys!!. You will be forgiven if you think this is a post to do with Alice in Wonderland....but sadly noooo...The White rabbit is just who I am feeling like at the moment, running around saying "I'm late, I'm late, for a very important date"!!!. Heck what a dramatic week!!..sooo...forgive me on two counts, firstly for being late for my post, and secondly for using this image once again, the lovely hydrangea from the BOTANICALS 3 plate, it is my go to flower now and I love it. So as I was saying, it has been a crazy week, and I am still feeling a bit like The Mad Hatter, running around like a headless chicken!!! and that is why I have done this super quick card for our Inktober Challenge. who doesn't love an inky background, done with spray inks and distress oxides on a book page, I already had the flowers and the sentiment stamped on tissue paper, so glued them down with some gel medium, hey presto, super quick card.


Hope you will join our Inktober Challenge, I look forward to seeing your makes.


Thursday, 25 May 2017

Floral Fantasy ATC's by Debs

Hi Everyone

I have made some ATC's for you today.


I had quite a bit of fun with these, although they did turn out a little darker than i had hoped.

I used my collection of Distress Oxides in 8 out of the 12 colours,  I put the pad directly onto some card, and then sprayed with water, whilst wet i sprinkled with Paperartsy Infusions in Rocky Road.  

As you can see i used a lovely of selection of Artistic Stamper flower stamps, i added some background stamps on a couple of them and also added some white pen.

On some of them you can see the red from the Rocky Road Infusion peeking through the original colours.

Hope you enjoy looking at them as much as i enjoyed making them

Happy crafting 
Debs


Thursday, 24 March 2016

Life is like a circle by Debs

Hi Everyone

Here is a quick journal page I have done using the new Tim Holtz Distress Crayons


I started off with a layer of Gesso, waited (somewhat impatiently) for it to dry.

Then added the Peacock Feathers and Picked Raspberry crayons scribbling them on and then blending them in with my finger

Once I had done that, I added some stamping using the Dots background stamp

I added one of the new flourish stamps around the edges and the Neil Walker Alphabet Soup Background and Border  Stamped the large rose and the small daisy from the Botanical A5 plate onto tissue paper and Life is a circle from the Journaling Words 3

once all the extra bits were stuck into place I added some white outlining with a white sharpie pen.

Do leave a comment and don't forget you still have a few days left to get those entries in on here and on the Facebook challenge page

Happy Crafting 
Debs


Friday, 10 October 2014

Layered Journal cover

Hello Everyone,
Shilpa here,
I got plain Art Journal for myself recently. And when I decided to make cover for that, I  could not think other than my lovely Artistic Stamper stamps. And I used many to create this Vintage Journal cover.


I started with stamping some images


I've used Gibson girl plate # 1stamp, Waches, large Butterfly stamp from Insects and Butterfly N0 1 , my favourite small bird from Birds of Feather set,
I stamped them with black and Coffee Ranger Archival Inks.


I took design paper from Prima Vintage Journey paper pad. Applied gesso and dried it with heat tool. With crafters workshop stencil and Clear Crackle embossing paste I created texture. If you click on this photo you can see beautiful crackles. Then, I spritzed Lindy's stamp gang inks in various blue, red and brown colors, created some drips. They made beautiful layers.


Here also you will see the background texture and layers.


Next on the base I created layers with stamped images, design papers from Graphic 45 couture pad, diecut doily, Tag. I gave these paper vintage look with spraying inks and applying Distress inks - Vintage photo, Broken China, Walnut stain. I distresses edges with Tim Holtz Paper Distresser.


Here you will see cute lil' birdie, vintage charm, wooden button and  flowers as my embellishments.


I am totally in love with these Gibson Girls stamp set. Images are lovely and we can add them on any project. I adhered the stamped image of this girl on diecut frame, which I distressed before with broken china distress ink. Other than flowers, you will see Prima jute trim which is perfected suited here. And colored butterfly is perfect fit in the corner, it has beautiful design on it.


In the middle, I've created tile with floral stamp. I colored it again with distress inks - Peeled paint and Broken china, vintage photo.


And this is the final look of my Journal cover. Do you like it? Let me know in your comments.
The theme of this Month's challenge at Artistic Stamper is 'Memories'. Use your favourite Rubber stamps and Distress Inks to create something beautiful from your memories. 
Thanks so much for your visit today.
Supplies Used:
Artistic Stamper Stamps: 
  Gibson girl plate # 1stamp Waches,  Insects and Butterfly N0 ,  Birds of Feather set,


Friday, 15 August 2014

Flower Mixed Media Tag Book

Hello Everyone,
Shilpa here,
Today I am sharing with you a 'Flower Tag Book' which I've created with many beautiful floral stamps from Artistic stamper.
Wear your shades and get ready for bright colours!!

It all started with lovely flower stamps. And I wanted to use many, so I opted for Tag book instead of single tag. I made it with different sizes of Manila tags. There are three signatures inside with two pages each.
Lets see the pages...


On each page I spritzed different colours of Dylusion Inks. Stenciled patterns with white acrylic paints and stamped the images with Ranger black archival inks. Process was simple. And I kept it uniform.
Hope you like my mixed media tag book.
Always looking forward your comments and suggestions.
Thanks so much for stopping by today.

Supplied used:
Tim Holtz Layring stencils.
Dylusion Inks - Calypso Teal, Dirty Martini, Funky Fuchsia, White Linen, After Midnight, Cut Grass, Crushed Grape, Fresh Lime, Lemon Zest, London Blue, Squeezed Orange, Vibrant Turquoise, Pure Sunshine

Sunday, 4 May 2014

Guest Designer - Sherry Cheever

Good morning!  Sherry Cheever here today and I can’t begin to tell you how excited I was when Jennie asked me to be the May Guest Designer.  I have followed the Artistic Stamper’s Creative Team for years and love all their work.  I’m thrilled to be here for the month!

My first project for the month is a frame that I have altered using Graphic 45’s Botanical Tea Collection and Botanical 3 A5.

Frame C1

I started with a plain wood frame purchased for $1 from a local craft store, which was painted with linen acrylic paint.  The page Birds of a Feather from the Botanical Tea Collection was glued to the frame using Ranger Glue ’n Seal.

Frame 1

The excess paper was sanded away using my favorite sanding tool, a cheap nail file from a discount store.

Frame 2

After the paper had been completely removed, an antiquing solution using white acrylic paint and an antiquing medium was applied to the sides of the frame and the paper.

Frame Antiquing

After antiquing, the sanded edges of the paper were sponged with Antique Linen Distress Ink.

Frame 3

Flowers were die cut from the Sweet Chamomille and Herbal Infusion pages.  The edges of the rose were sponged with Stormy Sky Distress Ink and then shaped with a stylus.

Frame Rose

The sentiment from  Botanical 3 A5 was stamped on cream card stock with Ranger Archival Ink Cornflower Blue.  The flowers were assembled and glued to the top of the frame.

Frame Sentiment CloseUP

The sentiment was mounted on another piece of coordinating paper and raised within the frame opening with foam mounting tape.

Frame C2 Angle

That’s all for me today.  Thanks for stopping by and joining me!

SHERRY SIGNATURE

Tuesday, 27 August 2013

There is always a first time....

Hello stampers and welcome to the blog. This is Astrid here to share a card.


Yes, you read that right, this is Astrid and yes, I know it is not my usual style at all.

I have always been a huge admire of people that can create beautiful CAS cards, something I had never done before, but there is always a first right?

Now to be honest, this card is totally cased on a card by Chrissie Stokes, which I saw in the September 2013 issue of the Craft Stamper magazine, so if you want you can read instructions there, but of course I used Artistic Stamper stamps.
I folded a piece of white card to the size I wanted and then masked off the bottom part of it with Post-its like Chrissie describes.
Next I stamped the Calligraphic Mat 12 in Versamark ink and heat embossed with Wow Clear Matt Dull regular powder .
With some Ink Duster brushes I brushed first Chipped Sapphire and then Gathered Twigs Distress Inks around the edges of my card, getting lighter toward the top and right hand side. I wanted the edges to be still a bit darker so also went round it once more with Adirondack Dye Ink in Espresso. 


I then inked up the Speckle background with the Espresso and added a few speckles around the outside.


Covering my piece with some kitchen paper I now ironed off the embossing powder to leave just the white stamping and then inked up the Rose from the Botanical 3 Plate in a combination of Library Green and Plum Archival Ink, stamped it in place and smudged out the colours a bit with some Cut-n-Dry Pen nibs.


The final step was to take away the mask and stamp my sentiment from the Tim Holtz Way With Words set in Jet Black Archival ink.

So, when was the last time you did something for the very first time? Well, I did when I made this card and I loved doing it, so it won't be the last.


Thank you for dropping by today, hope you like my card and that you will try something new soon!
Thanks for visiting and see you next time!

Sunday, 12 May 2013

Inspired by Nature and a bonus give away!!

Hello everyone, lovely to see you here and this is Astrid sharing my first little project for the lovely month of May.
Have I told you before that I love little books? Well I do and this time I decided to make an accordion book, inspired by nature as the title of this post would suggest, but also inspired by some of the wonderful nature themed stamps the Artistic Stamper stocks.
I used some sturdy Kraft card from my stash for the base of the book. Each of the panels is 9 cm wide and 13 cm high, this was dictated by the size of the stamps I wanted to use. To make 6 panels like this you will need two sheets of strong A 4 card and cut it along the long side to 13 cm (9") height and then score accordion style every 9 cm (3.5").
The little end bit you will have left after scoring the first bit of card is used to attach the second bit of card as you can see in the photo above.

Now for the fun of creating the panels: Cut 6 bits of Manila paper to 8 cm (3.25") by 12 cm (5"). Each of my panels was more or less done in the same way, and these are the products I used:
Ranger Distress Paints, in a variety of colours including the new Metalics.
Ranger Dylusion Sprays, I love how the colours seem to blend so well with the paints.
Ranger Distress Inks and two colours of Archival Ink, Jet Black and Library Green.
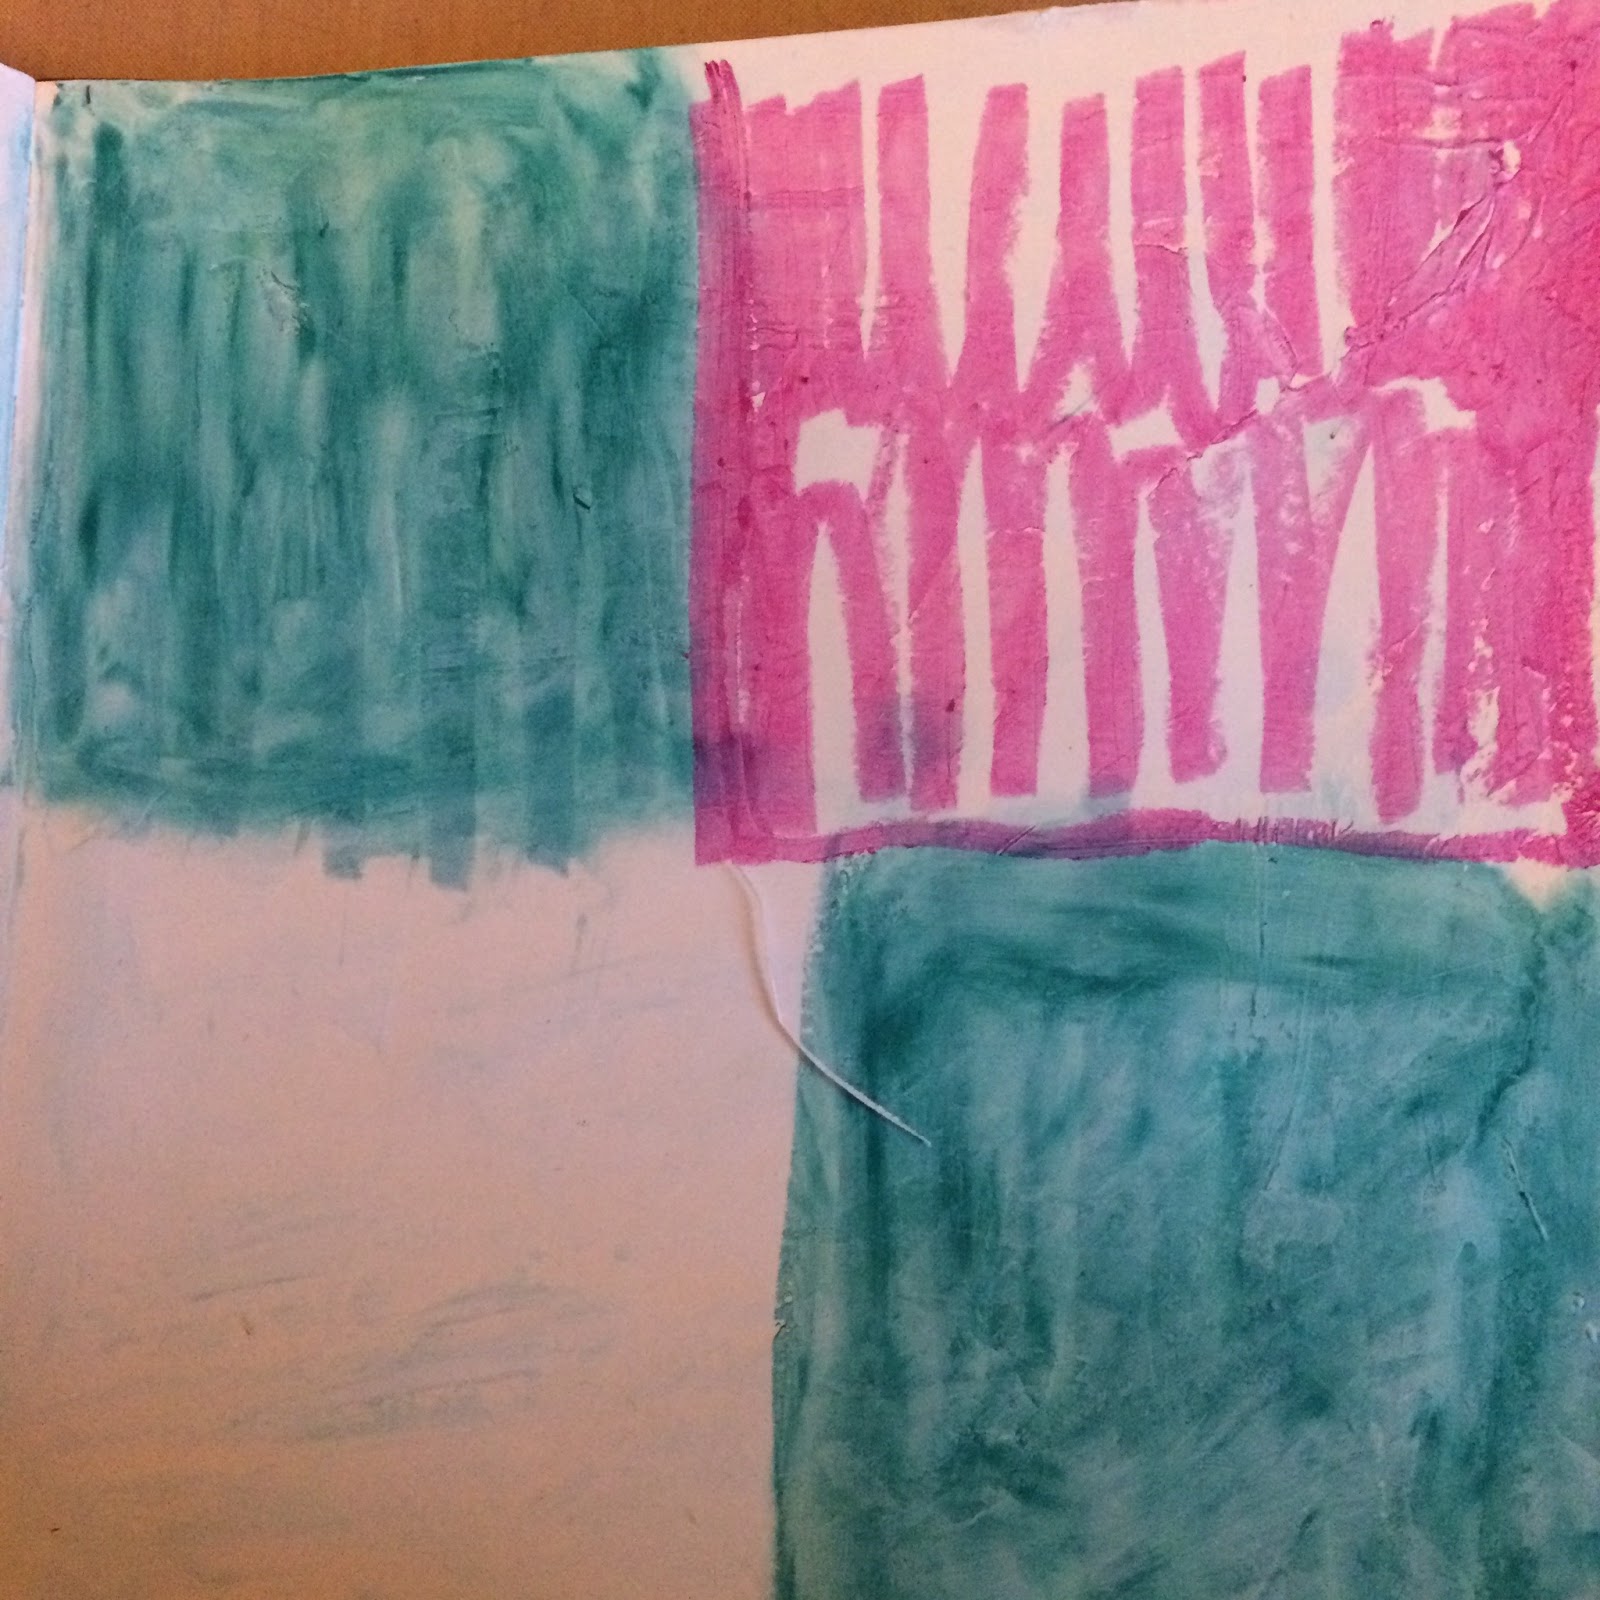
For this panel I blended purple and pink tones of paints, sprays and inks. The stamps I used were from the new Katie Fox Encyclopaedia Botanica collection. For the background, stamped in Picket Fence Distress Paint I also used the Tim Holtz Papillon set. I stamped the flowers and butterflies twice in Jet Black archival, once straight onto the background and once onto smooth stamping card. I then fussy cut the flowers only, and layered them on top of the first impression and the same with the butterflies. They were all coloured with Distress Inks.
Like I said,  all panels were done in similar ways. Here blues, greens and yellows were used, the background was stamped in Library Green Archival (I don't have any dark green Distress Paint yet) and the butterflies from the Papillon set were layered.
To be honest, this one is my least favourite. As you can see, I die cut an arch. The little girl is from the Garden plate 1, I also used a little stamp from the  Botanical 3 for the background and the Calligraphic Mat 12 to add some highlight to the arch. It was decorated with some punched flowers and die cuts from my stash.
The Hydrangea is from the Botanical 3 Plate, I also added some Tissue Tape from my stash. As you may have noticed, on several of these I added some shading around the stamped image with a charcoal pencil and a blending stump. I love doing this, as I think it makes the stamped images almost look three dimensional and adds depth.
Here I used the Dragon Fly from the Tim Holtz Classics No 1 and more tissue tape 
And here finally another flower from the Encyclopaedia Brittanica set by Katie Fox.

Now if you have ever made an accordion book, you will know there is a front and a back side. I decorated the back of my book simply with left over papers I had from the wonderful Graphics 45 French Country 8 x 8 collection.
The front and back panels were layered with bits and pieces from the collection and I used some ribbons and a little Tim Holtz clasp and some other bits and pieces to decorate and tie it shut.


Well, are you still with me??? 

Now to the give away: 

If like me you are slowly collecting  various colours of Distress Paints, here is a chance to add some more to your collection: I have three to give away, Weathered Wood, Salty Ocean and Wild Honey. They were sent to me in error and Jennie the Artistic Stamper very kindly said I could offer them as a give away!! All you need to do is leave a comment here and on my personal blog, and on Sunday the 19th I will pick a winner and announce it here on the blog.

Well, hope you like my project and thank you so much for visiting. Have a creative week!!