Showing posts with label Open Floral Background. Show all posts

Friday, 7 September 2018

Shaving foam background by Titbelsoeur

Hello crafters !
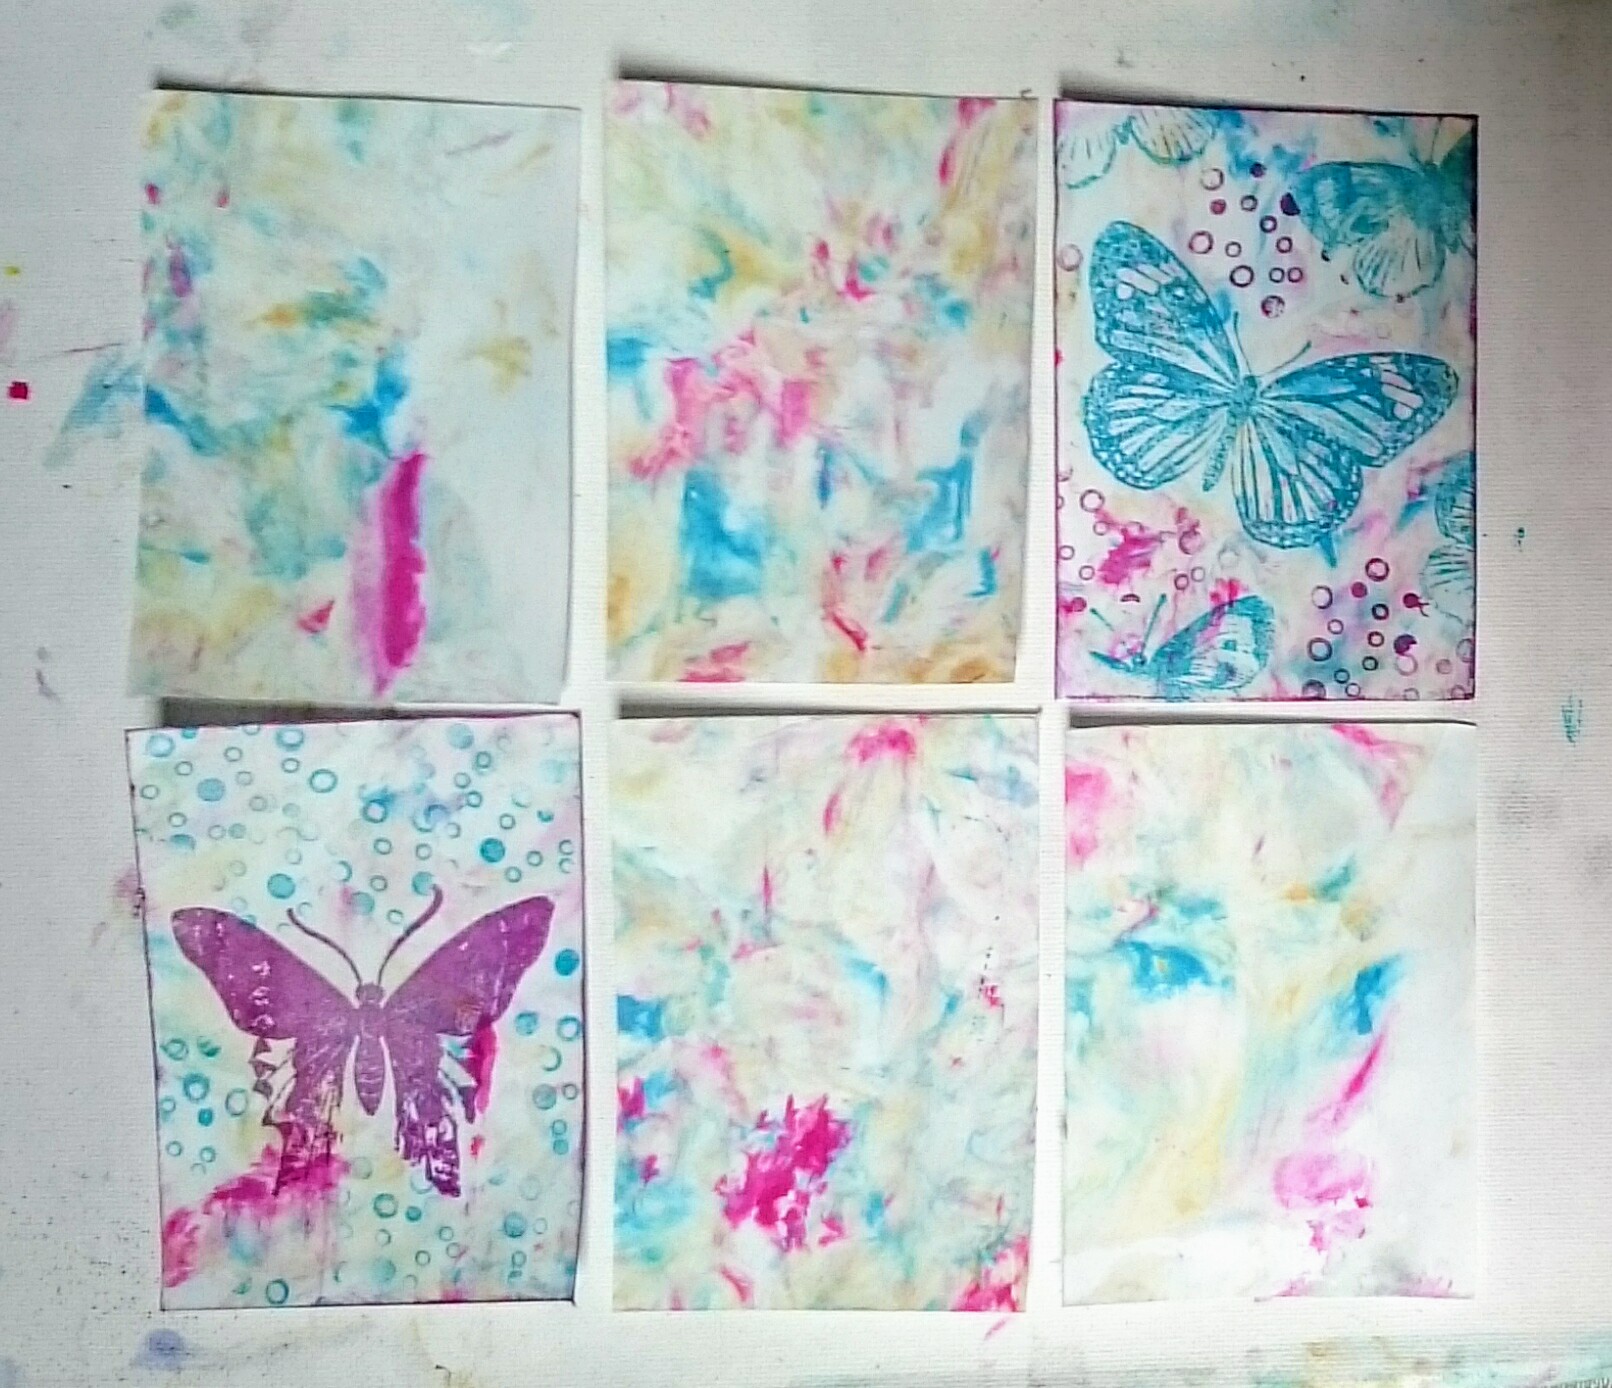
I have told you on the September Challenge post that I would show you my backgrounds made with shaving foam.
The technique is very simple and I like to get back to fundamentals from time to time ! You will find a lot of tutorials on Pinterest or using your web browser search tool.
Here is the page I have coloured with this technique, cut in 6 parts to make a mini-album :


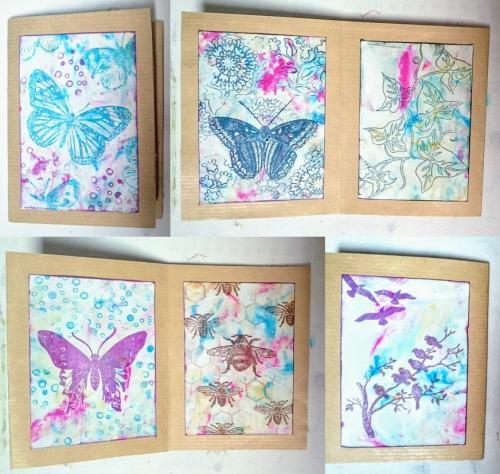
And here it is, front page, 2 double pages and back page :


Stamps used :

Butterflies 2 size A5


I hope you all will participate in our 

September's Creative Challenge - Going Round & Round


 for 3 chances to win !

Thank you so much for stopping by.
Your comments are very much appreciated here, on my blog
Bye for now and happy creating. 

Titbelsoeur

Thursday, 25 May 2017

Floral Fantasy ATC's by Debs

Hi Everyone

I have made some ATC's for you today.


I had quite a bit of fun with these, although they did turn out a little darker than i had hoped.

I used my collection of Distress Oxides in 8 out of the 12 colours,  I put the pad directly onto some card, and then sprayed with water, whilst wet i sprinkled with Paperartsy Infusions in Rocky Road.  

As you can see i used a lovely of selection of Artistic Stamper flower stamps, i added some background stamps on a couple of them and also added some white pen.

On some of them you can see the red from the Rocky Road Infusion peeking through the original colours.

Hope you enjoy looking at them as much as i enjoyed making them

Happy crafting 
Debs


Sunday, 7 May 2017

Grunge card by Titbelsoeur

Hello happy stampers,
Here is my first make for May, and I am happy to share this grunge card with you !


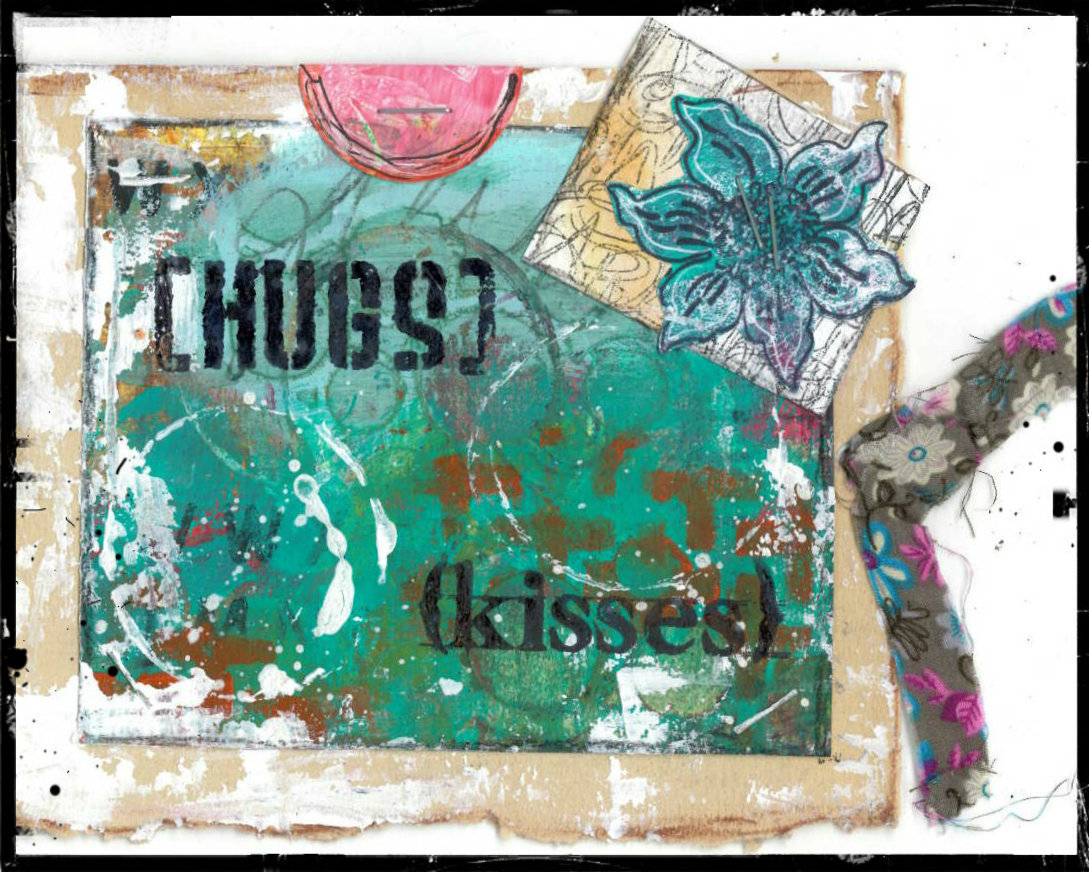
The support is made with a torn piece of an old LP vinyl record cover, folded in 2 and "sealed" by a ribbon, since the idea is to send it as a mail art (not inside an envelope, then). I have covered it with gesso for a grunge look.
I have used a bit of paper formerly stamped with Alphabet Soup Background & Border size A6 ©Neil Walker
The flower is a cut out piece of the Floral Open Background with 2 Free Flower stamps
And on the big green paper, I have made marks with gesso with a milk bottle cap, then stamped big hugs and kisses from Grungy Greetings #1 A6
To be fully grunge, I have stapled all papers to the support.
I will then write the recipient's name and address with a white pen and stick my stamp somewhere... maybe on the flower, although it is stapled... not sure yet...

Thank you so much for stopping by.
Your comments are very much appreciated here, on my blog

Do not forget to participate in our monthly challenge
to win some fabulous Artistic Stamper stamps

Titbelsoeur

Friday, 7 October 2016

Patterned card by Titbelsoeur

Hello everyone !
Titbelsoeur today to present you a simple card where patterns are repeated again and again with 3 different stamps : Floral Open Background with 2 Free Flower stamps , Cogs Background and the big watch from Tick Tock A5.
And on the center, one of these forever beautiful .


I have first colored the background with Distress ink, then stamped the Gibson Girl is stamped with Blue Archival ink, cut out a mask of this stamp on to a post-it I sticked on the stamped image, and stamped the cogs with grey, the watch with blue and the flowers with crimson.
And sticked the cardstock on to a card :


Do not forget to participe in our

 to win some fabulous Artistic Stamper stamps !

Titbelsoeur

Wednesday, 16 March 2016

Flower card by Gemma

 Hello Everyone

Its great to see so many of you joining in with this months challenge, and there is still plenty of time to get involved. Don't forget that you can now join in on our facebook challenge page here.

I made a card for this post as I have a few birthdays coming up, and I keep getting in trouble for sending shop bought ones (I can hear the gasps of shock, from certain people as I am typing).


I cut a piece of red card and kraft card to 18 x 18 cm square. On the Kraft card I drew a 1.5 cm frame around the edge and two wavy lines across, roughly the same width. I then cut away the middle sections with a craft knife.


Using the sections I cut on the kraft card as a guide I drew faint lines on the red piece, to mark where I wanted to stamp. I used the solid floral background in two sections and the open floral background in the centre section.  I heat embossed the stamping with white embossing powder.


I then stamped on to the kraft card using distress ink and the random dots background. I then went around all the edges of the card and glued it in place over the red piece.


Before I attached this to the card blank I taped red and brown ribbon to the back, and once glued to the blank I tied each into a bow at the front of the card.


On left over scraps of card I stamped the large flowers from the open floral background stamp and heat embossed them with more of the white embossing powder, before cutting them out.


I arranged them around the bows I had made, and glued them in place, adding some ring tabs from drink cans for some added interest.


Thank you for reading
Gemma (inkykitty)

Thursday, 10 March 2016

Artists are like Roses card by Debs

Hi All

Springtime makes me think of warmer days and flowers and with that thought here is my latest project


I started off with a piece of kraft glassine, Dylusions paints in Postbox red, Lemon Zest, and Squeezed Orange and a brayer

I put a dob (technical term) of postbox red and adding this to the  paper with the brayer


I covered the whole piece with red using the brayer

Then added on the orange

and then the yellow
The nice thing about Dylusions other than their consistency is the fact that they are transparent paint and so will always pick up the colour underneath and using this technique gives a lovely effect

Once the paint was dry I then used some Fresh Lime and one of the new flourishes from The Flourish Ornate plate and stamped over the background in a couple of places

Then added some of the new flowers from the Open Floral Background in postbox red using a piece of foam to ink up the stamp

And again with some of the Lemon Zest and some of the other new stamps from both the Solid Floral Background and the Open Floral Background 

Next step was to take a piece of A4 White card and cut at an angle across the card and score in three equal pieces

Cut the painted Kraft Glassine to fit each panel 

I painted another piece of Glassine with the Postbox Red and then stamped the small rose from the 
Botanical Plate 3 and then cut them out 

And added them to the card along with the sentiment also from the same plate.

This challenge has obviously sparked those creative juices as we have loads of lovely entries already so do keep them coming and don't forget the Facebook page as well.

Happy crafting Debs