Hello!
Welcome to December's Creative Challenge.
We also would love you to welcome a new member of our team-
Siobhan Brignull. Siobhan kicks off her term with us with a fabulous Christmassy project for the challenge.
Please do pop over to her
blog and say hello.
Thank you to everyone who joined in last month's challenge.
This
month the theme is
Christmas and can be interpreted any way you like,
as long as it has rubber stamps on it. To join in with this challenge
(we are limiting the challenge entries to 3 per person), is simple; all
we would like you to do is, make a piece of artwork, making sure that
you include the theme and some rubber stamping. Pop back here to link up
using the Inklinkz at the bottom of this post, so that we can see what
you've made and then, leave us a comment to let us know you have joined
in with the challenge.
As always, there will be candy
for one randomly picked entrant - the winner will receive a stamp of
their choice from The Artistic Stamper .
In addition, you can enter the same challenge on
Facebook! There is no prize on there, it's just for fun!
To join us on just go to our new
Facebook group, and send us a request to join..
And don't forget....if you use
The Artistic Stamper stamps on your entry, you will entered into the draw, twice! To get you started here are creations fron some of the team.
Siobhan
Hello
everyone, this is my first blog post as a member of the Artistic
Stamper Creative team. I am a long time shopper and class attender of
the Artistic Stamper, and was really pleased that Jennie asked me to
participate in her Creative Team.
I
have been paper crafting for about 15 years or more, not really sure
when the obsession started, but I started with peel offs and card
making, some scrapbooking followed by ATC and then I found Mixed Media
in all it's painterly messy glory, and I have been here ever since.
So,
for my first project I used the Christmas Tree 3d models and the
reindeers that Jennie has in her shop, I used a selection of
The Artistic Stamper background stamps and
stencils to create depth and texture along with my favourite PaperArtsy paint.
If you want to see more information on which products I used and how, along with more photo's.
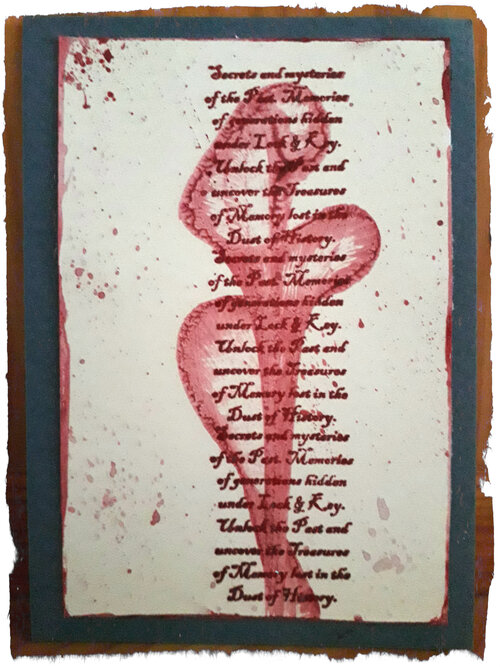
Lisa
I
created the background from smooshing distress inks on to a craft mat
and spraying a coupoe of spritz of water. I then picked up the ink on a
piece of white card, dried it and lifted more ink until the craft mat
was clean. I stamped the Artifacts Funky Fairy stamp in a circle on the
background with clear ink, then heat embossed them with white embossing
powder.
I
then took a smaller piece of card and coloured it using the same
method. I stamped the ''Into each day" verse stamp on to it and mounted
it on to black card and adhered it in to the centre of the background
card. To finish the card, I matted it on to black card.
JANE
Oh
my goodness!!!...I threw everything at this background, stamps,
stencils, gesso, inks, gilding flakes, paint, glitter, I can't even tell
you how sparkly this is!!...I was trying to capture the essence of Asia
to go with the fabulous stamped woman from the
FACES stamp
set, the three crowns are meant to symbolise the Magi. My friend is
married to an Iranian, and as she wholeheartedly embraces the culture, I
thought I would make this card for her, I tried writing the Christmas
greeting in Arabic...but...heck..it looked all wrong, so settled for
this instead...translated means Merry Christmas. Hope my friend likes
it.
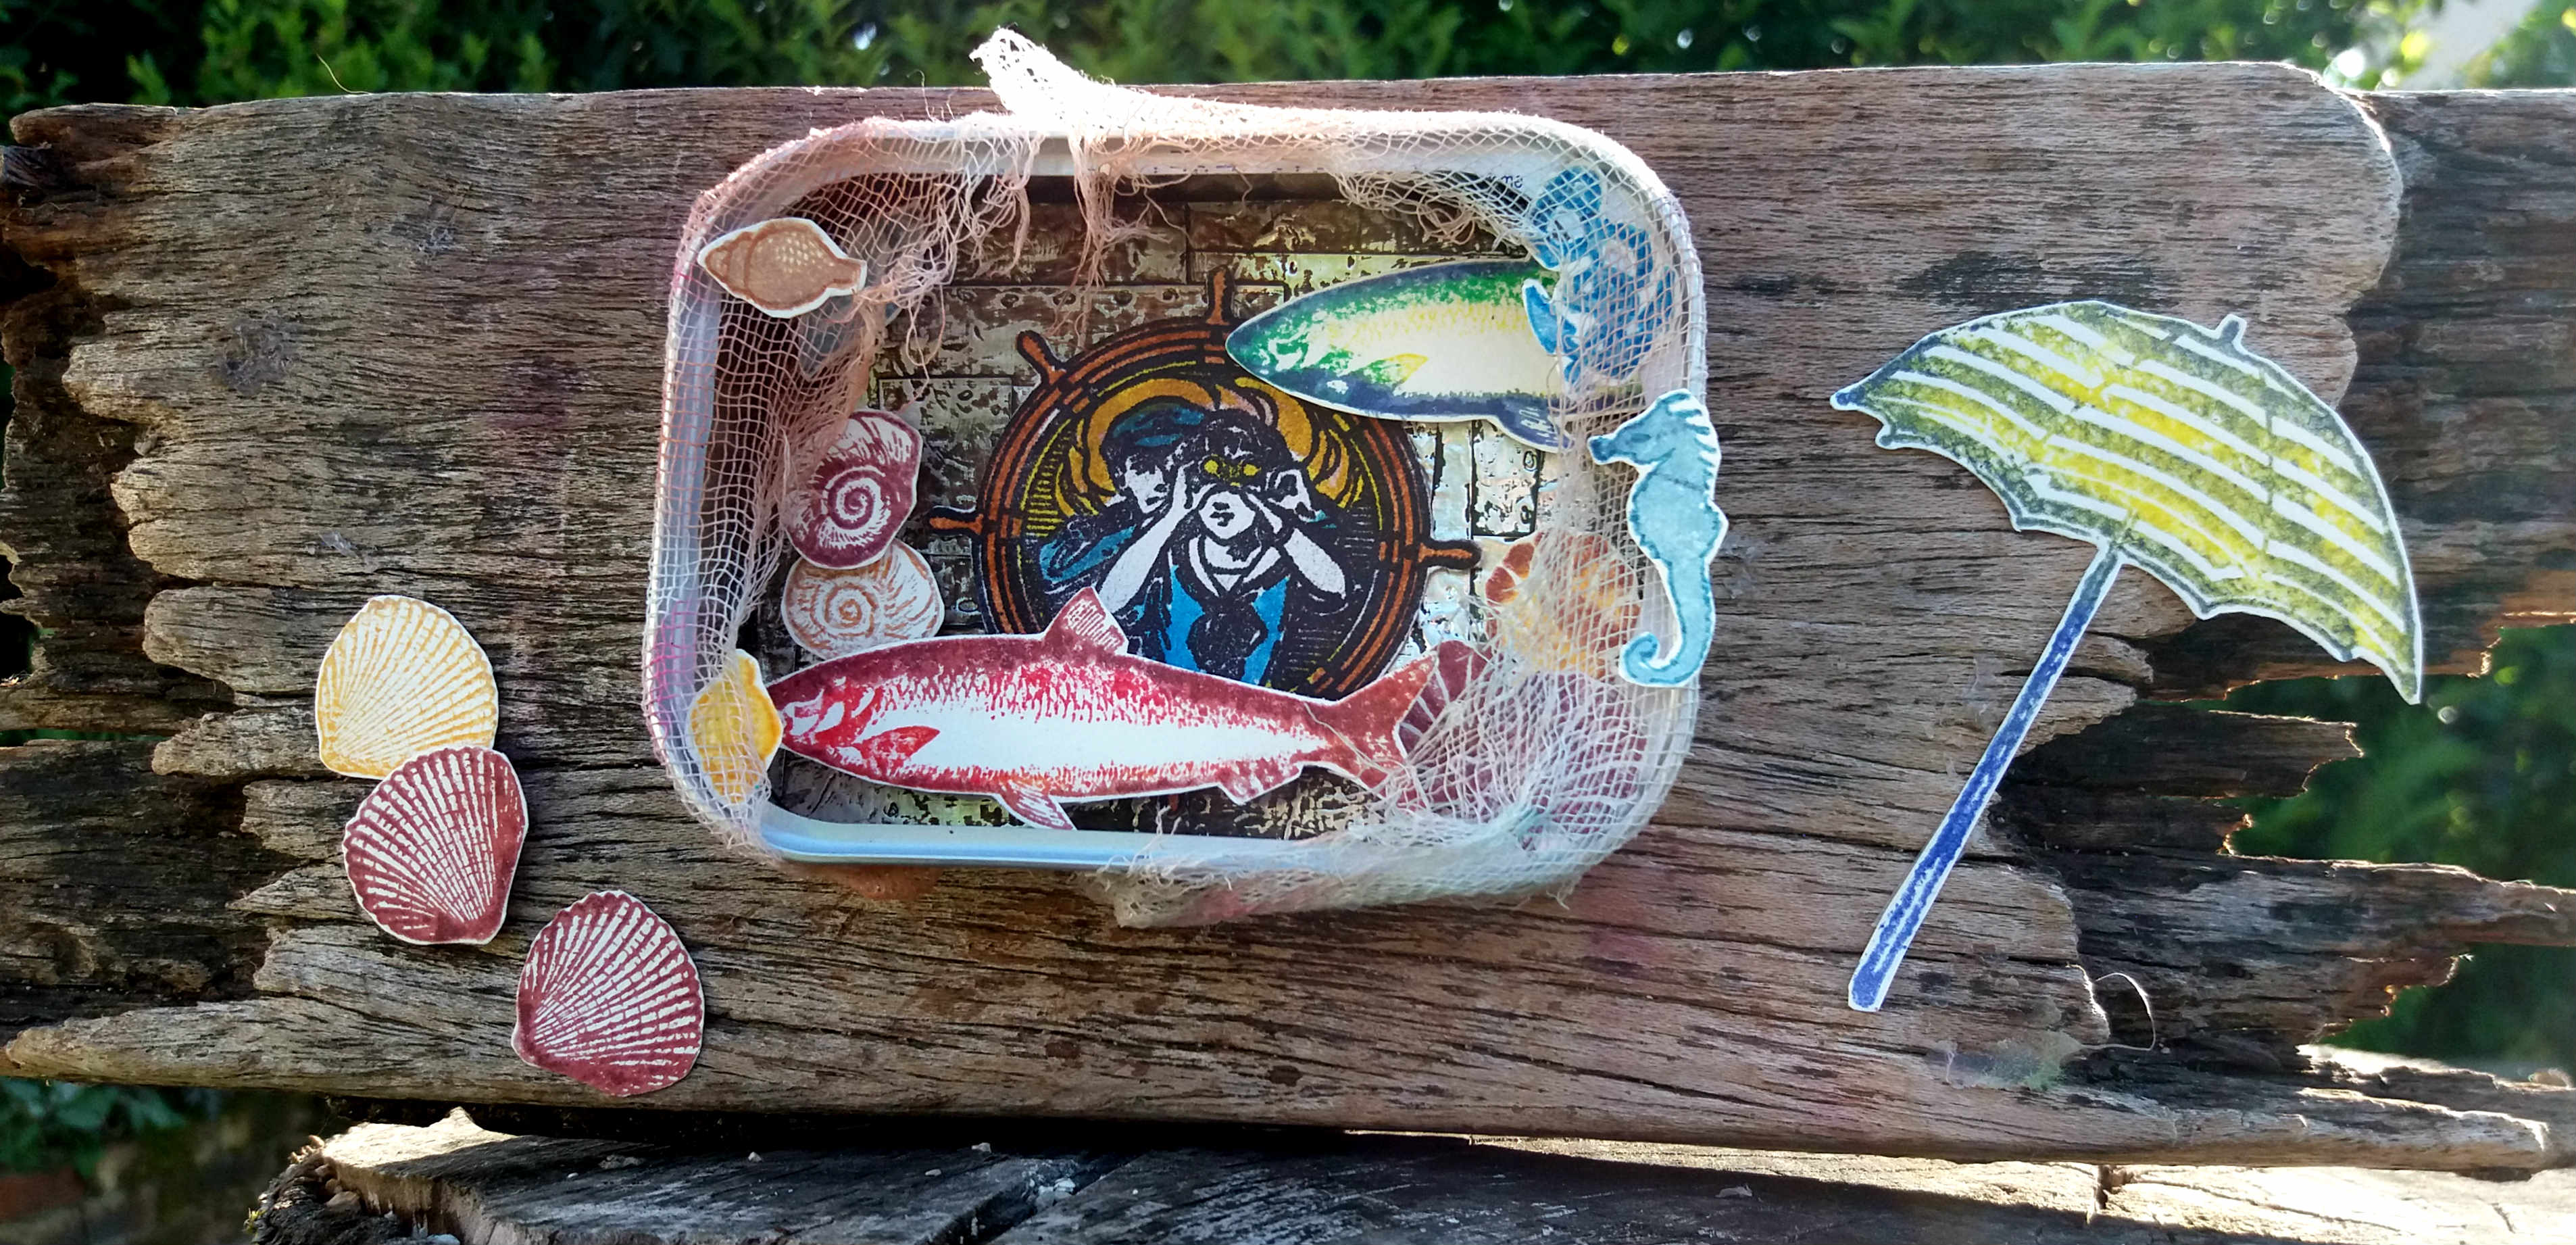
Titbelsoeur
To meet this new monthly challenge, I have made a decoration for my Christmas tree using an old CD-rom as support (re-use, re-cycle...).
I have sticked a book page as a background, distressed the edges and stamped
Snowflake Background all around. I have coloured the circle with Distress inks and left a blank space where I stamped the Santa face from
Mini Christmas 2. And to be sure everyone knows what it is about, I have stamped Merry Christmas
I hope this decoration will inspire you to participate in this new challenge
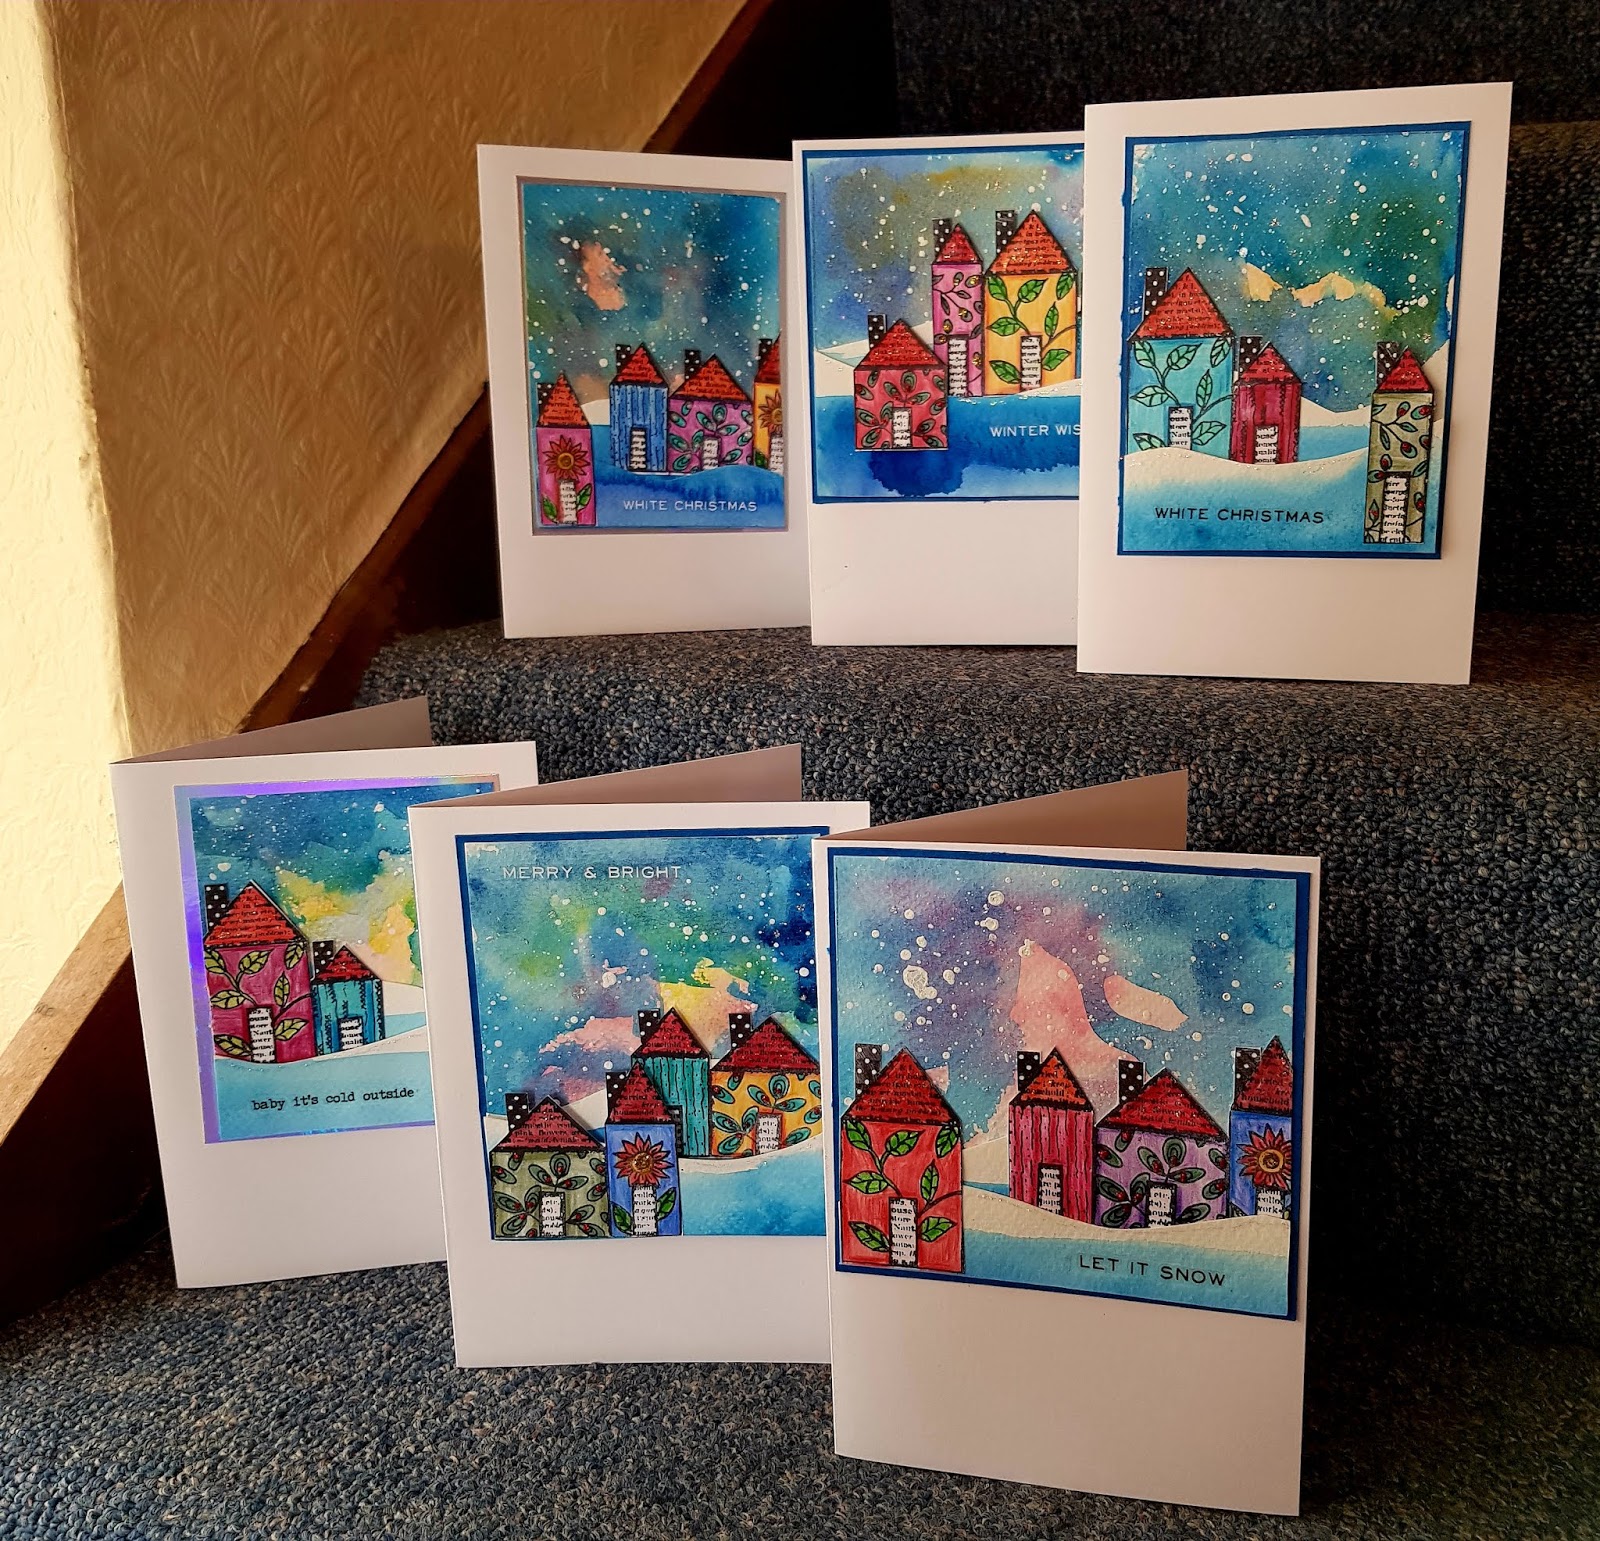
Jennie
I made a "simple" card using
Neil's Leafy Tree as a Christmas tree set against a background of
Distress Oxide, spattered with white paint. The tree was stamped in black archival, and sparkled up with stickles .
We hope that you will join in this month's challenge, and also join us on
Facebook too.
We look forward to seeing your creations. Don't forget to add a comment when you have posted your entry.
Have a very festive month
Jennie x