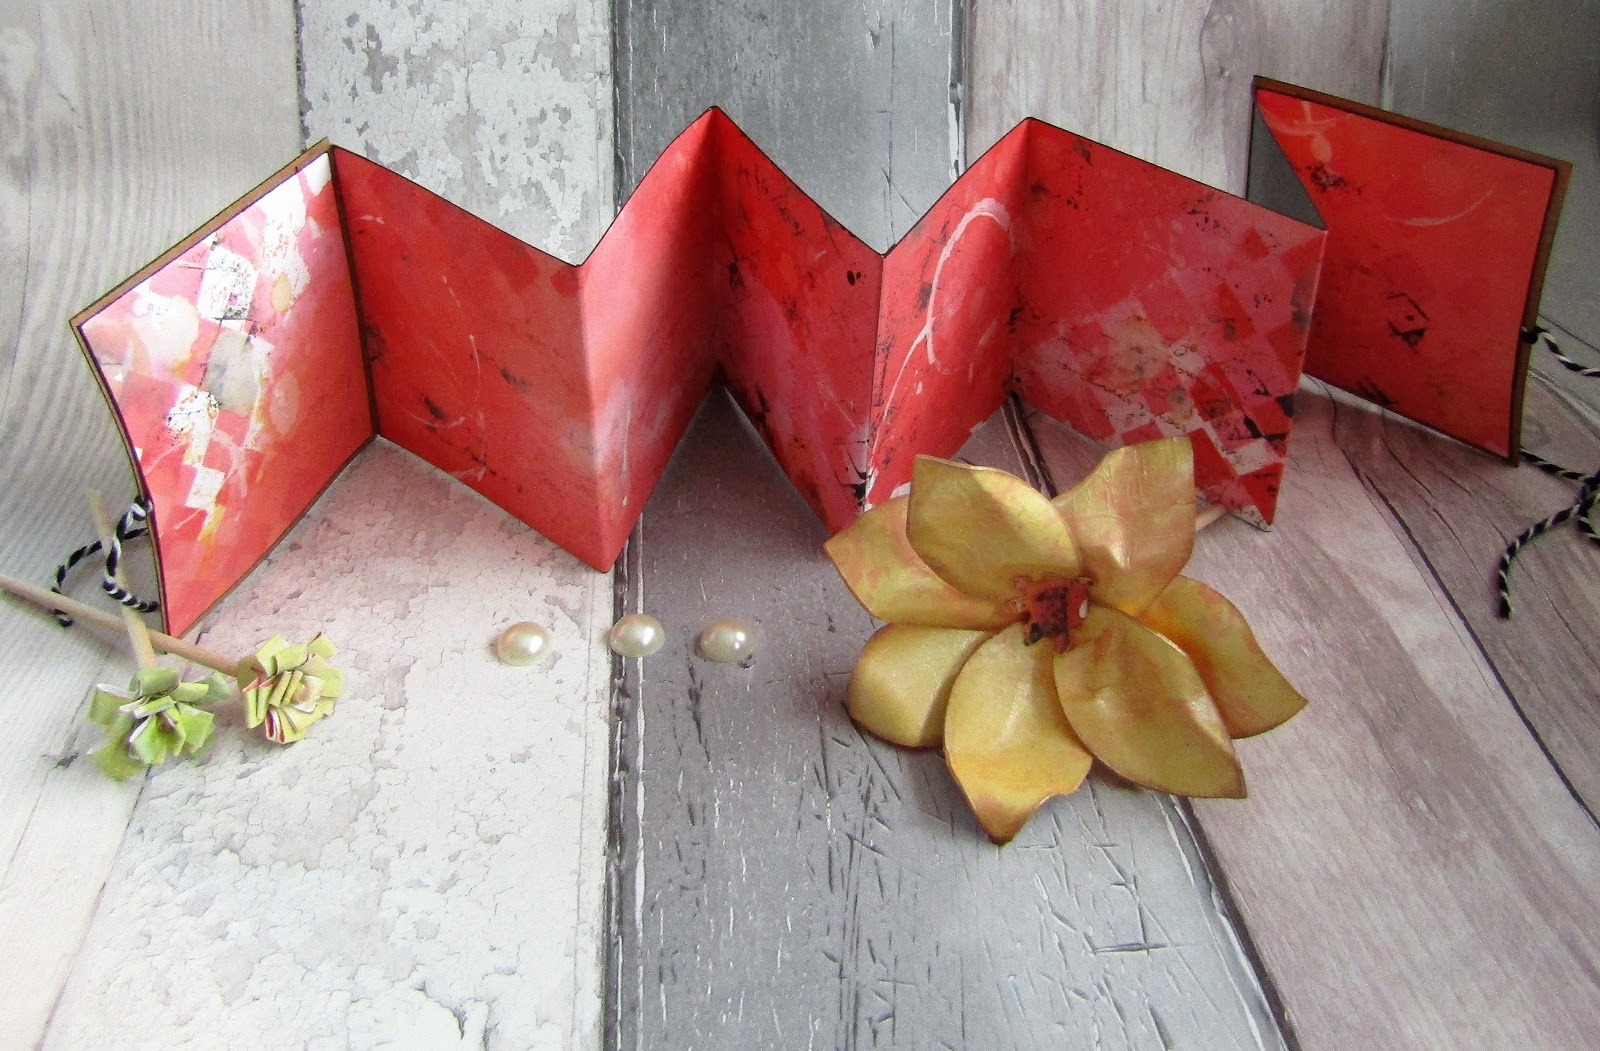
I hope you like it, and that it inspires you to join in our "Square it " Challenge.
Showing posts with label harlequin masks. Show all posts
Wednesday, 21 November 2018
Cos I'm ALL WOMAN!!
Hi there my crafting friends, Jane here to show you my inspiration for the ongoing "Square It" challenge that runs until the end of this month. I adore this huuuuuuge sheet of rubber stamps of NUDES images, it is A4 in size, and has images of different women, and also some useful words in there too. I started off with stamping a few of the images onto some gelli prints...yes still trying to use up my mountain!!!. As usual I don't have a step by step of this, but only because I never know where I am going with anything, and especially of this piece, I had to leave it several times and then come back with fresh eyes, my problem was that I wanted it to have a vintage feel, but not to cover up any of the images with lace or doilys or the such like, so in the end I just opted for some crackle glaze and a bit of stenciling with the HARLEQUIN MASK.
Friday, 2 November 2018
Gelli on a Plate
I don't know about you guys, but I have a mountain of gelli prints as high as Mount Kilimanjaro!!!, some I find too beautiful to even consider using, and especially cutting up, so I put them in a drawer and just get them out occasionally to stroke.... but the majority are just waiting for the right opportunity to use....but I didn't even use any of my stash for this months "Square it" challenge, I decided to make more gelli prints using a selection of The Artistic Stamper Masks and Stencils cut them into squares, added a sentiment from Paperartsy on one, and adhered them to my card, easy peasy, and a great way to use up your mountain of gelli prints..(if your'e not like me and decided to make even more!!!).
The stencils that I have used are;
I'm looking forward to your interpretation of our "Square It" challenge
Friday, 5 October 2018
The White Rabbit!!!
Hi Guys!!. You will be forgiven if you think this is a post to do with Alice in Wonderland....but sadly noooo...The White rabbit is just who I am feeling like at the moment, running around saying "I'm late, I'm late, for a very important date"!!!. Heck what a dramatic week!!..sooo...forgive me on two counts, firstly for being late for my post, and secondly for using this image once again, the lovely hydrangea from the BOTANICALS 3 plate, it is my go to flower now and I love it. So as I was saying, it has been a crazy week, and I am still feeling a bit like The Mad Hatter, running around like a headless chicken!!! and that is why I have done this super quick card for our Inktober Challenge. who doesn't love an inky background, done with spray inks and distress oxides on a book page, I already had the flowers and the sentiment stamped on tissue paper, so glued them down with some gel medium, hey presto, super quick card.
Hope you will join our Inktober Challenge, I look forward to seeing your makes.
Tuesday, 21 August 2018
My Fantasy
Hi all.... last minute Lizzy here!!!...yes me..Jane, (I think I have already said that if there was no last minute, then nothing would get done)!!, well it is certainly true for me. I am just in a panic here at the moment because I am in the process of making a memory book for my youngest grandson who is one year old in two days, and as it is my birthday tomorrow I want to do all the things you do on birthdays like going out for meals and drinking lots of champagne.....not stuck in the house trying to finish this book, soooo, I completely forgot about doing my post, so you will have to excuse me for showing a card that I did at the same time as one that I did for a previous post, It is very similar but has a different image and a different sentiment, crikey...aren't I glad that the theme for this month is "Anything Goes"...got me out of a pickle!!!
Hee Hee!!..Doncha just love these images from the NUDES stamp set, I just stamped the image onto tissue, and added white paint onto the back of the image so that it stood out on the background, I used distress inks for the background and I also used the HARLEQUIN MASK.
Hope you can all join in this months "Anything Goes" challenge.
Wednesday, 4 July 2018
Damsel in Distress!!!..Never!!!
I'm loving this months challenge..."Distress It".... I mean...who doesn't love Sir Tim's distress inks, oxides, sprays....well to be more precise..every God damn Tim Holtz product!!!..between them and dancing lessons, I am never gonna be able to retire to a villa on the beach in the south of France!!!..lol.
Anyways, I killed two birds with one stone for my "distress it" card, I used my two favourite distress inks, walnut stain and spiced marmalade, and I even used the word distress in the title!!
Other products I have used are the HARLEQUIN MASK, the CALLIGRAPHY MAT 12 stamp, and the woman is from the NUDES stamp set.
I do hope you will join in this fabulous challenge, I look forward to seeing your entries.
Thursday, 21 June 2018
Dragonfly
Hi all you gorgeous crafters out there, Jane here once again to hopefully inspire you to join in our challenge for this month, where the title is "Blue", for you to interpret how you see fit!!
I am lovin seeing all your entries, I love how everyone has their own take on a challenge. I had lots of ideas running round in my head, especially with blues and teals being my favourite colours...I mean...who the heck doesn't love teal!!!
I was playing with some yupo paper, if you haven't used this stuff, it is a synthetic paper!!..yes I know!!..weird eh!!, but it is fab for using alcohol inks on, and if you really dont like what you do, you can just wipe it off or even run it under the tap and start again!!! how cool is that!!.
Anyway, like I said, yupo paper, alcohol inks, the dragonfly stamp from the BUTTERFLIES AND INSECTS stamp set.....which by the way, didn't stamp out exactly clearly, but I love that, it gives it an ethereal quality, so I rolled with it!!
Then I did my usual fave...recycled packaging,...free and fab!!. I scraped some embossing paste onto corrugated card, added some HARLEQUIN stenciling, spritzed it, then used it to layer my dragonfly on, then finished off with a sentiment from the FRAMED WORDS stamp set.
I hope this inspires you to join in the challenge, the link is HERE.
Hope to see you there.
Wednesday, 16 May 2018
Fun Flower Canvas by Gemma
Hello
It is midway through the month and there is still plenty of time to join the challenge here on the blog and on the Facebook page. I am loving the entries so far and can not wait to see more of them.
I have a bright green canvas to share with you all today. The focus was the bright green background made with a calligraphy mat and Harlequin mask
What I did 😊
I started by applying texture paste through the Harlequin mask. Once that was dry I applied layers of green paint, some I mixed with water for a thinner consistency, and some I added white paint to for a different tint of green, while they were still wet I wiped the paint away on some of the Harlequin patterns.
Once dry I repositioned the Harlequin mask back over the texture paste and applied a very small amount of very watered down paint. When I did this I made sure not to completely cover the layers underneath knocking it back with a wipe if I needed to.
The background was finished off by stamping in a brown ink with a calligraphy mat stamp.
Then I doodled the flowers on and a border around the edges.
Thanks for reading
Gemma
Wednesday, 25 April 2018
Birds and Bees month - with a twist...
Hello, Lisa here with another inspirational look at April's theme - Birds and Bees.
But with a twist... I've used butterflies.
My previous creations for this theme included bees and birds. So, this time I went with a more pretty version of a winged creature - butterflies.
Of course, there is no limit to what winged creature you could have using this technique.
Here is my creation...
I coloured a piece of white card with Distress Inks using Mustard Seed, Cracked Pistachio and Blueprint Sketch. I then sprayed the inked background with water and left to dry.
I used The Artistic Stamper 3 x 3 Harlequin Mask with the same colours of ink to add some depth.
I then stamped the butterflies and coloured them them with Carved Pumpkin, Wilted Violet and Picked Raspberry Distress Inks.
I stamped the word 'fly' using black ink then
over-stamped with Carved Pumpkin Distress Ink, and lightly brushed Blueprint Sketch ink over the top.
To finish, I matted the background on to Kraft Card.
Thanks for popping by.
Toodles for now,
Lisa xxx
The stamps and stencil I have used are available on The Artistic Stamper website.
Wednesday, 21 March 2018
More Of Jane's Gelli Fun
Hi Guys!!.. here is my next card for this months "stencils and masks" challenge...
If Like me, any of you have been following the fabulously talented Birgit Koopsen's 31 days of Gelli printing challenge, which is all about getting out your gelli plate and experimenting with different techniques, each day you are given a new subject to interpret as you wish, day 14 was all about tissue paper, so I got out my gelli plate, my ARTISTIC STAMPER MASKS AND STENCILS, and some tissue paper, and started making prints using the CHEVRON MASK, the LARGE SEQUIN WASTE MASK, the SMALL DOTS MASK, the HARLEQUIN MASK, and the ZIG ZAG MASK.
I then tore the pieces up into smaller pieces and glued them randomly onto my card...
Then I stencilled some glitter texture paste through the gorgeous DOG ROSE stencil...(no I haven't got tired of using it yet!!!,,lol)..then added some cerne relief as an ouline, and finally I heat embossed the word "Beauty" taken from the NUDES stamp set.
I do hope you will join in our challenge for this month which is all about "Stencils and Masks".
Friday, 16 February 2018
My Little Book of Love by Gemma
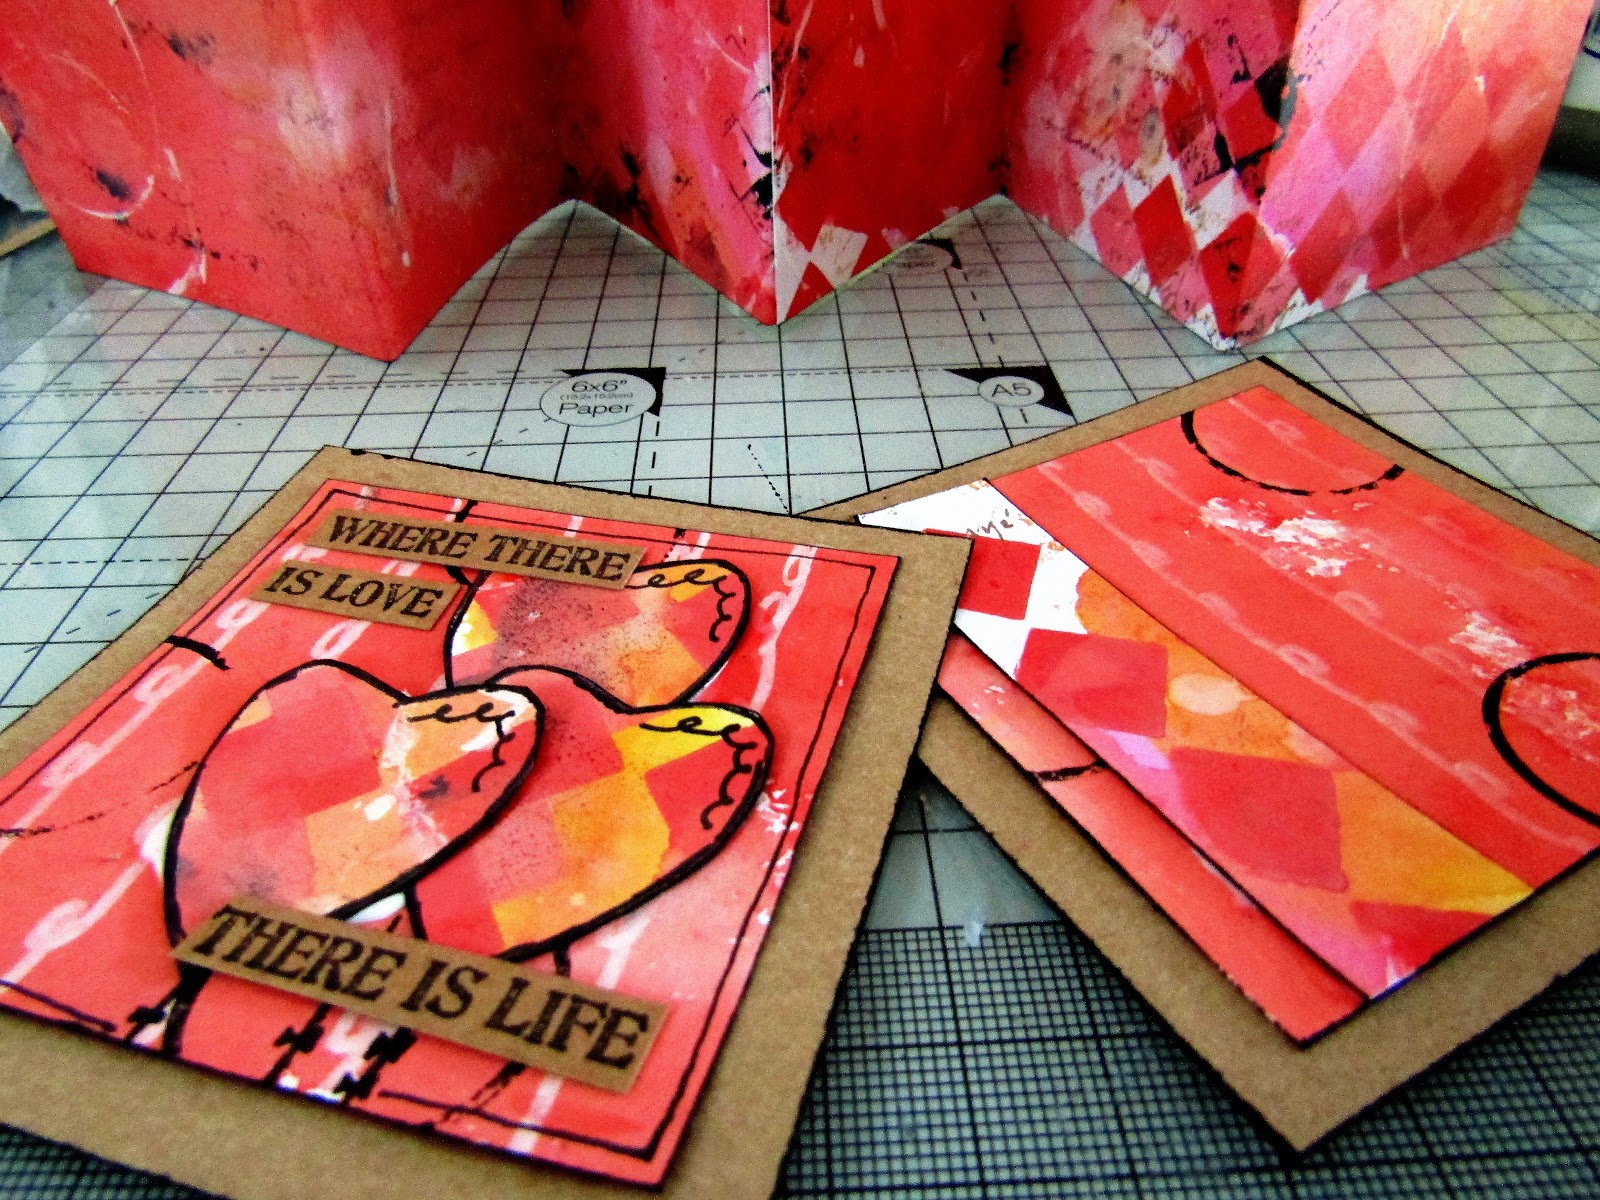
I have created a little accordion book to share with you all today. I love how cute and colourful it turned out with those little splashes of orange against the red, and it had so much space inside for little pictures and messages for the special person in my life.
How to
1- Spread Distress Oxides on your craft mat and spray with water
2- Press a large sheet of cardstock into the ink puddles. Drying between layers keep going until the card is mostly covered and you are happy with the look.
3- Using the same colours stamp over the top with different stamps and stencils.
4- Add extra details by stamping over the top with black and white acrylic paints.
5- Cut the cardstock into strips and score them to create the valley and mountain folds, and glue them together.
6- Cut two pieces of kraft card for the front and back covers and ink the edges
7- Decorate the covers by cutting white card to fit the covers and inking them with Distress Oxides.
8- Stamp some hearts onto leftover bits from the large sheet of cardstock you created for the inside and cut them out
9- Stamp out some text on kraft card and then glue all the elements together, add some string for the closure.
Gemma
Subscribe to:
Posts (Atom)