Showing posts with label Lesleys Flowers Plate. Show all posts

Monday, 29 May 2017

Light Bulb Tag By Gemma


 For my post today I have a tag to share with you, I used Dylusions paints and stamps from The Artistic Stamper to create this tag.


The whole tag is very roughly made, with no attempt at precision. I stamped and cut the light bulb from a piece of card, over this I stamped a calligraphy mat using black ink. I also included second generation stamping, for some variation. I then stamped part of a flower in orange and scribbled in places with a black pen.  


I placed this over a larger piece of card and drew around the light bulb so I knew where I had to paint. I stamped some of Lesley's flowers inside the drawn light bulb.


Using Dylusions paints and paint pens I painted this piece of card and then splattered gesso over the top. I then glued the white card over the top matching the light bulbs up. I cut the corners from the top to create the shape I wanted and then mounted this to a darker piece of card.


Thanks for reading

Gemma

Friday, 19 May 2017

I'm gone gardening by Titbelsoeur

Hello happy stampers !
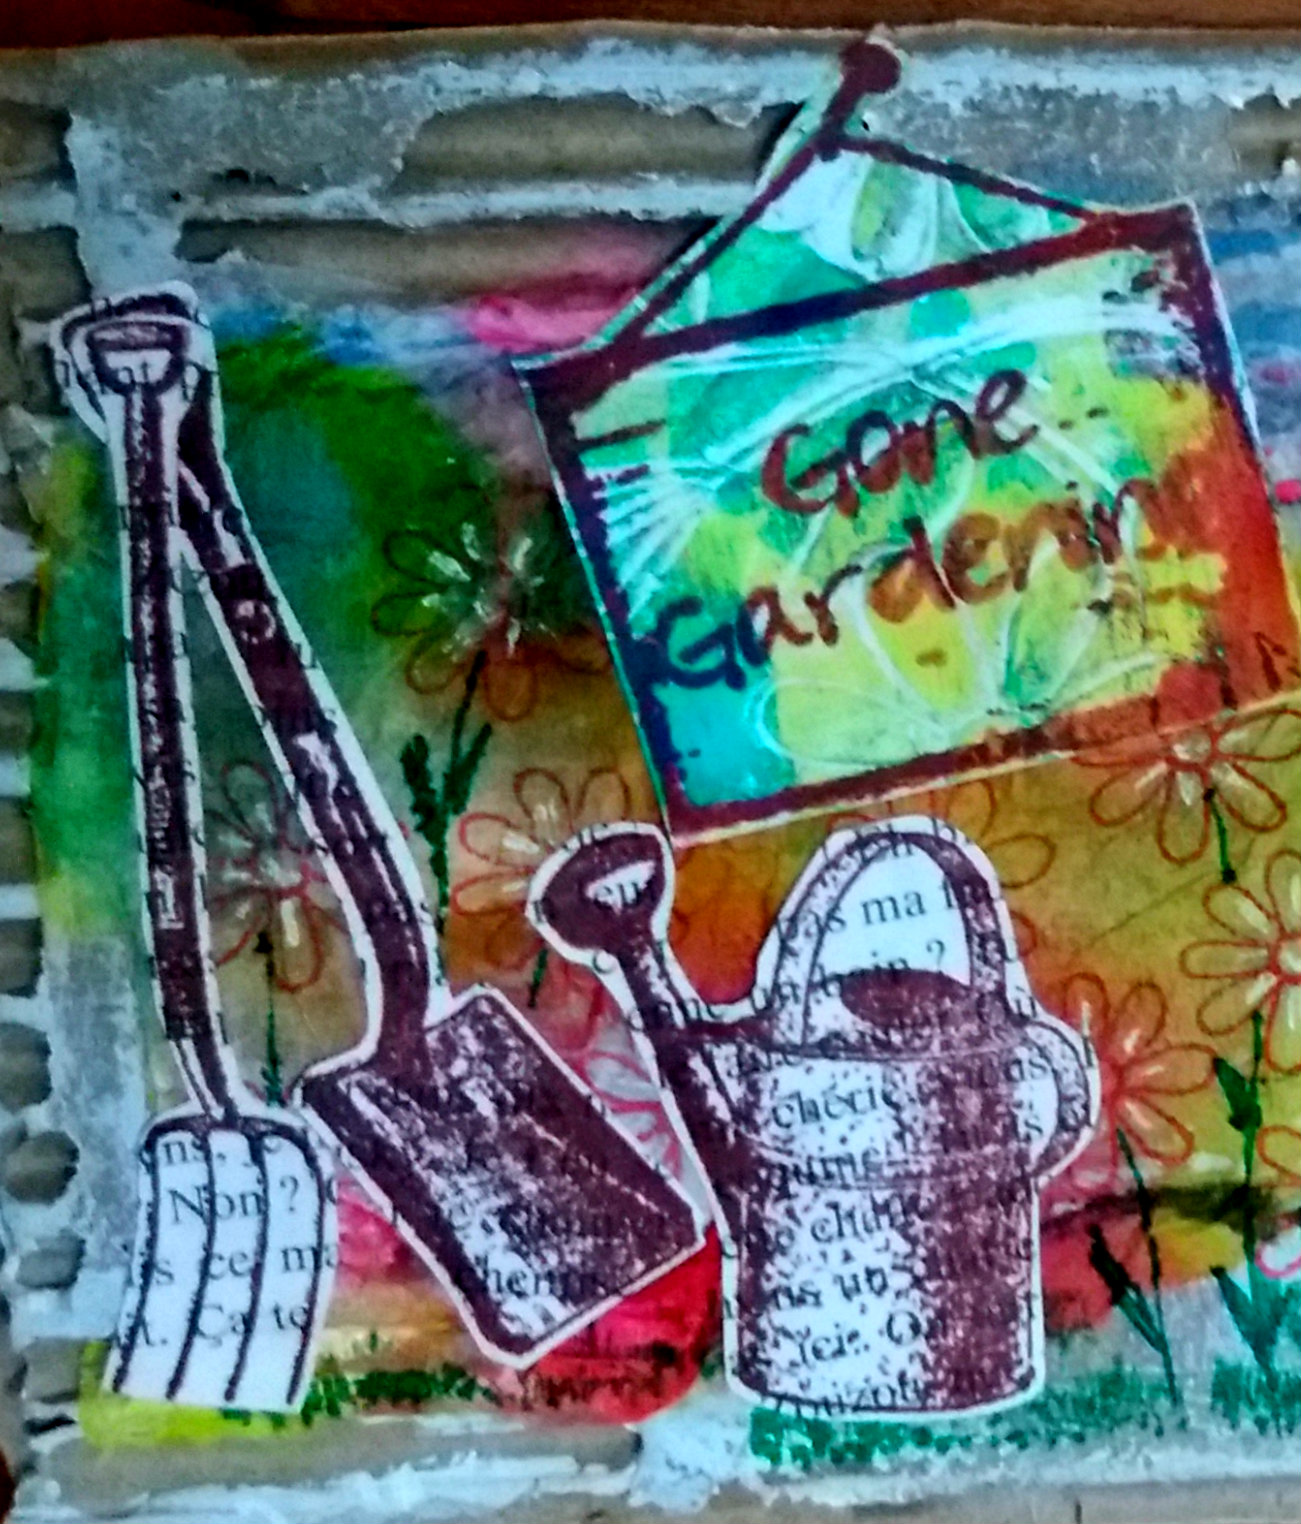
To celebrate my garden blossoming, I have made a mail art, the kind I love : on cardboard, with gesso, a scrap of paper towel for the background, and Artistic Stamper stamps to decorate !


Stamps I have used : 
tools and board from Garden plates 1 & 2, obviously !
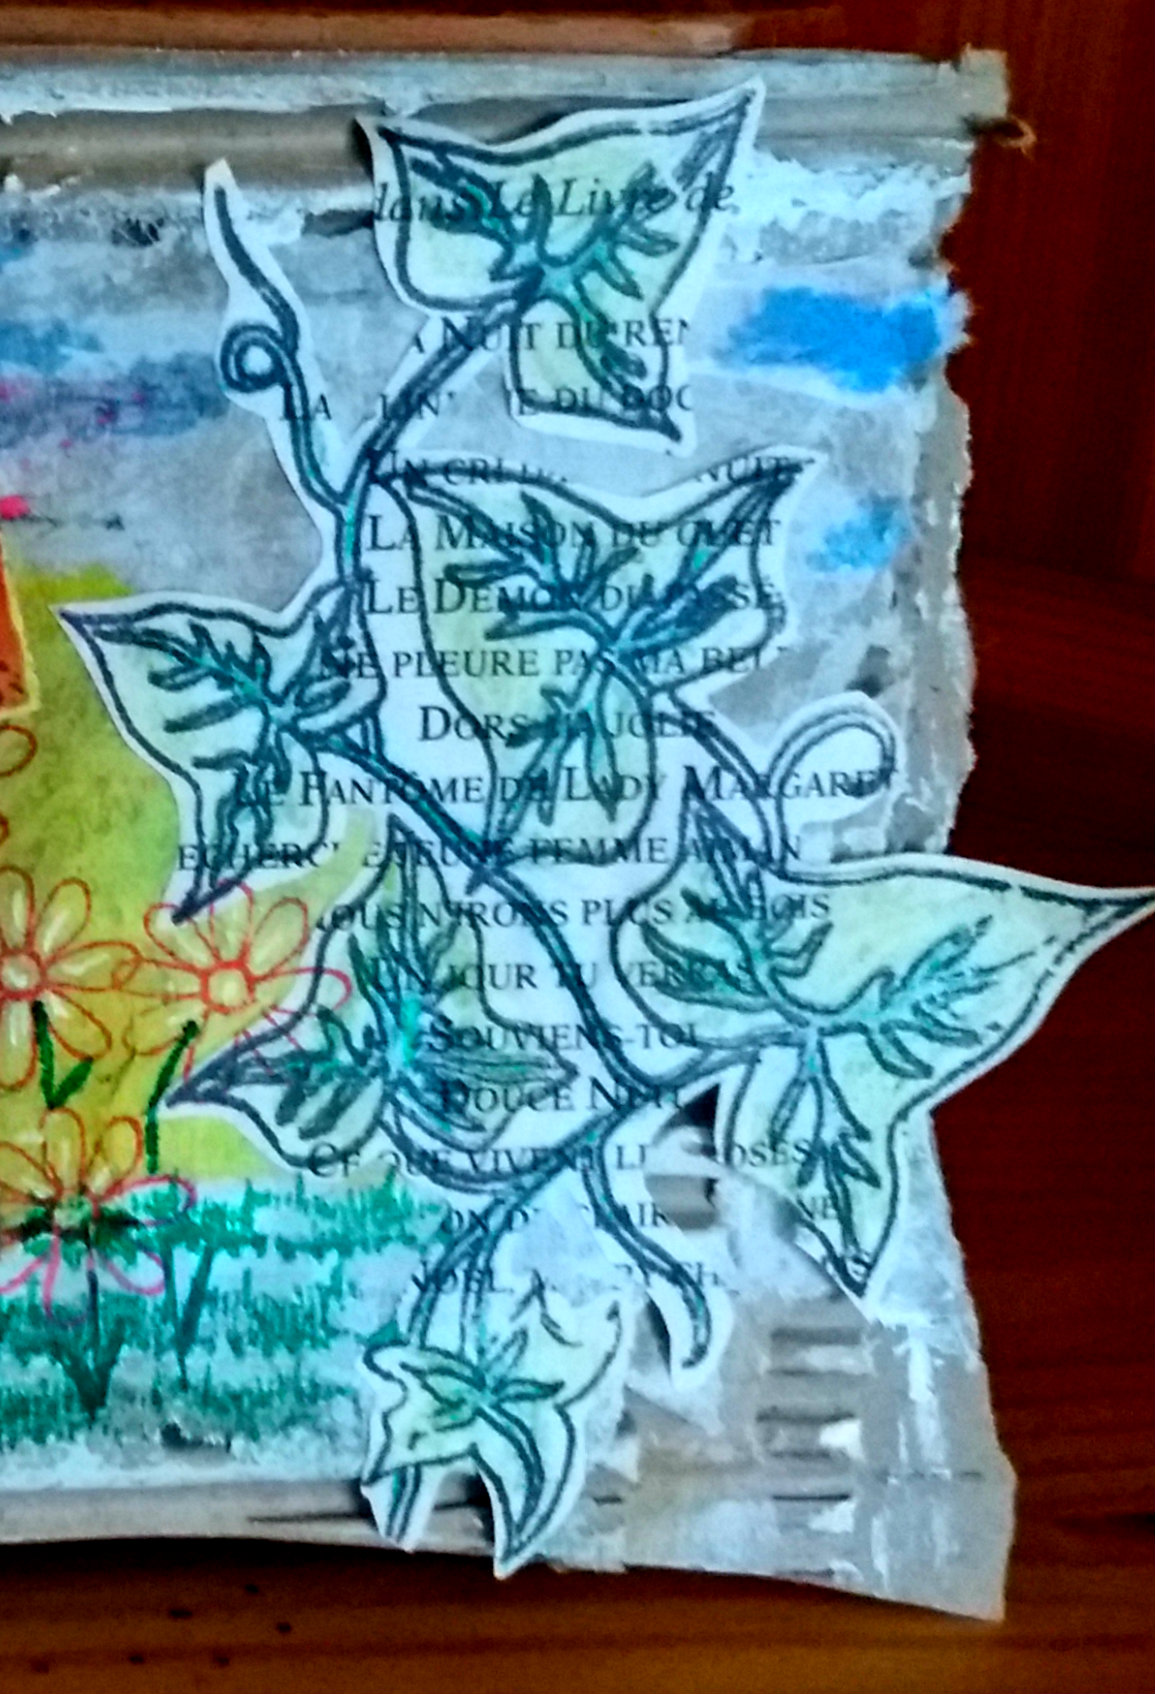
Ivy © Lesley Matthewsonand the tiny flower from Lesley's Flowers size A6 © Lesley Matthewson

And here is the mailart :


Would you like to win these fabulous stamps ? Easy : just participate in our monthly challenge "Floral Fantasy" here for 3 chances to win : 


Thank you so much for stopping by.
Your comments are very much appreciated here, on my blog

Titbelsoeur

Tuesday, 7 March 2017

Another spring tag by Titbelsoeur

Hi there,
How about showing you another tag to help you participate in our March challenge ?
This one is built the same way as the previous one you have seen here : March's Creative Challenge - Springtime
Thank you tag

The background is made of gelli printed butterflies. Then I have stamped flowers and sentiments with tone-on-tone ink, and highlighted the "thank you" with a white pen. The support is a cereal box painted with black gesso.
Easy peasy, isn't it ?

Artistic Stamps used :


Thank you so much for stopping by,
your comments are very much appreciated, 
here, on my blog, or on the Artistic Stamper's Facebook page.
Do not forget to participate in our monthly challenge
 to win some fabulous Artistic Stamper stamps.

Titbelsoeur

Thursday, 16 June 2016

Red, Yellow and Blue tag by Gemma


Hello Everyone

I made a Tag for this post, following this months challenge theme, Red, Yellow and Blue. There is still loads of time to enter both here on the blog and on the facebook page. 


I stamped Lesley Matthewson's flower stamp onto book paper, with archival ink and cut them out.


On a plain manila tag I blended Fossilized amber, Barn door and Tumbled glass Distress inks together. Sprinkling water over the top. I always love watching the way Distress ink react to water, I don't ever think I will get bored of it.

Using the same colours of ink in the matching areas of the tag I stamped onto the background using Lace and Punk plaid background stamps.


Over this I stamped the straight diamond boarder from the boarders A5 plate with black ink, coming in from the edges of the tag. I then glued three of the flowers I had stamped out and the words "just for you" onto the tag. Once I was sure everything was dry I drew in the stem of the flowers with a black pen, and added a boarder around the edge of the tag.


Thank you for reading
Gemma (inkykitty)

Tuesday, 29 March 2016

Bright card by Gemma


 Hello Everyone

A quick, bright, fun card from me today. using a gelli plate background, and Lesley's floral stamp plate.


I covered my gelli plate with pink acrylic paint and placed a piece of card over the top that I had already cut to 18 cm square. That was my first of three layers, the second layer was orange paint and the petal mask. Finally I added some circles from large dot mask with white paint and around the edges. 


Using black archival ink I stamped a few of both the large and the small open flowers, from Lesley's flower plate. I blocked the flowers in with gesso, so I could paint on top without the background colours showing through.


 I painted the flowers blue so it gave quite a contrast to the background, I used the same blue acrylic to paint them just adding white to some to change the tone. I added the word create from the words mask


Using a black paint pen, I went around my stamped images and the word create, I also added some stems and leave to the smaller flowers and a boarder of dashes around the edge.


Thank you for reading
Gemma (inkykitty)

Friday, 29 January 2016

Gibson Girl Door Hanging by Gemma

Hi Everyone

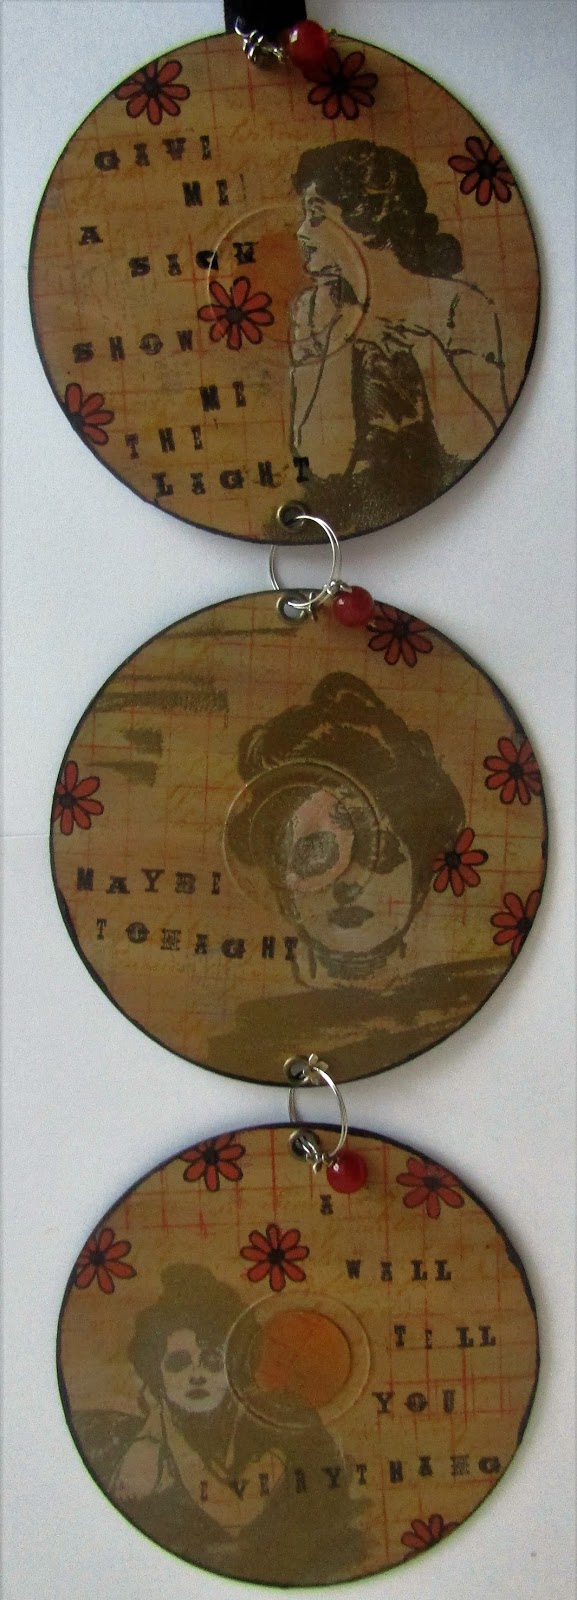
I really like reusing my old, no longer loved stuff, at the moment its my old CDs. A while ago I put most of my music on my computer, and could not bring myself to throw the CDs away. slowly, very slowly I am painting them.


 I prepared three CDs by covering them with gesso and punching holes in them so I could link them together once I had finished decorating them. Them I painted over the top with various shades of brown paint mostly from the paperartsy fresco finish line.


The background of the CDs was decorated using the Grid, Lace and a Calligraphy matt stamps and more paint.


Once that was completely dry I stamped out three of the Gibson Girl stamps with versa mark ink, one on each CD and then heat embossed the images using a detailed embossing powder. I also added bits of embossing in other areas.


I added a small amount of white paint to the girls to help highlight them from the background without covering all the paint and stamping underneath them. 


I then stamped the small flower from Lesley's flowers, which I painted and then went over with a black paint pen. To finish I added words from a favourite song, linked them together using wire rings and added a couple of beads from my stash.


Thank you for reading
Please comment, follow and join in the challenges, we really do appreciate all your input. 

Gemma (inkykitty)

Saturday, 16 January 2016

Bright Little card by Gemma

Hi Everyone

I hope now the festive season is over everyone is finding time to be crafty, I know this week is the first in ages that I have been able to get my toys out. Please join in this months challenge, which is anything goes, comment and follow. We really do appreciate it and enjoy looking at and reading them all.


I cut a piece of white card 16.5 x 12, and blended Mermaid lagoon, Abandoned Coral and Shabby Shutters Distress Inks over the top. I then place a chevron mask over the top and wiped away some of the ink with a wet wipe.


After flicking some extra drops of water over the ink I stamped over the top, using dots, chicken wire and calligraphy mat 4 background stamps. When I stamped I used the same colours of ink I blended onto the card and tried to keep the same colours in the same areas.


I then stamped out the main image, Lesleys's flowers using archival ink, which I coloured in with distress inks, and edged with Old Paper
.

I also stamped out and coloured a few of the smaller flower and the leaf that come on the same stamp set.


Once I had cut them all out, I attached them to the background that I had already glued to a card blank and wrapped some twine around. I also stamped out a sentiment and glued that in place.

Thank you for reading
Gemma (inkykitty)

Thursday, 7 January 2016

Lots of love, by Titbelsoeur

Hello, Happy Crafters, and happy new year to you and people you love !

I have made these 2 cards with Gelatos, on the "red" one I have stamped the "empty" Lesley's flower with black Archival ink and colored it with Promarkers, then I colored the "full" flower with Gelatos, spritzed it and stamped it all around the card. Then I stamped the sentiment with Plum Archival ink.

I made the "blue" card differently : I first colored the background with Gelatos and diluted it with water, then I stamped the flowers and colored them with Promarkers, and to end I stamped the sentiment and the butterfly with black Archival ink, and added lines and circles with black acrylic paint on caps and credit card.


Here are the stamps I used to make these 2 cards :
Lesley's Flowers in New Stamps 
"Lots of love" from Grungy Greetings #1 in Words and sayings
Butterfly from Encyclopaedia Botanica in Katy Leitch


Thanks so much for stopping by,
your comments are very much appreciated, 
here, on my blog, or on the Artistic Stamper's Facebook page.
Do not forget to participate in our monthly challenge
 to win some fabulous Artistic Stamper stamps.


Titbelsoeur

Tuesday, 10 November 2015

Hello! canvas by Debs

Hi All

Hope you are all having fun with this months challenge, as canvas is a type of fabric (well sort of)  I decided to use the new stamps just released from The Artistic Stamper.


I took  a canvas and drew a face on it with a pencil, i didn't worry about shaping the face or adding hair just eyes, nose and a mouth.


 Out came the Dylusions paints and using my finger added Squeezed Orange and Bubblegum Pink to the canvas


cover the whole canvas adding some light bits of Squeezed Orange across the facial area.


Then I added a touch more Bubblegum Pink and some Vibrant Turquoise, especially around the edges


Then covered it all with a light coat of White Linen to knock it bad a bit and soften it down, as Dylusions paints are translucent its will always pick up the colour underneath it.  I added some black to outline the eyes and a bit around the nose but try and make this a tad lighter and outlined the lips in Pink


 Added some blue and white to the eyes now we have the face appearing 


Next I stamped the new Lesleys Flowers (these are the same flowers as we had on the stencils and the plate comes with both outline and block filled flowers I used the outline one and stamped around the face

I also stamped one of the bees from the new Honeycomb and bees plate  the detail on these Bees is quite stunning i have used the smaller bee and stuck it to the canvas.


Then i started to paint all of the flowers and leaves white


As you can see from this one the white paint has picked up the colour from underneath.  At this point i decided that it needed another dimension 


I painted some white tissue with some white linen paint and once dried stamped some more of the flowers on 


with these flowers i mixed some white with a touch of pink to give a subtle hue and added some orange and a bit of yellow to the centre and cut them out 


Stuck them onto the canvas adding some colour to the original flowers and painting over the eyes with a touch of white to lighten them stamped a couple of the smaller flowers and painted them light pink using a similar mix as before.  I also added a touch of white to the mouth.


I then took out a tiny blob of orange (sorry the photo is a bit blurred but its quite hard taking a photo of your right hand with your left lol)  and then used this blob to ink up the honeycomb stamp and stamped it onto a piece of card and did the same thing in pink although I forgot to take of photo


To finish i stamped hello from the Journaling Words 4 plate in black Archival ink and cut it down. I  also painted another piece of card in the turquoise and cut it to be a little larger than the honeycomb piece and stuck it underneath.  Then placed this onto the canvas.

Sorry about the lengthy step out. 
As always we really do look forward to viewing your creations so do keep them coming and we also appreciate any comments good or bad you may have on our projects so do let us know what you think.  Thanks for stopping by
Debs