Showing posts with label Distres inks. Show all posts

Wednesday, 19 June 2019

Marine art journal page by Titbelsoeur

Hello all,
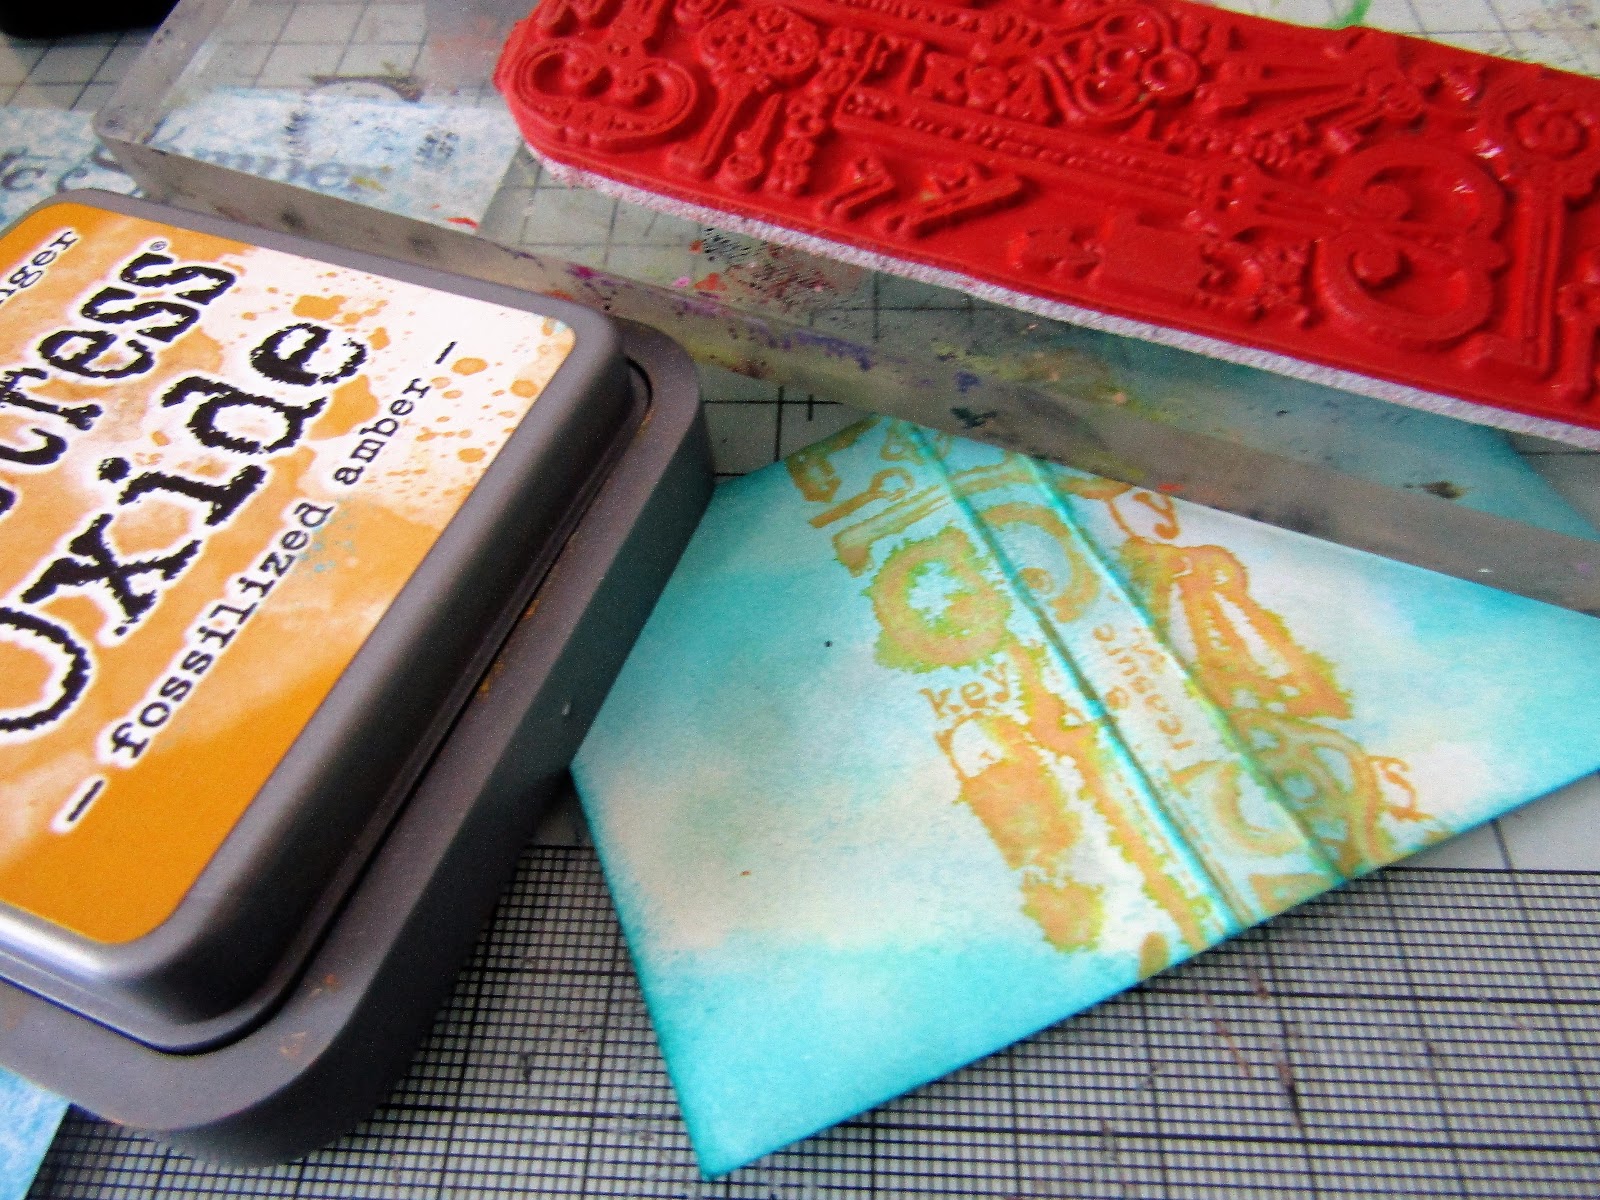
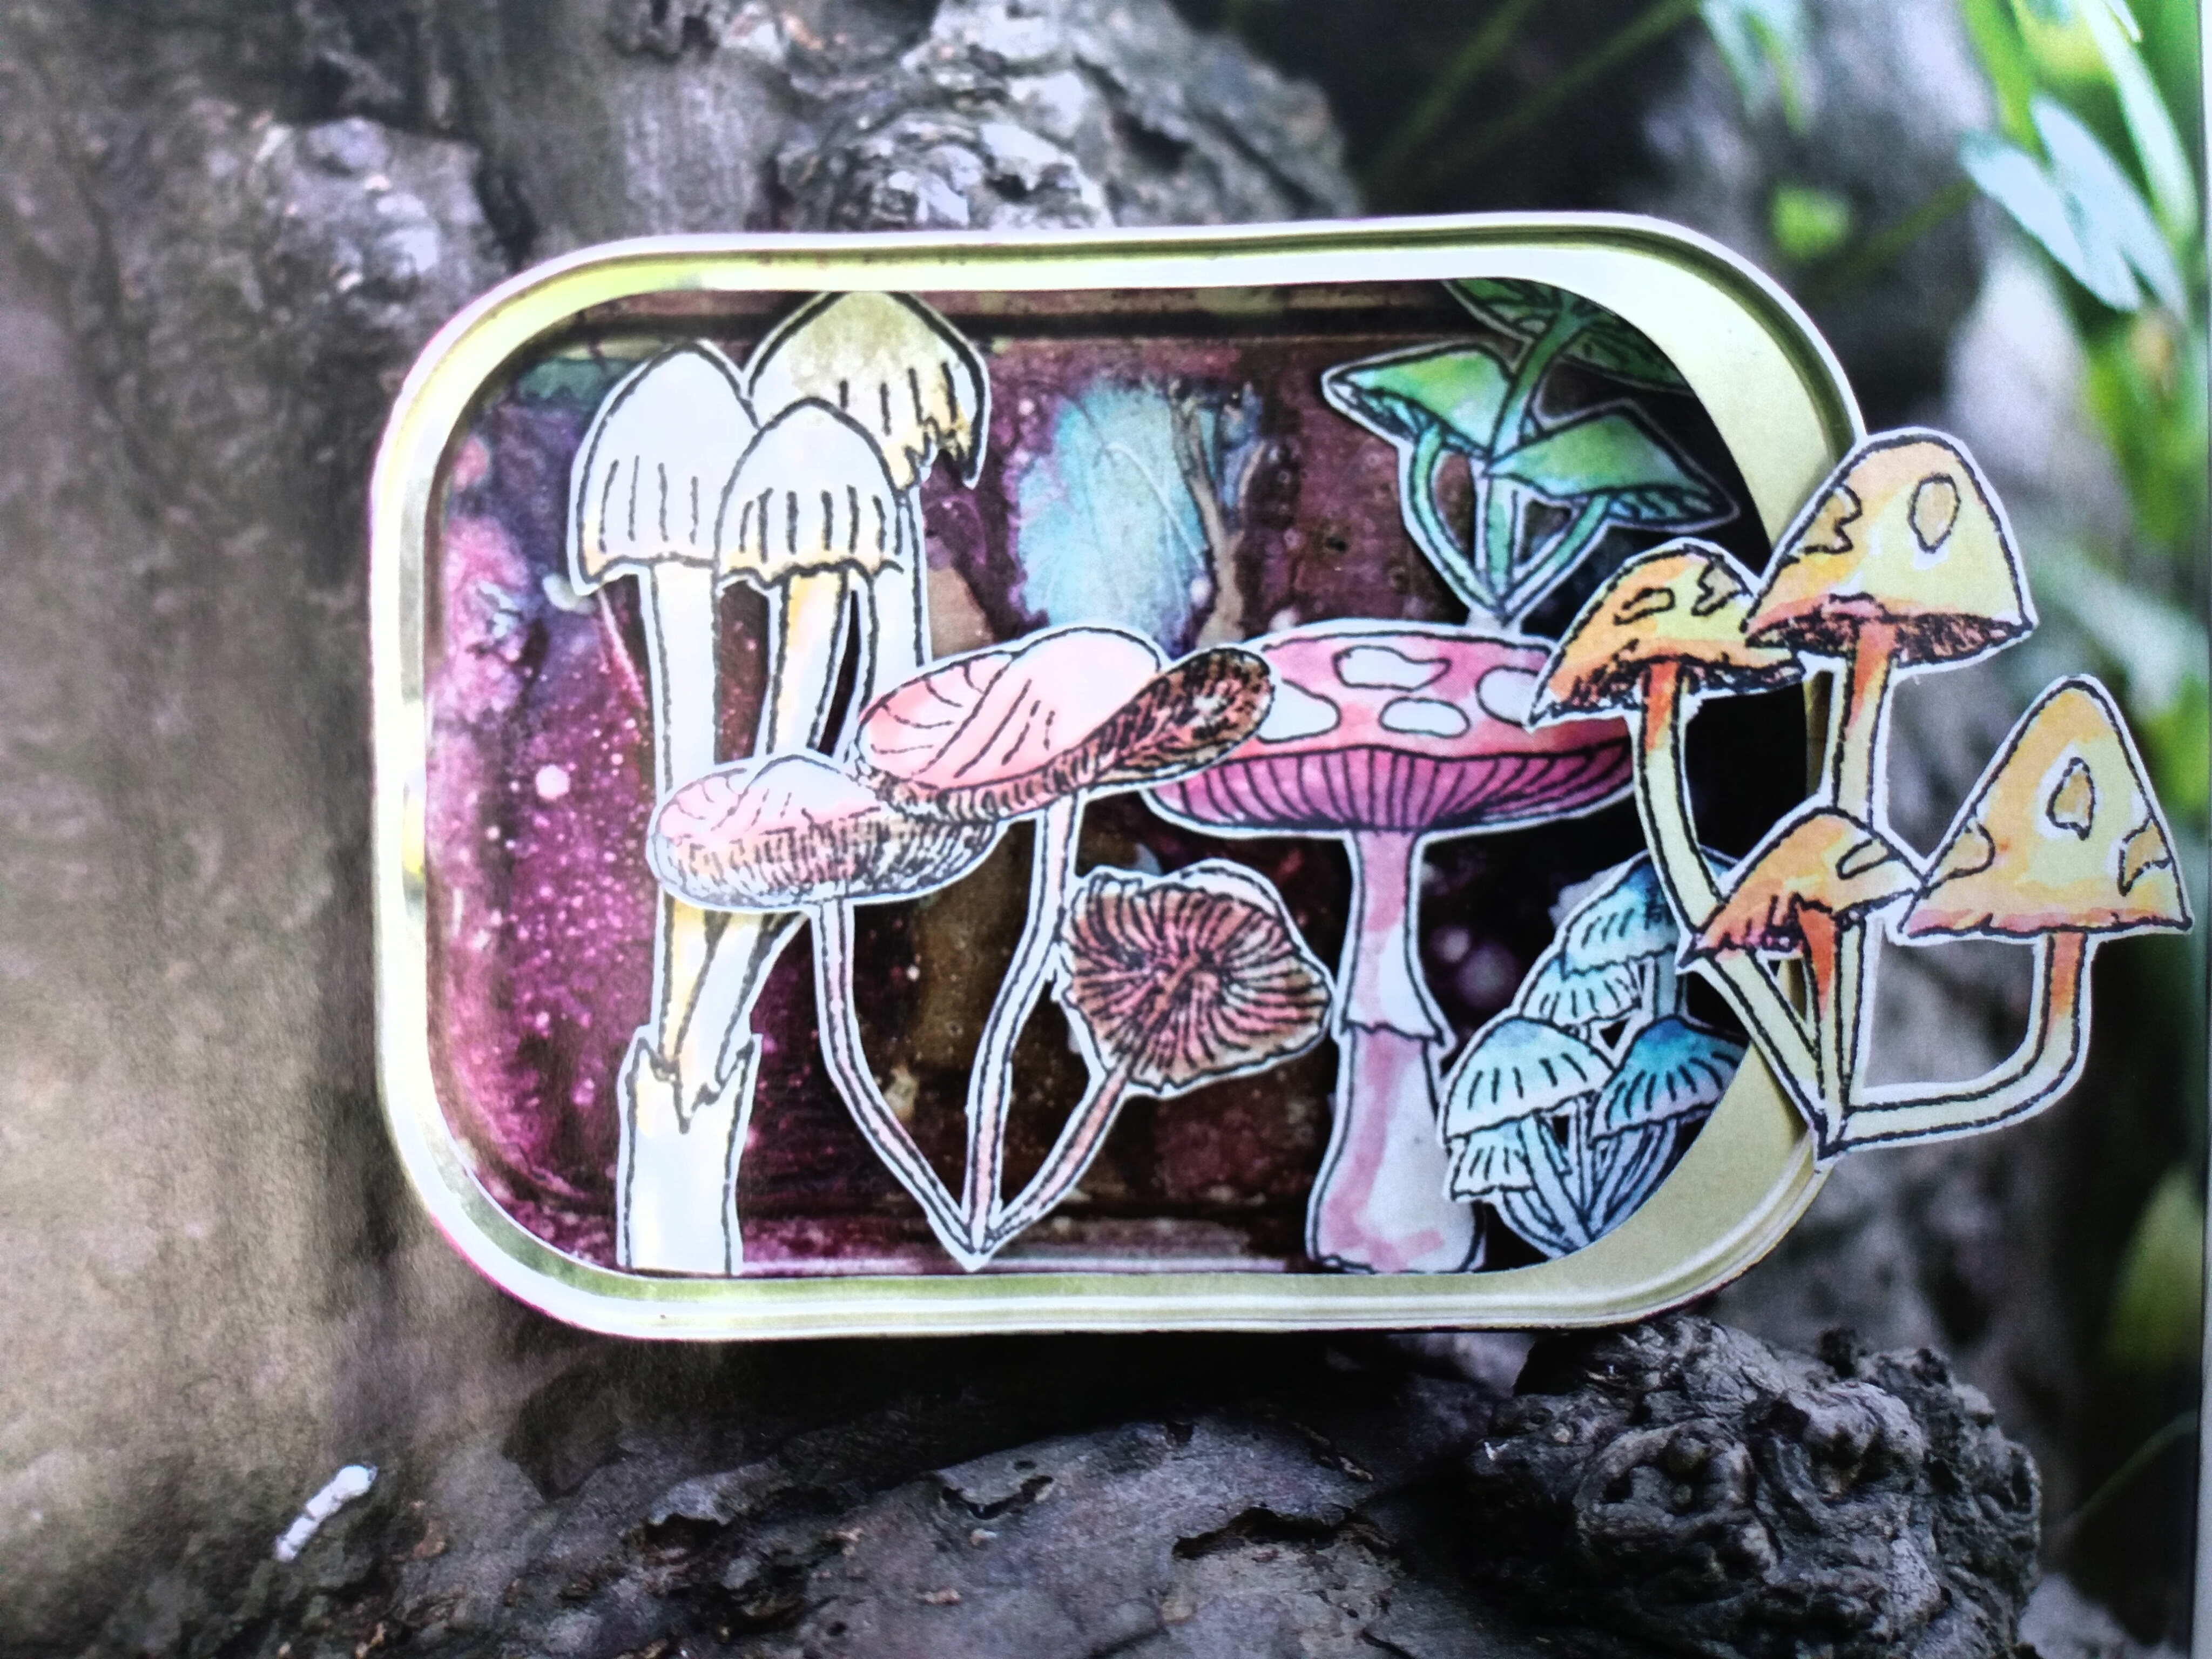
I love to art journal. I have made this page to make a "distress inking with a cache" tutorial for my friends I was playing with this year in the retirement house.
I had just to open some slits to add the boats I had painted with watercolours and then make a marine storm page with the new stamps I have had the pleasure to design for The Artistic Stamper.
My dedicated folder is here : Tit Belsoeur Stamps


I hope you like my page as much as I loved to make it, 
and gives you inspiration to participate in our 

for 3 chances to win some of these fabulous Artistic Samper stamps !
Thank you so much for stopping by.
Your comments are very much appreciated here, on my blog
Bye for now and happy creating. 
Titbelsoeur

Tuesday, 7 May 2019

Recycling labels by Titbelsoeur

How to make tags with cloth labels ?
Take a sets of labels :


Split them up, take the book-like printed ones and stamp Gibson girls on them, not much, for a simple vintage look :


On the other labels, just stick paper like a piece of a notebook page or an old map, distress them with Vintage Photo Distress ink or walnut stain, and stamp some vintage stamps on them :


then gather all of them again with the original string, and here it is :


I hope my flag gives you inspiration to participate in our 

for 3 chances to win some of these fabulous Artistic Samper stamps !
Thank you so much for stopping by.
Your comments are very much appreciated here, on my blog
Bye for now and happy creating. 
Titbelsoeur


Tuesday, 19 March 2019

Thank you tag by Titbelsoeur

Hello there, I want to show you today a Thank-You tag I have made for a friend of mine who reads a lot of books. I have first stamped this beautiful Butterfly from Butterflies 2 size A5 on the piece of paper I had first coloured in pink with Distress ink. Then I stamped Artifacts - Thank you Text with various Archival inks. When I have sticked the paper to the tag, I have embossed the Butterfly on the edges.


I hope my tag gives you inspiration to participate in our 


for 3 chances to win Artistic Samper stamps !
Thank you so much for stopping by.
Your comments are very much appreciated here, on my blog
Bye for now and happy creating. 
Titbelsoeur

Wednesday, 29 August 2018

Heart Tags by Gemma


I have a set of tags to share with you all today, decorated with circles, hearts, and doodles.


STEPS


I started off by applying Distress Inks and Oxides to some pre-made small tags.


I stamped over the tag with a script stamp and a small squiggly stamp for texture.


I stamped over the top with different sized circles and swirls. I made sure to overlap the circles and to stamp some of the images off the side of the tags.


I then stamped and coloured a few hearts with Distress Ink, before gluing them to the tags and adding extra interest with black and white pens.

xx Gemma xx


Friday, 29 June 2018

Mini Blue Book By Gemma

I have a fun little mini book to share with you all today. This is a simple little project that is not material heavy.  All I needed for this project was white card, Distress Inks, and the Artifacts secret key stamp. 


What I did 😀


I cut the white card down to 3x2 inch rectangles for my pages and folded these in half. I then pushed them into Distress ink that I had spread onto my glass mat and sprayed with water. 


Once dry I edged all the pages with more ink and then stamped along one side of each page. The stamp in a long one so I made sure to stamp different sections onto the pages. I then glued the pages back to back to form the book/signature.


When cutting the card for the cover, I cut the card a little larger than the pages and with a spine section in the middle. I then inked the cover following the same process as the pages, except for when it came to stamping. This time I stamped in a contrasting coloured ink and I stamped along the spine, I also added some more stamping using black ink. After gluing the pages into the book I cut a small band to hold the book closed and add interest. 

Thanks for stopping by

XX Gemma XX

Saturday, 16 June 2018

Blue Star Card by Gemma


Loving the theme of this months challenge and there is still plenty of time to join in both here on the blog and on the Facebook group.

For my post today I have a card and tag to share with you all using Distress Inks and lots of Jennie's stamps


What I did


1- I cut card to the size of my card blank and covered it with a layer of Distress Ink


2- I then stamped one of the new designs by Tracy Scott over part of the card. I heat embossed this with a clear embossing powder. 


3- I filled the opposite side of the card with the small Scribble stamp


4- On a separate piece of card I stamped several different sized stars from the star set with black ink and heat embossed them before cutting them out.


5- I also stamped out and heat embossed the words Happy Birthday from Grungy Greeting 1


7- I coloured all of these pieces and an extra mat I cut with Distress Inks and Distress Oxides before gluing everything in place and adding doodles with both black and white pens. 

xx Gemma xx


Thursday, 29 March 2018

Star Card By Gemma

 I love this card and tag, it combines everything I like, stamping, stenciling, Distress Inks, Stars and using Gesso to mask/ push back areas.


 Steps


 1- Pick three colours of Distress Ink, Spread each colour on a mat separately and spray with water, press the card stock into the ink. Dry each colour before adding the next.


2- Using the same colours of ink stamp different sized star stamps over the card. 
3- Using a star stamp add a couple of dark brown or black stars. 


4- Using a star mask and a white pen draw in stars.
5- Paint over the rest of the piece of card with a thin layer of Gesso carefully painting around the stars that have drawn in with the white pen.


6- Doodle around the edge of the card and the stars with a black pen and glue to a card blank.
7- Draw and cut a star from the leftover card, stamp a word onto the star and glue it to the card over a strip of black cardstock and inked paper. 

xx Gemma xx

Wednesday, 28 February 2018

Neil Walker Butterfly Tag by Gemma

It's the end of February already the mornings are starting to get nice and bright here, which always makes me feel better and we have a new challenge starting on the blog soon I am looking forward to seeing all the entries. 

I have a tag to share with you all today created using Distress Inks, a mask, and stamps from The Artistic Stamper.  


 Steps


1- Apply a thick layer of gel medium through a stencil on one corner of the tag, this will take a while to dry.
2- Apply a thinner scrapping of gel medium through the same mask in a small area on the opposite corner of the tag.


3- Spread three colours of Distress ink onto a glass mat, spritz with water and push the tag into the ink, dry between layers, 
4- Use a brush to help apply ink over the thick gel medium and continue layering until happy with the result.
5- Using a wet wipe or damp cloth remove the ink from the gel medium.


6- Using one of the inks from the first layer apply more ink through the same mask in two or three areas.
7- Stamp over the top of the tag with one or two different background stamps for added interest.


8- Stamp a focal image in the bottom corner and the top of the tag using archival ink. I have used a butterfly stamp designed by Neil Walker, ensure the image is overhanging the tag. 
9- Wipe off any ink from the gel medium.


xx Gemma xx


Thursday, 7 September 2017

Mushroom can by Titbelsoeur

Hi there !
I am very proud to let you know that the "Craft Stamper" magazine wrote 4 pages about The Artistic Stamper, and that my "mushroom sardine can" was published!

Et au final, se la péter !

Here is an extract of the article telling how I made it, I won't show you the other pages to let my mates show you their makes if they want to.


Would you like to win these fabulous stamps ? Easy : just participate in our monthly challenge "Take a little colour" for 3 chances to win !

Thank you so much for stopping by.
Your comments are very much appreciated here, on my blog

Titbelsoeur

Sunday, 19 February 2017

New background stamps by Titbelsoeur

Hello, happy crafters,
I was so eager to test the new mini background stamps from the Artistic Stamper, that I have made something between a page and a card, using Distress inks to make the background, then stamping these stamps in matching shades (Spice Marmalade, Barn Door...) and the Web background one with a darker colour. Some black and white acrylic paint with a credit card and bottle cap,  Framed Words #1 stamped with black Archival, and then glued a cut out stamped inspiration jar, and here it is !


Thank you so much for stopping by,
your comments are very much appreciated, 
here, on my blog, or on the Artistic Stamper's Facebook page.
Do not forget to participate in our monthly challenge
 to win some fabulous Artistic Stamper stamps.

Titbelsoeur


Saturday, 16 April 2016

Cog note book by Gemma


Hello Everyone

I have a little note book to share with you today. 


The cover was made from a paracetamol box. I removed the top, bottom and one of the side panels, before wrapping the card with part of a brown file. Before gluing the file to the box I places a piece of ribbon between the layers, so the book could be closed once it was finished.                                              


The whole book was completed using Distress Ink and Distress embossing powders.  I started by stamping over the whole book with calligraphy mat 11 and then in places with square wire.


I then stamped out and heat embossed a clock face and a few cogs from the Tick Tock stamp plate. I dragged my finger through the embossing powder on a couple of the cogs before the embossing powder had completely cooled down and hardened. I then stamped the same calligraphy mat over the clock face and then the Punk Plaid and Hatched background stamps on a few scraps of paper.


Once I had edged everything with a little black ink I arranged them on the cover before gluing them into place. To finish I added a few gems and a boarder around the edge to frame everything.


This months challenge is Distress. There is still plenty of time to join in, both here and on the new facebook page. We really love looking at all your entries and reading your comments. 

Thank you for reading
Gemma (inkykitty)

Tuesday, 19 January 2016

Honey jar by Titbelsoeur

HI there, are you ready to participate in our monthly challenge ? Do you want to win some stamps from the Artistic Stamper ?

I have made personal stickers with these fabulous new stamps : Honeycomb background and Bees.

I have used a book page I have distressed with Wild Honey and Spice Marmelade Distress inks, then I have stamped the bee and honeycomb with Vintage Photo ink, on the top :


and on the "sticker". I also used the M I E L letters from the Decay Stamps so that people who haven't figured it know it is honey in it :)


Thanks so much for stopping by,
your comments are very much appreciated, 
here, on my blog, or on the Artistic Stamper's Facebook page.
Do not forget to participate in our monthly challenge
 to win some fabulous Artistic Stamper stamps.


Titbelsoeur