Showing posts with label Neil Walker butterfly stamp. Show all posts

Tuesday, 19 February 2019

Butterfly card by Titbelsoeur

Hi all there !
I love to use these new stamps, the butterfly ones have such a graphic look and this Butterfly Trellis © Neil Walker is a great stamp to make cards. To make this card, I have used watercolours, this is really appropriate to highlight this stamp. I have completed the card with the sentiment from Quotes & Sayings 1 by Debs Smith and used my watercolour brush to make the spots and paint the edges :


Papillonnesquement vôtre...

I hope my card gives you inspiration to participate in our 

February's Creative Challenge - Heart it!


for 3 chances to win !

Thank you so much for stopping by.
Your comments are very much appreciated here, on my blog
Bye for now and happy creating. 

Titbelsoeur

Monday, 7 January 2019

Butterfly cards by Titbelsoeur

First of all, I wish you all a very happy and creative year, that all your dreams become real !
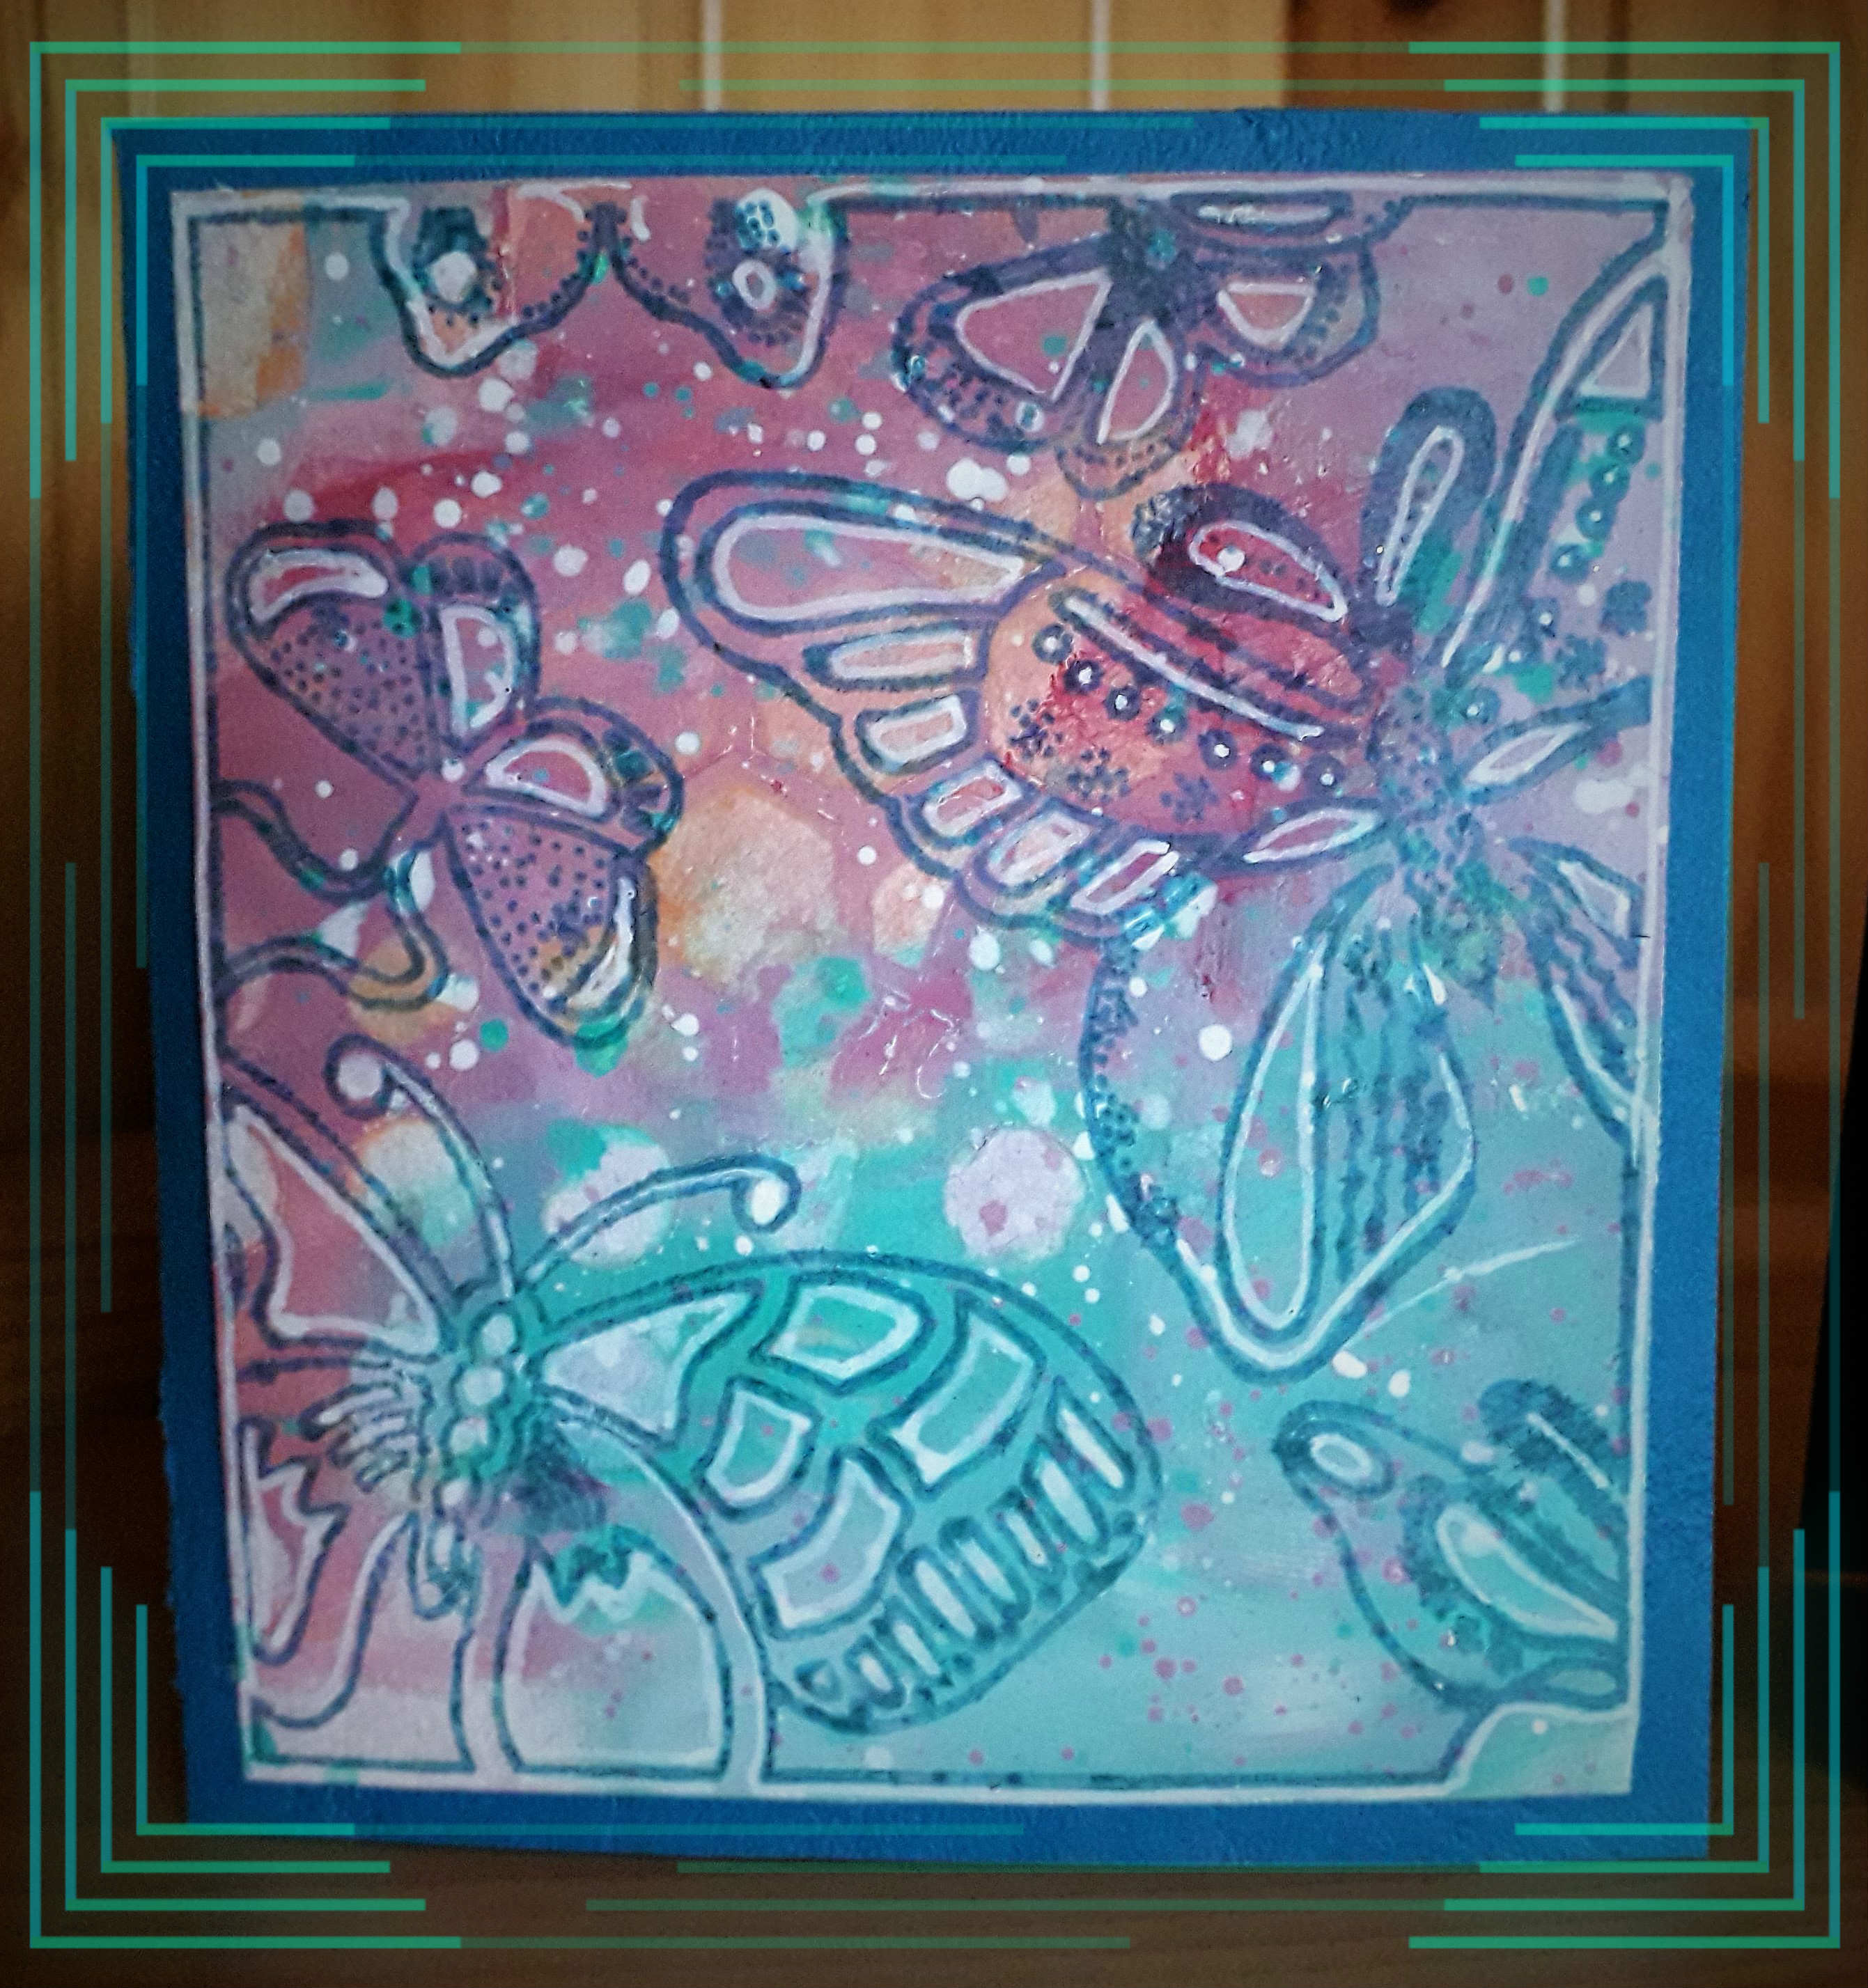
I have used these new stamps to make nice cards : Butterfly Trellis © Neil Walker et Butterfly Square © Neil Walker 
How I made them :
I have made the background applying acrylic paint on a scrap of watercolor paper with a baby wipe, and made some splats with the leftover paints.
Then I stamped treillis and square with Archival ink and highlighted some lines with a white pen. Cut them out and sticked to cardboard folded in 2 to make special cards, one of them sent for a happy birthday, hoping she received it on time !
Et voilà !


I hope my project gives you inspiration to participate in our 

New Year, New Creative Challenge- Anything Goes


for 3 chances to win !

Thank you so much for stopping by.
Your comments are very much appreciated here, on my blog
Bye for now and happy creating. 

Titbelsoeur


Tuesday, 19 June 2018

Weird backgrounds by Titbelsoeur

Hello everyone !
Still testing our fabulous new Artifacts stamps, I have first stamped Treasured Memories
in the middle of my paper. Then I stamped Butterfly © Neil Walker and hid both to stamp Secret Keys  on the left side and Spirit of Adventure on the right side and add colour . I then distressed the edges and stuck it to a piece of paper that I stuck to... guess what ?


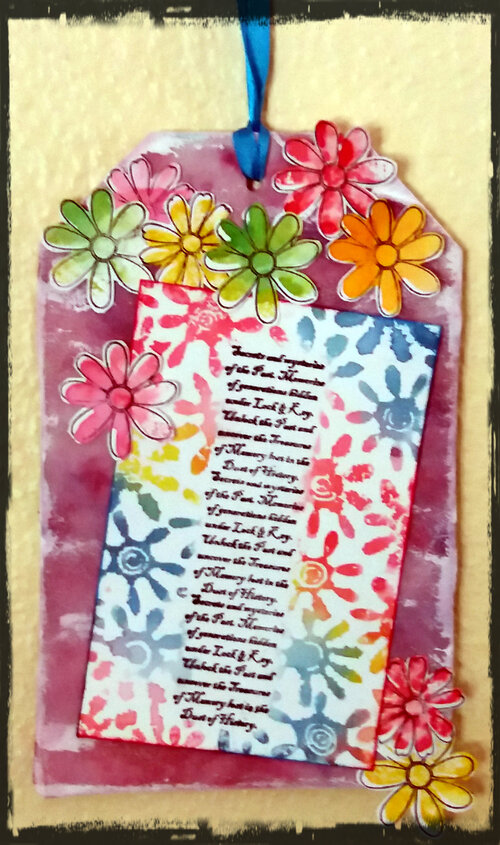
I have used the same material as a background to this tag that was published on Facebook just before the launch of Tracy Scott awesome stamps :


If you have found out what is this background made of, you may enter my giveaway for a chance to win this tag.


Do not forget that you can win these fabulous stamps, just participating in our challenge 

June's creative challenge - Paint it blue


 for 3 chances to win !

Thank you so much for stopping by.
Your comments are very much appreciated here, on my blog
Bye for now and happy creating. 

Titbelsoeur

Wednesday, 28 February 2018

Neil Walker Butterfly Tag by Gemma

It's the end of February already the mornings are starting to get nice and bright here, which always makes me feel better and we have a new challenge starting on the blog soon I am looking forward to seeing all the entries. 

I have a tag to share with you all today created using Distress Inks, a mask, and stamps from The Artistic Stamper.  


 Steps


1- Apply a thick layer of gel medium through a stencil on one corner of the tag, this will take a while to dry.
2- Apply a thinner scrapping of gel medium through the same mask in a small area on the opposite corner of the tag.


3- Spread three colours of Distress ink onto a glass mat, spritz with water and push the tag into the ink, dry between layers, 
4- Use a brush to help apply ink over the thick gel medium and continue layering until happy with the result.
5- Using a wet wipe or damp cloth remove the ink from the gel medium.


6- Using one of the inks from the first layer apply more ink through the same mask in two or three areas.
7- Stamp over the top of the tag with one or two different background stamps for added interest.


8- Stamp a focal image in the bottom corner and the top of the tag using archival ink. I have used a butterfly stamp designed by Neil Walker, ensure the image is overhanging the tag. 
9- Wipe off any ink from the gel medium.


xx Gemma xx


Monday, 4 January 2016

Finnbair inspired Butterfly By Dee

Hi everyone Dee here with you today kicking of the New Year on the Artistic Stamper Team Blog!
I am a great fan of Finnabair's work and have always wanted to try a canvas
 inspired by her work.
The canvas was made by firstly putting embossing paste through The Artistic Stamper
Swirl mask, and allowing it to dry.
I used Neil Walkers butterfly stamp for the main focal piece this 
was made by triple embossing into gold embossing powder.
This was then coloured with alcohol inks once the stamp had
been triple embossed.
The centre piece had crystal gems stuck on to form the body of 
the butterfly. 
The main canvas once dry was painted with Gesso then fresco sage paint
& various colours were used to paint the background. Then
A mix of metallic paints and spray was used to paint 
over the background.
Well that's it from me for today folks please feel free to ask any 
questions if you have any. There is a product list below
Thanks for dropping by and wishing you all
A Happy New Year!
Dee X 
Products Used
  1. Artistic Stamper products used :- Swirl Mask, Neil Walkers Butterfly stamp.
  2. Fresco Finish paints :- Chalk, blue oyster & sage.
  3. Dylusion sprays in lime and chopped pesto 


Friday, 22 May 2015

Pods & Butterflies

Hi everyone I hope you are well and enjoying crafting.
I have been having a play with some new idea's
this is a result.


Firstly I inked up the Neil Walker Stamp with versamark ink and stamped 
it onto black card  & clear embossed it. I used Deco art
 antiquing cream over the embossed image (you can use fresco finish).
 I took a baby wipe and removed most of it, during the 
process it coloured the margins so that they
 look chalked.


Next I mixed Fresco finish paint on a craft mat and swooshed 
it about then placed the fantasy plate stamp into the 
paint and stamped it onto black card.


I then covered in clear embossing powder and heat set.


I had a die cut clock frame that I rusted up and a large die cut cog that 
I also rusted up. I stamped the small clock off the tick tock plate
onto craft card.


I cut out three of the plumes from the fresco finish embossed image 
and them arranged it amongst the cogs and clock.


I cut out other pieces from the image and  offset them against
the main image.


I stamped the butterfly twice once in gold and then in 
pale blue and gold.


Finally I added gold sequins to the top and bottom.


Backed it all onto craft card and distressed the edge's which I coloured 
with ink. I hope you all enjoyed my post and don't forget to
 let me know what you think.
Cheers Dee x


Wednesday, 13 May 2015

Butterfly Hanging

Hello Everyone,
Shilpa  here,
I've small,easy and cute project to share with you today. 


This can be a wall/door hanging which I made with Artistic stamper Neil walker butterfly stamp.

Here is the step by step process:
1. Cut out the Ornamental shape/ any desired shape out of chipboard and watercolor paper. Attach them together.
2. Through any design stencil apply Picket fence distress paint. Let it dry completely.
3. On craft Mat apply Spun sugar, Tumbled glass and  shabby shutters distress stains, spritzed water and smoosh  our base paper into that. It will bring beautiful pastel colors and resist picket fence distress paint.
4. Apply Tumbled glass distress ink at all edges.
5. On Ranger stamping paper stamp butterfly with Archival Forget Me not ink, fussy cut it and stick on the background.
6. Add flowers and all other embellishments.

Hope you liked it, 
Thanks so much for stopping by.

Products used from Artistic stamper:


Friday, 13 March 2015

Bloom

Hello Everyone, 
Shilpa here, with Spring creation today.


As always I've used lots of Artistic stamper stamps here.


I've used  Prima Finnabare mixed media paper in the background. Onto that second layer is stamping map with Artistic Stamper Europe map image. I've used Distress paints Victorian Velvet, Vintage Photo and Broken china to color the surface randomly. I've also stamped dots with Random Dots Background stamp and Coffee Archival Ink/ Distress Paints


These leaves are stamped and cut to create layers under floral spray. I've used Artistic stamper Botanical Plate 1 and 2 for this.
hope you liked this canvas with Spring colors, let me know your feedback in comments below.

Dont forget to join our 'Spring is coming' theme challenge this month to win fabulous Artistic stamper Stamps.

Supplies Used