Showing posts with label Tick Tock plate. Show all posts

Thursday, 19 November 2020

CD repurposed to clock by Titbelsoeur

 Hi everybody,

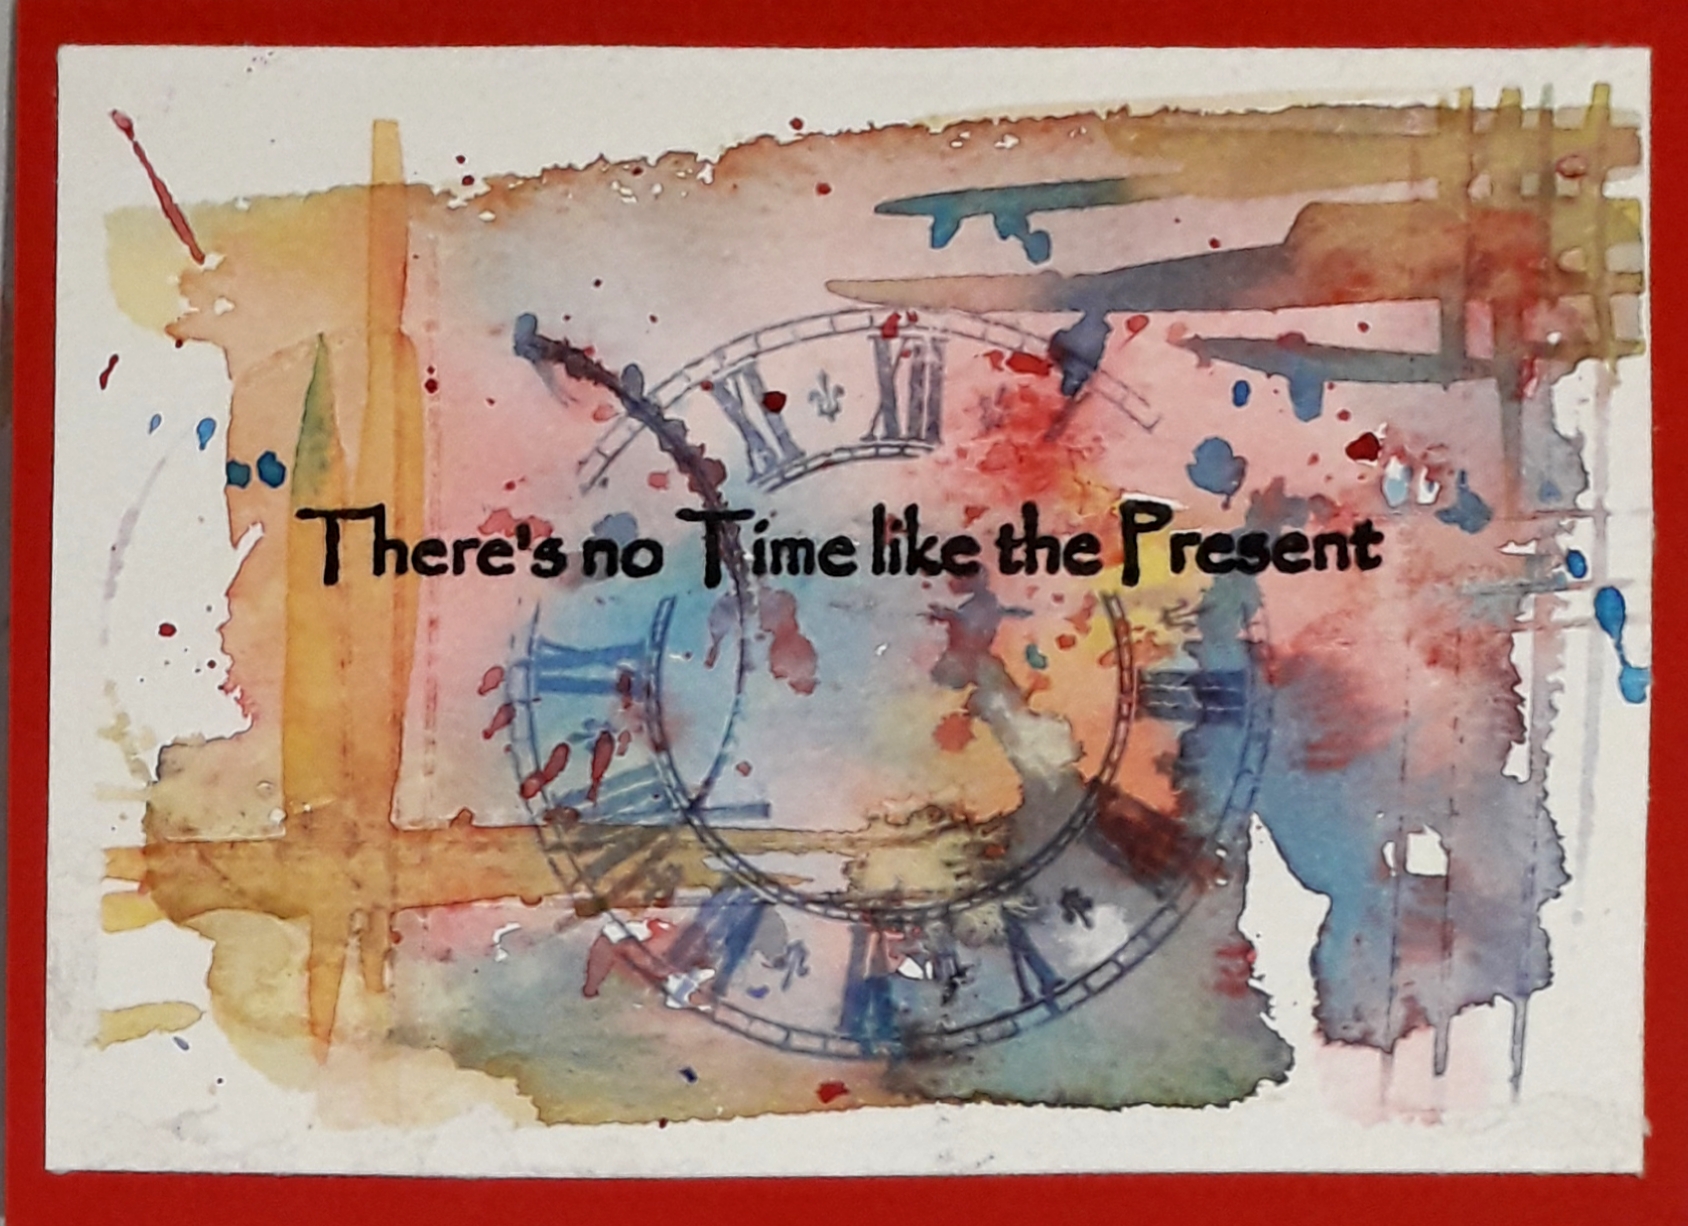
Since our challenge theme this month is TIME, I have made false clocks with CDs to repurpose.


altered cd 


Do you like them ? If so, I have made 2 videos on Youtube just to help you make some very easily : the first one to teach you how to make this pallet-like background, and the other one to show you how I center my stamps and never miss it (hardly ever) !

Here it is : Pallet clocks on Youtube

The time stamp I have used on this project you will find here : Time stamps


Thank you so much for visiting, I hope I have given you some inspiration to 
participate in our 
Happy creating and thank you for your comments,

Titbelsoeur


Saturday, 7 November 2020

Scenery with repurposed CD and can by Titbelsoeur

 Hello there !

I decided to make this project with combining a sardine can and a CD as its base, which would allow me to add more items, such as pastels, steal feather, ink bottle, tube and pan of watercolours, a pencil,..

The CD was already full of paint, since I used it as a colour palette. I glued paper inside and outside the sardine can, I have monoprinted stamped clocks on it from Tick Tock A5 to make the background, then stamped art stamps from Artifacts - Art Plate 1


Thank you so much for visiting, I hope I have given you some inspiration to 
participate in our 
Happy creating and thank you for your comments,

Titbelsoeur


Friday, 7 February 2020

Time card by Titbelsoeur

Hello everybody !
To meet our February challenge, I have made a card. Watercoloured the background with my 3 favourite colours blended, Prussian Blue, Azo yellow and Quinadocrine Rose.
When dry, I have stamped the sentiment with Archival Inkpad - Black ink and hidden it with a paper to stamp the clock with Archival Inkpad-Cobalt

Step-by-step pictures on my blog 


Stamps from the following plates :

Time and Keys


Hope it gives you inspiration to participate in our 

for 3 chances to win some of these fabulous
Artistic Samper stamps !
AND
 an opportunity to join our Creative Team for a month, and get to use The Artistic Stamper stamps, and be posted on this blog, and on social media.

Thank you so much for stopping by.
You may visit my folder : 
I will be happy to read your comments about it !
Your comments are very much appreciated here, on my blog
Bye for now and happy creating. 
Titbelsoeur

Sunday, 29 May 2016

Kiki stamp tag by Gemma


Hello Everyone

For my post today, I have created a very grungy tag with the fabulous Kiki stamp designed by Neil Walker. 


I ripped up some book paper, glassine paper and tin foil that I had run through an embossing folder, and glued them onto a plain manilla tag.


I then dragged some gesso over the top, leaving some patches bare. While the gesso was still wet I pressed some Finnabiar art ingredients texture powder into it.


I then mixed some espresso coloured acrylic paint with some Decoart tinting base, applying it over the tag using a palette knife. After running the heat gun over the top I stamped in places with calligraphy mat 11 using archival ink. I added some more espresso coloured paint and some texture powder, to the paint I had previously mixed. I added enough power to form a thick paste, which I spread through the new random dots mask.


Onto tissue paper I stamped Kiki and a few cogs from the Tick Tock stamp plate, once the ink was dry I went around each image with a water brush before tearing them out.


I glued these into place on the tag with gel medium, both underneath the tissue paper and on top to seal them.


I went around the tag with more espresso brown paint, and stamped some cogs over the top with ground espresso Distress Ink. To finish I stuck down some torn bits of washi tape and scribbled in places with a white paint pen.


Thank you for reading
Gemma (inkykitty)

Saturday, 16 April 2016

Cog note book by Gemma


Hello Everyone

I have a little note book to share with you today. 


The cover was made from a paracetamol box. I removed the top, bottom and one of the side panels, before wrapping the card with part of a brown file. Before gluing the file to the box I places a piece of ribbon between the layers, so the book could be closed once it was finished.                                              


The whole book was completed using Distress Ink and Distress embossing powders.  I started by stamping over the whole book with calligraphy mat 11 and then in places with square wire.


I then stamped out and heat embossed a clock face and a few cogs from the Tick Tock stamp plate. I dragged my finger through the embossing powder on a couple of the cogs before the embossing powder had completely cooled down and hardened. I then stamped the same calligraphy mat over the clock face and then the Punk Plaid and Hatched background stamps on a few scraps of paper.


Once I had edged everything with a little black ink I arranged them on the cover before gluing them into place. To finish I added a few gems and a boarder around the edge to frame everything.


This months challenge is Distress. There is still plenty of time to join in, both here and on the new facebook page. We really love looking at all your entries and reading your comments. 

Thank you for reading
Gemma (inkykitty)

Friday, 22 January 2016

Photo Frame by Debs

Hi All

Debs here!  With something a little different for me.  I picked up a plain photo frame from The Artistic Stamper and decided to transform it! Let me know what you think I would love to hear your views on what you think.


Sorry the picture isn't great it was a bit wet outside today and the light inside wasn't great either!

Take one blank frame


Add some grunge paste through the swirls stencil

Get a Jamboree bag from The Artistic Stamper and adhere bits and pieces around the frame, the jamboree bags are full of hidden treasure

Using My Melt pot i mixed up some UTEE and poured it onto a heat proof craft mat and using a cog from the Tick Tock stamp set inked up with versa mark I stamped into the melted UTEE


then made a smaller one


I used the cooled down UTEE as a mild and using paper clay made some solid cogs

Trimmed down

I also cut out the middle of the large cog

Added the large cog over the top of the bits in the bottom left corner 

Added the smaller one on top

I had also used another stamp in the UTEE which was Smile from the journaling words 4 which unfortunately you can't really see in this photo but its in the top right hand corner.  Once all the elements were stuck down i covered everything in black gesso.

Then I mixed some blue and green mica powders with gel medium and then covered the whole thing using the coloured gel medium as a paint!

Once that had dried I then got out some sliver gilding wax and just rubbed on the raised surfaces just to give it all a highlight

Here it is all complete and standing upright with its stand attached.  Now you can see the Smile.  Everything used in this project is available in the shop and online.

Do let me know what you think either on here or on the Facebook page.
Take Care Debs


Saturday, 24 October 2015

Franswar stepper card by Debs

Hi All
Debs here with another project for you, thought I would do a stepper card for you


This card is really easy to make providing you get the dimensions right to start with. I used a piece of Ranger Manilla card for this one which is not a standard UK size but it works the same with an A4 piece of card. Below is photo of the dimensions I used.


The key is to pencil mark of the size of the left hand panel and then work from the top of the card make a mark at 7cm then 14cm, 18cm, 22 and 25cm.

These marks then need to be scored so that the card folds easily. The second fold line needs to go right across the card the others only want to go as far as the pencil line you have done for the side panel.  The pencil line needs to be cut from the first 7cm to fold to the last but not right the way down. 

Once this was all done I coloured the card with Distress Inks using Tea Dye, Rusty Hinge and Ground Espresso. I used three colours on the tag as well I used a Tim Holtz stencil for the background on both the tag and the card. On the tag I used two sets of the Time stamps - Time and Keys and Tick Tock and used the cogs to add some extra background. I also used the cogs to stamp onto shrink plastic with Timber Brown Stazon ink cut them out and heated with a heat gun to shrink and make some embellishments which as I had run out of Tim Holtz ones was quite handy as they were the perfect size.  I also stamped Happy Birthday on to a piece of card using Ground Espresso on Rusty Hinge.

I stamped the cogs over the top with Ground Espresso Distress Ink once that was dry I stamped Neil Walkers Franswar Over the top and coloured it in with the same three colours of Distress Ink Pens


As always don't forget we do look forward to seeing your creations
Debs
xx


Monday, 19 October 2015

Label by Titbelsoeur

Hello happy labellers ! 
Let me tell you the way I made this label :


First, I "watercolored" the background with 2 Distress inks, then I stamped words and clock from  Tick Tock A5 in Time with the same inks so that it is in matching shades.


After that, I stamped the dancer and the sentiment from Dance A5© Siuox Jenneys  in Dance with Plum Archival.

I glued it on to a cloth label to strengthen it and highlighted the dancer inside with white Posca and shaded it outside with a red pencil.


Thanks so much for stopping by,
your comments are very much appreciated, 
here, on my blog, or on the Artistic Stamper's Facebook page.
I hope that my label did inspire you and that
you will participate in our October challenge
 to win some fabulous Artistic Stamper stamps.


Titbelsoeur

Monday, 7 September 2015

Titbelsoeur, yes she can !

Hello everybody !
Today, my project is to decorate a sardine can. I have collected some beads, shells and other stuff from my stash, I have painted the can with pink acrylics and stamped the clock and lady on to a tissue paper that I have then glued on the bottom of the can.


To have it stand, I have drilled 2 holes in the can and fixed a light bulb


and then glued two wings and a crown that I had stamped on a cardstock. And tadamm, here is my can :


Pink acrylic paint and Blue archival ink
Crown and Wings : Crowning glory from Steampunk
Clock : Tick tock from Time
Face : 20's Ladies Plate from Costume

Thanks so much for stopping by,
your comments are very much appreciated, 
here, on my blog, or on the Artistic Stamper's Facebook page.
I hope that my can did inspire you and that
you will participate in our September challenge
 to win some fabulous Artistic Stamper stamps.


Titbelsoeur

Wednesday, 19 August 2015

Headaches by Titbelsoeur

Hello happy stampers !
Today I am sharing a journal page with you.
To make it, I started coloring the background with pastel acrylics, then I sprayed ink throught the Petals from Artistic Stamper Masks.
Then I started stamping...
Europe Map @ Backgrounds
Time and Keys and Tick Tock  Time
Gibson Girl 3 @Gibson girls
Journaling Words #5 and Grungy Greetings #2 @  Words and sayings

Some doodles on the edges, and that was it... 
and here was my page :

And then...
I wanted to add "just" a word...
and the new Decay Stamps were on my table... and here is my final page with a new layer !


Thanks so much for stopping by,
your comments are very much appreciated, 
here, on my blog, or on the Artistic Stamper's Facebook page.
I hope that my page did inspire you and that
you will participate in our August challenge
 to win some fabulous Artistic Stamper stamps.


Titbelsoeur

Friday, 7 August 2015

Time... by Titbelsoeur


Hello happy card senders !
Since the August challenge is about Anything goes, the project I want to share with you today is a card.
About time.
Start glueing a dictionary page on your cardboard
Use watercolor chalks here and there and wet your paper here and there too.
Then stamp the background with Plum Archival ink and outline the cogs and clocks with white chalk or white pen when necessary.
Stamp the big clock and the quote on to another piece of a dictionary page,
And here it is !!
You will find the time stamps HERE !

Thanks so much for stopping by,
your comments are very much appreciated.
I hope that my card did inspire you and that
you will participate in our August challenge
 to win some fabulous Artistic Stamper stamps.


Titbelsoeur

Friday, 22 May 2015

Pods & Butterflies

Hi everyone I hope you are well and enjoying crafting.
I have been having a play with some new idea's
this is a result.


Firstly I inked up the Neil Walker Stamp with versamark ink and stamped 
it onto black card  & clear embossed it. I used Deco art
 antiquing cream over the embossed image (you can use fresco finish).
 I took a baby wipe and removed most of it, during the 
process it coloured the margins so that they
 look chalked.


Next I mixed Fresco finish paint on a craft mat and swooshed 
it about then placed the fantasy plate stamp into the 
paint and stamped it onto black card.


I then covered in clear embossing powder and heat set.


I had a die cut clock frame that I rusted up and a large die cut cog that 
I also rusted up. I stamped the small clock off the tick tock plate
onto craft card.


I cut out three of the plumes from the fresco finish embossed image 
and them arranged it amongst the cogs and clock.


I cut out other pieces from the image and  offset them against
the main image.


I stamped the butterfly twice once in gold and then in 
pale blue and gold.


Finally I added gold sequins to the top and bottom.


Backed it all onto craft card and distressed the edge's which I coloured 
with ink. I hope you all enjoyed my post and don't forget to
 let me know what you think.
Cheers Dee x