Tuesday, 14 May 2013

Beside the Seaside by Georgina Sweetenham


Hi! It's Georgina again with my second blog post as this month's Guest Designer. My second project is a card with a British seaside feel. I have used stamps from the lovely Seaside No. 1 # and Beside the Seaside stamp sets both of course from The Artistic Stamper. I have used a traditional red, white and blue colour scheme.

I begun by using a range of the stamps from the two stamp sets to create the two background papers.


I used a red and dark red ink pads for the seashell panel. And bright blue and navy blue ink pads for the fish panel. I attached these to scalloped edge panels of coloured card. I like to use stamps from sets to create background designs. You can then easily co-ordinate colours and design, rather than trying to find pre-printed background paper to match.

I stamped the ships wheel design with both a dark brown and Tuxedo Black Memento ink pads. I coloured the stamped images with ProMarkers. I cut out the centre people image from the black stamped image and attached it on top of the brown stamped image. I cut out the wheel and attached it with foam pads onto a white and red die cut circles. I added Glossy Accents to the lenses of the binoculars.


I stamped the umbrella twice in red ink and one in brown. I attached the red layers on top of the brown. For the second red layer I only attached the top front section with foam pads.


The sentiment is also part of the  Beside the Seaside stamp set. I stamped it in red and blue inks onto white card. I cut out the words and attached the to a blue card flag shape.


I attached all the elements to a square card blank. To finish I attached a red and blue stamped anchor design with foam pads.


Sunday, 12 May 2013

Inspired by Nature and a bonus give away!!

Hello everyone, lovely to see you here and this is Astrid sharing my first little project for the lovely month of May.
Have I told you before that I love little books? Well I do and this time I decided to make an accordion book, inspired by nature as the title of this post would suggest, but also inspired by some of the wonderful nature themed stamps the Artistic Stamper stocks.
I used some sturdy Kraft card from my stash for the base of the book. Each of the panels is 9 cm wide and 13 cm high, this was dictated by the size of the stamps I wanted to use. To make 6 panels like this you will need two sheets of strong A 4 card and cut it along the long side to 13 cm (9") height and then score accordion style every 9 cm (3.5").
The little end bit you will have left after scoring the first bit of card is used to attach the second bit of card as you can see in the photo above.

Now for the fun of creating the panels: Cut 6 bits of Manila paper to 8 cm (3.25") by 12 cm (5"). Each of my panels was more or less done in the same way, and these are the products I used:
Ranger Distress Paints, in a variety of colours including the new Metalics.
Ranger Dylusion Sprays, I love how the colours seem to blend so well with the paints.
Ranger Distress Inks and two colours of Archival Ink, Jet Black and Library Green.
For this panel I blended purple and pink tones of paints, sprays and inks. The stamps I used were from the new Katie Fox Encyclopaedia Botanica collection. For the background, stamped in Picket Fence Distress Paint I also used the Tim Holtz Papillon set. I stamped the flowers and butterflies twice in Jet Black archival, once straight onto the background and once onto smooth stamping card. I then fussy cut the flowers only, and layered them on top of the first impression and the same with the butterflies. They were all coloured with Distress Inks.
Like I said,  all panels were done in similar ways. Here blues, greens and yellows were used, the background was stamped in Library Green Archival (I don't have any dark green Distress Paint yet) and the butterflies from the Papillon set were layered.
To be honest, this one is my least favourite. As you can see, I die cut an arch. The little girl is from the Garden plate 1, I also used a little stamp from the  Botanical 3 for the background and the Calligraphic Mat 12 to add some highlight to the arch. It was decorated with some punched flowers and die cuts from my stash.
The Hydrangea is from the Botanical 3 Plate, I also added some Tissue Tape from my stash. As you may have noticed, on several of these I added some shading around the stamped image with a charcoal pencil and a blending stump. I love doing this, as I think it makes the stamped images almost look three dimensional and adds depth.
Here I used the Dragon Fly from the Tim Holtz Classics No 1 and more tissue tape 
And here finally another flower from the Encyclopaedia Brittanica set by Katie Fox.

Now if you have ever made an accordion book, you will know there is a front and a back side. I decorated the back of my book simply with left over papers I had from the wonderful Graphics 45 French Country 8 x 8 collection.
The front and back panels were layered with bits and pieces from the collection and I used some ribbons and a little Tim Holtz clasp and some other bits and pieces to decorate and tie it shut.


Well, are you still with me??? 

Now to the give away: 

If like me you are slowly collecting  various colours of Distress Paints, here is a chance to add some more to your collection: I have three to give away, Weathered Wood, Salty Ocean and Wild Honey. They were sent to me in error and Jennie the Artistic Stamper very kindly said I could offer them as a give away!! All you need to do is leave a comment here and on my personal blog, and on Sunday the 19th I will pick a winner and announce it here on the blog.

Well, hope you like my project and thank you so much for visiting. Have a creative week!!

Saturday, 11 May 2013

Life Moments by Emma


Hi everyone...hope you are all ok and had a fantastic week and now, looking forward to a relaxing weekend!! Today, is my turn to share my "Tag in a Bag" and I've taken lots of photos for you to see all the detail that has gone into this piece!! So, enjoy and as always, I really hope you like what I've created...
To begin with, I created my bag using the Tim Holtz Alterations, In The Bag die from my stash and I used Manila cardstock, to die cut my basic shape. I decorated the die cut bag, whilst flat and not made up, and covered the surface with Weathered Wood, Brushed Pewter, Salty Ocean and Antique Linen Distress Paint.

Next, I used the large stamp from Katy Fox's Numerical Plate and stamped directly onto the painted surface of my bag. I blended Walnut Stain DI around the edges and then used Snowcap Adirondack Paint Dabber and added streaks of white paint onto the bag and a small bottle top to create the circles. I then made up my dimensional bag.
To decorate the front, I used white paper flowers, which I sprayed with Perfect Copper Perfect Pearls Mists. I heat dried the flowers before adding wired stamens to the centres and then attaching them to the front of my bag.
I used the Sizzix Movers and Shapers Mini Moustache and Finger die to die cut chipboard which I then painted using Adirondack Paint Dabbers. I added these, together with a stamped message from the Tim Holtz Simple Sayings Stamp Set, attaching it to the front with the Tiny Attacher.

To create the tag, I used a Manila Size 8 tag which I had to trim down slightly so that it would fit into the bag. Once again, I covered the surface of the tag with the same coloured Distress Paints that I had previously used on the bag. 
I built up the background of my tag, using some of the smaller stamps from the Katy Fox Numerical plate and added small amounts of torn tissue tape.
 Next, I covered chipboard in sticky back aluminium and I used the Sizzix/Tim Holtz Fleur di Lis and Eiffel Tower Bigz die, to die cut just the tower. I then embossed the tower with the Eiffel Tower and French Script Texture Fade. I applied Alcohol inks to the surface of the tower and then added some Brushed Pewter Metallic Distress Paint over the top.
I attached the embossed tower to my tag and added a strip of Film Ribbon down the side, together with some Idea-ology Mini Gears and a Game Spinner.
As final touches to complete my tag, I added a Idea-ology Muse Token, attached to the side with a Swivel Clasp on a Hinge Clip. Finally, I coloured some cream seam binding with Distress Paints and Distress Stains and threaded this through the hole in my tag and tied it into a bow.
So, that's it from me for today and I hope this has inspired you to create some ideas of your own!!
Thank you so much for stopping by to take a look and I can't wait to read all your comments. Also don't forget that we have a fab new challenge this month and it's all about WORDS. So, if you would like to join in, we would love to see your creations.

Have a fabulous weekend and see you soon.
Emma x

Friday, 10 May 2013

Be Yourself


Hello everyone, Alison here (that's Alison B - for butterfly, or Bomber, or the second Alison on the team after Craftytrog... as you like it).  I'm so happy to be here with my first post for Artistic Stamper as a full-blown member of the Design Team.  I'm honoured, and very excited, to work alongside these brilliant artists.

In fact, to be honest, I've been having a bit of a wobbly.  Everything's been a bit overwhelming recently (in a good way on the crafty front, to be fair, but a bit more difficult in other directions) - and I got in a bit of a spin about this make.  In the end - with a couple of discarded "fails" on the desk in front of me, I decided to take it out on a journal page.

I've made tentative inroads into art journalling (I'm very good at buying beautiful journals - always have been, long before I even knew about art journalling or stamping or inks or any of this!), but recently I've been so inspired by some of the amazing journallers around in Craftyblogland, and it seemed a journal was the perfect place to let go of trying too hard, and just follow my instinct.  So here it is.


I basically just did lots of stuff I like with lots of stuff I like (links at the foot of the post)... but the whole thing starts from the Gibson Girls who - to me - have such a strong yet sad presence as images.  I already did some playing with that idea in Journey to Yourself, one of my Guest Design pieces in February.

And here they are doing an excellent job of representing some of the internal disquiet being held in behind an apparently calm exterior.


I gesso'd some pages in my new journal (picked up by my mother in Oxfam - so hardly counts as another purchase!).  It's a good solid book, 9.5 x 7 inches, with lovely strong paper, but the gesso still helps when you're planning to load'em up.


While the pages were drying, I stamped the Gibson Girls onto some papers from the Tim Holtz Crowded Attic collection, and cut them out with the ATC die from Sizzix.


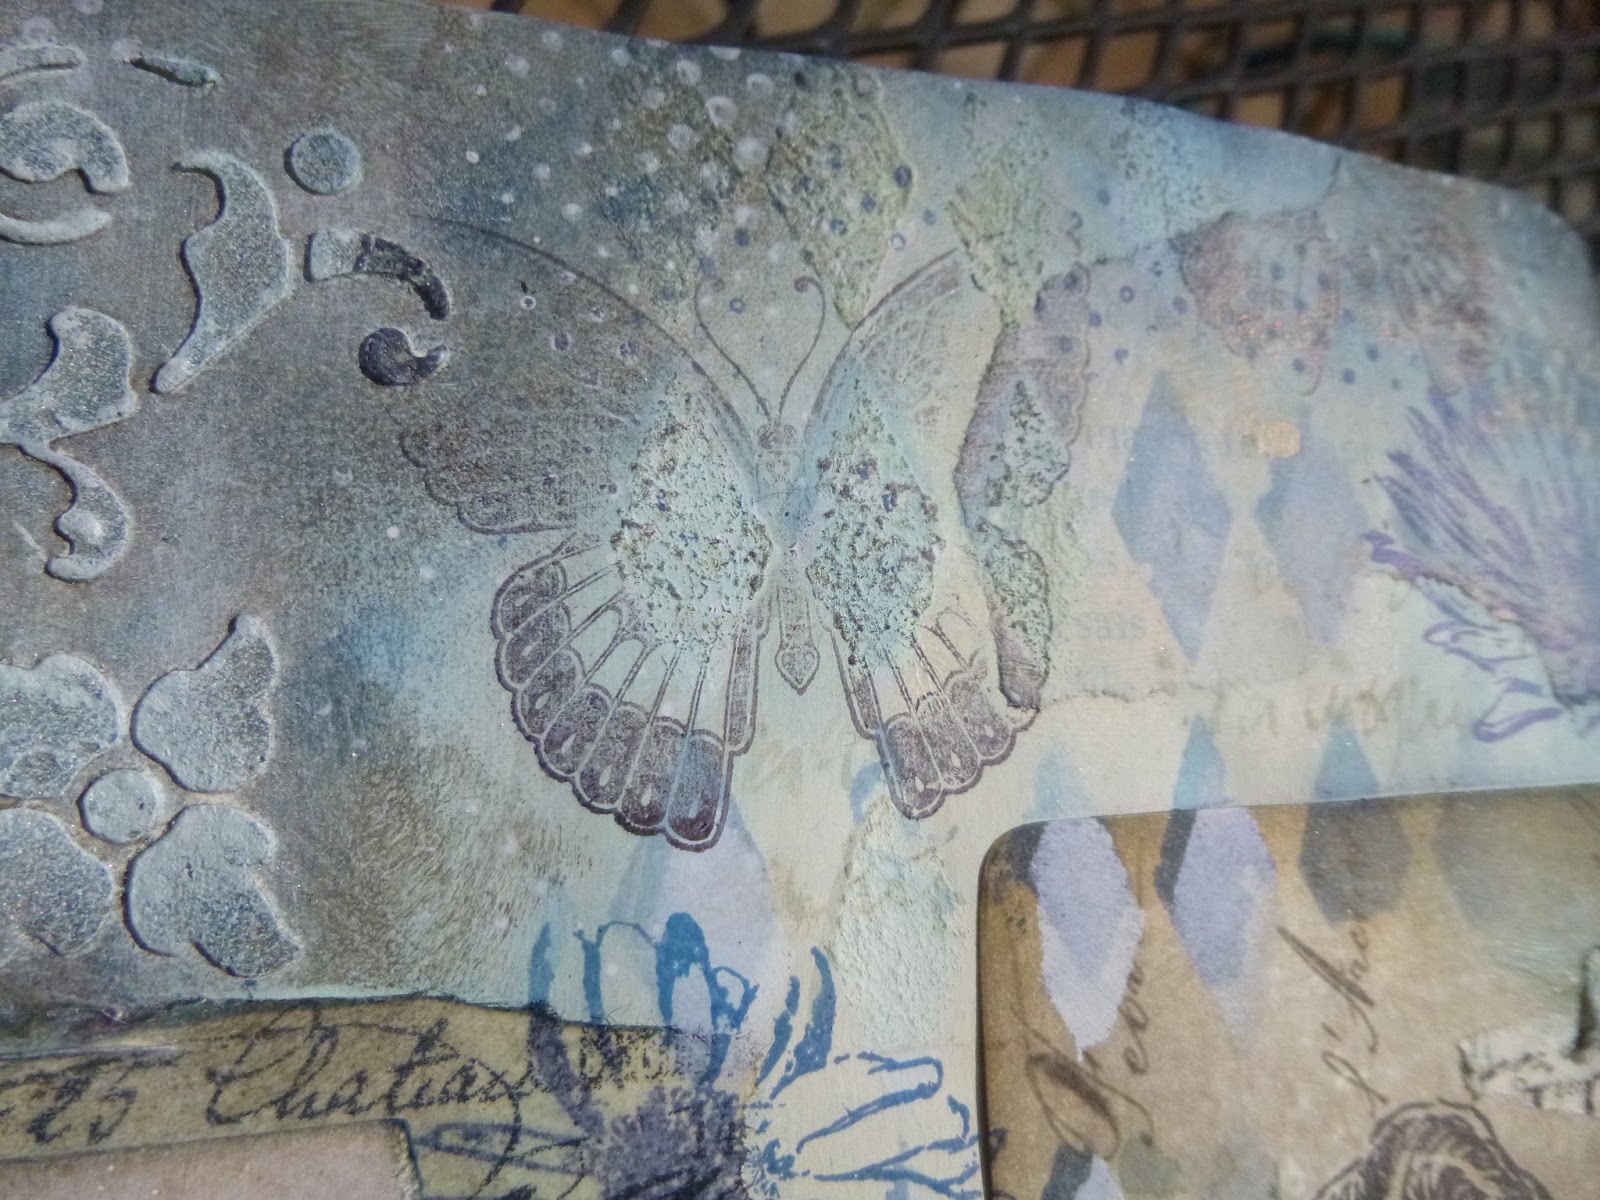
First step for me is always texture - I love playing with texture paste and stencils, and the new Andy Skinner stencils are so great.


Random torn book pages and torn tissue tape create some extra architecture around the pages, and I already pretty much knew by this point where I wanted my women to go.


I did some inking with Pumice Stone, Frayed Burlap, Faded Jeans and Chipped Sapphire, and then decided the ATCs needed to be glued in so that they would start to get "embedded" into the page.


I did some Harlequin stencilling with Chipped Sapphire, then went over some of it in Picket Fence Distress Paint with the stencil slightly shifted for a dimensional effect.  I decided I wanted a bit more texture, so I dabbled some gesso through some of the diamonds with a hard bristle brush.


Lots of stamping: beautiful flowers from the Botanical Plate 1...


... butterflies from Insects and Butterflies, the delicious little Calligraphy Mat 19...


Then I had a wonderful time adding the Mini Polka Dots, first in Cobalt Archival, and then in Picket Fence Distress Paint - love this look!


Time to pay some extra attention to my dimensional Andy Skinner flourishes...


... some more layers of ink and paint, building depth, and finally some dry-brushing to highlight the textural detailing.


I'm a bit in love with Pumice Stone - it gives such a brilliant look of aged stone... predictable, I suppose, given the name!

And then, of course, there's the sentiment.  It's from the new Tim Holtz Way With Words set, and it speaks to me very loudly at the moment, since I'm about to head into some work that demands one of my "other me"s, wearing a different hat, and one that weighs quite heavily.


Can I keep this new creativity alive and bubbling once all those demands start being made on my time and energies (physical, mental and emotional)?  I hope so...


It went through several versions - dark ink, pale paper; pale ink, dark paper; dark ink, tissue paper... 


but in the end there was something about the paler words that said something more profound about a lighter presence in the world.


So I finished up with Vanilla White embossing powder stamped on some of the reverse sides of the Crowded Attic papers, and then inked of course.


I know that this may seem a slightly downbeat debut, but the good news is that creating this page certainly seems to have been therapeutic - on the crafty side, if nothing else.  All sorts of far more cheerful and colourful creations are bubbling up over at Words and Pictures over the next few days!


Having said that, I really love the pages I've ended up with - it did me good to just let my crafty heart lead the way.  I hope it offers you some inspiration (or at least food for thought).  If so, come and play along with our Words challenge this month... love to see you there.

Thank you so much for stopping by today, and I'll see you again soon - hopefully with a shorter post next time!

Here's what I used; click to go straight there:
Artistic Stamper stamps: Gibson Girls Plate 1Botanical Plate 1Insects and Butterflies No.1Mini Polka DotsMini Calligraphy Mat 19
Stampers Anonymous: Way With Words
Gesso
Texture Paste
Andy Skinner: Baroque
Crafter's Workshop: Mini Harlequin
Idea-ology: Sketchbook Tissue Tape
Distress Ink: Chipped Sapphire, Faded Jeans, Frayed Burlap, Pumice Stone
Archival Ink: Jet Black, Cobalt
Distress Paint: Picket Fence
Wow Embossing Powder: Vanilla White
From my stash: other acrylic paints, book pages, journal