Showing posts with label Carte Postale Stamp Set. Show all posts

Friday, 19 June 2015

Hello Mr Postman !

And hello you Happy Crafters !
Since Summer is still on its way, I have made my second project for June to help you participate in the June challenge if you miss inspiration... and at the same time make your postman's day !

Always have 2 or 3 blank envelopes on your craft table to wipe your leftover paint or ink on stencils or stamps.

After using the Marbled 2 Background stamp with Broken China Distress ink, spray it up with water and wipe it on your envelope :

This will create a blurred wavy background. Let it dry.


Then you can stamp the Cogs Background here and there on the edges to leave room for the name and address, with Faded Jeans and Chipped Sapphire  

And stamp the wheel from the Seaside No. 1 # 018 plate with Cobalt Archival


Also you may stamp the tag from the Labels A6 plate just to help write name and address.

The Special Delivery stamp comes from the Carte Postale size A5 © Katy Fox plate
the seashell stamps come from the  Seaside No. 1 # 018 plate

Thanks so much for stopping by,
your comments are very much appreciated.
I hope you will participate in our June challenge
 to win some fabulous Artistic Stamper stamps.

Titbelsoeur

Monday, 19 January 2015

Calendar ATBs by Titbelsoeur

Hello happy crafters ! Today I want to share with you the way I made a perpetual calendar with 4 blocks :


I found the template here but I am sure you will find some anywhere on the internet. 

Sorry for the bad pictures, there was very few light in my room when I made these blocks. 


I cut 24 2'x2' squares from a scrapbook paper. Did some ink tests and decided to use Antique Linen, Buldled Sage and Tumbled Glass distress inks :


 Here are some squares  stamped with butterflies, watches, postcard and Ephemera


I then stamped numbers and months with black Archival, and glued the squares on to the template :


 Fold and glue, and.... tadamm ! here they are :


Thanks so much for stopping by,
your comments are very much appreciated.
Don't forget to participate in our monthly challenge to win some fabulous Artistic Stamper stamps.

Titbelsoeur

Friday, 3 October 2014

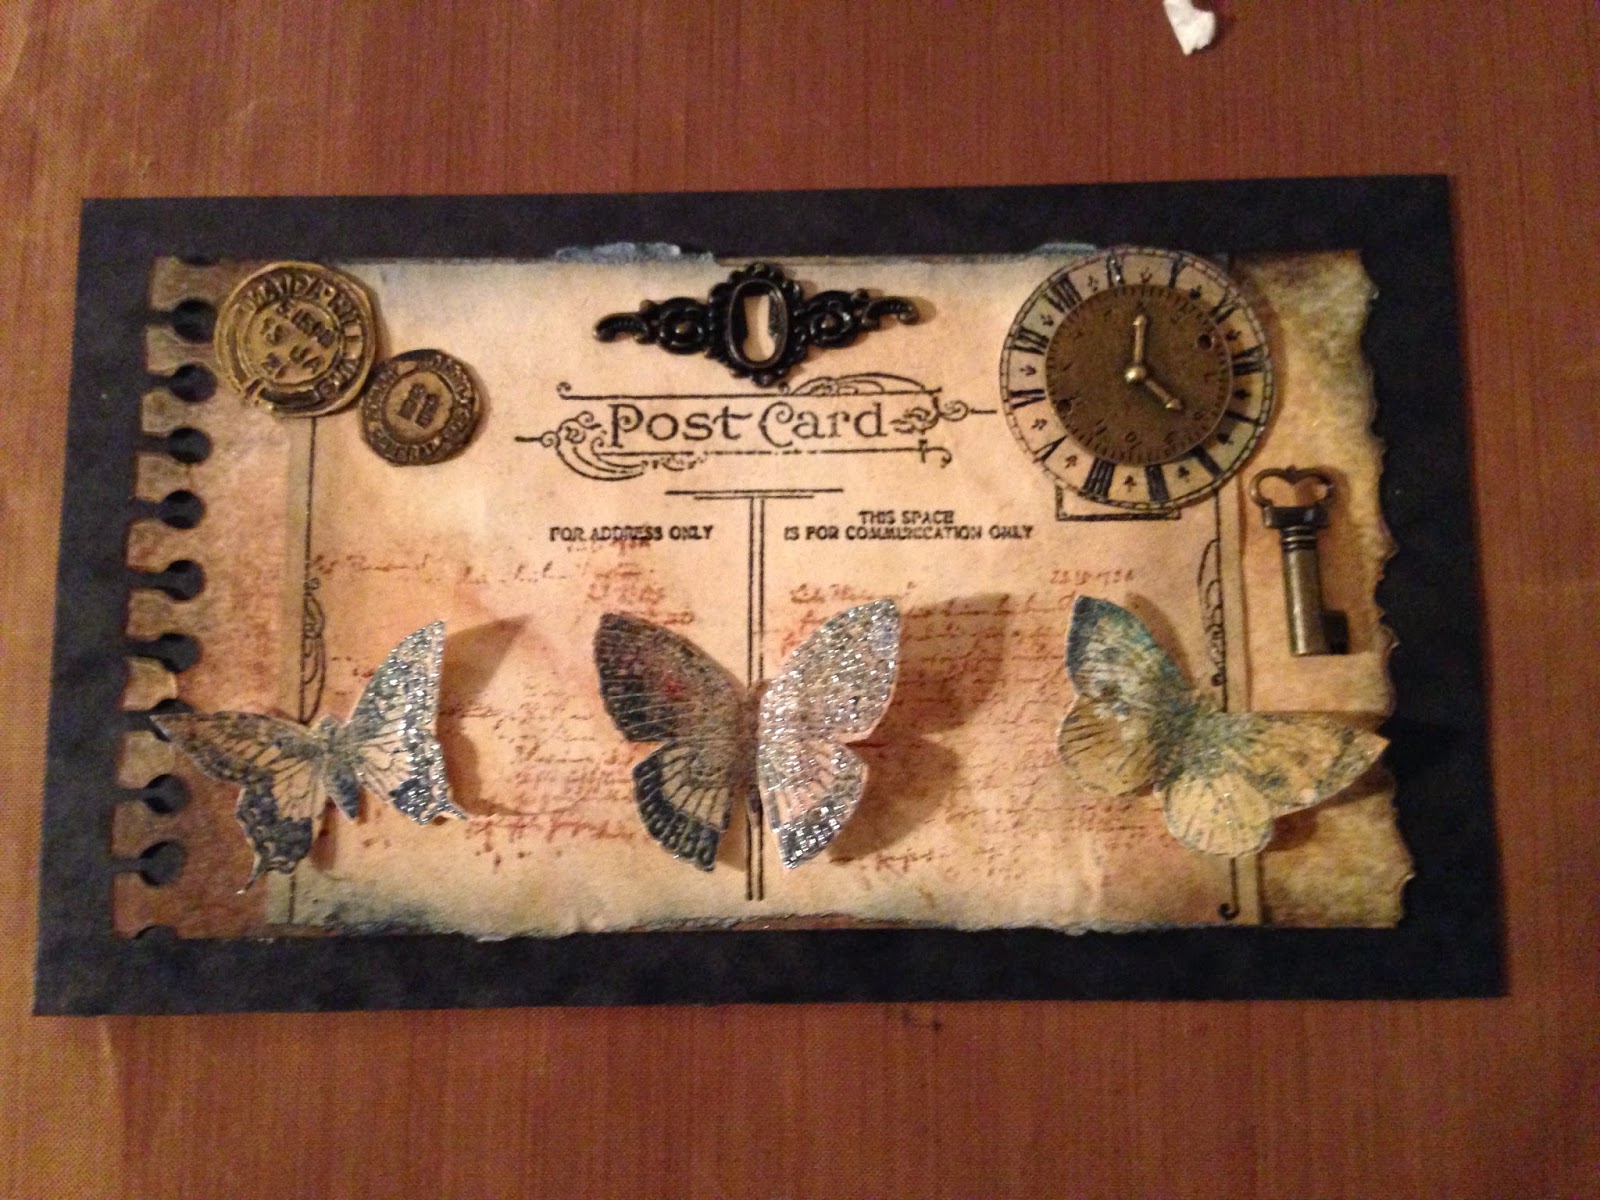
Post Card from Maida.Hill


Hi everyone hope you are all well. Today I am bringing to you a 
project using the lovely Carte Postale plate from the 
Artistic Stamper 


I also used the butterflies from the insects & butterflies plate and the small
 clock from the tick tock plate.


Firstly I coloured a lightweight card with distress inks in 
scattered straw, antique linen with a bit of
Vintage photo.


I die cut a piece of thicker card with Tim Holtz on the edge die torn notebook.
I coloured a second piece with the same colours and edged
 with black soot distress ink.


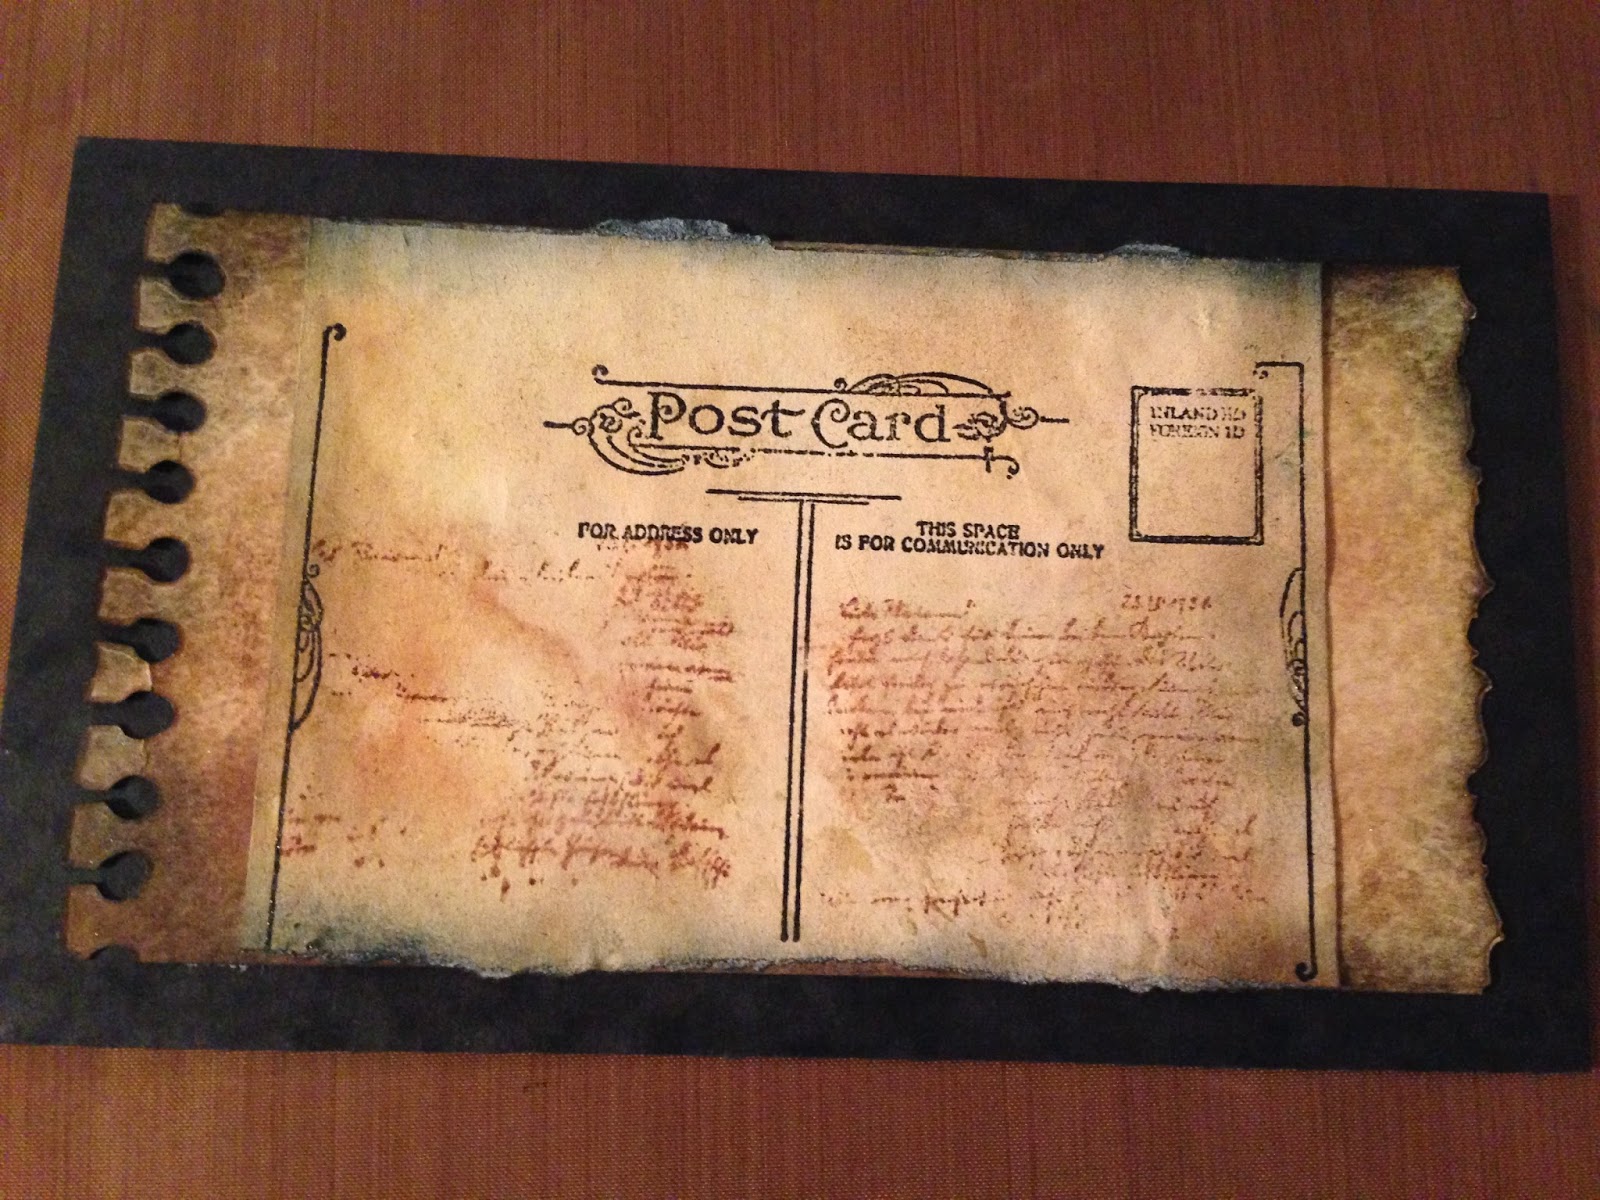
I stamped the post card stamp onto the lighter card in versafine onyx black
and clear embossed it 


Next I stamped the script from the carte postal stamp in 
vintage photo.


I knocked it back a bit with a baby wipe.


The clock face was stamped onto distress coloured card 
and clear embossed the butterflies were stamped in 
chipped Sapphire distress inks and clear embossed
then gently sprayed with mica spray. 


The post marks were triple embossed with gold embossing powder,
and then cut out and fixed. 


Finally I added a brass clock to sit over the clock face, a final sweep
with black soot distress ink, a keyhole and key 
glued it all onto black card to 
complete the project.


Thank you for stopping by hope this project inspires you to 
dig out your distress inks and have a play.
Have a great day!
Cheers Dee x


Tuesday, 23 September 2014

Measured Time Part Two Time Flies


Hi everyone, I hope you are all well I have for you today the second part 
of my original tag that went towards making Measured Time, (please
see 10th september post on this blog)
and now Time Flies.  


The instructions on how to make the base tag are on the post
Time Measured.


Here's a few photo's below of the original tag, The paste I used to 
put through the artistic stamper stencil Splats and was a crackle paste.
I enhanced the top with fired brick distress ink 
blended on with a blending tool.


Water colour paints and distress inks were used to colour the original 
tag and The Artistic Stamper Stamps were Numerical plate ,


I triple embossed black card with gold embossing powder and stamped
 the artistic stamper post mark from the Katy Leitch carte postal plate.
I used grunge board for the clock and used the Tim Holtz 
clock die. I coloured the clock and embossed it to
 look like old rusted metal.


I used Viva Ferro Graphite I put it on the top 
of the tag with a palette knife.


I stamped the dragon fly from the Artistic Stamper insects and butterflies plate,
onto a piece of card. I coloured the card with metallic
 paints. I used Versafine Onyx Black and then used
 clear embossing powder over & heat set.


I cut out the wings and used beads from my stash to make up the body 
for the end of the tail I used Ranger gold Stickles.


I attached the dragonfly to the clock from the Tick Tock 
plate which had been embossed onto whites card
that had been coloured with broken china 
and spiced marmalade distress ink.


I assembled it all together and attached the postal marks
over the graphite which had been enhanced with 


That's it for today, I hope you have all enjoyed this two part 
project. Thank you for stopping by and please feel free to 
let me know what you think.
Cheers Dee x


Wednesday, 6 August 2014

Sardine can by Titbelsoeur

Hello happy Readers !
My project of today is an altered sardine can. I have started stamping a very old envelope with stamps from the Ephemera 1 and Carte Postale plates to make my background


Here are the items I was planning to add to my project, I haven't used all of them. 
I have stamped the Gibson girl from the 2nd plate and colored it with watercolors :


I have sticked it on the top of the can to make volume :


And made a garland with book pages that I glued to the back of the can :


Thank you so much for stopping by, I am looking forward to reading your comments below...
Wishing you a very good summer time !
A tout bientôt !

Tuesday, 21 January 2014

Hanger with my granny's postcards...

Salut la compagnie, this is Titbelsoeur here !
Today, my project for the Artistic Stamper's CT is a hanger I have made placing each element on top of the other one...

the support is a cloth label you see a bit of at the very bottom of the picture.
the 2nd layer is a piece of cardboard I have distressed with gesso, walnut stain and black paint
on top of it, I glued a book page, a flower-stamped tag and a paper mat, all distressed,
then added a photo negative and the cupcake-cloth label
And on the top, the post card stamped on painting paper.
After that, I slipped the 2 old post cards between the label-support and the cardboard, and made them solid to the string with a tiny clothespin.


The Artistic Stamper's stamps I used to make this hanger are :


post card, address and text from the Carte Postale size A5© Katy Fox
flower from the Encyclopaedia Botanica Size A5 © Katy Fox
and you may find both HERE

I would be very happy if my make inspires you, thank you so much for stopping by, I am looking forward to reading your comments !
A tout bientôt,

Saturday, 2 November 2013

Postcard wallet and gift set - Chris Dark


Hi everyone, Chris (sketching Stamper) here today and I'm delighted to be joining in with everyone as guest designer for November, so a big thank you to Jennie and Emma for the invitation.

For my first of three guest designers posts I've made a postcard wallet and postcards in a mixed media style.
Everything is made from 300gsm watercolour paper which will stand lots of  ink and paint layers. I cut everything to size using the postcard template stamp from the Carte Postale stamp set by Katy Fox.


For the backs of the postcards  I stamped all the stamps from the set in waterproof ink so that whatever ink or paint was picked up during the creation of the fronts of the postcards would stay put.

My first postcard front uses the gorgeous large flower image from the Encylopaedia Botanica stamps by Katy Fox and I've given the stamp a different look by using it as a template for a painterly style using acrylic paint and black india ink. The mixed media background is made up of several layers of paint and stamping in ink and paint to give depth and I added doodles with the black ink and a white gel pen. For all of my stamping I used combinations of the following stamps and stamp sets:

Regency, Harlequin and grid background stamps, the A5#1 Borders set, the Swirls, Splats and Dots set, the Encylopaedia Botanica set and stamps from the Carte Postale stamp set by Katy Fox.


To achieve this painterly look for the flowers I stamped in black ink over the mixed media background and then painted the image with Distress and DecoArt Americana paint making sure to go over the stamp outline. When the paint was dry I used a dip pen and black india ink to add the outlines back in. The same outlines and shading can be followed by stamping down onto scrap to use as a guide but I didn't do that on this occasion. The outlines can be omitted to give yet another look.


All the postcards were finished off with ink splats by tapping the dip pen over the card and a coat of sealer to give a slightly glossy postcard look.


 The wallet is again painted and stamped mixed media style with variations of the above listed stamps. To create the wallet I measured a postcard, allowed some room all around, multiplied by three with a few millimetres extra for the folds. After cutting to the desired width and depth I scored into thirds, cut off a portion of the card on the right side, folded in and taped down to form a pocket. I coloured some seam binding ribbon with paint and taped it to the back of the central third and tied round to close the wallet up.

I was also able to create a gift set this week for a family birthday and used the Regency Background stamp with Faber-Castell Gelato sticks direct to stamp for the varigated background paper for the card and to cover the plain white card of the die cut box. A pretty, girly effect is achieved using the same gorgeous background stamp that I used for the mixed media effects above by using a different medium and a more pastel range of colours. 


Hope you have some creative time today and I'll be back with my second project in a couple of weeks.

Chris x

Monday, 2 September 2013

Sewing Lady by Sue Carrington

Hello! It's Sue here and very excited to be guest designer for September, thank you Jennie and Emma ! For my first project I wanted to use the gorgeous stamp of the lady sewing from the Dressmaking 001 set.


I've used a piece of grey board and started by spreading Grunge Paste over the Art is stencil in random areas on the board.


Once this was dry I then painted the whole board with Vintage Lace Fresco Finish paint. Then I used Cut 'n' Dry foam and sponged more Fresco Finish paint around the edge and over the embossed text to highlight it.


I then used the Spinning Top stencil and the Swirly Vines stencil, again using Fresco Finish paint. I've added some text using the stamp from the Carte Postale set and Coffee Archival ink. I then brushed some Treasure Gold around the edge and rubbed some over the raised, embossed text.


I stamped the beautiful sewing lady onto some Specialitiy Stamping paper and blended some Victorian Velvet Distress Ink around the edge. I've mounted her onto some card that I've stamped with a stamp from the Stitch in Time set using Coffee Archival ink.


The cotton reels and thimble have been stamped onto pieces of paper from a book that have been stuck onto Grunge paper. The tape measure has been made using the stamp from the Stitch in Time set and I've blended Vintage Photo and Walnut Stain Distress Inks over it. The little paper roses are from my stash and I've rubbed Victorian Velvet Distress Ink over them. For the dress form I've stuck some more paper from an old book on to some Grunge Paper and die cut the shape. The sentiment is from the Stitch in Time set and I've cut it into separate pieces so it would fit on the design.


The little bird cage has been painted with Fresco Finish paint, once it was dry I added a coat of Crackle Glaze and then a further coat of Fresco Finish paint. To finish I added some buttons and some lace from my stash.

I hope you've enjoyed my first project and I'll be back later in the month with my next one !

Sue
x