I was gonna title this "come on Eileen".....but I thought you would be singing it all day then!!..oops!!. lol Anyways, still got my Eileen obsession going on, how are you managing yours?!!. I turned her treasure box into a chest of drawers, aint it just the cutest!!. I have stamped the papers that cover it with the fabulous MARBLED BACKGROUND stamp. You might ask what has this to do with new growth, which is the theme for this months challenge!!...well you will have to wait and see what else I do with it in my next post. I look forward to seeing your "new growth" creations.
Showing posts with label Marbled Background. Show all posts
Thursday, 4 April 2019
Monday, 7 August 2017
Mail art envelope by Titbelsoeur
Hello happy crafters !
This is Titbelsoeur today to present you a customized envelope to send to your mixed-media friends all the treasures you collect during your holidays !
I have used the same technique as to decorate a LP record here : A summer wall hanger by Titbelsoeur
and used the very same stamps, for a beachy atmosphere :
the umbrella from Seaside No. 1 A5
and used the very same stamps, for a beachy atmosphere :
the umbrella from Seaside No. 1 A5
Would you like to win these fabulous stamps ? Easy : just participate in our monthly challenge "Anything goes" for 3 chances to win !
Thank you so much for stopping by.
Your comments are very much appreciated here, on my blog
Titbelsoeur
Wednesday, 19 July 2017
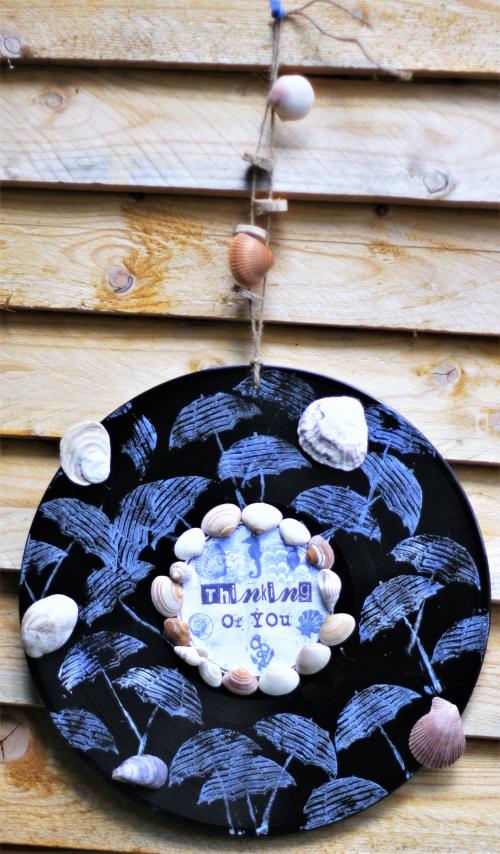
A summer wall hanger by Titbelsoeur
Take a LP record, blue and white acrylic paint, a small size gelli plate, some seashells... AND stamps from The Artistic Stamper, and let's go !
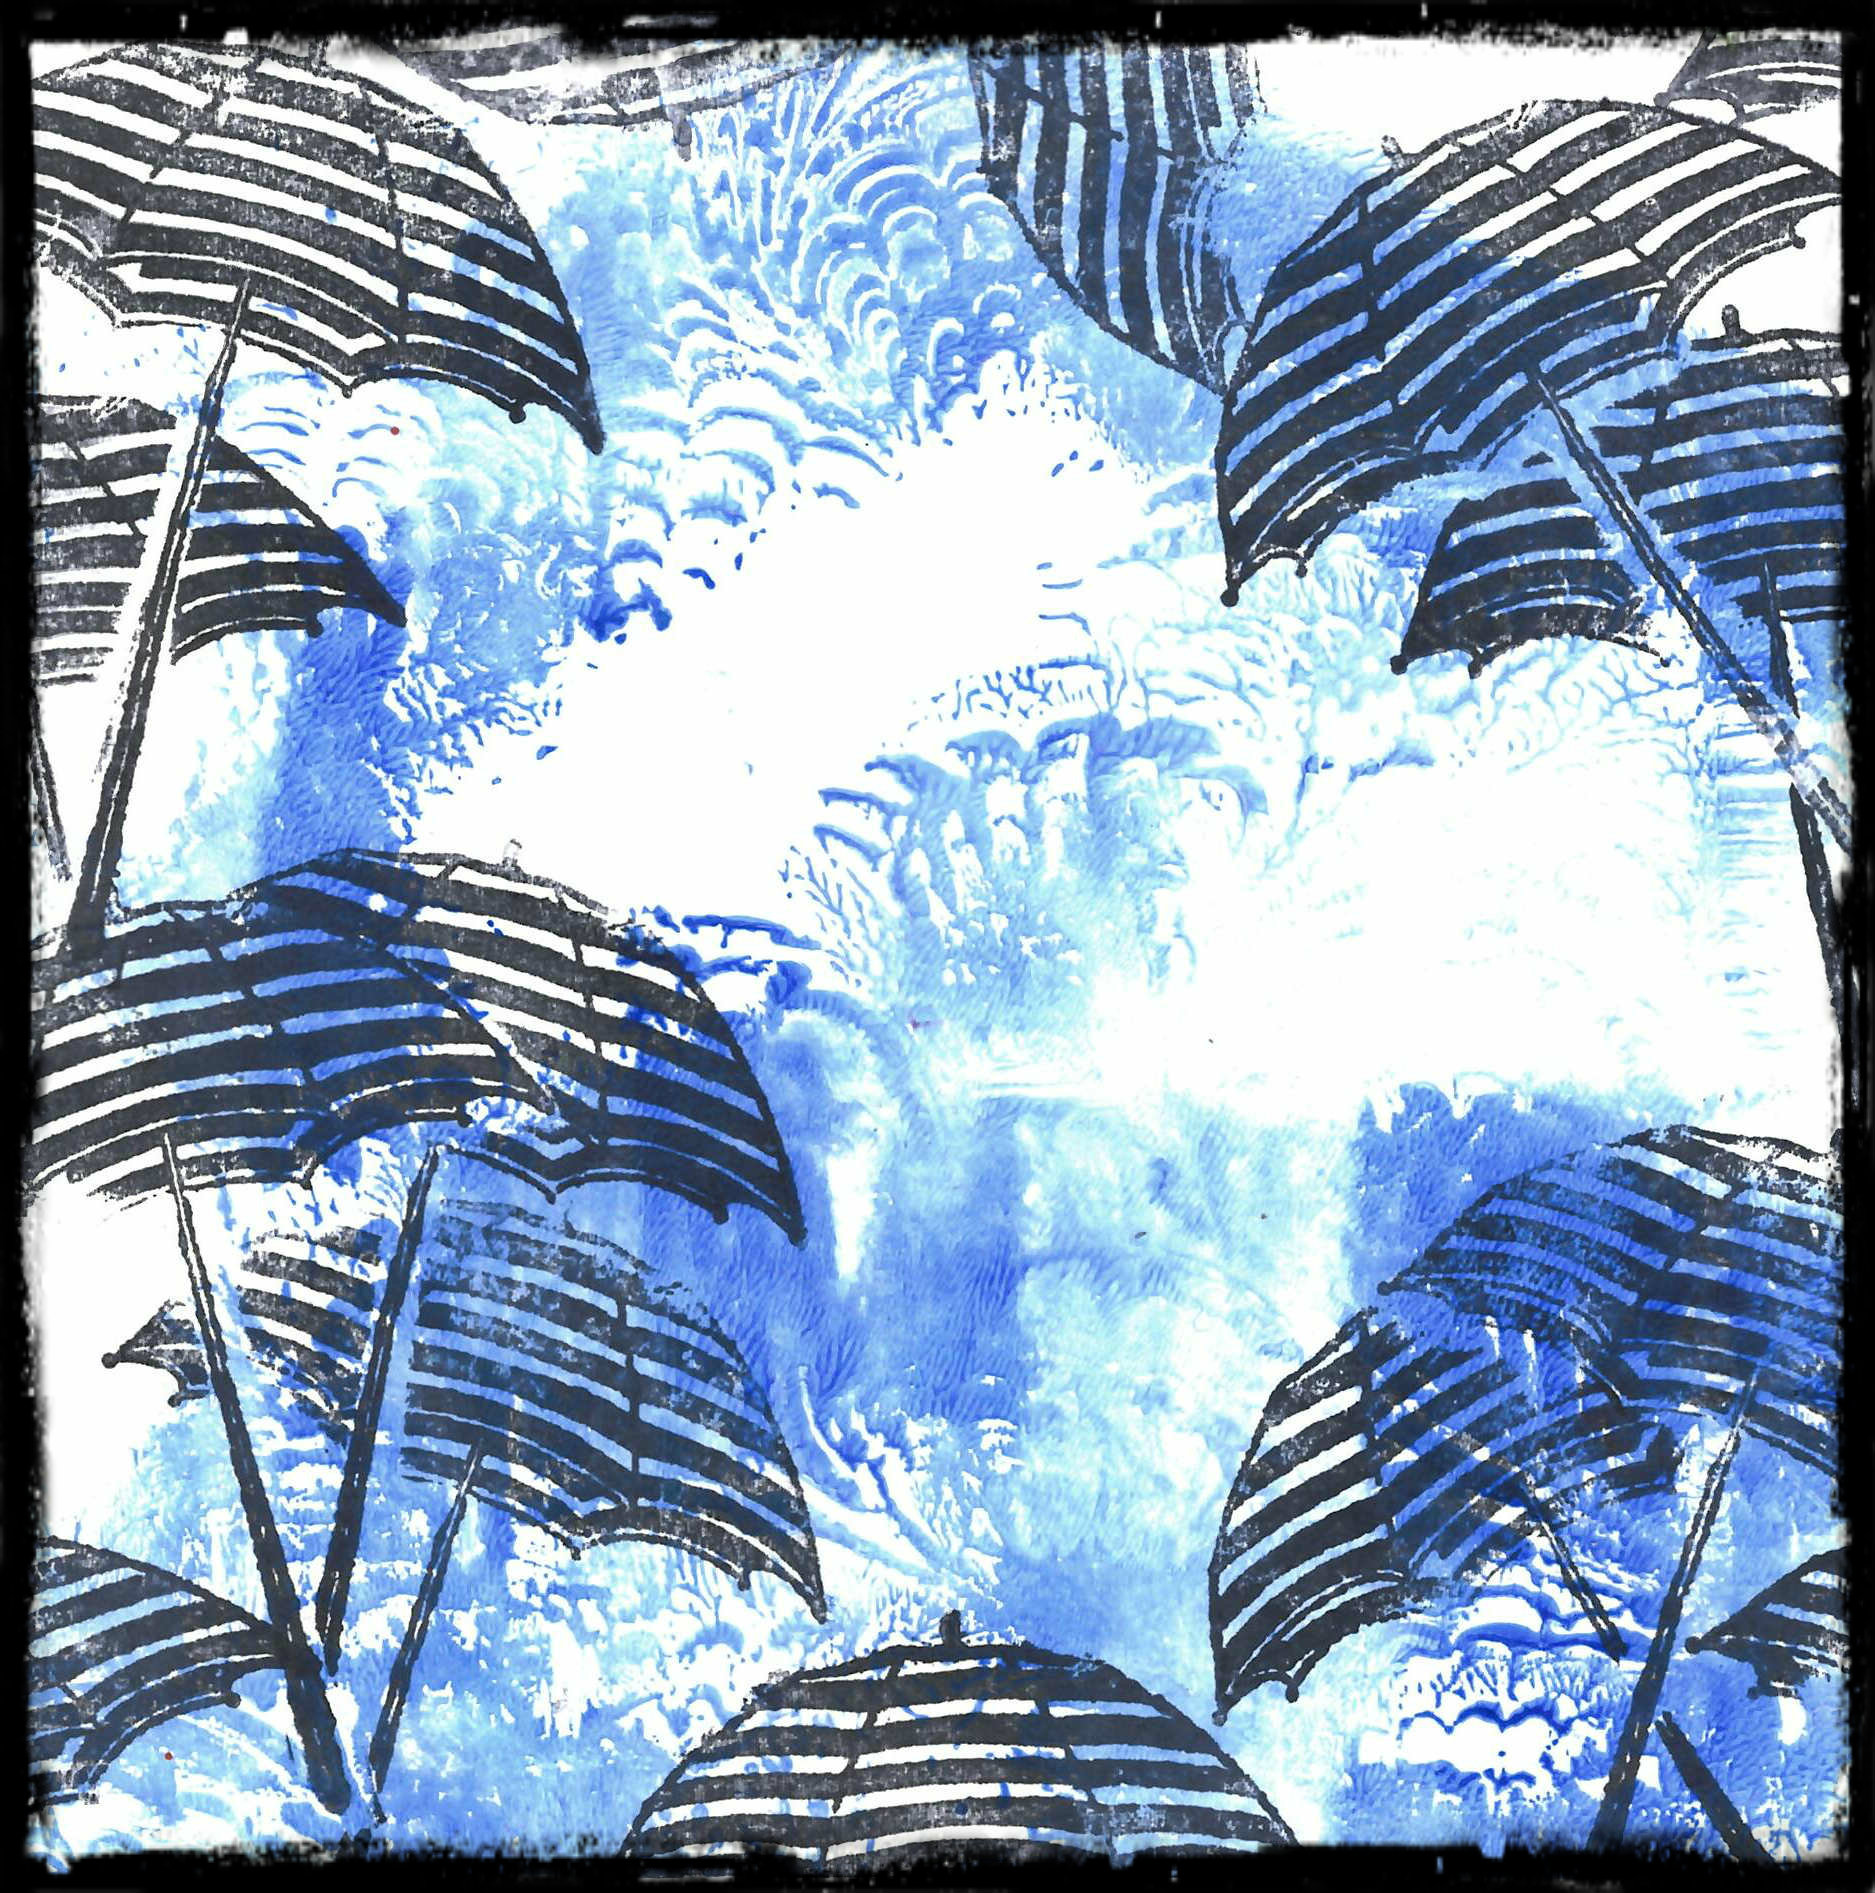
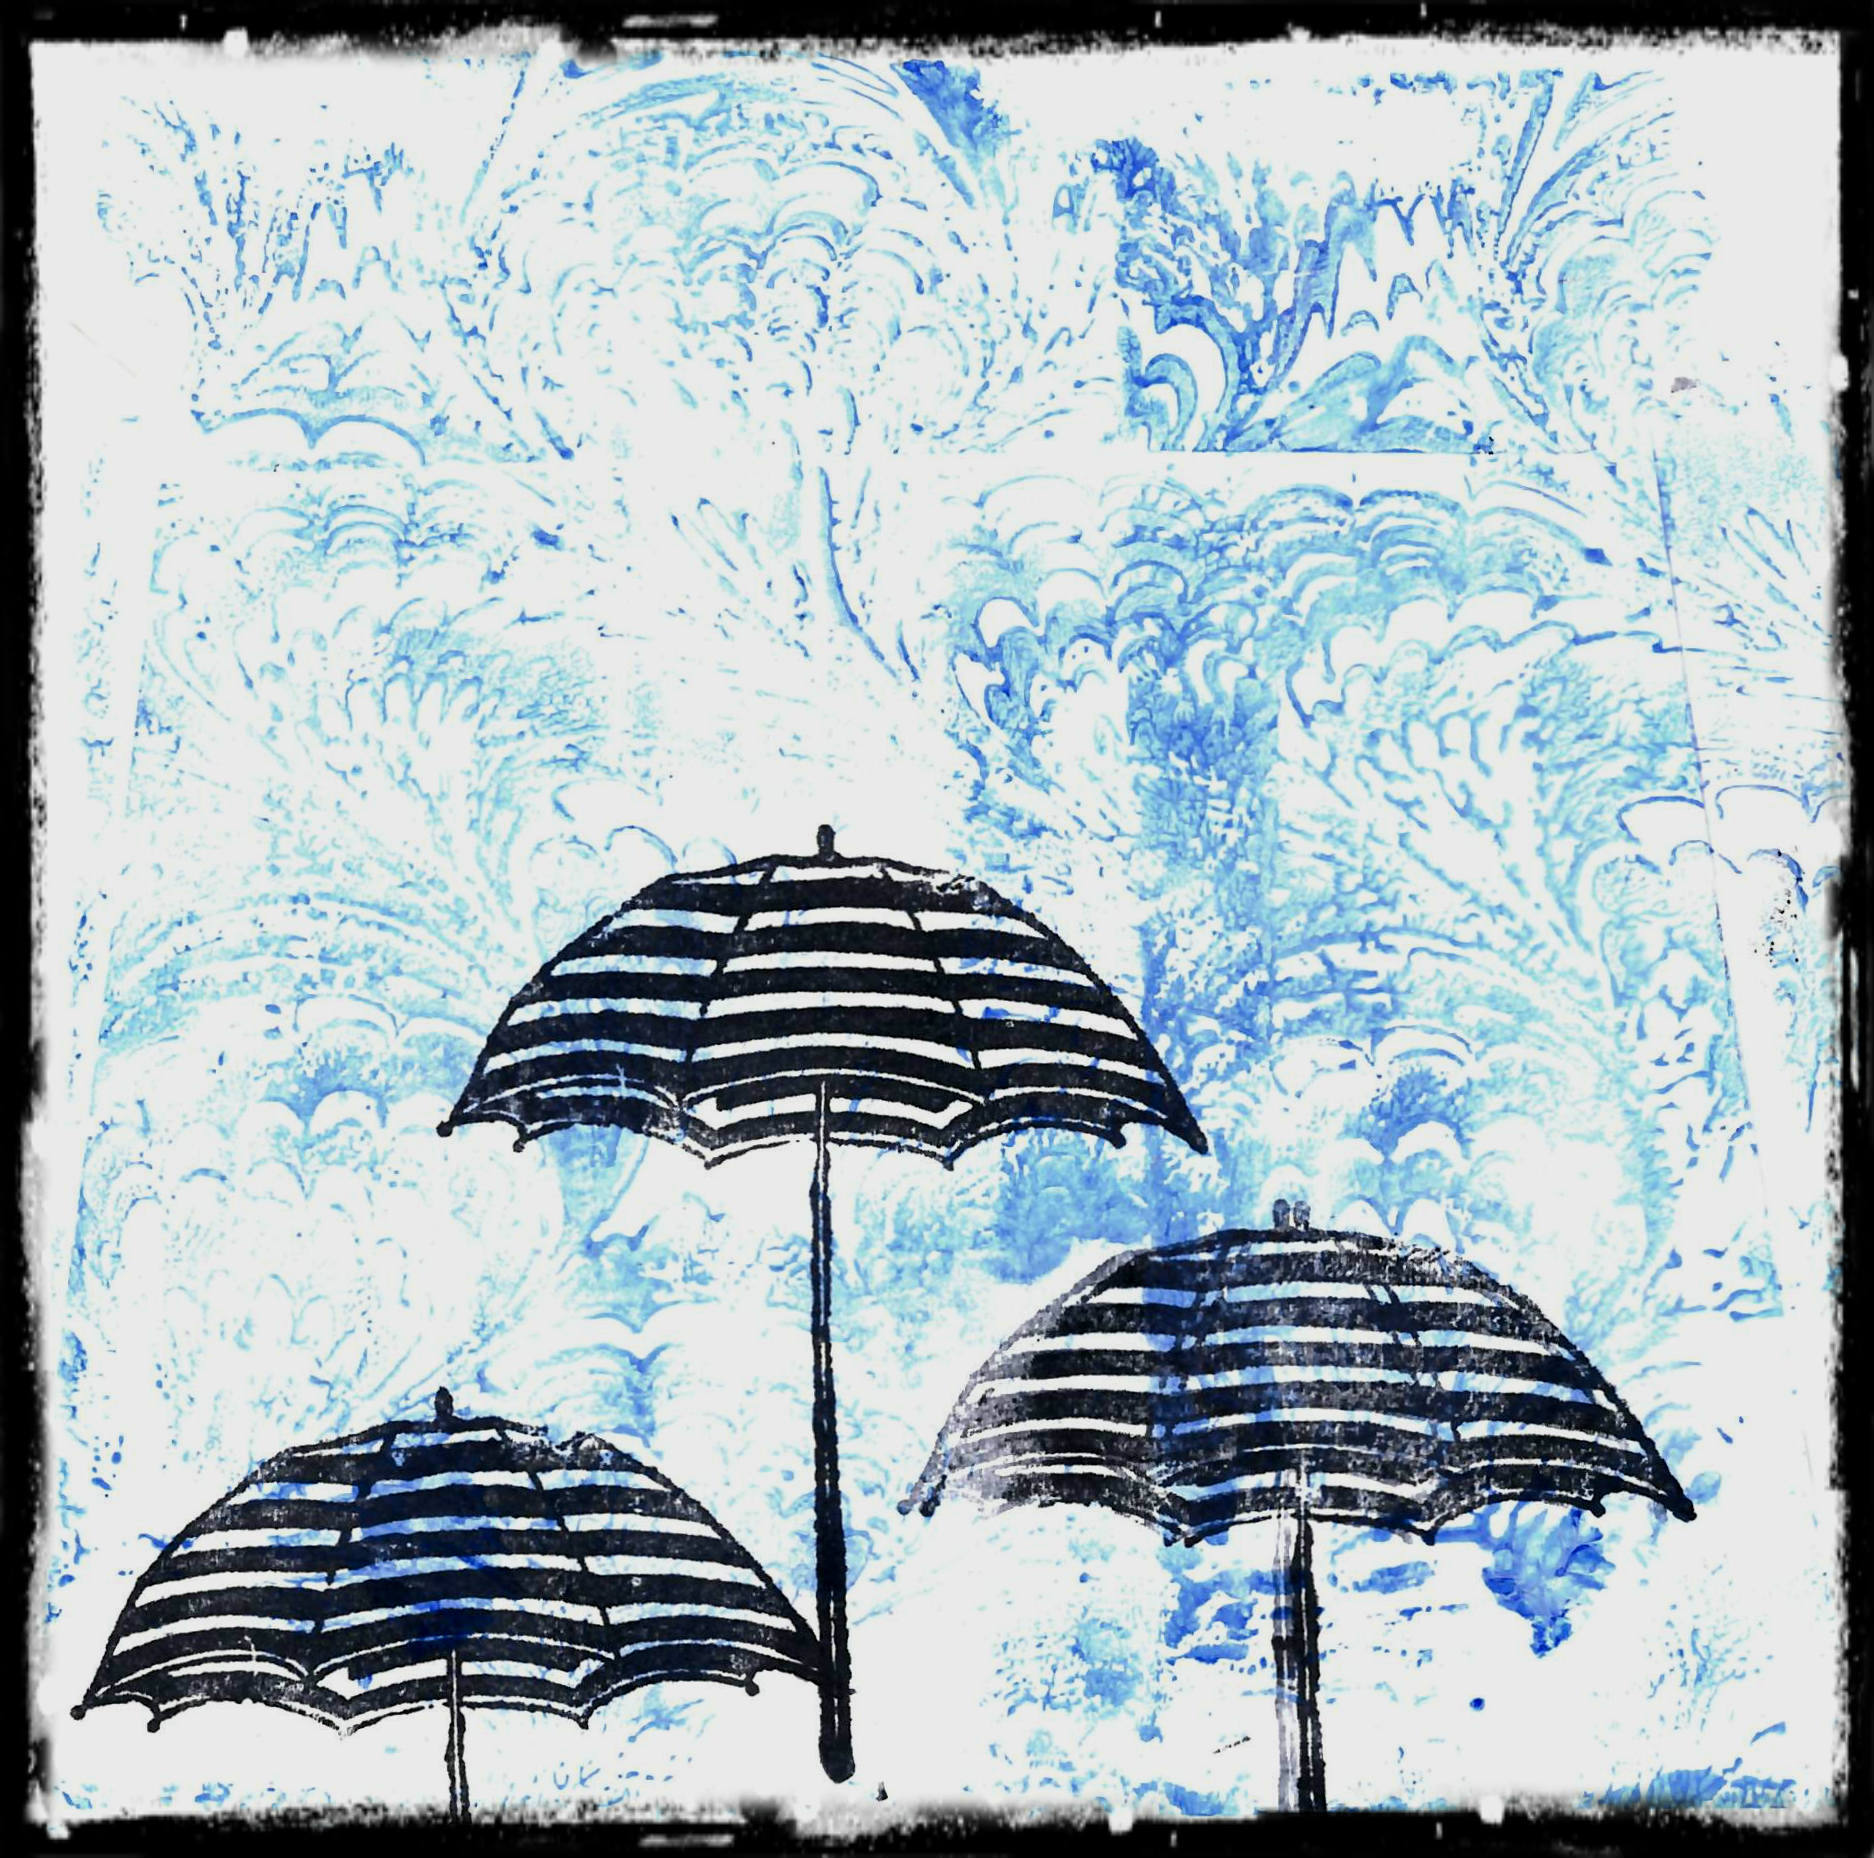
First apply paint on the gelli plate to ink the umbrella from Seaside No. 1 A5, and stamp it here and there on the record :

Then, apply white and blue again on the gelli pate and stamp Marbled Background #3 C128 © CaroLines on it, then stamp it on the paper, and apply the plate on another paper, to choose your background. When chosen, cut a circle in it and stamp seahorse and seashells on it, and then the sentiment from Grungy Greetings #2 A6). Then stick it on the circle.

And you may now decorate it with shells, cut corks, string, etc...

First apply paint on the gelli plate to ink the umbrella from Seaside No. 1 A5, and stamp it here and there on the record :

Then, apply white and blue again on the gelli pate and stamp Marbled Background #3 C128 © CaroLines on it, then stamp it on the paper, and apply the plate on another paper, to choose your background. When chosen, cut a circle in it and stamp seahorse and seashells on it, and then the sentiment from Grungy Greetings #2 A6). Then stick it on the circle.

And you may now decorate it with shells, cut corks, string, etc...

Would you like to win these fabulous stamps ? Easy : just participate in our monthly challenge "Black & White" for 3 chances to win !
Thank you so much for stopping by.
Your comments are very much appreciated here, on my blog
Titbelsoeur
Thursday, 4 February 2016
Heart Art Part II The Love Letter by Dee
Hi Everyone Dee here today with the second part of my post and
continuing the theme heart art. This is the inside of the box and is
called the love letter as she has it all secreted away in her love
box the photo of her love and his letters all held
together with a gold heart.
I painted the inside of the box with distress paints and spritzed them so the
colours mingled together to give a lovely warm red.
For the letter I used an old craft coloured envelope which I stamped with
the Calligraphic Mat 12 and used Distress inks both Walnut Stain &
Vintage photo. Around the torn edges I distressed with
running vintage photo round.
I glued two different sized beer mats together to create my note photo
keeper. this was coloured with the same distress paints that were used
on both the lid and the inside of the box.
This was then stamped with the bark background stamp from The
Artistic Stamper, Archival ink was used on the stamp & black soot
was applied to the edges of the matt.
I tore a strip of the craft paper off and stamped with the calligraphy matt
in black archival and glued it down the middle of the matt.
Gold embossed heart see link here to previous post for the box. The photo's
were then attached as was the film strip which I attached with
glossy accents.
The ornate corner was then applied.
Well that about sums it up I hope you have enjoyed this post as much as
I have creating it.
If there is anything you are not sure of please contact Jennie at the shop I am sure she will be able to get it for you. I hope you all have an amazing Valentines day and see you again towards the end of the month. Please feel free to leave a comment as these are what inspire me
and make doing these projects so rewarding.
Cheers Dee x
Products Used
- Artistic Stamper stamps:- Calligraphic Mat 12, Bark 2 Background, Doodle Bubbles Background size A6 & Neil Walkers Large Heart.
- Distress Paint in the following colours:-Barn Door, Fired Brick, Spiced Marmalade, & Wild Honey.
- Distress ink:- Vintage Photo, Walnut Stain & Black Soot.
- Jet Black Archival Ink.
- Gold embossing powder & & Embossing ink pad.
- Other pieces from my stash to include film strip Tim's Ideaology, beer mats, Old photo's, brads & Metal Ornate Corner.
Friday, 19 June 2015
Hello Mr Postman !
And hello you Happy Crafters !
Since Summer is still on its way, I have made my second project for June to help you participate in the June challenge if you miss inspiration... and at the same time make your postman's day !
Always have 2 or 3 blank envelopes on your craft table to wipe your leftover paint or ink on stencils or stamps.
After using the Marbled 2 Background stamp with Broken China Distress ink, spray it up with water and wipe it on your envelope :
This will create a blurred wavy background. Let it dry.
Then you can stamp the Cogs Background here and there on the edges to leave room for the name and address, with Faded Jeans and Chipped Sapphire
And stamp the wheel from the Seaside No. 1 # 018 plate with Cobalt Archival
Since Summer is still on its way, I have made my second project for June to help you participate in the June challenge if you miss inspiration... and at the same time make your postman's day !
Always have 2 or 3 blank envelopes on your craft table to wipe your leftover paint or ink on stencils or stamps.
After using the Marbled 2 Background stamp with Broken China Distress ink, spray it up with water and wipe it on your envelope :
This will create a blurred wavy background. Let it dry.
Then you can stamp the Cogs Background here and there on the edges to leave room for the name and address, with Faded Jeans and Chipped Sapphire
And stamp the wheel from the Seaside No. 1 # 018 plate with Cobalt Archival
Also you may stamp the tag from the Labels A6 plate just to help write name and address.
The Special Delivery stamp comes from the Carte Postale size A5 © Katy Fox plate
the seashell stamps come from the Seaside No. 1 # 018 plate
Thanks so much for stopping by,
your comments are very much appreciated.
I hope you will participate in our June challenge
to win some fabulous Artistic Stamper stamps.
Titbelsoeur
Friday, 28 June 2013
Up Up & Away One Last Time! By Anita Houston
Hello Artistic Stampers! Anita Houston of the Artful Maven, here one last time to bring you my last whimsical steampunkish canvas using these amazing red rubber stamps! I really have had the best time creating these three pieces (Project 1, Project 2), and have enjoyed reading all the comments and emails about them, as well as bribes to attain them ;0) !!! I do hope you didn't find them monotonous as they are very much alike, but each one has different motivational and inspirational intonations, and not only would they look well together but also apart.
I just love the quote on this sentiment stamp. It really has so much truth to it, and time flies so fast that sometimes we fail to realize the importance of the here and now.
Thank you all so much again, and huge thanks to Jennie and Emma for having me this month! It has been an honor to say the least!
I just love the quote on this sentiment stamp. It really has so much truth to it, and time flies so fast that sometimes we fail to realize the importance of the here and now.
![]() |
| I started by stamped the Marbled Background in Sepia Archival and heat embossing it in Ranger's Clear Embossing Powder, and did the same with the clock image from the Tick Tock Set, except in Jet Black. |
![]() |
| Using the swirl from the Tick Tock Set, I stamped it Snow Cap Paint Dabber, so it would resist the Ink Sprays that would soon come. I stamped the phrase from the Journaling Words 3 Set. |
![]() |
| I sprayed a piece of tissue paper in Melted Chocolate, Pure Sunshine, and Black Marble Dylusions, then stamped the clock from the Time & Keys Set in Copper Paint Dabber. I cut it out. |
![]() |
| I adhered the the clock face to the center of the clock, to be the sun's face. |
![]() |
| I stamped the two smaller watch faces from the Time & Keys Set in Copper and Silver Paint Dabbers, and the larger watch face from the Watches Set in Gold Paint Dabber, all on Specialty Stamping Paper. |
![]() |
| I gave the faces the same Dylusions treatment, and then cut them out. |
![]() |
| I die cut the butterflies from Tim's Sizzix Alterations Movers & Shapers Mini Butterflies Set, and colored each with the metallic dabbers. I adhered the gears and attached them to the watch faces. |
![]() |
| I stamped the key from the Time & Keys Set in Gold Paint Dabber onto the corrugated kraft paper, as well as the makeshift ribbon from the Border A5 Set using Jet Black, and cut them out. Every thing got a good inking using Black Soot Distress Ink. |
Subscribe to:
Posts (Atom)