Showing posts with label Time and Keys plate. Show all posts

Saturday, 24 October 2015

Franswar stepper card by Debs

Hi All
Debs here with another project for you, thought I would do a stepper card for you


This card is really easy to make providing you get the dimensions right to start with. I used a piece of Ranger Manilla card for this one which is not a standard UK size but it works the same with an A4 piece of card. Below is photo of the dimensions I used.


The key is to pencil mark of the size of the left hand panel and then work from the top of the card make a mark at 7cm then 14cm, 18cm, 22 and 25cm.

These marks then need to be scored so that the card folds easily. The second fold line needs to go right across the card the others only want to go as far as the pencil line you have done for the side panel.  The pencil line needs to be cut from the first 7cm to fold to the last but not right the way down. 

Once this was all done I coloured the card with Distress Inks using Tea Dye, Rusty Hinge and Ground Espresso. I used three colours on the tag as well I used a Tim Holtz stencil for the background on both the tag and the card. On the tag I used two sets of the Time stamps - Time and Keys and Tick Tock and used the cogs to add some extra background. I also used the cogs to stamp onto shrink plastic with Timber Brown Stazon ink cut them out and heated with a heat gun to shrink and make some embellishments which as I had run out of Tim Holtz ones was quite handy as they were the perfect size.  I also stamped Happy Birthday on to a piece of card using Ground Espresso on Rusty Hinge.

I stamped the cogs over the top with Ground Espresso Distress Ink once that was dry I stamped Neil Walkers Franswar Over the top and coloured it in with the same three colours of Distress Ink Pens


As always don't forget we do look forward to seeing your creations
Debs
xx


Monday, 19 January 2015

Calendar ATBs by Titbelsoeur

Hello happy crafters ! Today I want to share with you the way I made a perpetual calendar with 4 blocks :


I found the template here but I am sure you will find some anywhere on the internet. 

Sorry for the bad pictures, there was very few light in my room when I made these blocks. 


I cut 24 2'x2' squares from a scrapbook paper. Did some ink tests and decided to use Antique Linen, Buldled Sage and Tumbled Glass distress inks :


 Here are some squares  stamped with butterflies, watches, postcard and Ephemera


I then stamped numbers and months with black Archival, and glued the squares on to the template :


 Fold and glue, and.... tadamm ! here they are :


Thanks so much for stopping by,
your comments are very much appreciated.
Don't forget to participate in our monthly challenge to win some fabulous Artistic Stamper stamps.

Titbelsoeur

Monday, 6 January 2014

2014 first resolution !

Bonne année tout le monde !! 

I am glad to "open" the 2014 Artistic Stamper creative year with an interpretation of my first resolution (that may be the only one this year, by the way, so that I am sure I will stick to it anyways ;-) which is stamp, stamp, stamp !
To illustrate this resolution, I have used a Ranger kraft tag as a support and I glued some scrapped papers here and there (book/phone book pages), then sprayed ink on 2 Artistic stamper's masks :  Chevron Mask and Large Sequin Waste Mask to have a colored background.
Then I started stamping... on the background, on a book page, on a cloth label... everywhere I could stamp !!
I hope this first make of the year will tempt you to stamp again and again all over the year !
 

Here are the stamps I have used :
Katy Fox's Handstamped size , Numerical plate and  Messy Art 
Sioux Jenney's dancers 
Journaling Words #5 
Time and Keys 

Thanks for being here, I am looking forward to reading your comments !
Happy stamping !
A tout bientôt !

Thursday, 8 August 2013

Ladies Album part 2 by Titbelsoeur

Salut les vacancières, c'est Titbelsoeur qui vous écrit !

My last post was about this fabric book I made for the first time in my life. And I must admit I am pretty satisfied of the result, for a first attempt ! 

I have made all the pages the same way : randomly sewing pieces of fabric, AND on each page a Lady stamped on a small square of drawing paper.This was a good opportunity to play with my various stamps from the Artistic Stamper, faces and backgrounds !

First I stamped the lady's face, masked it, and then stamped over it. I have chosen to use Gibson Girls, but not only. I have also stamped more contemporary women, like Collage Art, Age Solid , Happy Girl or Kiki 

The various background stamps come from : Encyclopaedia Botanica, A Stitch in Time,
Numerical plate, Journaling Words, Time and Keys ...


Here they are :


 I had a very good time making my first fabric book for you, and I hope you like it,
I also hope I gave you a terrible desire to do the same ! 


Thanks for stopping by, I am like always looking forward to reading your comments !


A tout bientôt !


Thursday, 13 June 2013

A Box with a story

Hi everyone and welcome. Astrid here with my first project for the merry month of June...

I altered a little pencil box that started life as an empty Panpastels box. But before I talk you through how I made it, I better tell you the story behind it that will explain the elements used on and in the box. You see, I am not the only arty one in the family, my husband loves sketching, particularly little town scapes.  He is very good at perspective, something that I am hopeless at. Anyway, whenever we travel and visit a town somewhere, rather than walk round together, he settles down somewhere to sketch, while I do the shops.... (he hates shopping...)We then arrange a time to meet up again, and  inevitably I am  late.... So, to make up for that, I decided to make him a box to keep his pencils in and to say thank you for rarely being cross with me about it.

So here's how I made it:
I started by painting the edges with Walnut Stain Distress Paint. I then covered both the in and the outside with papers from the Tim Holtz Crowded Attic paper collection and Distressed everything with Gathered Twigs Distress Ink .
Next I stamped the clock, key and sentiment from the Time and Keys set, cut them out inked them and adhered them to the box. I then covered the clock with Crackle Accents and the key with Glossy Accents
I decorated the top still with one of the elements from the papers and a pen nib.

 I love how with the glossy accents the key has come out looking so dimensional.
 Same with the clock and the Crackle Accents

For the inside I created a little book out of Kraft card and covered it with more of the papers. The book is made out of just one A 4 sheet, here is a link to a tutorial on how to do this.
The spine was made with an embossed bit of metal from an empty tomato paste tube that a friend gave me.


When I found the "Perfect Attendance Certificate" as one of the elements in the paper stash I just had to stick it on the inside of the lid, and the Painter ephemera bit was perfect for the cover of the book, further enhanced with another pen nib. DH can use the little book to stick some of his favourite sketches in

Th book closes with a ribbon and to finish it I just made a label still with the Scrabble and Tags set.

Oh an just a little reminder, if you haven't entered our Makes for Men challenge yet, there is still plenty of time. Just click on the image in the side bar to see all the deets!
Well, hope you like this little gift set, I had fun making it, thank you for visiting today!


Wednesday, 22 May 2013

Now I have a dryer... by Titbelsoeur

Hi Gals, this is Titbelsoeurs showing you some little things that will once be part of a "big picture"...

I have stamped messages on wooden clothespins, some left natural, others sprayed with Distress ink.
Here they are :


Stamps used :

Numerical Plate, A stitch in Time and Carte Postale from http://www.theartisticstamper.com/katy_fox_stamps.htm
Creative, Imagine, A Journey...,  from http://www.theartisticstamper.com/words_and_sayings.htm
Time and Keys from http://www.theartisticstamper.com/time_stamps.htm 


I hope you like my idea and will copy it ! I will show you what to do with later,
Thanks for stopping by, I am really looking forward to reading your comments !


A tout bientôt !


Wednesday, 13 February 2013

"His and Hers" Key to my heart

Hello everyone it's Astrid here and welcome to the blog. Hope you have enjoyed all the fabulous projects so far this month.
Well, seeing it is the day before Valentine's today, I thought I'd share a quick and easy Valentine's project with you and use this opportunity to wish you all a day full of love and blessings tomorrow☺


This is what I used:
Calligraphic Mat 12
Time and Keys
Girl with Clock
Ideaology Locket Keys
Adirondack Dye Ink Espresso
Archival Ink Jet Black
Claudine Hellmuth  Studio Matt Medium and Studio Gesso
Ranger Acrylic Paint Dabber in Snowcap,Hazelnut and Cloudy Blue
Distress Crackle Paint Clear Rock Candy
Distress Inks in Tattered Rose, Victorian Velvet, Chipped Sapphire, Black Soot and Pickled Raspberry
Viva Ferro texture paste
and from my stash:
Paper Mache hearts with magnet on the back, paper napkin, flowers, stencil, die cut, Onyxite and White Fire Treasure Gold paste.

All right, first for the "His Heart"


I started by covering the heart in two coats of Gesso, followed by a thin coat of Snowcap dabber. I then stamped the Calligraphic mat randomly over both the front and the side of the heart and then covered it with a further layer of watered down snow cap to tone it down a bit. I added a layer of watered down Hazelnut dabber and when that was dry inked all around the edges with the Espresso Dye Ink. Next I stamped one of the keys from the Time and Keys set in Black Archival. I computer generated the sentiment Key to my Heart, cut it with one of my dies and adhered it to the center of the heart. I added a rose and one of the Idealology locks and then brushed some rock candy crackle paint around my embellishments. I finished the edges by rubbing on some of the Treasure Gold. Here are some detailed photos:
One of the keys from the Time and Keys plate


For the "Hers Heart" I started by giving it some textured swirls by scraping the Ferro through a little stencil.

When it had dried (with a heat-gun to make it puff up a bit) I covered the whole thing with a thick layer of Gesso and when dry I painted it light blue. When the paint had dried I collaged part of a paper napkin over it with the Matt Medium and then darkened the edges  with Chipped Sapphire and Black Soot DI. Next I stamped the Girl with Clock on smooth card, cut her out and then coloured her with Tattered Rose, Victorian Velvet, Pickled Raspberry and Chipped Sapphire DI, adhered her to the heart and embellished again with a little flower.


Well, that's it, - hope you enjoyed this little project and thanks for visiting . Happy Valentines!

Tuesday, 2 October 2012

Infernal Devices by Yvonne

Hi everyone, I was so delighted to be invited to the Artistic Stamper Creative team as Guest Designer for October - and it's my birthday this month too!

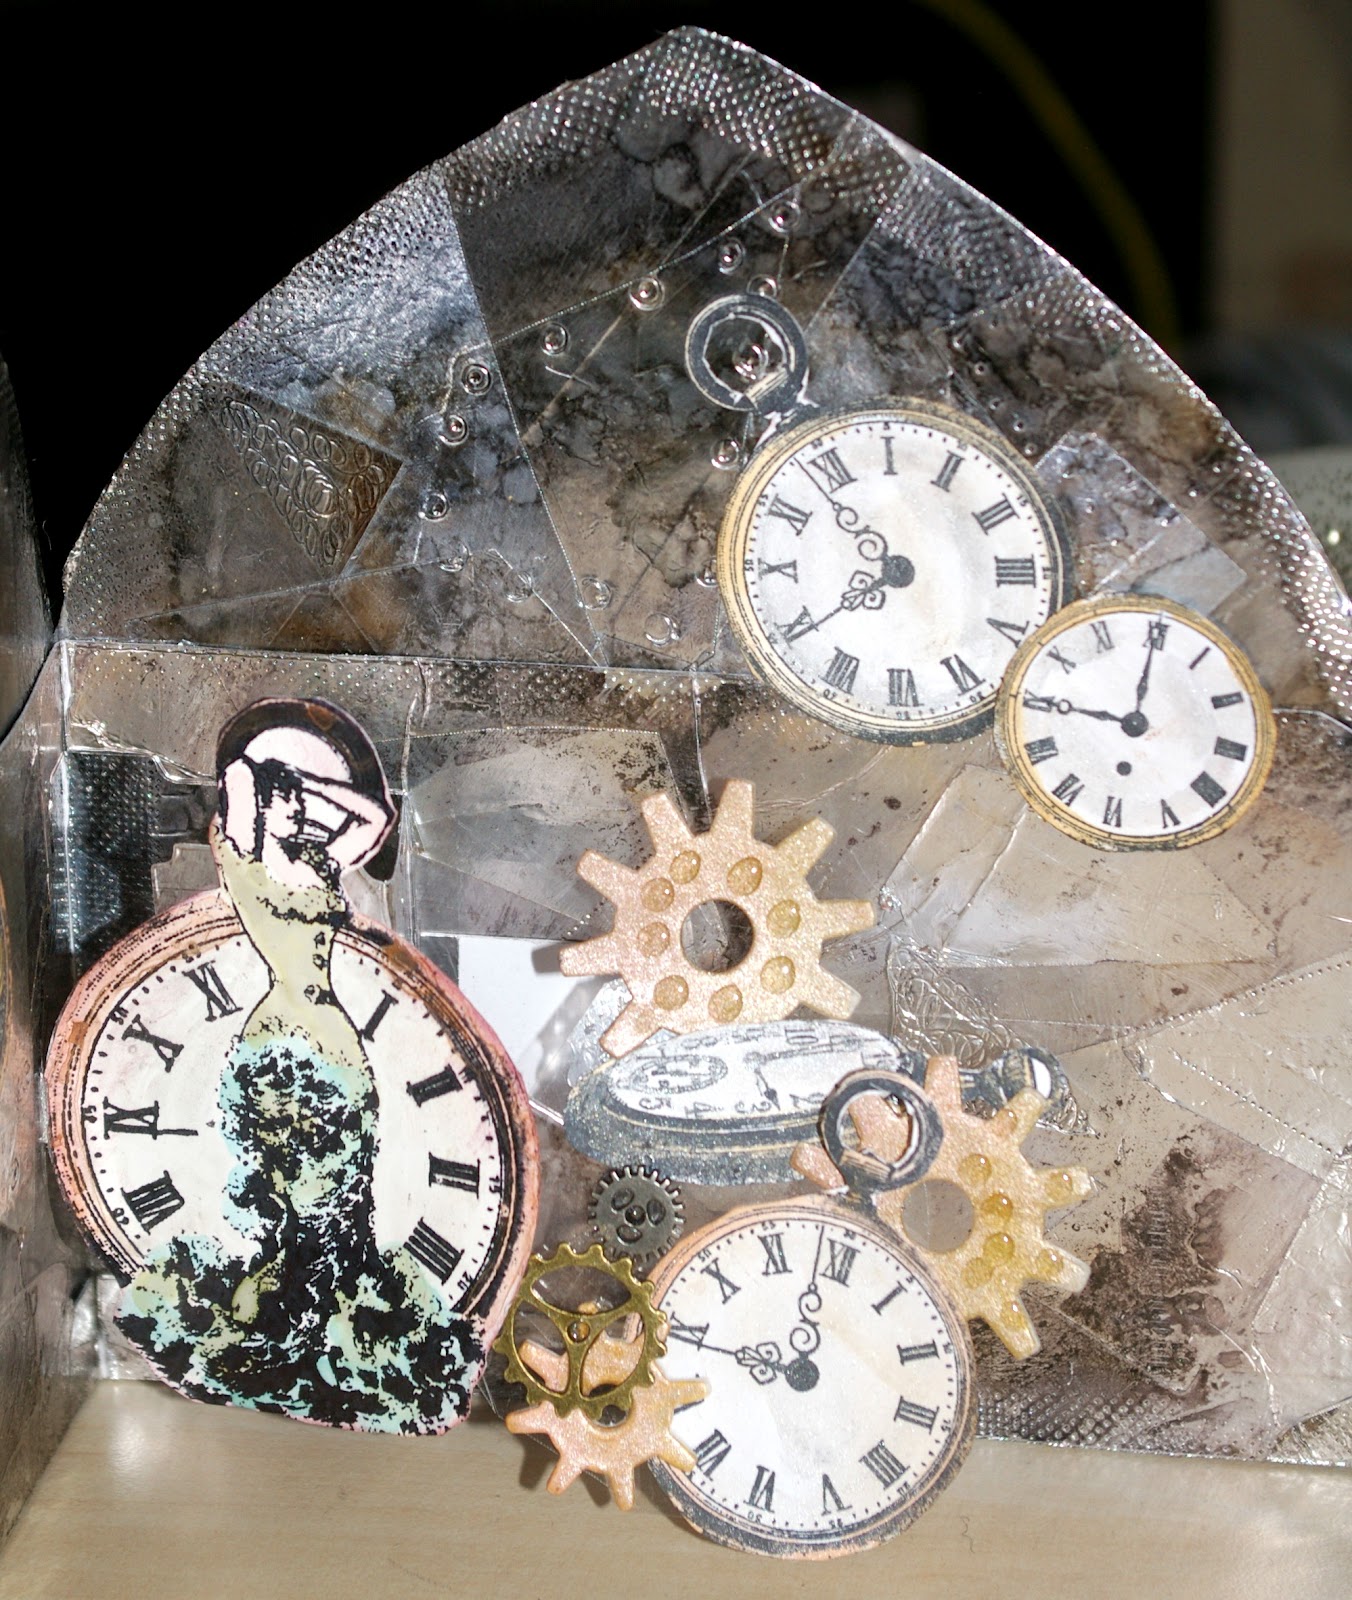
I decided to create a card using the time and keys and the girl with clock, and I wanted to make it interactive so used a sizzix pop'n'cuts die to create a spinner inside.

I first cut an arch shape from card and covered with Tim Holtz kraft resist, which I then inked with metallic distress stain.  I then stamped swirls from the swirls, splats and dots set with glue and gilding flakes.

I cut the weathered clock from chipboard, then painted with black gesso, then picket fence crackle paint, then applied metallic distress stains again - my new favourite things :)

The skull is stamped onto shrink plastic, shrunk in meltpot with cleat UTEE and backed with foil tape to make it pop.

For the inside I used Tim Holtz's september technique from 12 tags of 2012.


 For the pop-up/spinner I built up layers of stamped watches, diecut cogs and mini gears


I recorded a small video clip to show the spinner action - sorry it's a bit shaky but I think you get the idea!


I hope you enjoyed looking at my first project, and I'll be back on 14th October. Look forward to reading your comments, thanks.
Yvonne