Showing posts with label dots background. Show all posts

Sunday, 19 April 2020

Confinart journal - part 2 by Titbelsoeur

Hi everyone !
Hope you are all safe.
I told you on my last post here Dragonfly page by Titbelsoeur about the "Confinart Journal" I have made and posted on Youtube to help my French friends doing mixed-media art while locked-down.
I enjoyed very much to shoot these tutorials and am very happy with the comments I received about it.
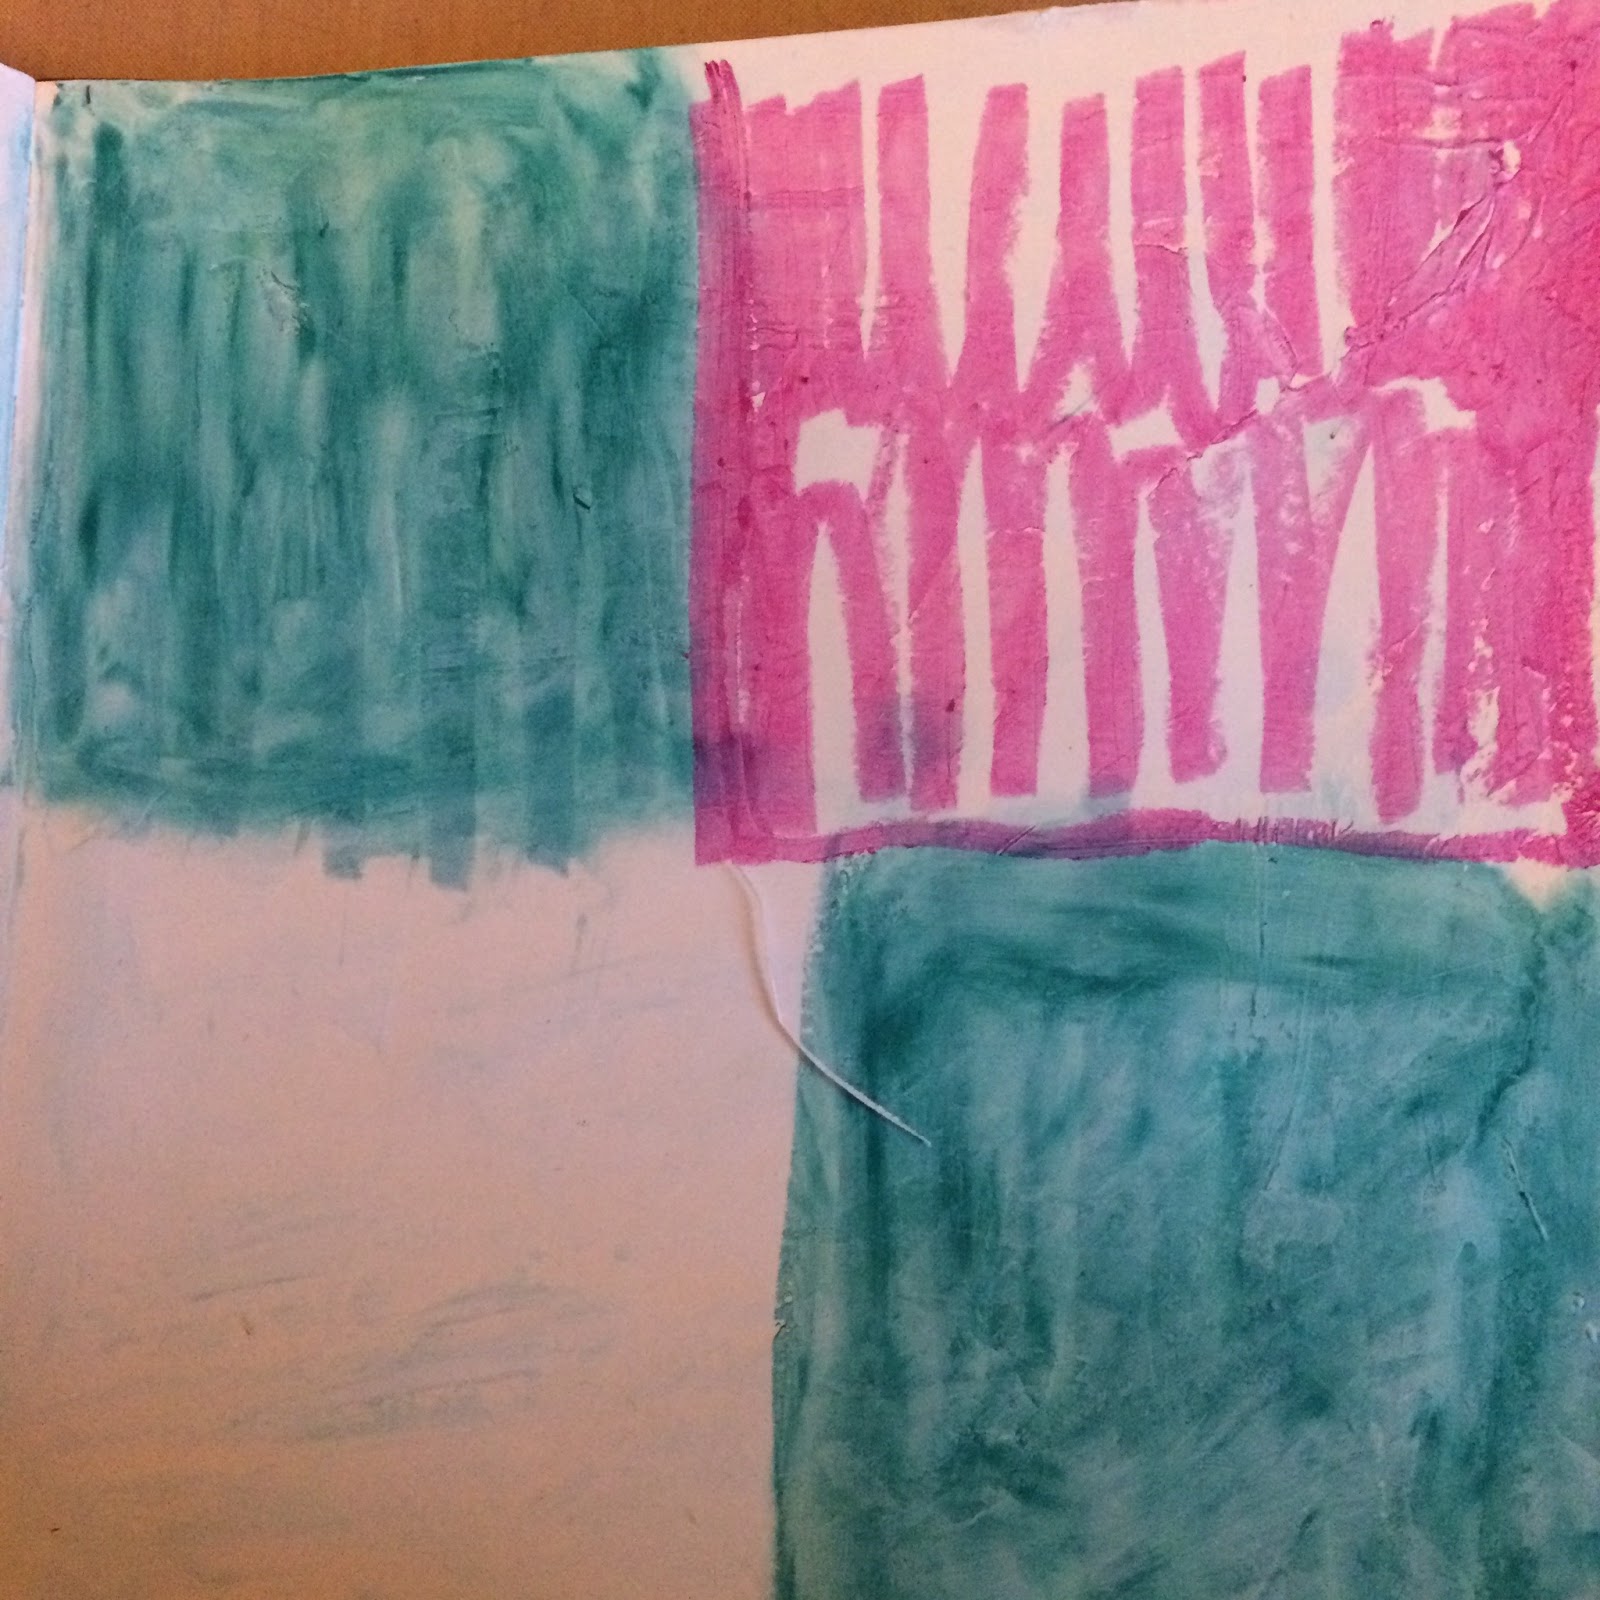
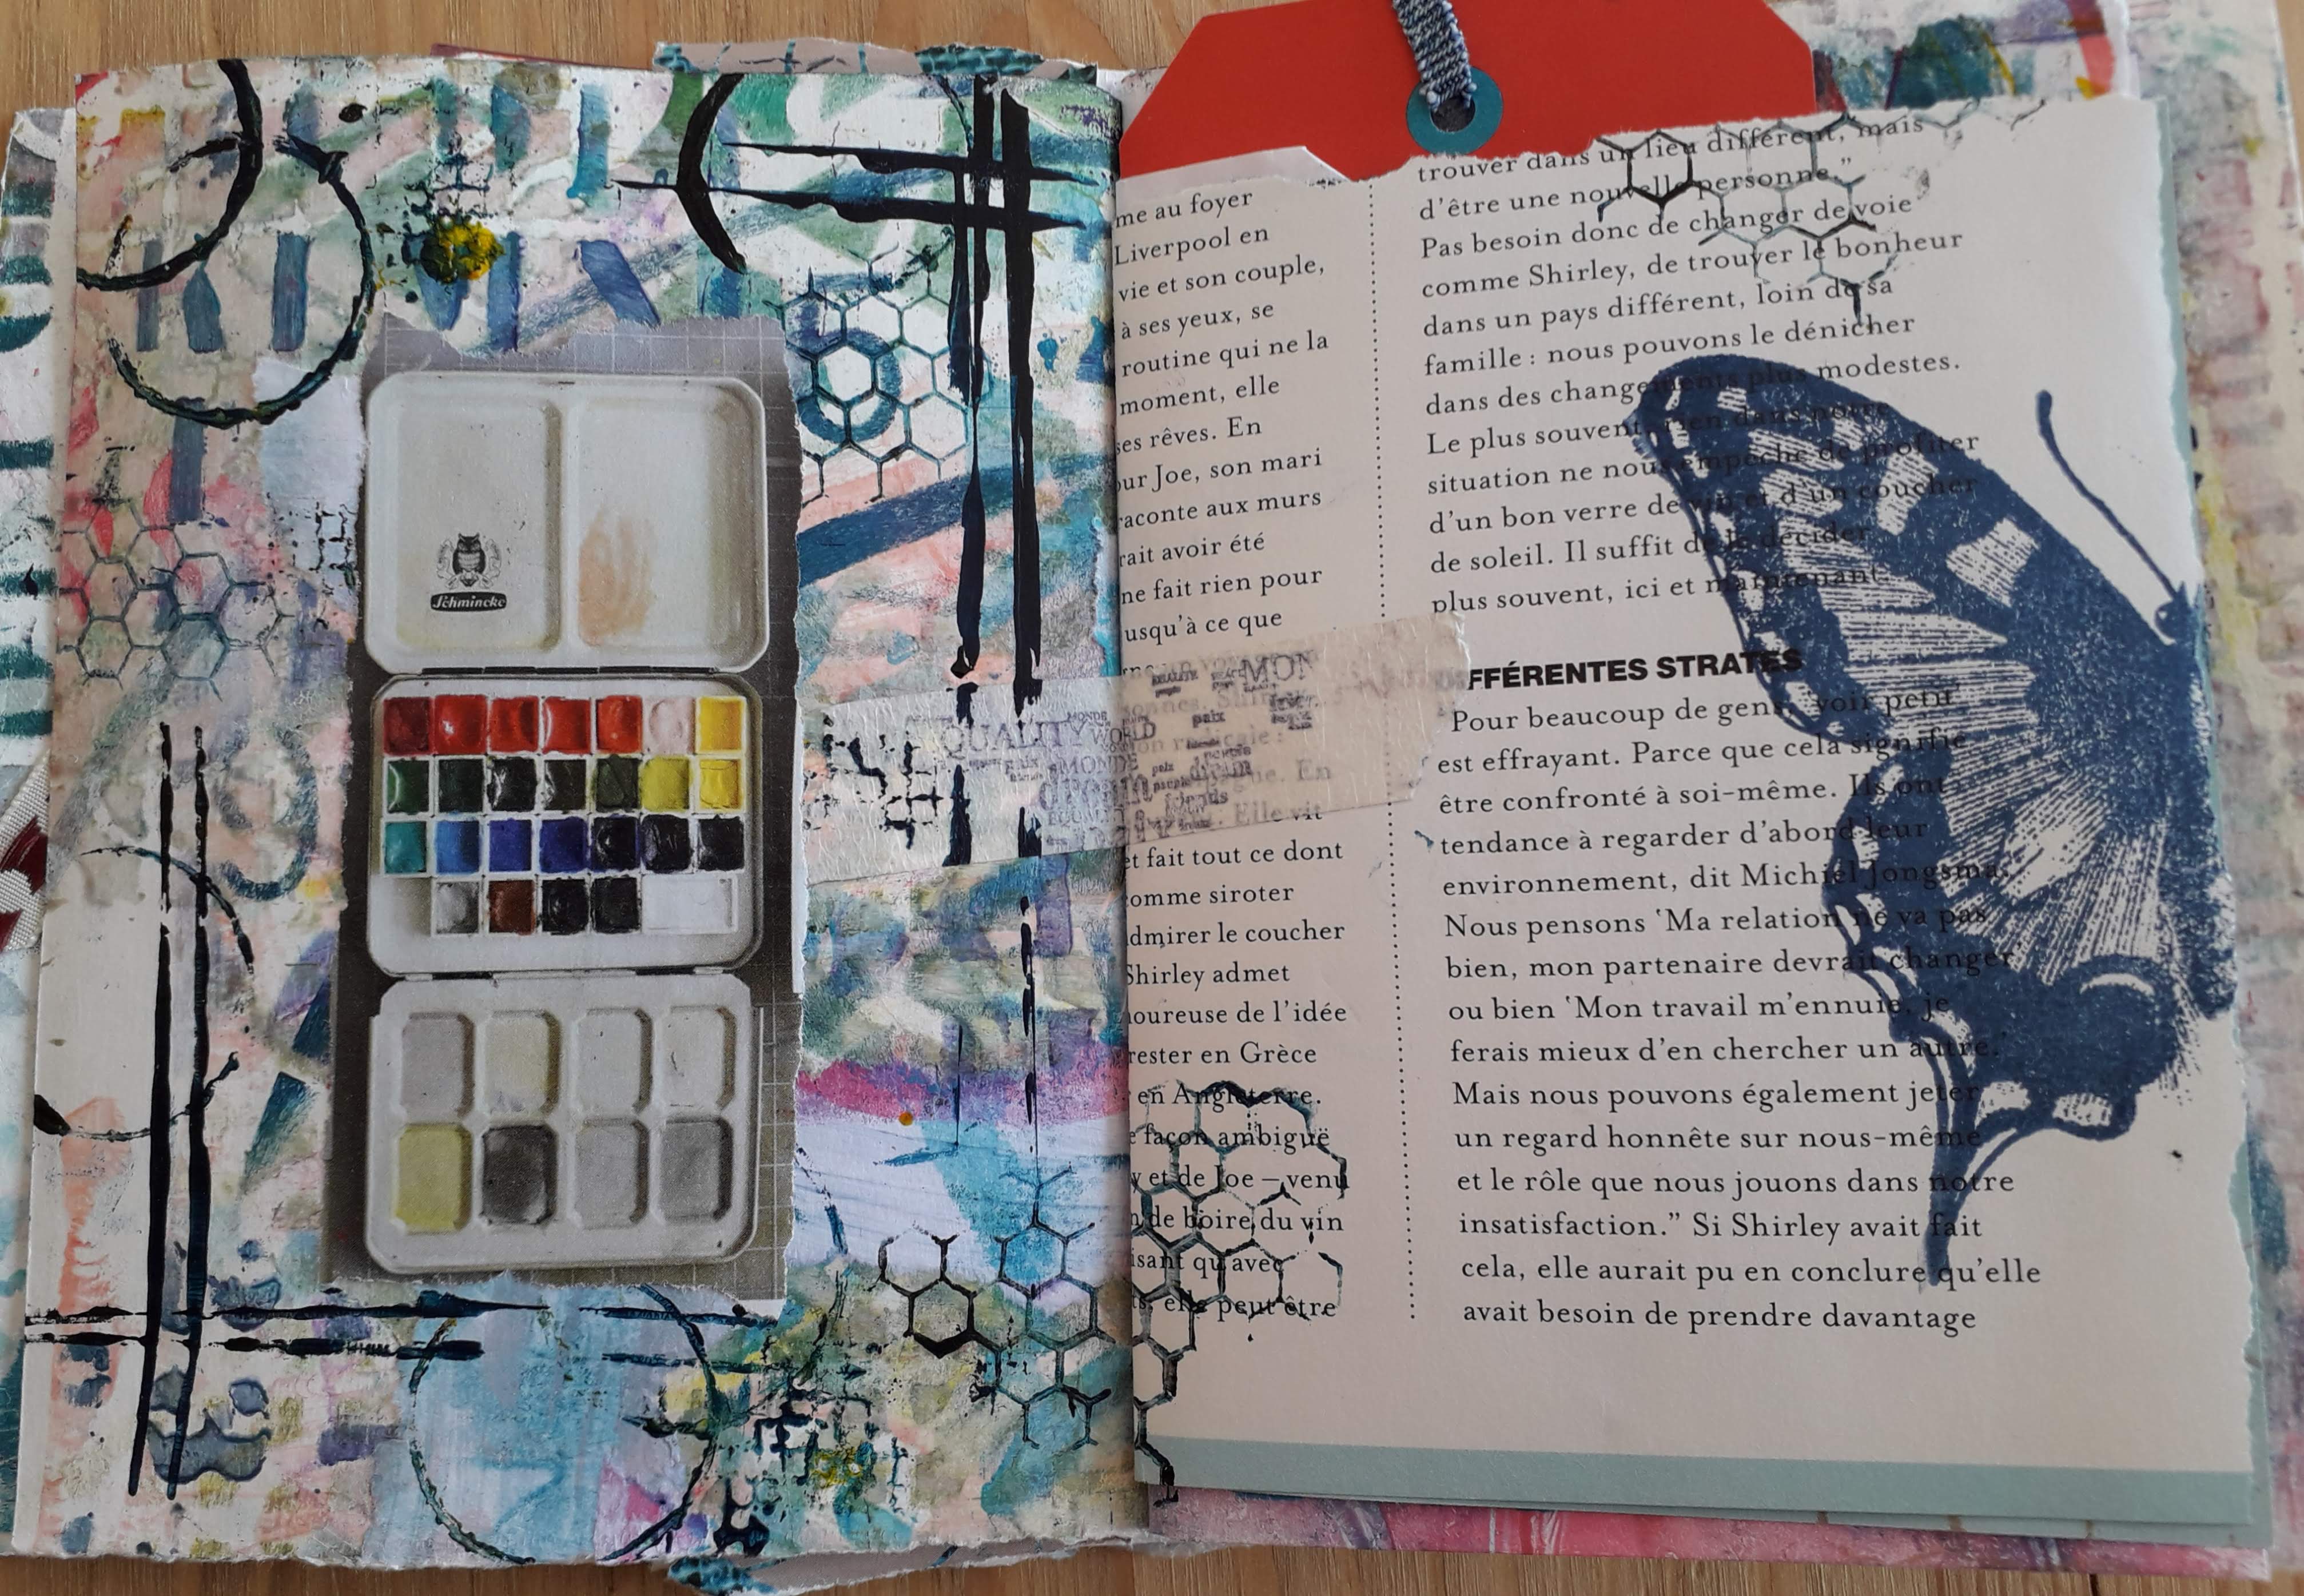
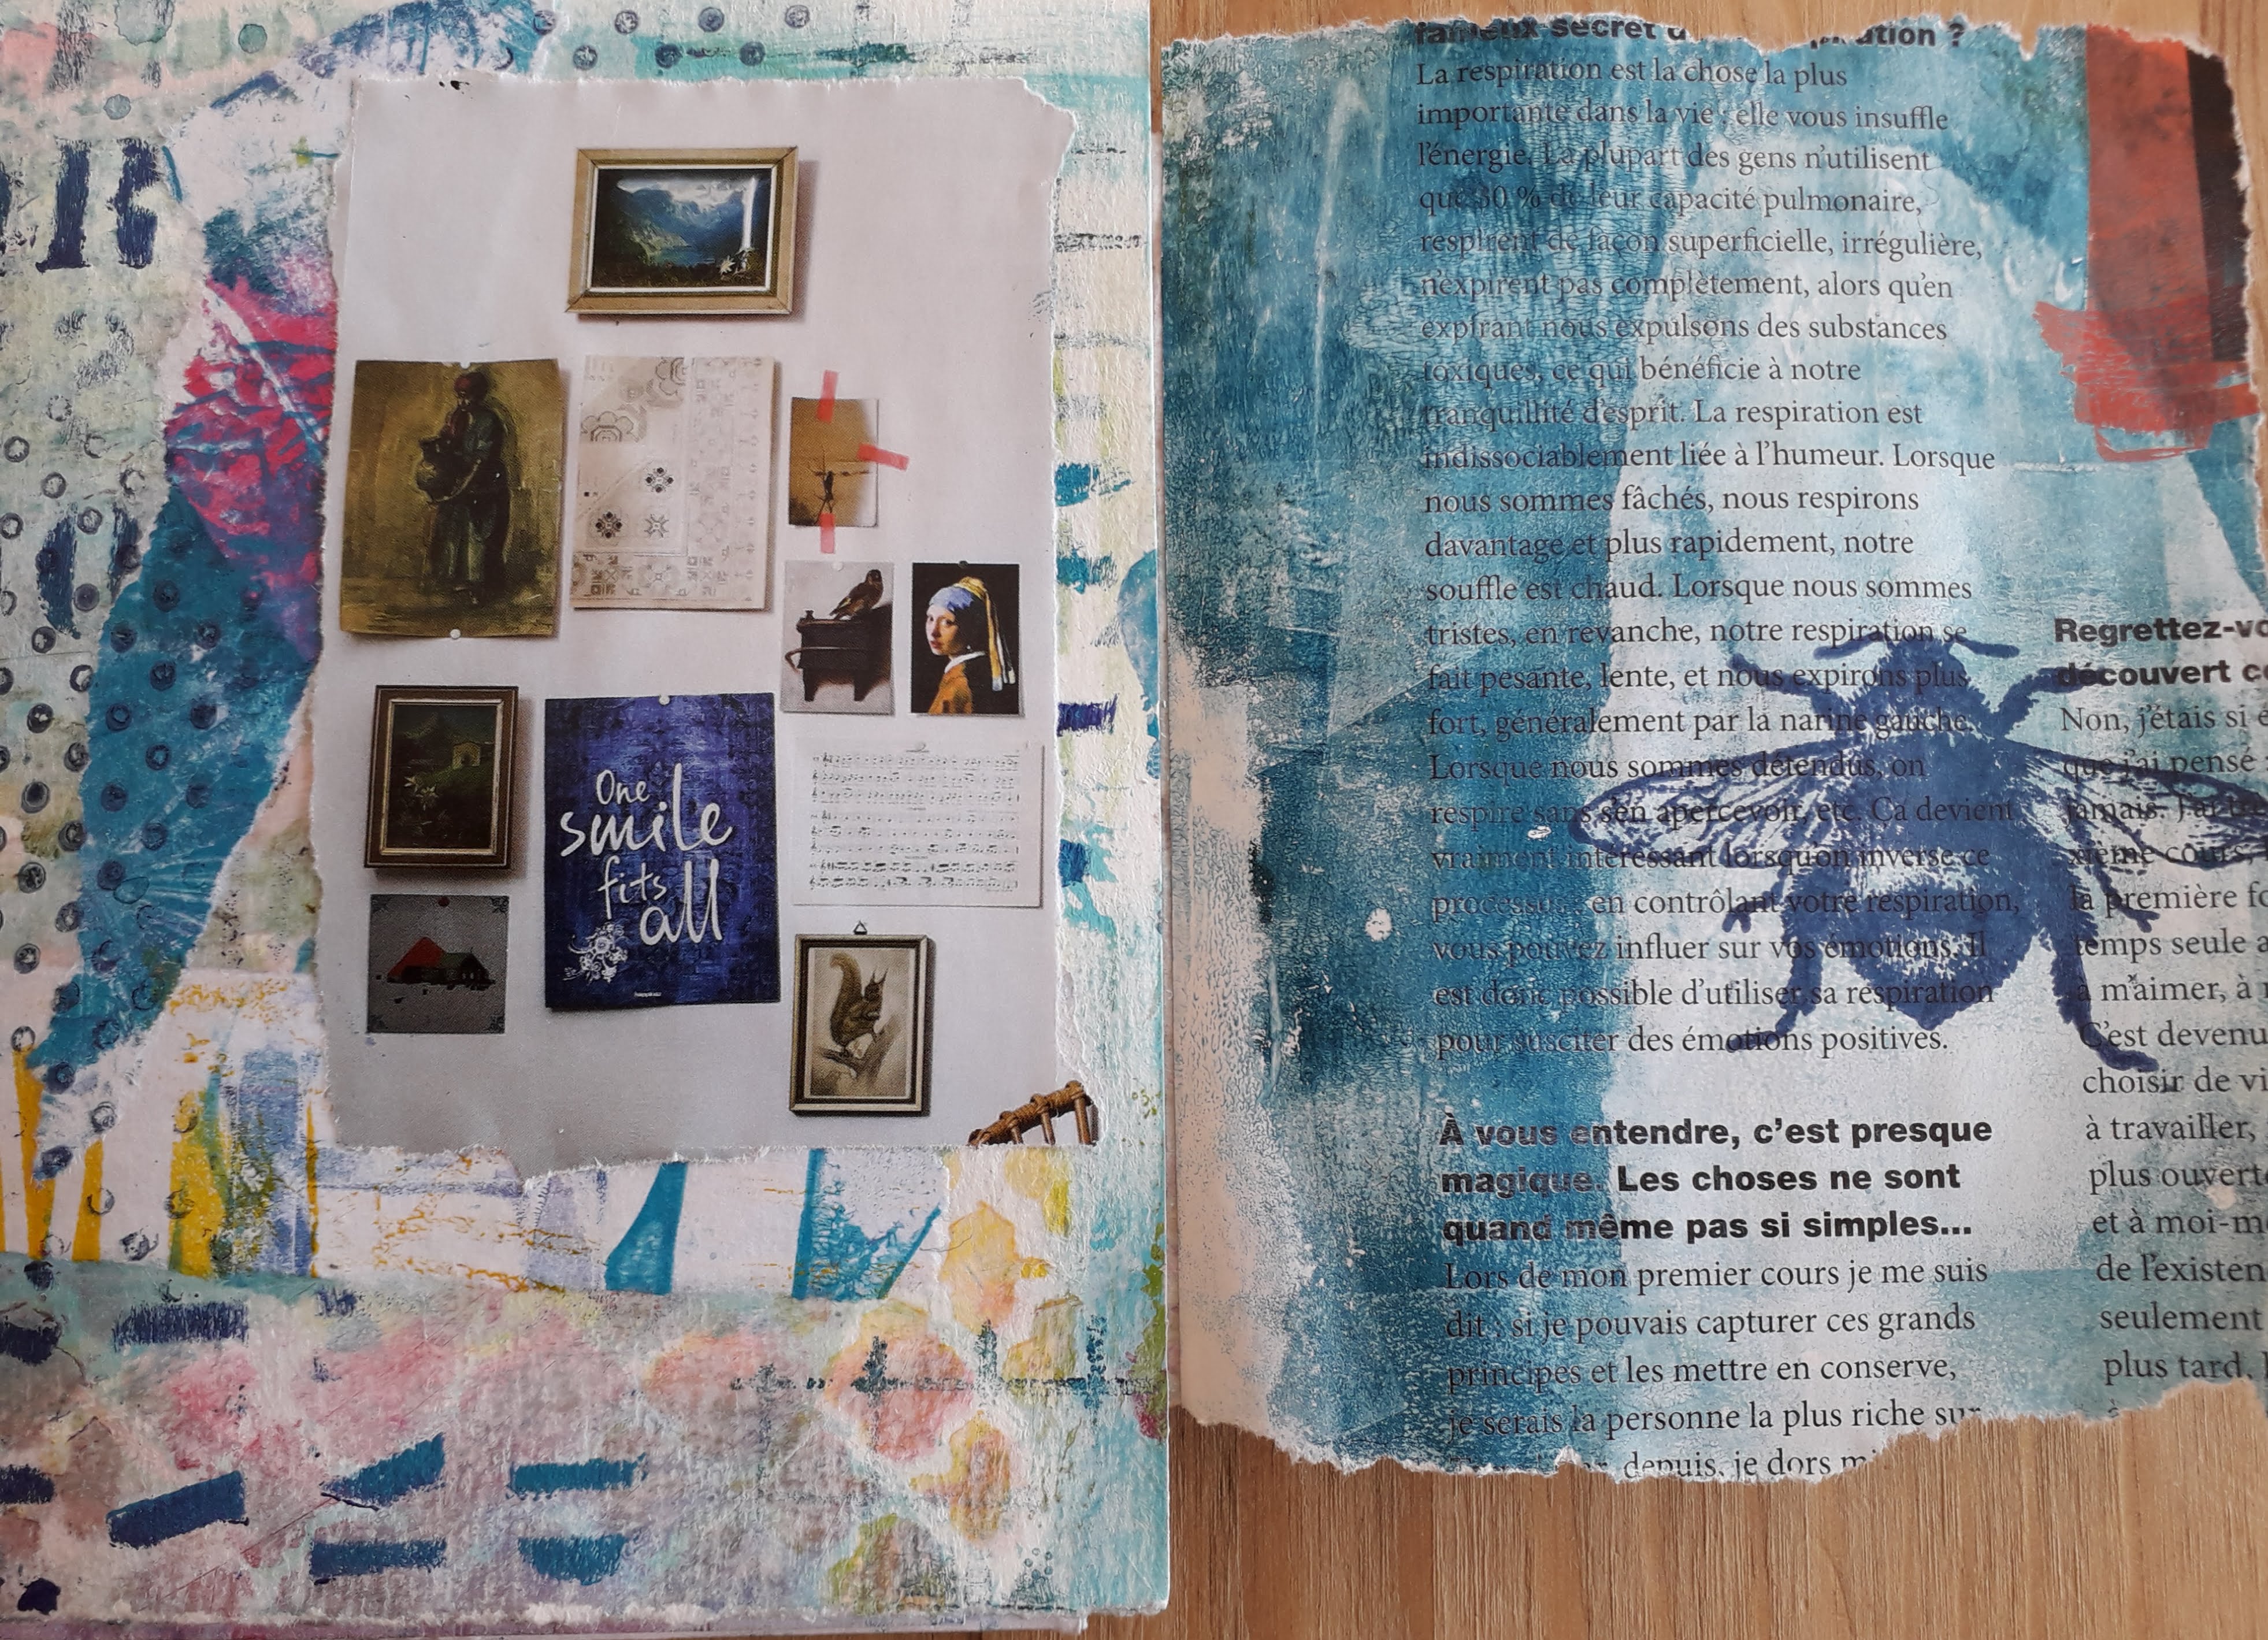
Here below are 2 pages from this art journal. I have used 2 big stamps and 2 background ones, and I love the way they look on my pages :


Would you like to view how I use the Artistic Stamper stamps, please have a look at this video :


Hope it gives you inspiration to participate in our 

This month and for the next three months, we are giving YOU an opportunity to join our Creative Team for a month, and get to use The Artistic Stamper stamps, and be posted on this blog, and on social media. Come and create and be in it to win it!
In addition, you can enter the same challenge on Facebook just for fun.
To join us on just go to our new Facebook group, and send us a request to join.
We will pick a winner early next month from the entries, so get your thinking caps on, bring out your inks and stamps, and join in!

Thank you so much for stopping by.
You may visit my folder : 
I will be happy to read your comments about it !
Your comments are very much appreciated here, on my blog
Bye for now and happy creating. 
Titbelsoeur

Sunday, 29 April 2018

Busy Bee Tag by Gemma

Hello

I have a tag to share with you all today, I made this tag using Artistic Stamper stamps, PaperArtsy paints, and chipboard.


My Process


Thank you
Gemma

Saturday, 16 December 2017

Star Cards by Gemma

 I decided to make my own Christmas cards again this year, but instead of making the odd one for a specific person and decided to make a batch of cards so I could also donate some to my son's school fair. 

These were easy to replicate and work through systematically and I just changed colours when I got too bored.


After I cut cardstock down to fit my card blanks, I used a repositionable spray to hold in place stars I cut by hand, these acted as a mask and were removed at the end. Over the top, I sponged different shades of green paint.


I then stamped over the top with orange and white paint using background stamps.


The last layer before removing the stars was to stamp using a calligraphy mat and brown ink.


To finish I doodled around the start and the card with a black pen.


Thank you for popping by

Gemma

Saturday, 24 June 2017

A Girly Card - well sort of.. by Debs


Hi Everyone, I hope you are all enjoying the sun as much as i am.

With the sun, comes nice and bright cheery colours and i really made the most of them on this card.

I used some watercolour paper as my substrate and added dark and light pink, and orange paints randomly over each other until i was happy, making a few circles of paint with my fingers as i went along.  I used Amsterdam paints but any acrylic will work.

Over the top of the main body of pain i stamped the mini hexagon and dots background stamps using both pink paints
and black ink.  I also popped some paint through a couple of stencils as well, and then did the same thing over a small tag.  Before i painted the tag i added some of the wonderful washi tape that is currently in stock. I also used an old credit card with the light pink to add some marks and also  using the calligraphy mat 11 stamped with the light pink paint.

I finished off the tag by adding Trish Latimers World Girl One and used the same colours to colour her in.

I shall look forward to seeing your creations after all there is still a week left so plenty of time, if you haven't entered already!
Happy crafting
Debs
x


Thursday, 24 March 2016

Life is like a circle by Debs

Hi Everyone

Here is a quick journal page I have done using the new Tim Holtz Distress Crayons


I started off with a layer of Gesso, waited (somewhat impatiently) for it to dry.

Then added the Peacock Feathers and Picked Raspberry crayons scribbling them on and then blending them in with my finger

Once I had done that, I added some stamping using the Dots background stamp

I added one of the new flourish stamps around the edges and the Neil Walker Alphabet Soup Background and Border  Stamped the large rose and the small daisy from the Botanical A5 plate onto tissue paper and Life is a circle from the Journaling Words 3

once all the extra bits were stuck into place I added some white outlining with a white sharpie pen.

Do leave a comment and don't forget you still have a few days left to get those entries in on here and on the Facebook challenge page

Happy Crafting 
Debs


Monday, 29 February 2016

Hearts Canvas by Gemma

 Hi Everyone

February is over and it is my last chance to use as many hearts as I possibly can for another year. So this time I painted a 12x12 inches square canvas.


After covering the canvas with gesso, I painted the whole canvas with two different shades of green fresco finish paint. I used Teresa Green and Granny Smith. I then stamped over top with the darker shade of green (Granny Smith) using  Calligraphy mat 11. When I was stamping I made sure to cover the whole canvas but stamped two or three time before applying more paint to the stamp as I wanted some areas to be more faded than others.


 I used both Haystack and Chalk fresco finish paints and the dots from the swirls, splats and dots plate, to add the circles to the canvas. I love how imperfect they are, areas where you can see the paint has splodges or areas that were missed.  


The hearts are wooden and just something I had floating about in the crafty stash. I covered them with gesso and then with the Haystack fresco finish paint. I really should have added a second layer of gesso because as time has gone on I have noticed areas where the wood is still visible. Then I stamped on the top of them using Tango fresco finish and the dots background stamp.
.


After edging the hearts with the same Tango paint I glued them in place using Cosmic shimmer acrylic glue. Then with a black stabilo pencil I added a boarder, some stems and some grass, so the hearts are a little like flowers. To finish I added the word love from the words mask.


Thank you for reading, taking part in the challenges and commenting. Me and my Team mates really appreciate it.

Gemma (inkykitty)


Wednesday, 24 February 2016

HeArt Art with a twist

Hi All

So we have got Valentines Day out of the way, and unless we are making cards etc for loved ones or the occasional wedding.  I know i tend not to bother too much about hearts.  However, we all like extra usage out of our stamps so here is alternative use, which I am sure some or all of you will have already thought of  - turn hearts into petals and make up a flower.


This was quite a simple canvas and came from an idea about using the three colours of Distress Paint which were sitting on my desk! Weathered Wood, Frayed Burlap and Victorian Velvet.  The three colours are all quite muted colours and as paints personally come into their own, working really well with each other.


I started off with a 12 x 12 canvas and added grunge paste through The Artistic Stamper Chevron 6x6 and Large Dot 6x6 Mask with Grunge Paste  

Whilst i was waiting for the Grunge past to dry I stamped 8 of the large hearts from the Roses are Red Plate with Black Archival Ink onto Tim Holtz Grunge Paper

And then cut them out and painted with a quick coat of Gesso not quite sure why as I didn't really need to!!

And also stamped the Chinese Background stamp onto a piece of beige tissue paper again with Archival


Then painted stripes in Weathered Wood and Frayed Burlap overlapping as i went across


Whilst waiting for the stripes to dry I painted all of the hearts with the Victorian Velvet.  The paint comes out a beautiful dusky pink, far less muted than the Distress Ink

I then stamped each heart with the Dots Background A6 stamp using Victorian Velvet Distress Ink

I also went around the outside edge of each heart with Ground Espresso Ink


Using the Dots Background again i added some Victorian velvet paint and stamped some random dots directly onto the canvas, and also added some bottle top marks from the lids of the three colours


Ripped up pieces of the tissue I had stamped with Chinese script and added that to the canvas using Prima Soft Matt Gel

And added the heart petals to make the flower using Prima 3D Matt Gel This gel is absolutely amazing.  You can use it through stencil or as an ordinary glue however if you put a dollop of it onto a project it will stay raised so that you can add dimension really easily.  Plus it adheres pretty much everything including metal and it dries really quickly.  You do have time to move it but you do need to be quite quick if you do.


I stamped the lovely flourish from the Swirls Splats and Dots Plate onto white white tissue and carefully tore around the edge.  I also stamped Follow your dreams from  Journaling Words #1 onto a bit more of the beige tissue and added it onto a piece of cardboard and painted in Weathered Wood and Frayed Burlap but when mounting ensured the colours were the opposite of underneath!  Stuck down the tissue with the soft matt gel 


I made three smaller hearts and coloured the same as the large ones however, this time i used Ground Espresso Ink to add the dots as well as to edge


Added a metal embellishment and a glass bead from my stash and there it is!
As always do let me know your thoughts good and bad, and don't forget to add your project to the blog, we do enjoy seeing what you have produced and you still have a few more days to go.

Happy Crafting Debs


Thursday, 7 May 2015

Let's art journal in May by Titbelsoeur

Hello happy journalers !
You know that the May challenge at the Artistic Stamper is "Journaling your heART out!" and I have decided to make this page for you...

I started by gluing some pieces of "test" pages, this one to test Neil's stamp on to my home-made gelli plate :

or that one that was used to clean my A.S. Sequin mask up :


So here is the 1st layer background :


Some gesso here and there, then brown and green acrylic paint, with a brush or with a baby wipe through A.S. Sequin and Petals masks 


Then stamps as backgrounds : car, alphabet soup, dots with black Archival 


And to end, let's stamp words with black and brown Archival, paint some circles with a bottle cap and write some unreadable words in white and black, and here it is :


To make this page, I have used :
black and brown Archival inks
Large Sequin and Petals Artistic Stamper's masks 
Dots background stamp
Neil Walker's alphabet soup and fantasy background
Debbie Cotton's Linington's automotive Sales
Journaling Words #5, Imagine 4.5 cm, Creative 4.5 cm and Journaling Words 3 

Thanks so much for stopping by,
your comments are very much appreciated.
I hope you will participate in our May challenge
 to win some fabulous Artistic Stamper stamps.

Titbelsoeur

Thursday, 19 February 2015

Butterflies on my page...

Hello there, this is Titbelsoeur today sharing an art journal page with you.

First, I have distressed the page with Brushed Corduroy, then glued a very old school book page on it :


 I made my own masking tapes, stamping cogs and watches background stamps on to a piece of tape :


 and sticked them to my page, adding a piece of a used tea bag :


 A coat of gesso, then I stamped Treillis and Dots backgrounds and added brown shadows here and there with a watercolor chalk and a wet paintbrush :


 Then I stamped butterflies on to the background with water-based ink and made them a bit blur in adding some water with a paintbrush which also spread the watercolor below :


  I did the same with the central butterfly I stamped on a white paper, slightly blured and cut out :


And here is my page :


Here are the stamps I used :
Butterflies
Encyclopaedia Botanica
Treillis Background
Watches Background
Dots Background
Cogs Background

Thanks so much for stopping by,
your comments are very much appreciated.
Don't forget to participate in our monthly challenge to win some fabulous Artistic Stamper stamps.

Titbelsoeur